

Introduction of Reviews Widget
In today’s digital age, having a visually appealing and informative website is crucial. Elementor, a popular page builder for WordPress, makes this task easier by offering a variety of widgets that enhance the functionality and aesthetics of your website. One such widget is the Reviews Widget, which allows you to showcase customer feedback and testimonials in a visually pleasing manner. In this step-by-step guide, we will walk you through the process of adding the Reviews Widget to your Elementor-powered website.
What is a Reviews Widget?
A Reviews Widget is a dynamic tool that aggregates and displays customer reviews directly on your website. It can be embedded seamlessly, presenting a snapshot of your business’s reputation without requiring users to navigate away.
Accessing the Reviews Widget
Before we jump into the nitty-gritty of customization, ensure you have Elementor installed and activated on your WordPress website. If you haven’t already, go ahead and install it from the WordPress dashboard.
Adding the Reviews Widget
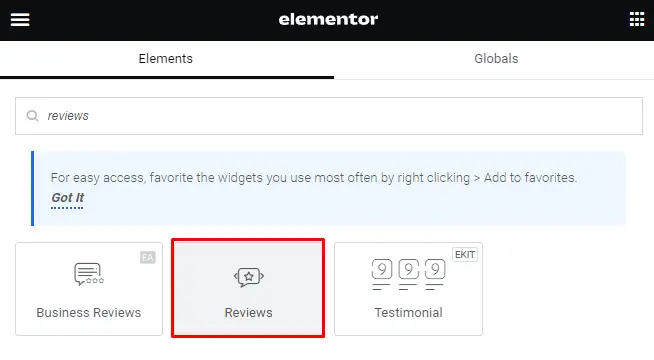
Locate the Reviews Widget: After creating a new page or post, click on the elements to add a new section. In the Elementor editor, search for the “Reviews” widget.
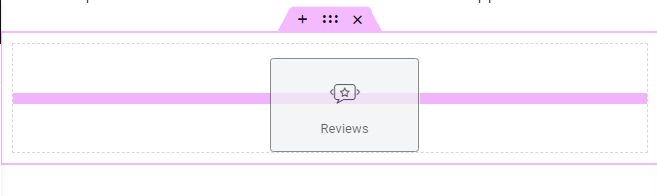
Drag and Drop: Once you’ve found the Reviews Widget, simply drag and drop it into the section you created. It will automatically add a basic reviews section to your page.
Configuring the Widget: Click on the widget to start configuring it. You can choose the source of your reviews, the number of reviews to display, and various other customization options.
Designing the Reviews Section
Now comes the fun part – designing your reviews section.
Customizing Typography: Click on the “Typography” tab to modify the font styles, sizes, and colors of your review text.
Color Schemes: Under “Style,” you can adjust the color schemes to match your website’s branding.
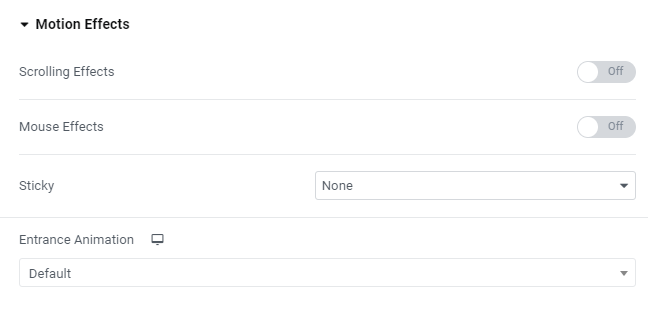
Adding Animation: Make your reviews pop with animation. Under the “Advanced” tab, choose your preferred animation effect.
Adding User Reviews
Review Source: Go to the “Content” tab and select the source of your reviews. You can choose from multiple sources, including specific posts, pages, or custom sources.
Number of Reviews: Set the number of reviews to display. You can choose a specific number or display all available reviews.
Filter and Order: Filter your reviews based on categories, authors, or other criteria. You can also order them by date, title, or other parameters.
Display Options
Review Structure: Configure the review structure, including the author’s name, date, and more.
Rating Options: Choose the rating style – stars, percentage, or custom icons – to fit your website’s design.
Customizing Review Elements: You can further customize each review element, from the review text to the author’s name.
Advanced Features
Custom CSS: If you’re comfortable with CSS, you can add custom code to fine-tune the widget’s appearance.
Responsive Settings: Ensure your reviews section looks great on all devices by customizing the responsive settings.
Link Options: Decide whether you want to link the reviews to their source or display them as static content.
In this step-by-step guide, we’ve explored the art of customizing the Reviews Widget in Elementor. By now, you should be well-equipped to create an engaging and visually appealing reviews section for your website. Elevate your online presence, boost your credibility, and keep your audience engaged with user reviews and ratings.
Now, go ahead, customize the Reviews Widget, and let your customers’ voices shine on your website. If you have any questions or need further assistance, feel free to explore Elementor’s extensive documentation and support resources.
How To Add Reviews Widget In Elementor?
Access Elementor and Search Reviews Widget
To begin, ensure you have Elementor installed and activated on your WordPress website. If you haven’t already, you can easily install it from the WordPress dashboard. Once Elementor is up and running, follow these steps:
- Access Your Page: Open the page you want to add the Reviews Widget to using the Elementor page builder.
- Add a New Section: Click the “+ Add Section” button to create a new section on your page where you want the Reviews Widget to appear.
- Search for the Reviews Widget: In the Elementor editor, click the “+” icon to add a new element. Search for “Reviews” or “Reviews Widget” in the search bar.
- Drag and Drop: Once you find the Reviews Widget, simply drag and drop it into the new section you created. This action will add the Reviews Widget to your page.
Edit the Slides
Now that you’ve added the Reviews Widget to your page, it’s time to customize the content. Follow these steps to create an engaging and informative testimonial section:
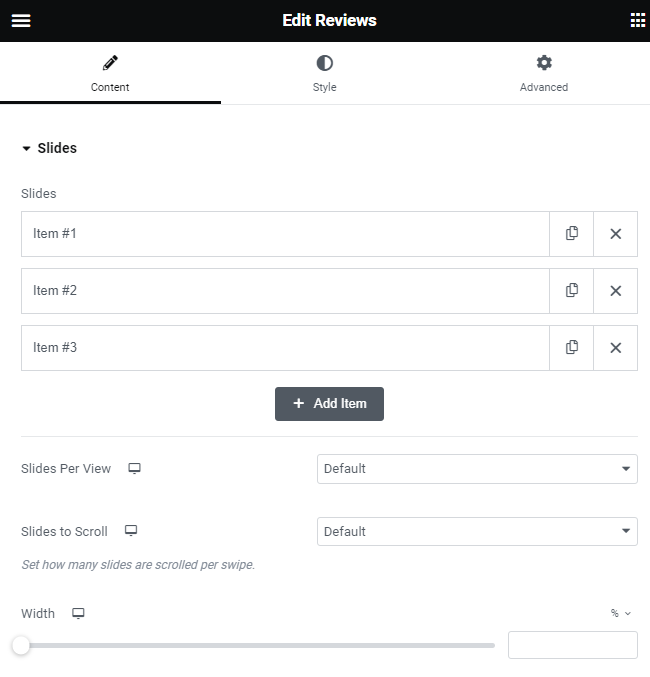
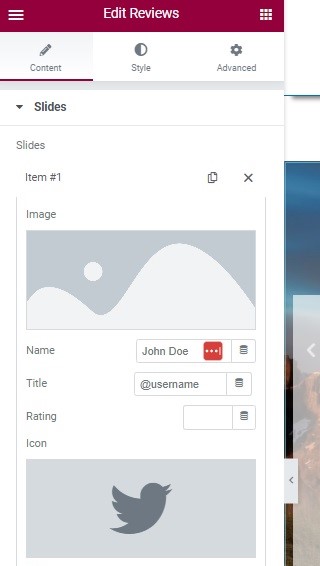
- Content Tab: Click on the Reviews Widget to select it.
- Edit Slides: In the left panel, navigate to the “Content” tab. Here, you can add, remove, or edit the slides. You can add as many reviews as you like in the list items. This feature allows you to showcase multiple testimonials from satisfied customers.
Customize the Reviews
To make your testimonial section stand out, you can personalize the reviews with these options:
- Profile Image: You can upload or select a profile image for the reviewer. A picture adds a personal touch to the testimonial.
- Name and Title: Edit the name and title of the reviewer to give them proper recognition.
- Icon, Link, and Review Text: You can also add an icon, a link (for instance, linking to the customer’s website or social media profile), and the review text itself. This customization allows you to provide additional context and credibility to each testimonial.
Explore Additional Options
Elementor’s Reviews Widget offers further customization options to fine-tune your testimonials section. These include:
- Layout Options: You can adjust the layout, including alignment and style, to match your website’s design.
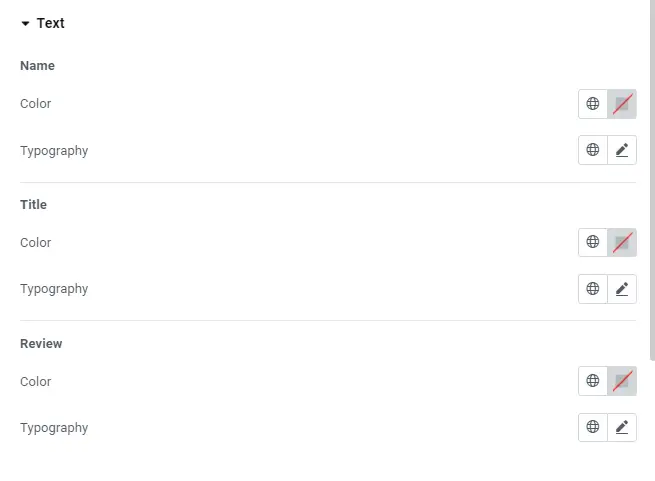
- Typography and Colors: Customize the text style, font, and colors to maintain brand consistency.
- Transition Effects: Add subtle animation or transition effects to make the testimonials visually appealing.
- Advanced Settings: Explore advanced options for spacing, padding, and more to ensure the Reviews Widget seamlessly integrates into your page.
Adding the Reviews Widget to your Elementor-powered website is a straightforward process that can significantly enhance your website’s credibility and user experience. This widget allows you to effectively showcase customer feedback and build trust with your audience.
How To Edit Style of Reviews Widget In Elementor?
Elementor, a widely popular page builder, empowers you to craft stunning web pages with ease. Within Elementor, there’s a powerful Reviews Widget that allows you to showcase customer feedback and testimonials. However, to make your website truly unique, you might want to customize the style of the Reviews Widget. In this step-by-step guide, we’ll walk you through the process of editing the style of the Reviews Widget in Elementor Page Builder, enabling you to tailor it to your specific needs.
Customizing Review Widget
Step 1: Accessing the Style Tab
To begin customizing the background color of your Reviews Widget, you need to navigate to the Style Tab. Here’s how to do it:
- Open your WordPress dashboard.
- Edit the page where you’ve added the Reviews Widget using Elementor.
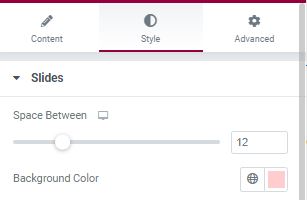
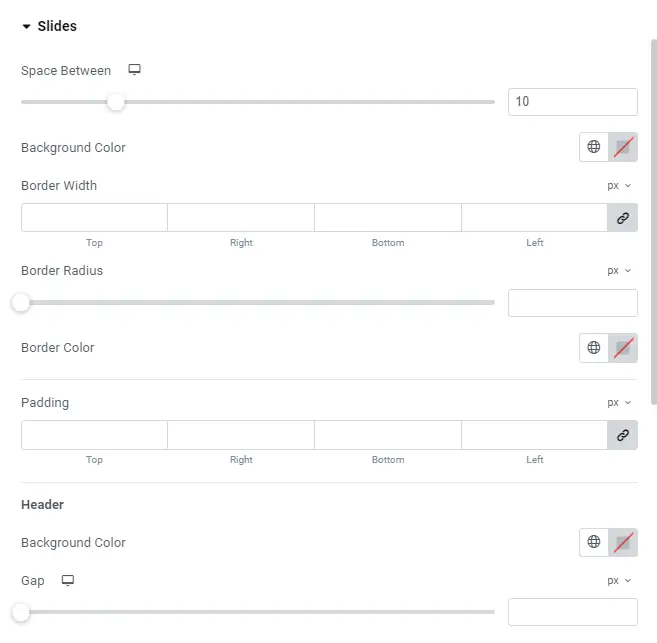
Step 2: Changing the Background Color
Once you’re in the Style Tab, follow these simple steps to modify the background color:
- Locate the “Slides” section.
- In this section, you’ll find an option to change the background color of your Reviews Widget.
- Click on it, and a color palette will appear, allowing you to select the color that suits your website’s theme.
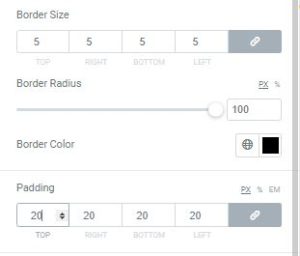
Step 3: Adding a Border
If you wish to add a border to your Reviews Widget for a distinct look, the Style Tab provides you with this flexibility:
- In the same “Slides” section, you’ll find options to adjust the border of your widget.
- You can change the Border Radius to alter the widget’s shape and appearance.
- Additionally, you can customize the border color according to your preferences.
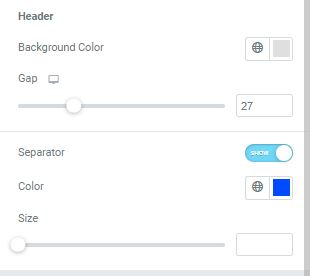
Step 4: Modifying Header Background
Should you want to change the background color of the header in your Reviews Widget, Elementor offers an easy way to do it:
- Locate the setting for the header background color in the Style Tab.
- Adjust the color as per your requirements.
- The Gap setting allows you to control the space between the header and the text review for a polished appearance.
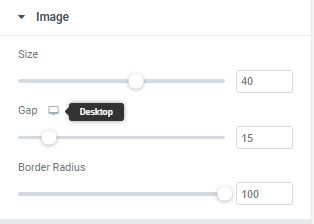
Step 5: Tweaking Image Style
In the Image Style section of the Style Tab, you can make changes to the appearance of the image associated with the review:
- Adjust the size of the image profile to your liking.
- Control the gap between the picture and the reviewer’s name.
- Customize the border radius of the profile reviews for a unique visual appeal.
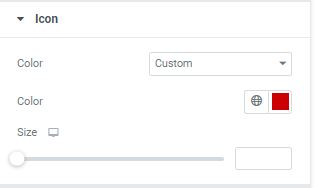
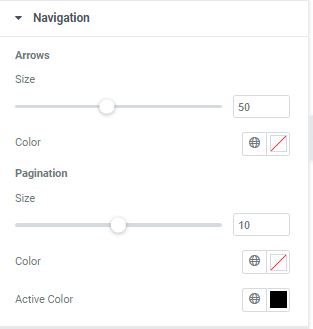
Step 6: Enhancing Icon Style
The Icon Style section enables you to personalize the appearance of icons used in your Reviews Widget:
- Change the color of the icons, whether you prefer an official look or something custom.
- Modify the size of the icons to fit your design.
- You can also add a rating and edit it below the Image Style for more detailed testimonials.
Customizing the style of your Reviews Widget in Elementor can help your website look unique and appealing to your audience. By following these step-by-step instructions and leveraging the options available in the Style Tab, you can create a visually striking Reviews Widget that perfectly complements your website’s design.
How to Add Google Reviews WordPress Plugin – A Step-by-Step Guide
The Google Reviews WordPress Plugin shows Google Business Reviews on your website. It’s safe and officially approved by Google. Using it makes it easy to display your Google Reviews, and adding these reviews and ratings to your site is a simple and effective way to boost your website’s credibility and sales.
Getting Started with Reviews Widget
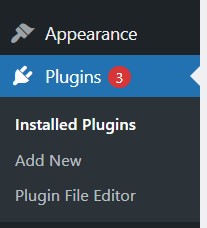
Navigate to the “Plugins” Section
On the left sidebar of your WordPress dashboard, locate and click on the “Plugins” tab. This is where you’ll manage all your plugins.
Adding the Google Reviews WordPress Plugin
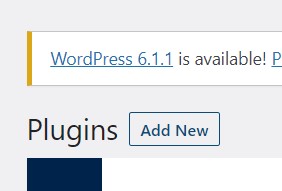
Click on “Add New”
After clicking on the “Plugins” tab, you’ll be redirected to the “Plugins” page. Here, you’ll see various options for managing your plugins. To add the Google Reviews WordPress Plugin, click on the “Add New” button.
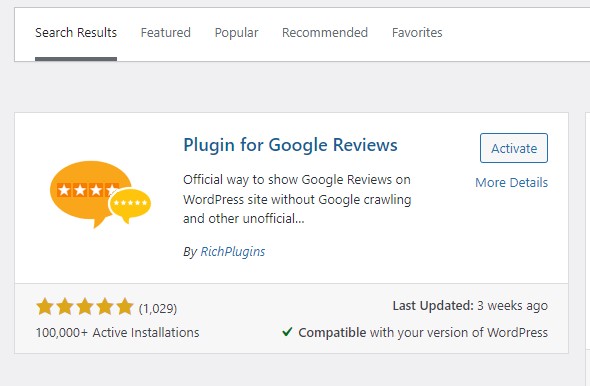
Search for the “Google Reviews” Plugin
In the “Add Plugins” page, you can search for the “Google Reviews” plugin in the search bar provided. This will help you locate the plugin quickly and efficiently.
Activate the Plugin
Once you’ve found the “Google Reviews” plugin, click the “Install Now” button. After installation, don’t forget to activate the plugin. This is a crucial step to make the plugin functional on your website.
Configuring the Plugin
Access the Google Reviews Plugin Settings
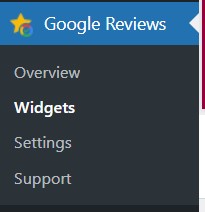
With the plugin now active, you’ll find its settings in the left sidebar of your WordPress dashboard. Click on the “Google Reviews” tab to explore its options.
- Overview: In the “Overview” section, you’ll get an overall look at the plugin’s features and how it works. Take some time to familiarize yourself with this information.
- Widgets: Under the “Widgets” section, you can customize how the Google Reviews are displayed on your website. You can choose different styles and layouts to match your website’s design.
- Settings: The “Settings” section allows you to configure the plugin to your specific needs. You can set parameters like the number of reviews to display, the order in which they appear, and more.
- Support: If you encounter any issues or have questions about the plugin, the “Support” section provides helpful resources and assistance options.
Conclusion
Adding the Google Reviews WordPress Plugin to your website is a simple process that can significantly enhance your online presence. By showcasing authentic Google Business reviews, you can build trust with your audience and boost your sales. Start reaping the benefits of this plugin today and watch your website’s credibility soar.