
In this article, we will go over how to craft a successful headline animation using Elementor Pro. We’ll focus on the type of animation, timing, and content used in the headline. Let’s get started!
How to Use Animated Headlines Effectively
The first thing you need to know about using animated headings effectively is that it needs to stand out color-wise. If it blends in with your page and/or your website, you are not using it effectively. Because the point of animating part of your headline is to focus the readers on a specific word or phrase.
To stand out, red is always a good color to give your readers a sense of urgency. Other good colors include blue and orange. But the specific colors don’t matter as much as how the colors look compared to the rest of your website. You want to pick high-contrast colors.
While picking colors, also think about accessibility. Search engines advise website owners to think about accessibility when designing websites. While Google has said that accessibility is not a direct ranking factor in their search algorithm they do highly advise webmasters to design sites with accessibility in mind. What does that mean for color contrasts? Well the Web Content Accessibility Guidelines (WCAG) recommends a color contrast ratio of at least 4.5:1. You can use this site to check the contrast ratio of your colors.
The second piece of advice on animated heading is to not overdo it. That means many things—it means don’t go trigger-happy with the element and use it for virtually every heading on your page. That would defeat the purpose of animating your headline for attention. It also means don’t overdo it with the effects either. Along with animating the headlines, there are some advanced effects you can employ with your headline (such as blurring, zooming, rotating, etc). But just because you can do it doesn’t mean you should. There is such a thing as too much animation. If the design effects are over-the-top, your animated heading becomes tacky instead of cool.
Types of Styles and Animation Available
Elementor currently has two styles of animated headlines: rotating and highlighting. Each style then has a subset of animations that goes with it.
Rotating Style
The rotating style cycles through a list of words you provide. So if you want the headline to rotate through the words Bigger, Faster, Better—it will do that.
The animation options for the rotating style are:
- Typing
- Clip
- Flip
- Swirl
- Blinds
- Drop-in
- Waves
- Slide
- Slide down
The highlighting style picks one word or phrase to highlight using animation.
The options for animation of the highlighting style are:
- Circle
- Curly
- Underline
- Double
- Double Underline
- Underline Zig Zag
- Diagonal
- Strikethrough
- X
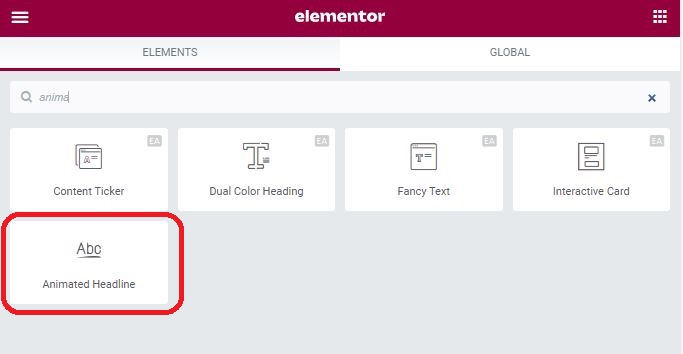
How to Use Elementor Pro’s Animated Headline
Step 2 – Customize the headline using the left sidebar.
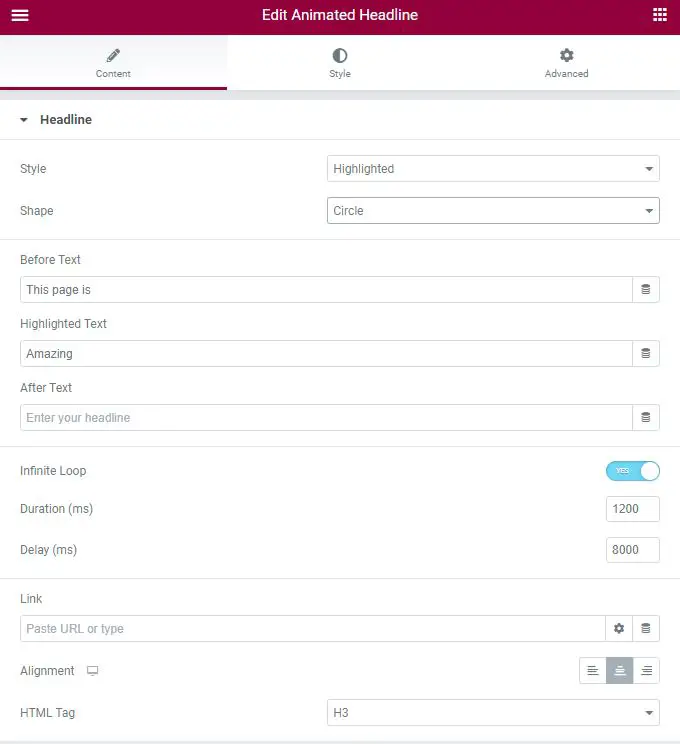
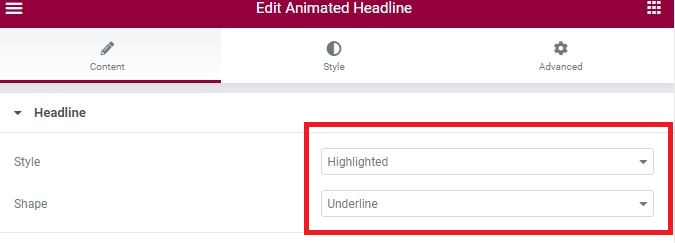
Choose what style you want for your headline highlighted or rotating. Next, choose the shape for your headline.
Enter the text here in the before text, then enter the highlighted text. Same here in the after text. You can place a link in the link box.
Set the alignment for the headline and input the heading size.
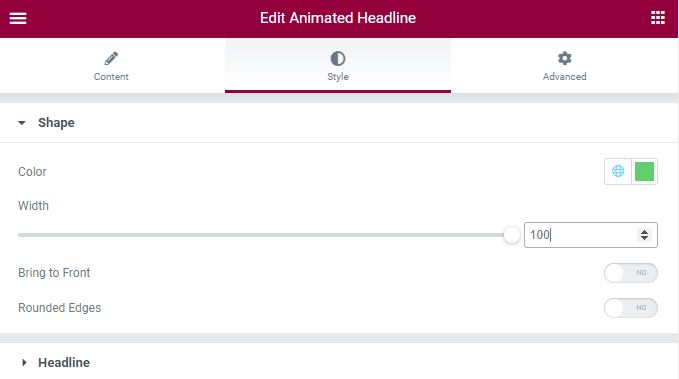
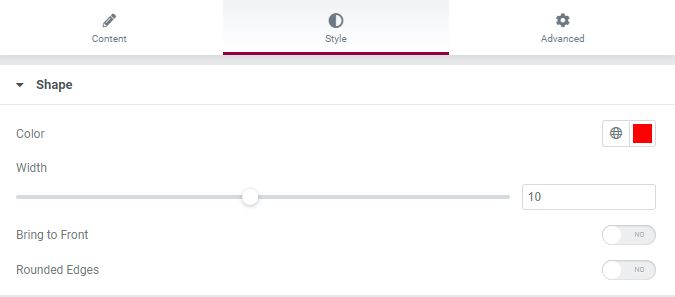
You can change the color for the shape, drag the slider to change the width of your animation or input the pixel number in the text box.
If you want to bring the animated shape in front of the text, you can enable the toggle “Bring to Front” and also the rounded edges around the end in the headline.
It is in this tab you can also change the color of your animated shape.
If you want to style the headline, click Headline in the Style tab.
This is what a pixel width of 100 looks like for an animated circle headline.
![]()
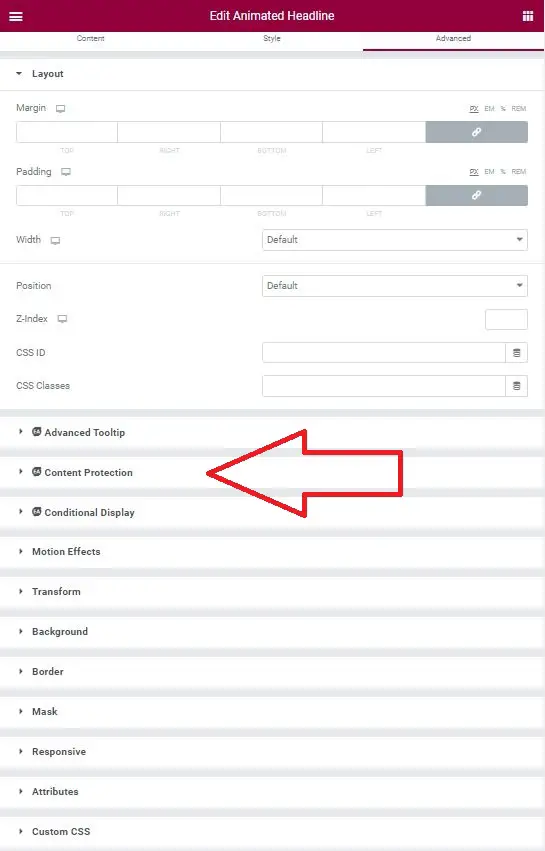
It is in this tab that you can further customize your animated headline with custom CSS, motion effects, and a bunch of other effects.
If you have Elementor add-on plugins that allow for further customization of your elements, they would also show up here. For example, we have Elementor Essential Add-ons so Conditional Display is available in the Advanced tab.
How to Do Elementor’s Animated Heading with Red Marker
To do Elementor’s red marker animated heading, take the following steps:
Step 2 – Change color and width in Style tab
How To Change Animated Headline Speed
The speed of your animation is something you have to think about. You don’t want it too fast because the readers won’t be able to read it fast enough. You don’t want it too slow either as they could browse through the rest of the page before seeing the animation. So you need to check the animation speed yourself and make necessary changes. The default is 2500 milliseconds (ms). But you will need to adjust it longer or shorter depending on your headline length.
Advanced Settings for Animated Headlines You Didn’t Know About (Probably)
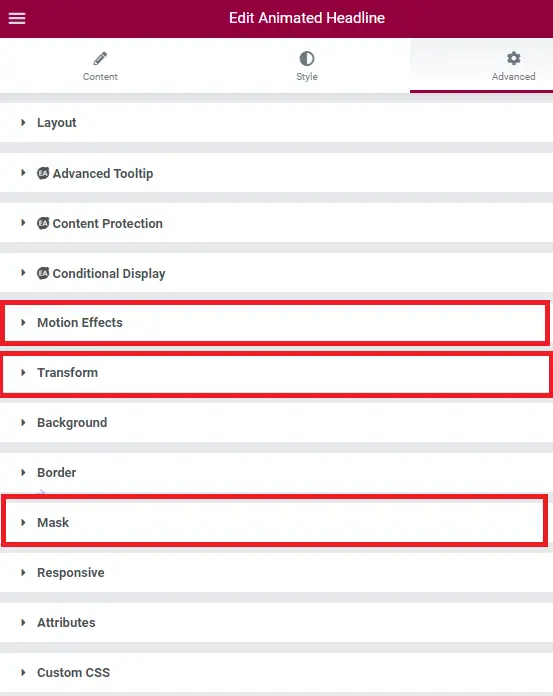
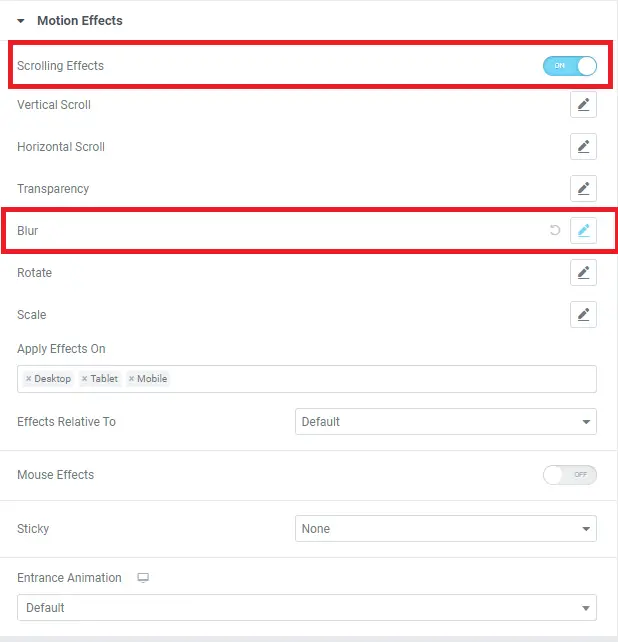
Motion effects are a great way to give your animated headline a bit of character. Motion Effects are special effects that happens when the user scrolls or moves their mouse over to the element. It is here that you can set the entrance effect of your animated headline too (such as fade in/fade out, bounce, etc).
Transform effects are visual effects that rotate or cross the x/y axis of the screen.
Masking effects are simply effects that mask part of your headline.
How to Add the Blur Effect to Your Animated Headline
We hope that this article helps with explaining how to use the animated headings element in Elementor. For more Elementor tutorials, head to our tutorial section.