
How to Set Background Images in Elementor (3 Ways)
There are three ways to set background images in Elementor. They all serve a different purpose so which method you choose depends on what you’re trying to do.
Add Background Image for Single Page/Post (Method 1)
Use this method if you are trying to set the background image of only a single post or page.
Step 1: Go to the post/page you’re trying to set the image for.
![]()
Step 2: Go to the Settings of that page/post
You can do this by clicking the cog icon in the lower left of the editor Panel.
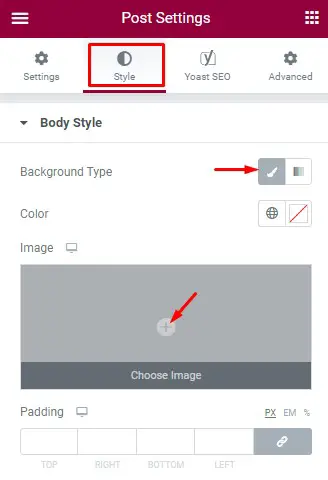
Step 3: Click the Style tab and choose your image.
Click the pencil icon next to Background Type.
Under Image, click the + sign and choose your image.
After choosing a background image, options related to the image settings will be added, such as position, attachment, repeat, size, and padding.
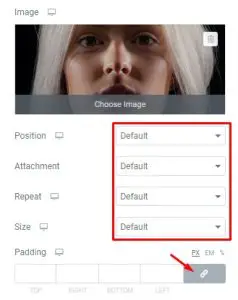
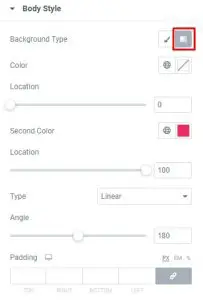
However, if you choose the gradient option, you’ll assign two different colors that will blend.
When you`re happy with the results, save the changes.
If you want to set up a background image or color for all the pages at once, follow the steps below.
Set Background Image for Entire Website (Method 2)
To set a background pattern for the body of the entire website, one that will be applied to all the pages. This will only be applied to within the body tag of the site.
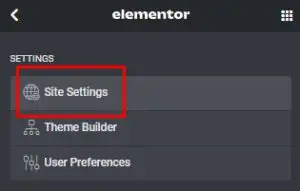
Step 1: Click the Burger Icon on the top left bar to open the global site settings. You can get here by editing any of your posts or pages.
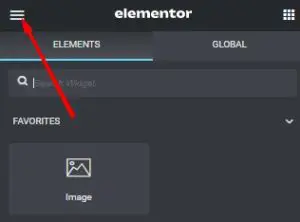
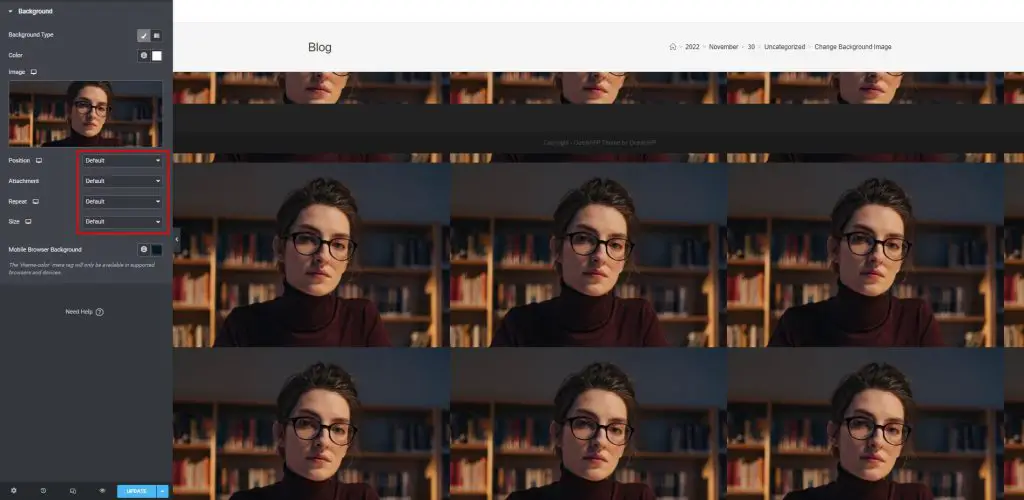
Step 2: Click on Background
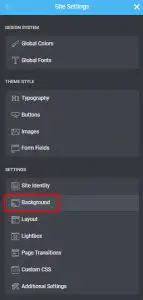
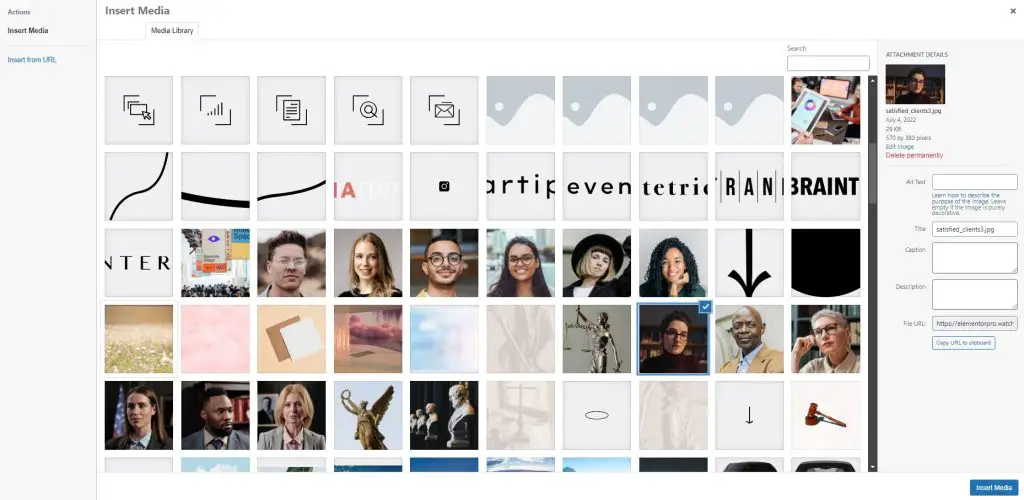
Step 3: Set your chosen background by using the Media Library
Step 4: Set up the background as you’d like by using the position, attachment, repeat, and size settings.
Add Background Images to a Specific Section or Container (Method 3)
Use this method if you’re only trying to add a background image to a specific section or container of a post/page.
Step 1: First, navigate to the Elementor page builder. Log in to WordPress Dashboard and open the Pages > All Pages tab on the left. Open one of the pages built with Elementor for editing.

Step 2: Click on the Edit With Elementor button to proceed to the Elementor editing page.
![]()
Step 3: Hover over the section with the background you want to change. A thin blue frame will appear around it. You’ll also be able to see the section options (the icons) at the top of the frame.
![]()
Note: From Elementor version 3.8 onwards, the Inner Section element has been replaced with the Containers element. So instead of the thin blue frame, there is a gray rectangle that appears and you can just select Edit Container and it will do the same thing.
Step 4: Click on the Edit Section/Container icon to open the editing block on the left. Here switch to the Style tab.
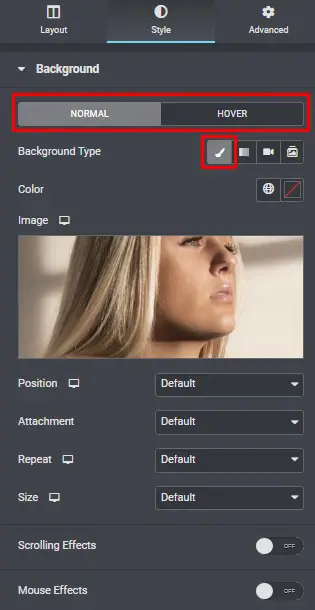
Step 5: Locate the Background block. Here you can set your custom background for this section.
Switch from Normal to Hover mode to apply different background options for the section when someone hovers over it. You can customize both, or use the same background for the section. It’s up to your needs.
Now you can select the background type. There are three types of section backgrounds:
- Classic — represents the classic color or image background. Here you can select the color to apply to the section background, or select the image from the Media Library. You can as well select the custom image, position, attachment, repeat settings, and the necessary image size.
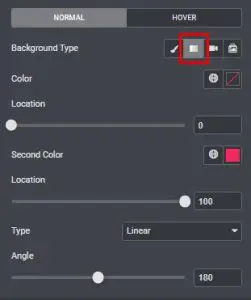
- Gradient — switch to the Gradient mode to apply the gradient for the section background. Here you can select any two colors to use as a gradient and pick the needed location, specify the necessary gradient type and angle.
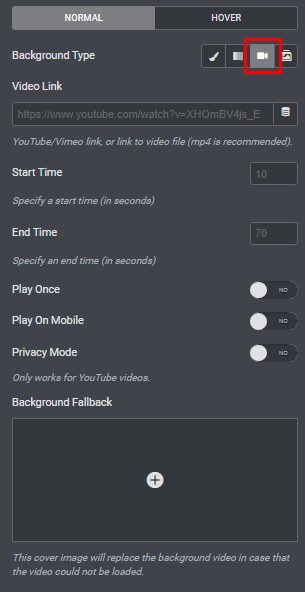
- Background Video — here you can add the video as a section background. You can also use a Background Fallback image (select it from the Media Library) to replace the video on mobile or tablet devices.
Using Elementor’s Background Overlays in Sections or Containers
The background overlay is another nifty feature in Elementor. There are a few reasons to use background overlay, according to Elementor.
- Conceal poor-quality images
- Highlight other elements of your site or page
- Adjust the color of your image to match your site
- Get more color balance by filtering your background image
Here you can specify overlay for Normal and Hover modes. Switch between them to customize both.
The background overlay can be set at the section or container level. You can get there by clicking Edit Section or Edit Container and going to the Style tab. It will be the setting right underneath Background.
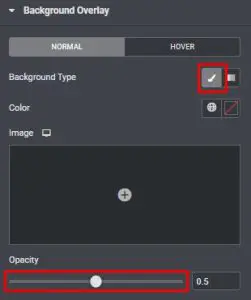
In the Background Type, you can select which type of background you want to use. It can be a classic or a gradient background.
Classic — here you can define the color or the image you want to use as the overlay for your main section background.
Gradient — here you can select two colors to combine when creating a gradient, and the color location, gradient type, and angle.
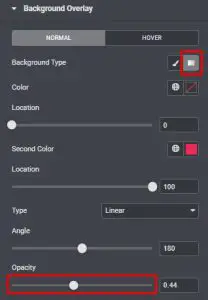
Use the Opacity option to set your custom overlay opacity. To select the suitable opacity you need to drag the controller rightwards or leftwards.
Website Background Images Best Practices
If you’re using background images like it’s your MySpace account from 2005, you’re doing it wrong. A background image should not be an eyesore and should not detract away from the content of your site. Instead it should complement it. Here are some best practice tips for using background images on your site.
1. Think about using a solid color.
A solid color is always a good option as a background. Make sure that the solid color stands in high contrast to your text or content. Otherwise, it would be too hard to see.
2. Think about color contrasts.
The background color should not blend with your content or the rest of your site. Canva has an excellent color wheel web app that you can try to pick contrasting (complementing) colors. Just enter in your site’s main color and it will give you the complementary color you should use.
3. Use the appropriate size.
At a bare minimum, your background image should be 1024 x 768 pixels. However, the ideal size is 1920 pixels wide x 1080 pixels high.
4. Think about different screen sizes.
Always check how it looks on different screen sizes. You can do this in Elementor easily in the editor by going to Responsive Mode.
![]()
Use high-quality images, but make sure the file size is small(ish). Because the resolution will be high, it is important to use high-quality images while still having a small file size. For this, JPG and PNG are both appropriate.


