
Step 1: Locate the Icon Box Widget
- Go to the left side of your screen where the menu bar is located.
- Search for the “Icon Box” widget.
- Drag and drop it into the desired section on your web page.
![]()
Step 2: Customize Your Icon
In the icon library, choose the icon that best represents your content.
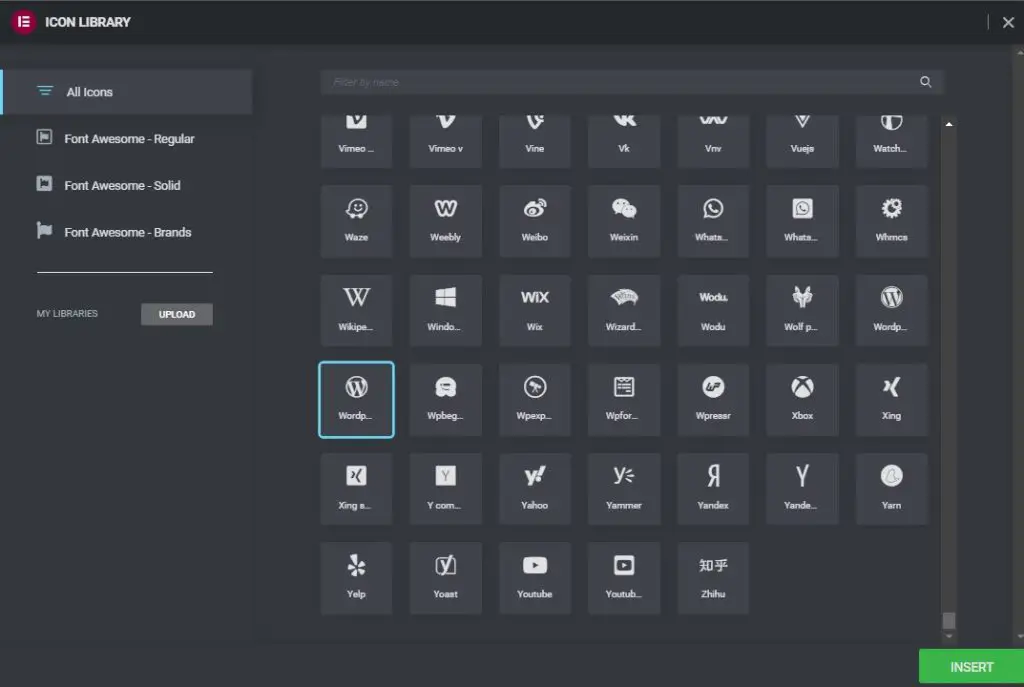
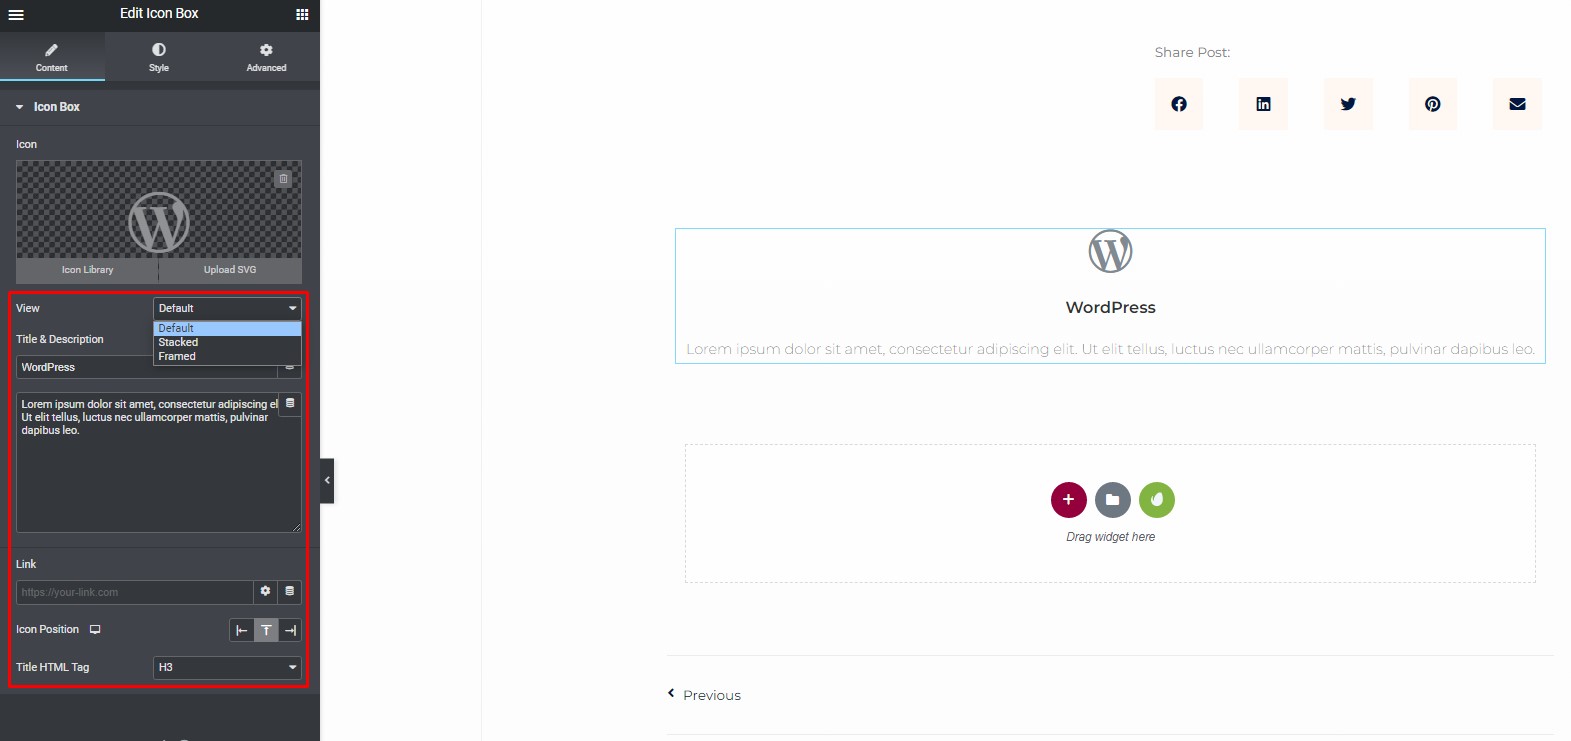
Set the icon’s view to “Default,” “Stacked,” or “Framed.”
- “Default” is the standard icon view.
- “Stacked” includes a background behind the icon.
- “Framed” adds a frame around the icon.
Provide a title and description for your Icon Box.
Add a link and specify whether it should open in a new window.
Choose the position of the icon: left, top, or right. (On mobile view, it will remain centered)
Select the HTML tag for the title, such as H1, H2, H3, H4, H5, H6, Div, Span, or P.
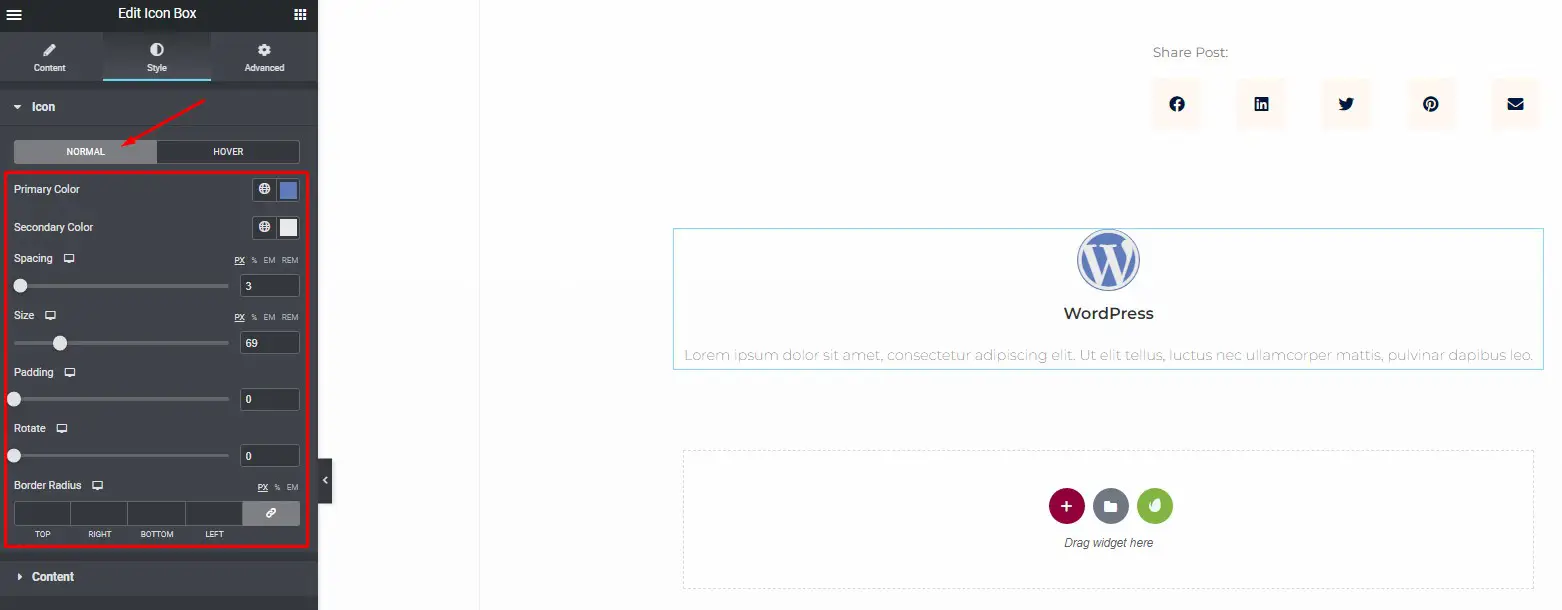
Step 3: Style Your Icon Box
Icon (Normal)
Customize the primary color. If you’ve selected a stacked or framed icon, a secondary color option will be available.
Adjust the spacing between the icon and the heading using the “Icon Spacing” option.
Change the size of the icon using “Icon Size.”
Rotate the icon as desired.
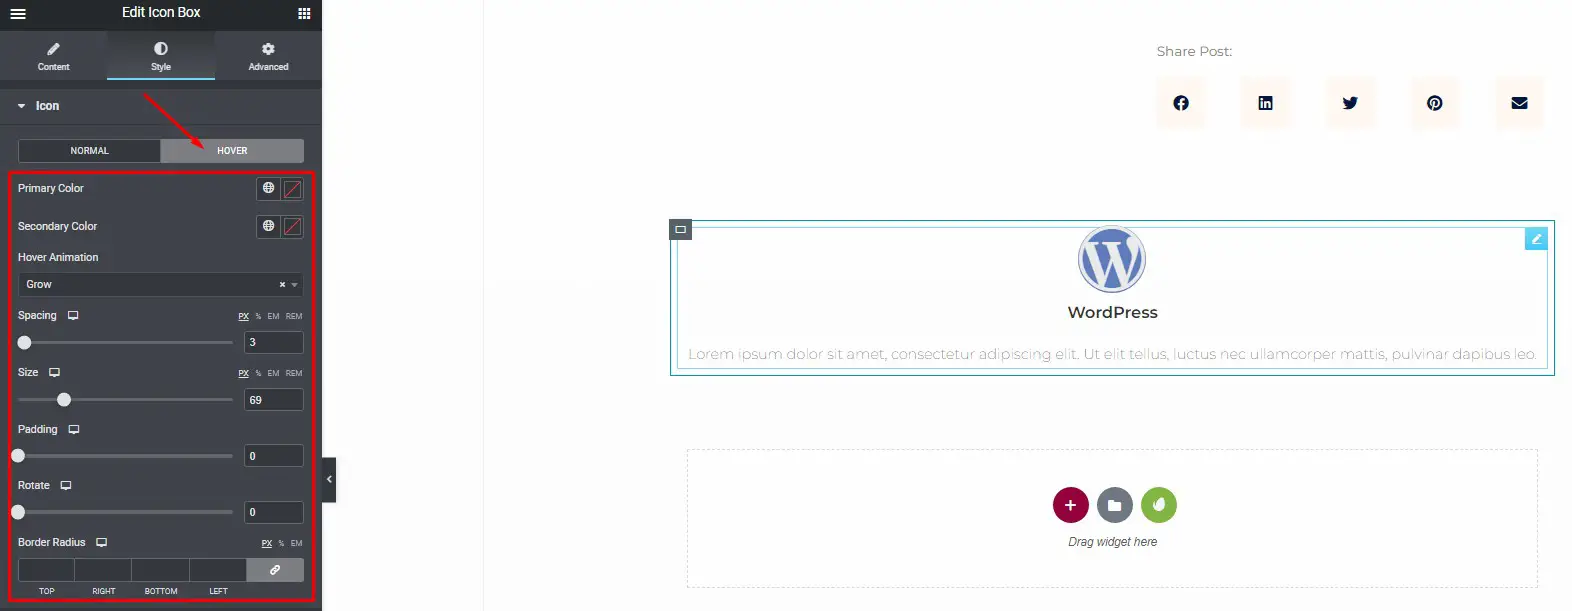
Icon (Hover)
Define primary and secondary colors for the hover effect.
Choose from a wide range of animations to apply when the user hovers over the icon.
Content
- Align the content to the left, center, right, or justify it.
- Vertical align options include top, middle, and bottom.
- Set the spacing between the title and description using “Title > Spacing.”
- Change the title’s color and typography.
- Change the description’s color and typography.

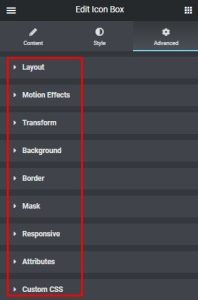
Step 4: Explore Advanced Options
If you want to add motion effects, happy effects, a background, or make your Icon Box responsive and more captivating, Elementor’s “Advanced” features have got you covered. These options can help you add an extra layer of interactivity and visual appeal to your Icon Box. Click on the “Advanced” tab to access these advanced settings.
Once you’ve fine-tuned all your settings, your stunning icon box will be ready to publish on your website. Simply hit the “Publish” button to make it live and engage your audience with beautifully designed and informative Icon Boxes.
Adding Custom Icon Libraries in Elementor
Elementor, a popular website builder, offers a fantastic array of icons through its default Font Awesome 5 and 6 icon library. However, sometimes, you may find yourself in search of more specialized or unique icons that aren’t available in the default library. The good news is that Elementor allows you to expand your icon options by adding custom icon libraries. In this step-by-step guide, we will explore several ways to enhance your Elementor icon library with additional icons that perfectly suit your project’s needs.
Font Awesome Pro subscription
Step 1: Access your Admin Dashboard
Begin by navigating to your website’s Admin Dashboard.
Step 2: Go to Elementor Settings
In the Admin Dashboard, click on “Elementor,” and then select “Settings.”
Step 3: Access Integrations
Scroll down to the “Integrations” section.
Step 4: Enter your Font Awesome Pro Kit ID
To activate Font Awesome Pro, you’ll need to enter your Font Awesome Pro Kit ID in the designated field.
Step 5: Save Changes
Don’t forget to save your changes. Now, when you edit your page and look for icons, you’ll have access to Font Awesome Pro icon families.
Uploading custom Fontello, IcoMoon, and Fontastic icon packs
If you have custom icons or need to import unique images as icons, Elementor allows you to upload custom icon packs in a few simple steps:
Step 1: Navigate to Elementor Settings
Start by accessing your website’s Dashboard and go to “Elementor.”
Step 2: Visit the Custom Icon Section
Within Elementor settings, find the “Custom Icon” section.
Step 3: Upload Your Custom Icon Pack
Upload a zip file containing your custom icon pack. Elementor supports Fontello, IcoMoon, and Fontastic, allowing you to create and use icons that are tailored to your specific needs.
Use third-party plugin icon packs
Another way to expand your icon library in Elementor is by using third-party plugins that offer additional icon packs. Two popular options are “Exclusive Addons” and “Skyboot.”
Here’s how to add these icon packs to Elementor:
Step 1: Install the Third-Party Plugin
In your WordPress dashboard, go to “Plugin” and select “Add New.”
Alternative Method: If you encounter issues installing through the WordPress dashboard due to a large file size, you can upload the plugin via your website’s File Manager in your Cpanel or other backend software. If you’re unsure how to do this, you can follow the instructions provided in a tutorial video.
By following these simple steps, you can greatly expand your Elementor icon library with the icons you need to make your website truly unique.


