
Introduction
When it comes to creating a stunning, full-width page on your WordPress website, you need a powerful tool to help you achieve your design goals. Thrive Architect, a popular page builder for WordPress, is here to make this process as smooth as possible. In this comprehensive tutorial, we will walk you through the steps to create a full-width page using Thrive Architect. We’ll explore not only the “how” but also the “why” to ensure you understand the importance of full-width pages for your website’s success.
Understanding Thrive Architect
Thrive Architect is a WordPress plugin designed to simplify the process of building and customizing pages. With its intuitive drag-and-drop interface, even those with limited technical skills can create professional-looking websites.
Step-by-Step Guide to Creating a Full-Width Page
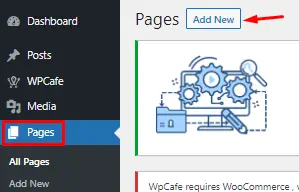
Step 1: Access Your WordPress Admin Dashboard
To get started, navigate to the “Pages” section within your WordPress admin dashboard.
Step 2: Choose the Page to Edit
Locate and click on the “Edit” button corresponding to the page you want to set to full width.

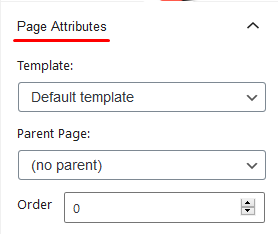
Step 3: Explore Page Attributes
On the right sidebar, find the “Page Attributes” section to access various page settings.
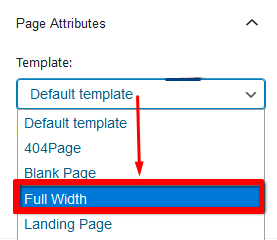
Step 4: Select the Full-Width Template
Under the “Template” section, click the drop-down menu and select “Full Width” for the page you’re modifying.
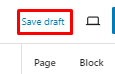
Step 5: Save as Draft
After selecting the full-width template, don’t forget to save your changes by clicking the “Save Draft” button. This ensures that your page will now be using the full-width layout.
Creative Design Ideas for Full-Width Pages in Thrive Architect
Full-width pages offer a canvas for creativity, enabling you to design unique and visually appealing layouts. In this guide, we’ll explore creative design ideas for full-width pages in Thrive Architect.
Access Thrive Architect
Navigate to the page where you want to create a full-width design or create a new page by going to “Pages” > “Add New.”
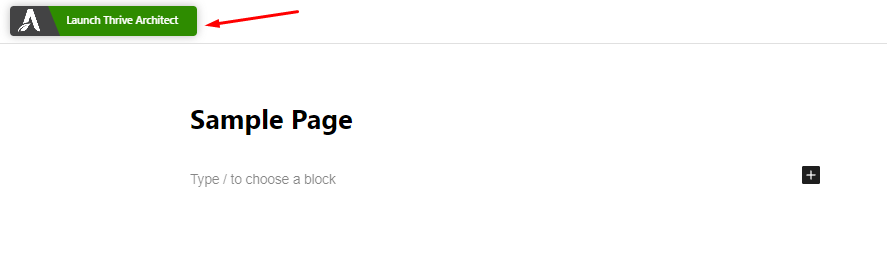
Click the “Launch Thrive Architect” button to launch the Thrive Architect editor.
Choose a Full-Width Layout
- To create a full-width page, you’ll need to start with a blank canvas or an appropriate template.

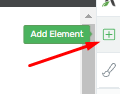
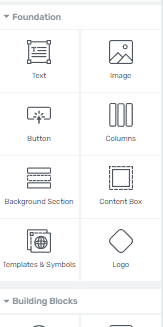
- Click the “+” button to add a new element.
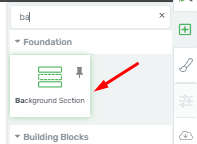
- Choose “Background Section”. This will create a full-width section where you can add your content.
Adding Content Blocks
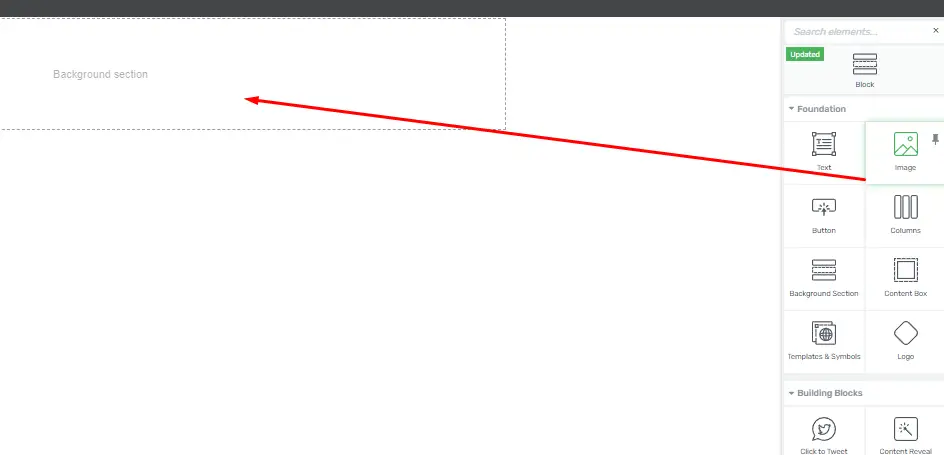
- With your full-width section in place, you can start adding content blocks. Click the “+” button again to add elements such as text, images, buttons, and more.
- Drag and drop these elements into the full-width section to start building your page content.
Customizing Content and Design
- Click on any element within the full-width section to access its settings and customize its appearance.
- You can change text, fonts, colors, and spacing as needed to match your design ideas.
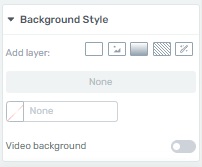
- To adjust the section background, click on the full-width section and go to “Background Style” to choose colors, images, gradients, or videos.
- Experiment with different design elements, such as adding borders, shadows, or animations, to make your full-width page more creative.
Layout and Structure
- To create a visually appealing full-width design, consider the layout and structure of your content. Use columns and rows within the full-width section to organize your content.
- Adjust column widths, margins, and padding to achieve the desired look.
- Experiment with column backgrounds and shapes to add creative touches.
Responsive Design
- It’s important to ensure your full-width page looks great on all devices. Thrive Architect provides responsive editing options.
- Click on the device icons in the editor to preview and make adjustments for desktop, tablet, and mobile views.
Save and Publish
- Once you’re satisfied with your creative full-width design, click the “Save Work” button to save your changes.
- Click “Exit” to leave the Thrive Architect editor.
- Finally, click the “Publish” or “Update” button to make your full-width page live on your WordPress website.
Responsive Design Tips for Full-Width WordPress Pages in Thrive Architect
Step 1: Access Thrive Architect
Log in to your WordPress admin dashboard.
Go to the page that you want to work on.
Click on the “Edit with Thrive Architect” button.
Step 2: Enable Full-Width Layout
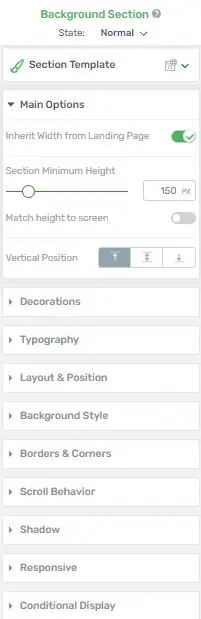
Once in Thrive Architect, select the section or element you want to make full-width.
Go to the “Main Options” section on the right sidebar.
Check the option labeled “Full Width.”
Step 4: Configure Tablet and Mobile Views
Click on the responsive view icons at the bottom of the editor (desktop, tablet, and mobile icons).
Adjust the elements’ positioning, sizing, and spacing as needed for each view.
Step 5: Test Responsiveness
Click the preview button to see how the page looks on different devices.
Make any necessary adjustments to ensure content displays correctly.
Step 6: Optimize Images
Use appropriately sized images to reduce load times on mobile devices.
Thrive Architect provides an image optimizer tool; use it to compress images further.
Step 8: Check Page Speed
Use tools like Google PageSpeed Insights to evaluate your page’s loading time.
Implement recommendations to improve speed if necessary.
Step 9: Monitor and Adjust
Regularly check your page’s performance and user experience on various devices.
Make any necessary adjustments to maintain optimal responsiveness.


