

The Difference in Purpose of a Post Vs. a Page
A post is an article on your website written much like print media such as newspapers or magazines. It is meant to function as the main infrastructure of your written content.
Posts also have built-in features that allow you to organize them more effectively:
- Author credit (you can include an author picture or avatar and a short biography)
- Publication date
- Categories
- Tags
Pages on the other hand have none of those features. Pages can have a hierarchal structure but most people don’t use them for that. Pages are used for:
- Static content (a resource page, contact form, About Us Page, etc)
- A page to display dynamically queried content
- An archive page to store your latest posts
- Products of an e-commerce store
- A landing page
- A sales page
So in summary, use a post if you are blogging or writing articles. Otherwise, use a page.
How Do I Create A New Post Or Page In Elementor
The Elementor Editor and site builder work in conjunction with WordPress. When you create a new page to edit with Elementor, you first need to create the page in WordPress and then select Edit with Elementor.
Create A New Page
Step 1: From the top left side of the WordPress dashboard, click Pages > Add New.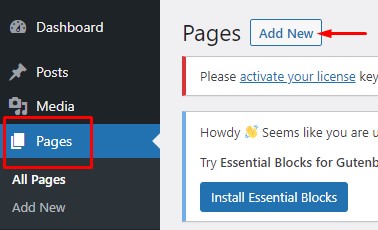
Step 2: Name your page and save it as a draft.

To edit your page go to the top, click on Edit with Elementor.
![]()
Step 3: Add in the Container element.
Then add in any other elements and all your content inside this Container.
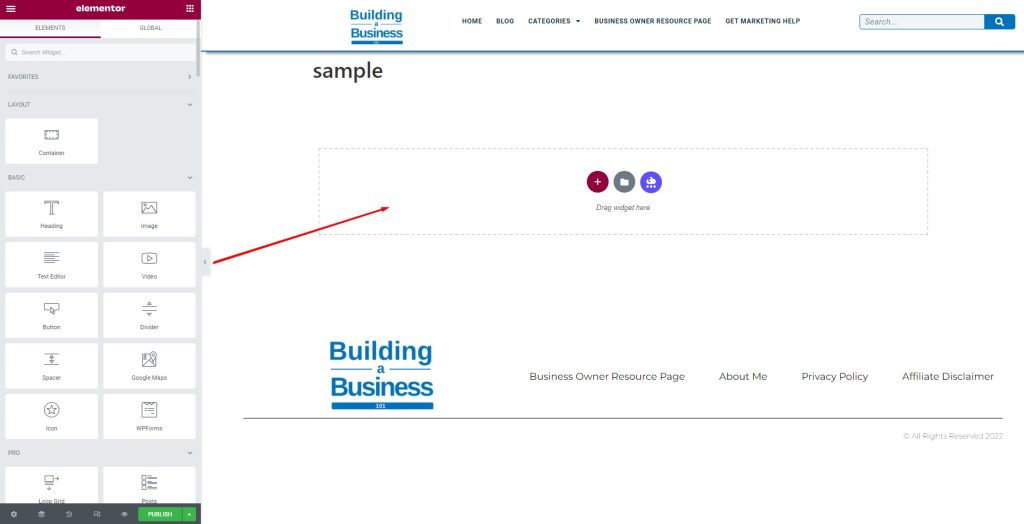
Once the “Edit with Elementor” button has been clicked, the Elementor page builder will come up and you will see the complete editing area. This includes the widget panel, editing area, adding a new section, and adding a new template area.
Now you can edit your newly created page using the elements and the other functions.
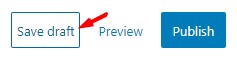
Save Draft
After you’re done designing your page, you can save your work as a Draft. That means that you will not ruin your published page while saving your work as a Draft.
Step 4: When you are ready to go live, press Publish.
Go to the bottom panel:
Click the arrow next to Update/ Publish
Choose Save Draft
![]()
Create a New Post
Creating a new post is a very similar process with just a couple of extra selections.
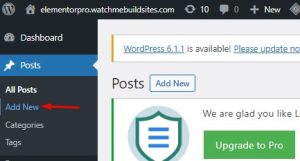
Step 1: Click the Post tab and click Add New
Step 2: Enter The Title Of Your New Post
Put the title of your post in the first box at the top
Step 3: Click “Edit With Elementor” as you would with creating a new page.
Step 4: Add a new Container.
Then fit whatever elements inside the Container you want to use.
Step 5: Choose A Feature Image
The featured image will usually be shown at the very top of the post. It will also be your post`s thumbnail, meaning wherever this post appears, the thumbnail image will appear along with it.

You can upload a new image or use an existing image from your media library.
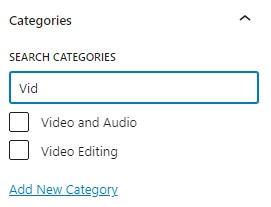
Step 6: Select tags and categories
Tags and Categories are located on the right side of a post.
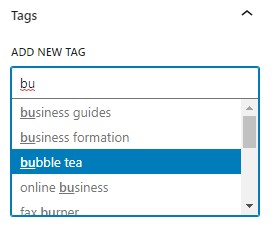
Categories are usually broader topics whereas tags are generally a bit more specific. Don’t be too liberal with your categories or tags, especially when starting out. It will make for a very messy site.
Step 7: Hit Save Draft/ Publish
Hit Save Draft, Drafts are saved in WordPress but not visible to any of your site visitors. — So there you have it! Creating new blog posts in WordPress is easy once you’ve done it a few times.
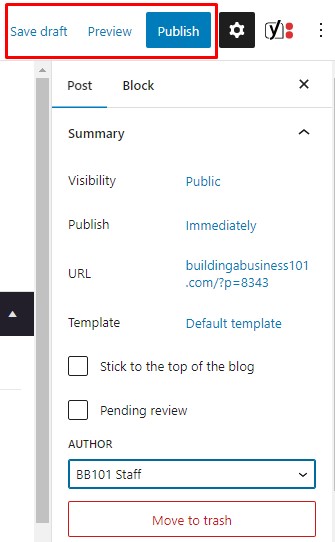
You can preview what your post will look like on your actual site by clicking the Preview button in the sidebar. Once you’re happy and your post is finished, click on the blue publish button on the right-hand side and your post will be live!
How To Create A Custom Blog (Archive) Page In Elementor
What Is A Blog Page?
We just talked about creating a blog post. Now let’s talk about a blog post page, or simply a blog page.
A blog page is a static page that includes all your blog posts. It uses Elementor’s archive template (or element) to dynamically show the latest blog posts on a single page.
By default, WordPress shows posts in reverse chronological order, showing the newest posts first. But the cool thing about Elementor is that you can easily design your blog page any way you want and to show any order you want.
Creating Your Blog Archive Page to Display Your Latest Posts
There are several ways to do this, such as creating an Elementor Archive page template or using Elementor’s loop builder. But in this tutorial, we will show you the easiest way to go about creating a page to display your latest blog posts.
Step 1: Create a new page and open it up in Elementor.
You can title it whatever you want, such as Blog or Latest Posts.
Step 2: Open Up the Elementor Editor by clicking “Edit with Elementor”
Step 3: Drag in the Container element.
Step4 : Then drag any of the following elements to put inside the Container element:
- Post Grid
- Archive Posts
- Posts
All three will display your latest posts by default.
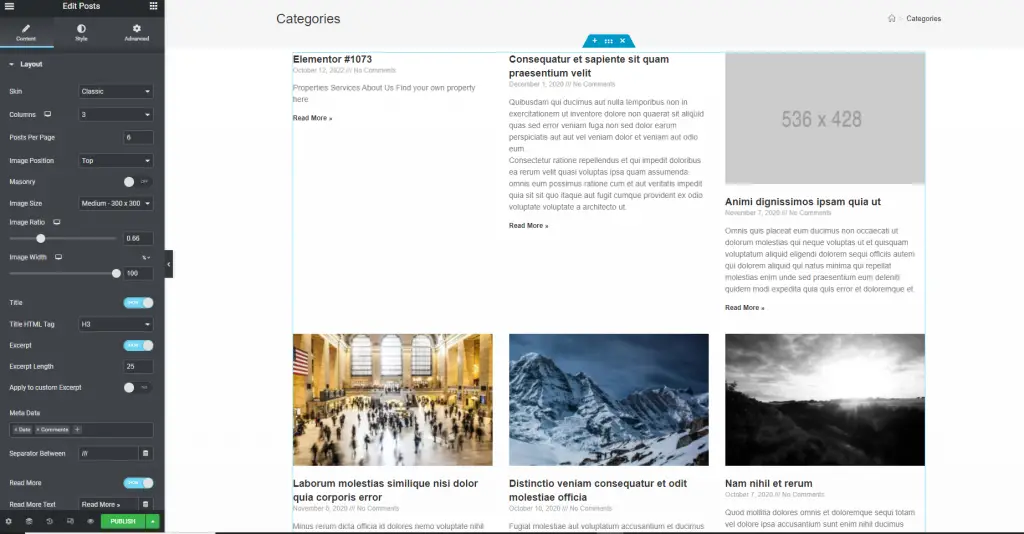
Above is just an example of what it pulled for one of the test sites. Some didn’t have featured images.
You can then modify what you want the posts to look like and how you want it to display. You can customize the number of posts to display per page, what information is shown (such as date and author), and the thumbnail size. You can also rearrange elements, such as headings, images and the lenght of your excerpts.
Alternatively, you can use Elementor’s new loop grid element to craft something a little more advanced if you run a site with custom fields. For instance, if you have a food recipe site and you only want to display the latest recipes with prep time less than one hour.
Once you’ve finished customizing your page, click ‘Publish’ to make it live!


