

The Sharing Buttons Widget allows you to add share buttons to any WordPress page or post. The Share Buttons Widget allows you complete control over the design and style of your Share Buttons. In this Elementor tutorial, we are going to walk you through adding share buttons. But before setting your share buttons, be sure to read about the best practices for adding the share buttons widget below.
Introduction
In today’s digital age, sharing content on social media is a powerful tool for website owners and content creators. By allowing your audience to share your content with their networks, you can reach a wider audience and increase your website’s traffic. Elementor is a versatile and user-friendly WordPress page builder that allows you to add social media share buttons with ease.
What Are Share Buttons and Why Are They Important?
Share buttons, also known as social sharing buttons, are clickable icons that allow visitors to share your content on various social media platforms, including Facebook, Twitter, LinkedIn, Pinterest, and more. These buttons are essential for increasing your content’s visibility and driving more organic traffic to your website.
Choosing the Right Social Media Share Buttons
Before you start the integration process, it’s crucial to select the right social media share buttons for your website. Consider your target audience and the platforms they use the most. You can find a variety of share button plugins for WordPress, each offering different customization options and features.
Adding Share Buttons to Your Elementor Page
Here’s how to add share buttons to your Elementor page:
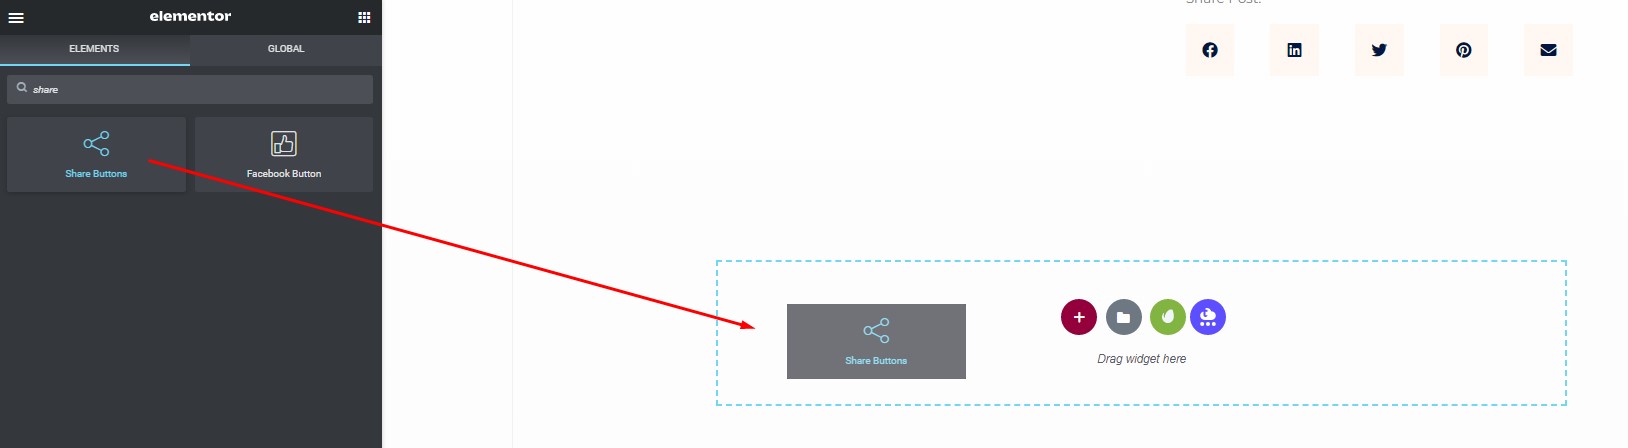
Step 1: Add the share buttons widget on the page.
Drag and drop it into a new section
Positioning Share Buttons on Your Page
The placement of share buttons on your page is crucial. Ensure that they are easily accessible to your visitors, typically near the top or bottom of your content. You can also choose to display them as floating buttons that move along with the page scroll.
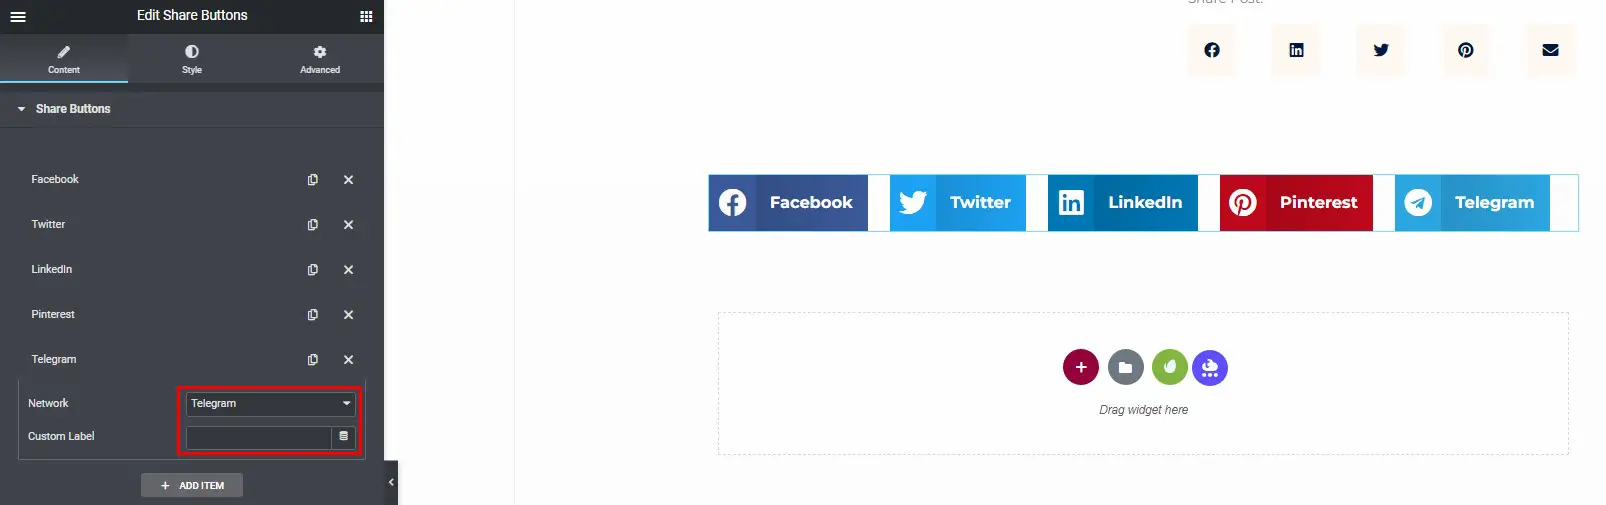
Step 2: Set the Elementor Share Buttons
Under the share buttons
1. Click add the item to add a social network.

2. Choose a social network from the Network dropdown menu.
3. In the custom label, use the Dynamic Tag choices or type the desired text into the area.
4. In the view, select Icon and Text, Icon only, and Text only.
5. Show or hide the label.
6. Select your skin Social Buttons Skin.
7. Choose the Shape of Your Social Buttons.
8. Select the number of columns.
9. Set the Alignment of the Social Buttons.
10. Sets the URL for the Social Buttons. Using the drop-down selector, you may pick between the current page and a custom one.

Customizing Share Button Styles
You can customize the appearance of your share buttons to match your website’s design. Elementor provides various style options to help you create visually appealing share buttons.
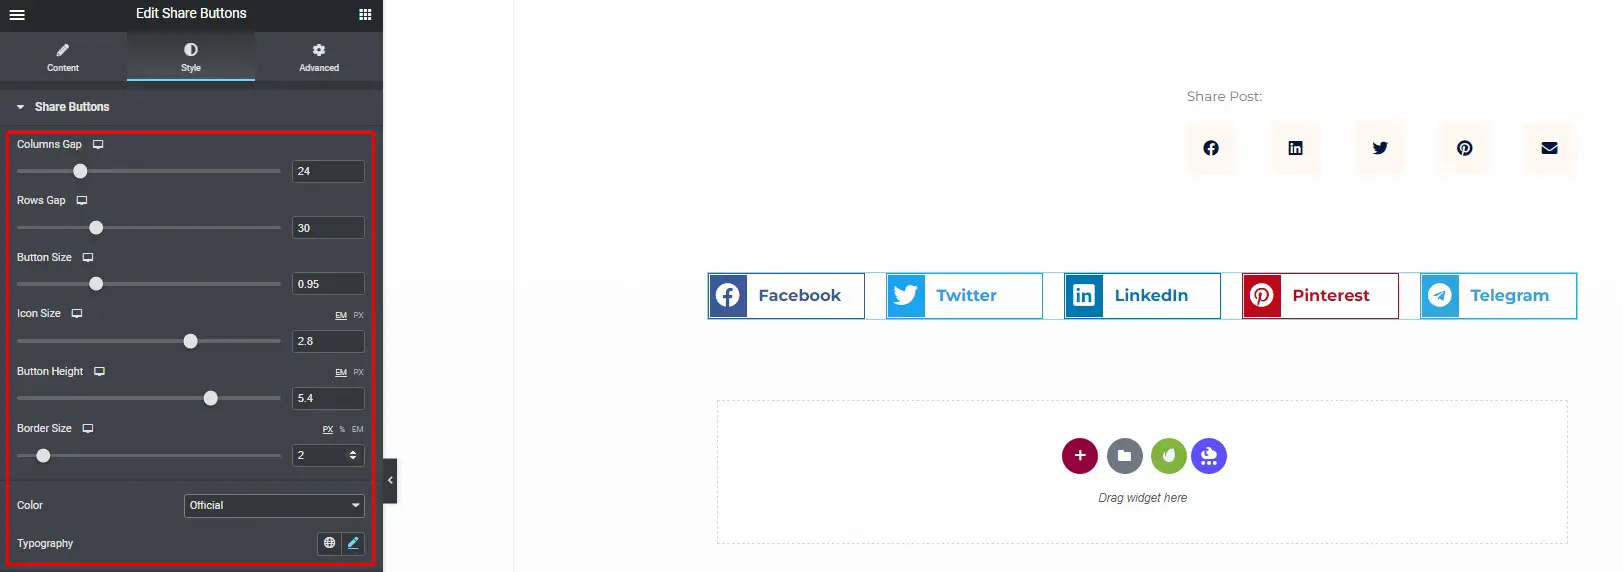
Step 3: Customize Share Buttons Styles
You can change the styles of the share buttons under the Style tab.
To customize the share buttons
1. Set the space between the columns of each button.
2. Set the amount of space between each row of buttons.
3. Change the size of the buttons.
4. Change the size of the icons.
5. Adjust the button height.
6. Choose either the official button color combination or specify a custom color combination, with Primary Color for the button background and Secondary Color for the button text. Custom colors can be chosen for both the Normal and Hover modes.
7. Choose the typography for the button`s text.
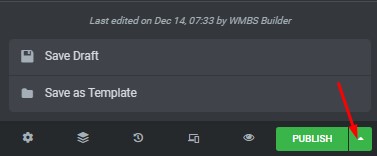
After you’ve finished configuring the widget, remember to save your modifications. To do so, go to the bottom of the page and click the Save Draft button.
Step 4: Set Button Actions
Elementor also allows you to define the actions associated with the share buttons. You can specify the share URL, title, and description for social media sharing. Make sure to tailor these details to your content.
Step 5: Preview and Save
Before publishing the changes, always preview your page to see how the customized share buttons look. If you’re satisfied with the results, click the “Save” button to save your changes.
Step 6: Publish Your Page
Once you’ve customized the share button styles to your liking, it’s time to publish your page. Your visitors can now easily share your content with the attractive share buttons you’ve created.
Customizing Share Button Styles in Elementor
Elementor is a powerful page builder that allows you to easily create and customize websites. One of the features it provides is the ability to add social share buttons to your pages. In this guide, we will walk you through the steps to customize the styles of these share buttons in Elementor.
Step 1: Open Your Page in Elementor
Navigate to the page you want to edit and click the “Edit with Elementor” button.
Step 2: Add a Share Buttons Widget
In the Elementor editor, search for the “Share Buttons” widget in the left-hand sidebar.
Drag and drop the widget to the section where you want the share buttons to appear.
Step 3: Configure the Share Buttons Widget
Click on the widget to open its settings in the left-hand sidebar.
In the settings panel, you will find options to configure the layout, style, and content of the share buttons.
Step 4: Customize the Button Styles
Under the “Style” tab, you will find options to customize the appearance of the share buttons.
You can adjust settings such as button size, icon size, color, typography, and more to match your website’s design.
Step 5: Preview and Save
After customizing the share button styles, click the “Preview” button to see how they look on your page.
If you’re satisfied with the changes, click the “Save” button to save your page.
Step 6: Publish Your Page
Once you’ve saved your changes, click the “Publish” button in the Elementor editor to make the updated page live on your website.


