
Method 1: Dragging and dropping
The first method is relatively straightforward. All you need to do is click on the section you want to move and drag it anywhere else on your page.
If it is an Inner Section element, all you need to do is click on the six dots and drag it. If it’s another element (such as Text Editor), you can click on the pencil button on the right hand side and drag.
Method 2: Using Navigator to Move Sections
The second way is using the navigator. For those that are familiar with Adobe products, the navigator looks much like Photoshop or many other Adobe products. There are many ways to go to the navigator.
1- Click on the navigator button in the panels footer.

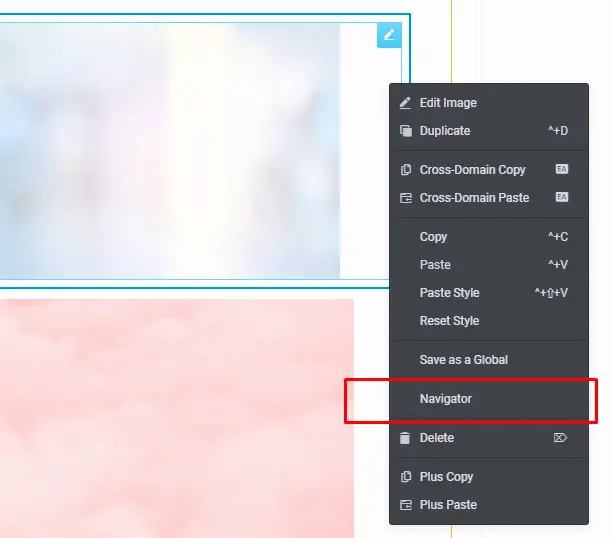
You may also right click any element and then select navigator. This will immediately take you to the desired element in the navigation tree.
2 – When the navigator is open, click and hold your left mouse button on the section you wish to move.
3 – Drag the section to its new place while keeping the mouse bought and pressed
4 – Then release the mouse button when you see the blue line appear at the proper location on the screen.

Method 3:Copying and Pasting
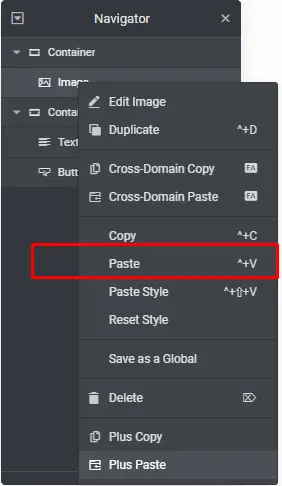
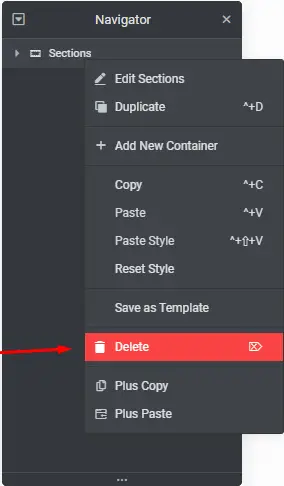
Elementor allows for right-clicking. That means you can copy and paste.
You right-click on the section you want to move and click “Copy” and then right-click where you want to paste the section and click “Paste.”
There is no “Cut” option in Elementor so you would have to delete the original section after pasting it.
Also keep in mind that Control + V on your Windows computer will not do the trick. You will actually have to right-click on the Elementor page and press “Paste.”