
Introduction
In the digital age, where visual content reigns supreme, overlaying text on images has become a powerful tool for communication and engagement. Whether it’s for social media posts, website banners, or promotional materials, adding text to images can convey messages more effectively and capture the audience’s attention.
Understanding Bricks Builder
Overview of Bricks Builder
Bricks Builder is a powerful website builder that empowers users to create custom websites with ease. It offers a wide range of features, including drag-and-drop functionality, customizable templates, and seamless integration with popular CMS platforms.
Features and benefits
Intuitive interface: Bricks Builder’s user-friendly interface makes it accessible to users of all skill levels.
Flexibility: With Bricks Builder, you have complete control over the design and layout of your website.
Responsive design: Websites created with Bricks Builder are optimized for all devices, ensuring a seamless user experience.
Importance of Overlay Text in Bricks Builder
Enhancing visual appeal
Overlay text adds visual interest to images, making them more dynamic and eye-catching. It allows you to convey messages and evoke emotions effectively.
Providing context
Overlay text provides context to images, helping viewers understand the purpose or message behind the visual content. It can be used to highlight key features, convey information, or tell a story.
Increasing engagement
Images with overlay text tend to attract more attention and engagement from viewers. By combining compelling visuals with informative text, you can effectively communicate your message and encourage action.
Steps to Overlay Text on Image in Bricks Builder
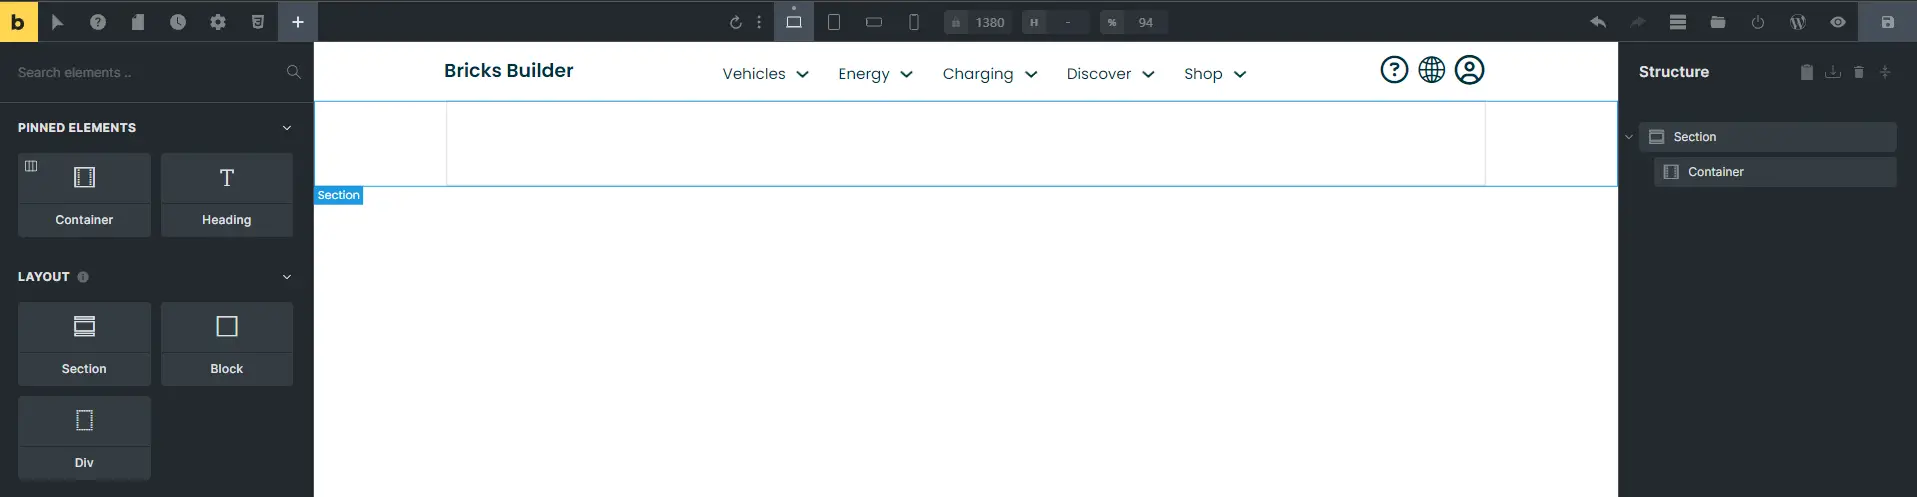
Step 1: Setting up the Section
Start by adding a new section to your website using Bricks Builder.
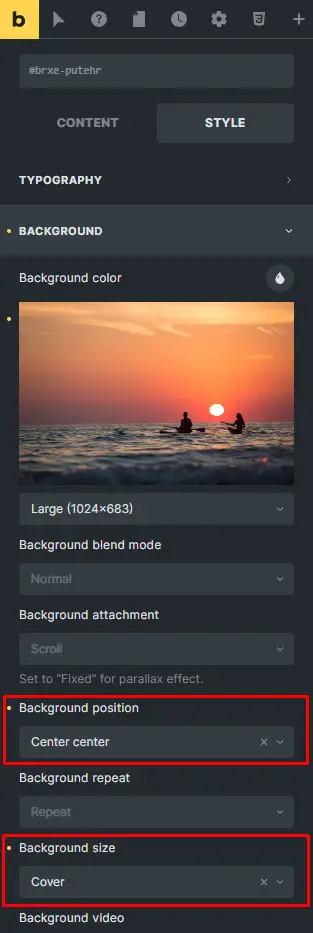
Step 2: Adjusting Background Settings
Within the newly created section, navigate to the “Background” settings. Choose an image and set the “Background Position” to “Center Center”. Adjust the “Background Size” to “Cover” for optimal display.
Step 3: Applying Gradient/Overlay
Move to the “Gradient/Overlay” settings. Select “Overlay” under the “Apply To” section. Add a color overlay by clicking “Add Color” and choosing a suitable color for your text overlay.

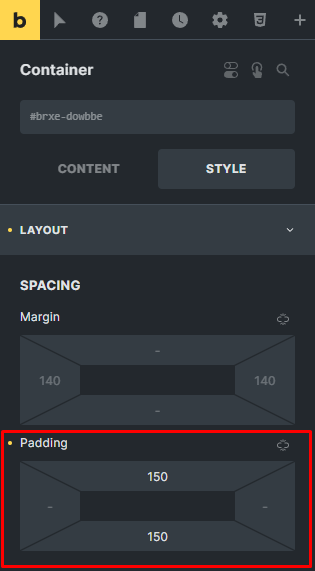
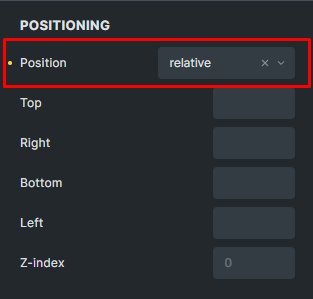
Step 4: Styling the Container
Navigate to the “Container” settings. In the “Style” tab, go to “Layout” and set the padding according to your design preferences. Choose “Relative” positioning for the container.
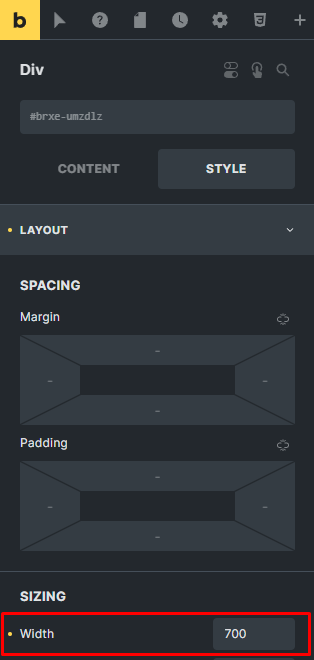
Step 5: Adding Div Element
Inside the container, add a “Div” element. In the “Style” tab’s “Layout” settings, adjust the width of the div to 700px for better text alignment.
Step 6: Styling the Heading
Include a “Heading” element within the div. Enter the name of your heading and go to the “Style” tab. Adjust the bottom margin to ensure proper spacing.

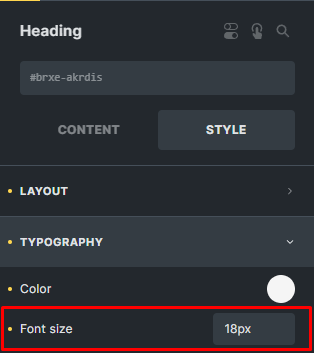
Step 7: Typography Settings
In the “Typography” section of the heading settings, choose a color and set the font size to 18px. Select a font that aligns with your website’s style and ensure readability on various screen sizes.
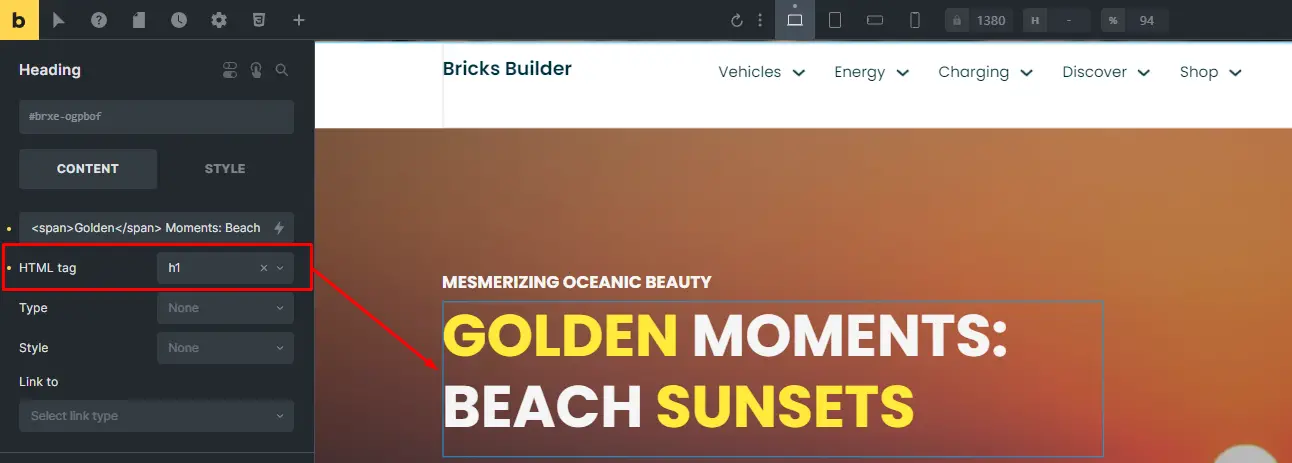
Step 8: Adding Another Heading
Add another heading by entering the desired text and selecting “H1” as the HTML tag. Adjust the padding and typography settings to enhance visibility and aesthetics.
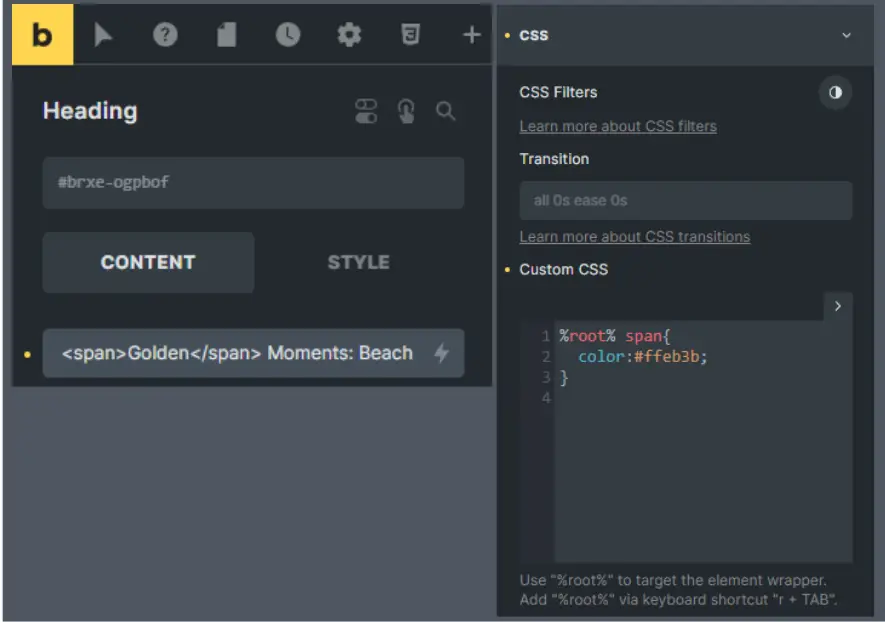
Step 9: Customizing the Second Heading
To make the second heading more appealing, apply custom CSS. Experiment with different styles to create a unique look that complements your website design.
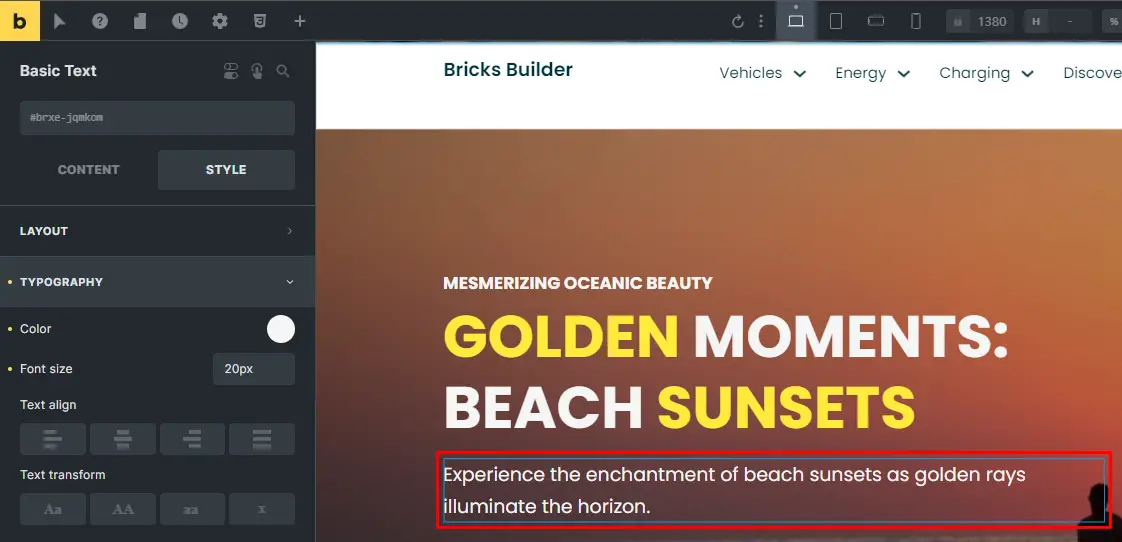
Step 10: Adding Basic Text Element
Include a “Basic Text” element below the headings. Enter relevant content and customize the typography settings to maintain consistency with the overall design.
After completing your design, it’s essential to save your work to ensure you don’t lose any progress.
Once saved, it’s a good idea to preview your work before finalizing it. Previewing allows you to see how your design will appear to your audience and ensures that everything looks as intended.
Tips for Creating Effective Text Overlays
Use Contrast for Readability: Ensure that the text stands out clearly against the background image by using contrasting colors or adding shadows.
Keep Text Concise and Clear: Avoid cluttering the image with too much text. Keep your messages concise and easy to read.
Choose Complementary Fonts and Colors: Select fonts and colors that complement the style and theme of the image for a cohesive look.
Best Practices for Overlay Text
Choosing the right font and size
Choose fonts that are legible and fit your design aesthetic. Avoid using font sizes that are too small or difficult to read.
Selecting appropriate text colors
Choose text colors that contrast well with the background image to ensure readability. Try out various color combinations to discover the ideal fit.
Positioning and alignment
Position your text overlay strategically to avoid obscuring important elements of the image. Align the text properly for a polished and professional look.
Conclusion
Overlaying text on images is a simple yet effective way to convey information and enhance the visual appeal of your website. With Bricks Builder’s intuitive tools, you can easily create stunning text overlays that grab attention and engage your visitors.


