

Introduction
In the digital age, the visual appeal of a website is crucial for engaging users. Elementor, a versatile page builder, empowers users to create stunning websites effortlessly. Hover effects, when integrated with Elementor, become a powerful tool for enhancing your website’s design interaction. This step-by-step tutorial will walk you through the process of adding hover effects to different elements on your webpage using Elementor.
Understanding Hover Effects
Hover effects refer to dynamic changes that occur when a user hovers their cursor over a specific element on a webpage. These effects range from subtle transitions to more pronounced animations, adding a layer of interactivity that captures the user’s attention.
Adding Hover Effects to Sections
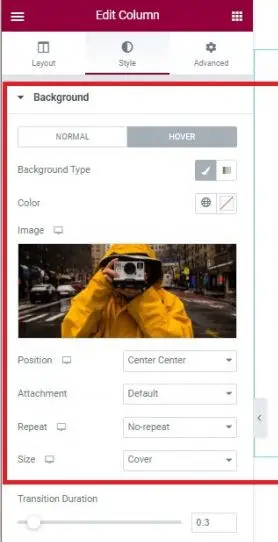
Step 1: Choose the Section
In the desired section of your webpage, click on it, and navigate to the left sidebar. Under the Style tab, look for the Normal|Hover option in the background. Choose ‘Hover’ and select a background type and color. Additionally, set the transition duration to control the speed of the transition effect.

Adding Hover Effects to Buttons
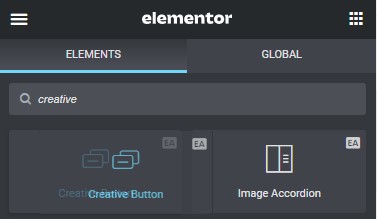
Step 1: Creative Button Widget
Search for the Creative Button Widget and drag it into an empty section on your page.
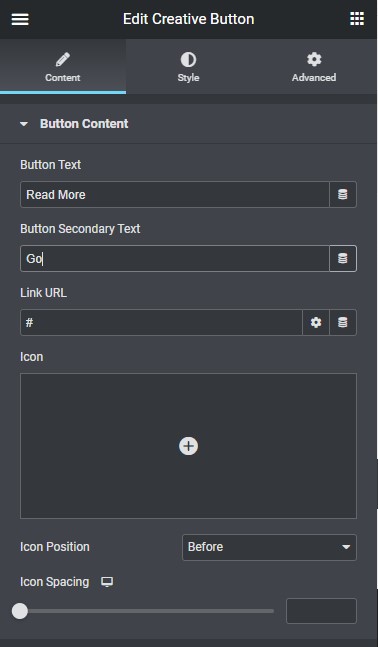
Step 2: Customize Button Text
Under the content tab in the left sidebar, customize your button text (e.g., “Read More”). Add a Link URL for redirection, and optionally include an icon with adjustable position and spacing.
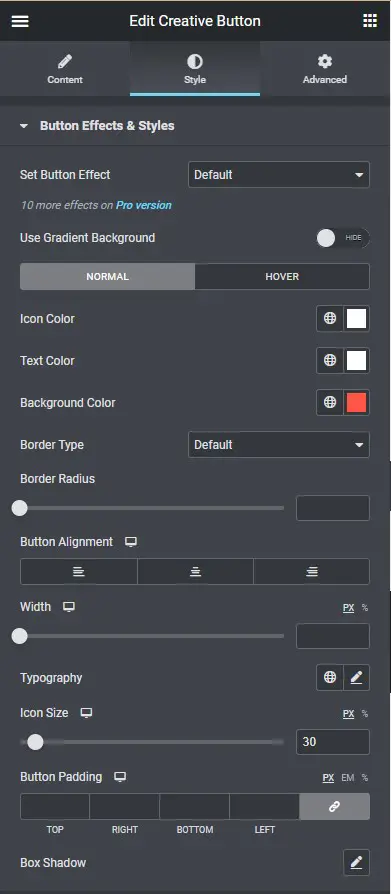
Step 3: Set Button Effects
Under the Style Tab, configure button effects for both normal and hover states. Adjust parameters such as Icon Color, Text Color, Background Color, Border Type, and Radius.
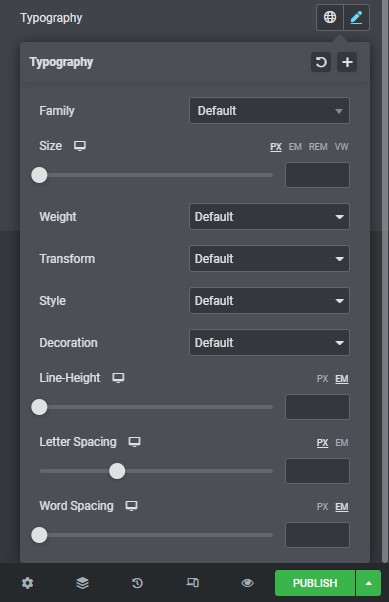
Step 4: Typography Settings
Further customize the button’s appearance under the Typography option. Modify font, size, weight, text transformation, and style to align with your website’s aesthetic.
Adding Hover Effects to Image and Text
Step 1: Create Headings and Text with Inner Sections
Add a section and drag the inner section for the heading text and text editor.
Step 2: Customize Backgrounds
Edit the section’s normal background and add an image as the hover background. Adjust the hover image background to complement your website’s theme.
Adding Hover Effects to Images
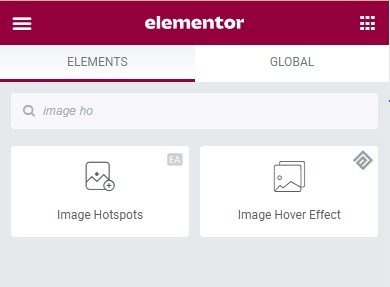
Step 1: Image Hover Effects Widget
In the left sidebar, search for Image Hover Effects and drag the widget onto your page or post.
Step 2: Customize Image Hover Effects
Under the content tab, set up Image Hover Effects. Experiment with different effects by selecting them and hovering over the image on your webpage.

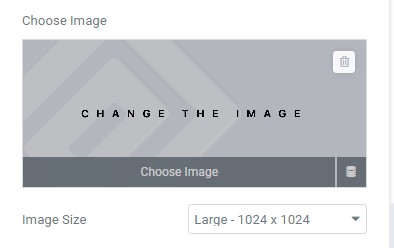
Step 3: Adding Image
Upload or select an image from your media library. Add a concise description, keeping it informative yet brief.
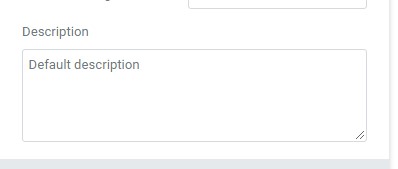
Step 4: Adding Description
You can find a description. This is where you can add a lot of information, but I recommend keeping it short and to the point. Enter the description information.
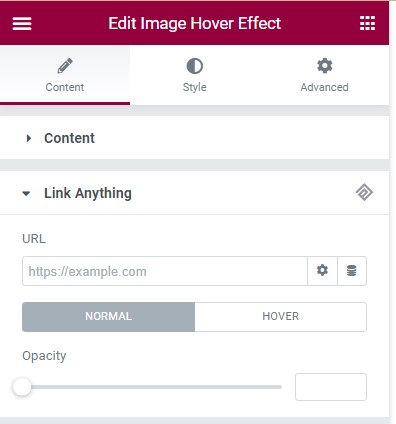
Step 5: Link Anything
Optionally, add a link URL to turn your image into a clickable element leading to another page or post.
Conclusion
Enhancing your website with hover effects adds a touch of interactivity, making it more visually appealing and engaging for users. Experiment with these step-by-step instructions to bring creativity and dynamism to different elements on your webpage.


