
Introduction
In this article, we will explore the ins and outs of utilizing the Content Box Element in Thrive Architect. Thrive Architect is a powerful and user-friendly WordPress page builder that enables you to create stunning web pages with ease. The Content Box Element is a versatile tool that allows you to showcase content in an engaging and visually appealing manner. Whether you’re a seasoned website builder or a beginner, this tutorial will walk you through the steps to effectively use the Content Box Element to enhance your web design.
Understanding the Content Box Element
The Content Box Element serves as a container for various types of content, allowing users to group and stylize elements within a defined space. Its primary purpose is to enhance the visual appeal of a webpage while maintaining a structured layout.
Accessing the Content Box Element
First, open your Thrive Architect project.
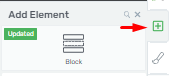
Locate and click on the plus symbol (+) in the right sidebar to access the list of available elements.
Adding the Content Box Element
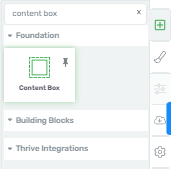
In the elements list, find the “Content Box” element.
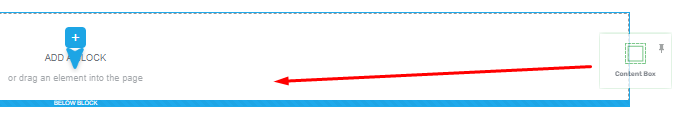
Click and drag the “Content Box” element to the desired location on your page.
Customizing the Content Box
Once the “Content Box” is on your page, you can start customizing it.
Add various elements inside the “Content Box” to achieve your design goals.
Keep in mind that the “Content Box” itself is a basic container that allows you to organize content effectively.
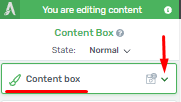
Styling the Content Box
To style the “Content Box,” click on it to reveal a dropdown menu with available styles.
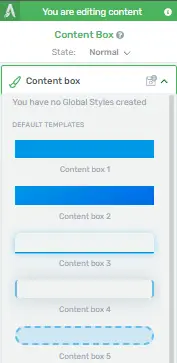
Select the style you want to apply to your “Content Box.”
Click the apply button to confirm your choice.
You can change the style of your “Content Box” anytime by clicking on it and selecting a different style.
Saving as a Global Style
If you want to reuse the same “Content Box” style across your website, select the “Save as Global Style” button.
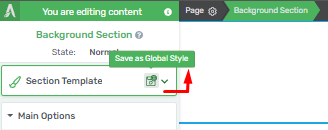
This will allow you to easily use it again in the future.
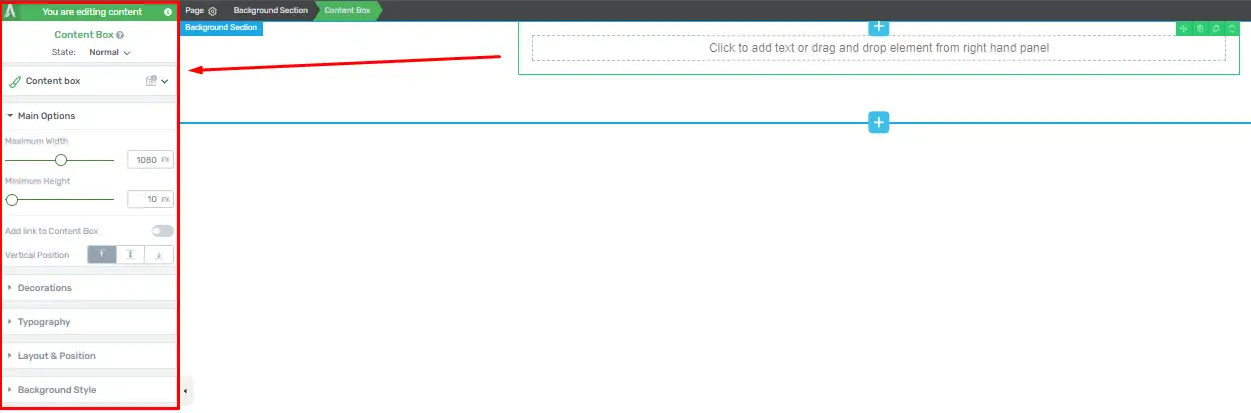
Adjusting Width and Height
In the main options section, you can modify the width and minimum height of the “Content Box”.
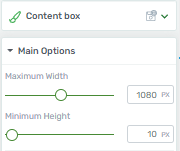
Adjust these settings by dragging the sliders or entering values manually in the provided fields.
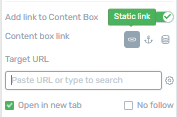
Adding Links
To add a link to the “Content Box”, activate the option by clicking the switch next to it.
A dropdown will appear where you can insert a custom link or search for your existing pages to link to.
Vertical Positioning
Use the “Vertical Position” option to choose the vertical positioning of the content within the “Content Box.”
![]()
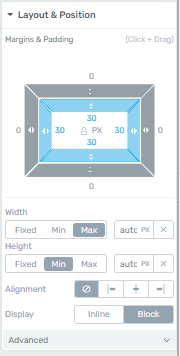
Handling Large Text
If you have lengthy text content in the “Content Box,” utilize the settings in the “Layout and Position” section to control how it’s displayed.
Additional Options
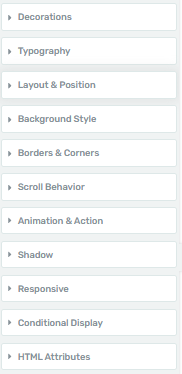
Explore the various features available in the left sidebar to further customize your “Content Box.”
Saving Your Work
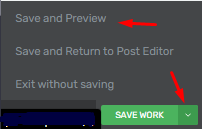
After you’ve finished customizing the “Content Box” to your satisfaction, click the “Save Work” button located at the bottom left part of the page.
Creating Interactive Content Boxes with Thrive Architect
Interactive content boxes not only enhance user experience but also make your website more visually appealing. Thrive Architect, a popular WordPress page builder, offers a seamless way to create these interactive content boxes. In this step-by-step guide, we’ll walk you through the process of crafting captivating interactive content boxes with Thrive Architect.
Understanding Thrive Architect
Before we dive into creating interactive content boxes, let’s get acquainted with Thrive Architect. It’s a powerful WordPress page builder that allows you to design your web pages visually, making it user-friendly for both beginners and experienced designers.
Getting Started with Content Box
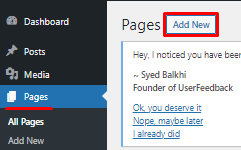
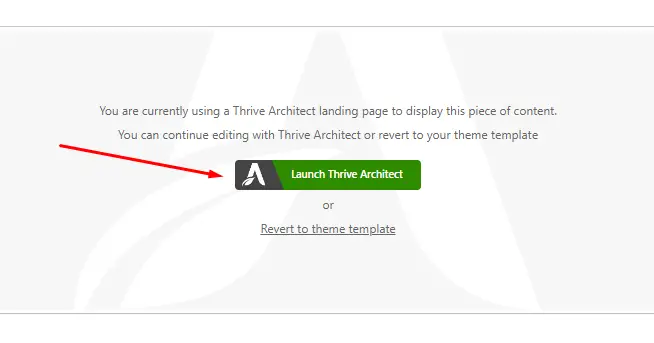
Head to your WordPress dashboard, navigate to pages then click “Add New”. Then, select “Launch Thrive Architect”.
Create a New Page or Post
Create a new page or post where you want to add your interactive content box. Give it a title and click on the “Launch Thrive Architect” button.
Adding a Content Box Element
In the Thrive Architect editor, you can start building your content box by adding a “Content Box” element. Simply drag and drop it onto your page.
Design and Styling
Customizing the Content Box: Customize the design of your content box by adjusting its background color, border, and padding. You can also make it responsive for various devices.
Content and Text
Add your content and text to the content box. You can format the text, insert images, and even embed videos to make it more engaging.
Advanced Settings
Explore advanced settings like animations and shadow effects to make your content box stand out.
Adding Interactivity
Adding Interaction Triggers
To make your content box interactive, you’ll need to add interaction triggers. These triggers can be based on user actions like clicking or hovering.
Defining Interaction Actions
Define what happens when users interact with your content box. You can display hidden content, open a lightbox, or navigate to another page.
Testing Your Interactive Content Box: Before publishing, thoroughly test your interactive content box to ensure it functions as intended. Check all interaction triggers and actions to provide a seamless user experience.
Optimizing for SEO: While Thrive Architect simplifies the design process, don’t forget about SEO. Optimize your content, images, and meta tags to improve your website’s search engine ranking.
Publishing Your Page
Once you’re satisfied with your interactive content box and the entire page, click the “Save Work” button and then “Publish” to make your creation live.
These engaging elements can enhance user experience and boost user engagement on your website. Experiment with different designs and interactions to make your content boxes truly stand out.


