
Introduction
In today’s world, how a website looks is really important for getting people’s attention. When a website looks nice, it not only brings in more visitors but also makes it easier for them to use. Thrive Architect is a popular page builder for making websites on WordPress. It has lots of features to help you make really nice pages without a lot of effort.
In this tutorial, we will explore how to effectively use the Icon Element in Thrive Architect, step by step. Whether you’re a seasoned web designer or a beginner, this guide will help you make the most of this feature.
Understanding the Icon Element
Thrive Architect’s Icon Element is a feature that allows users to seamlessly integrate icons into their web pages. Whether it’s for navigation menus, feature lists, or call-to-action buttons, this element provides a wide array of options to choose from.
Finding the Icon Element
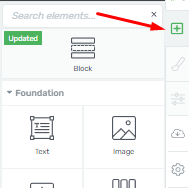
- Search for the Icon Element: In the editor, look for a search field or a toolbar that allows you to add elements to your page. Type “Icon Element” into the search field.

- Select the Icon Element: Once you’ve found the Icon Element in the search results, click on it to select it.
Adding the Icon Element to Your Page
Now that you’ve located the Icon Element, add it to your page:
- Drag and Drop: Click on the Icon Element and drag it to the desired location on your page.

- Customizing Your Icon: After adding the Icon Element, a pop-up window will appear with a variety of icons. Scroll through them to find the one that best suits your needs.
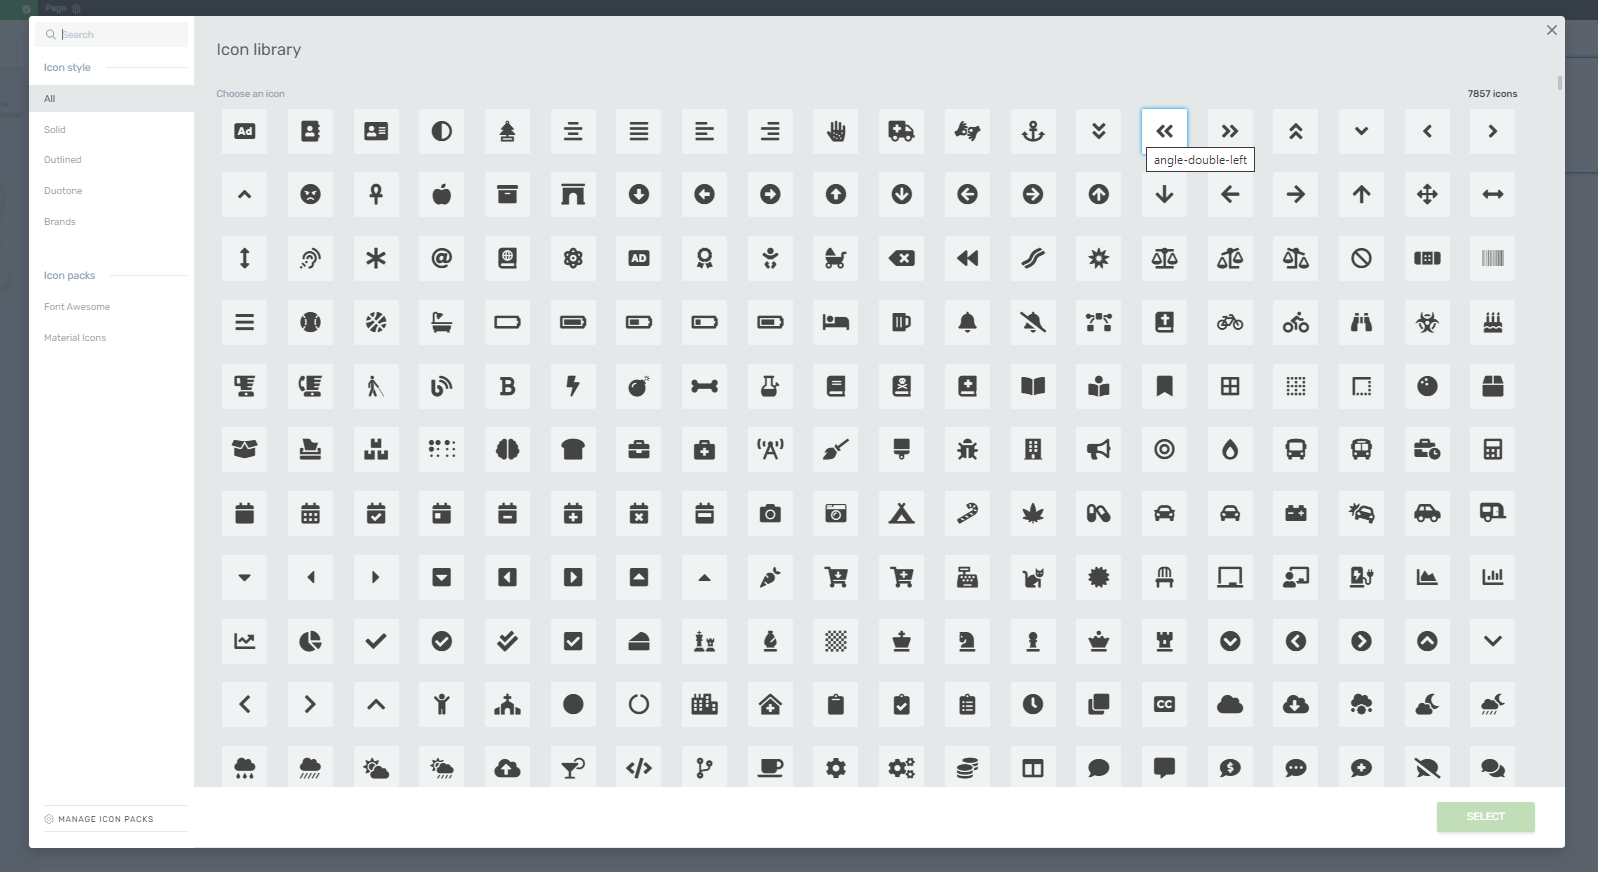
- Selecting Your Icon: Click on the icon you’ve chosen, and then click “Select.”

Customizing Your Icon
The Icon Element offers various customization options to ensure that it aligns perfectly with your web design:
- Icon Style: You can change the icon’s style by clicking on the “Change Icon” button. This allows you to pick a different icon style that better matches your website’s aesthetic.
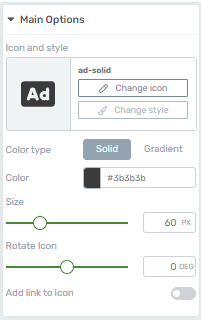
- Icon Color: Modify the color of your icon to ensure it complements the overall design of your page. You can change the color at any time.

- Icon Size: Adjust the size of your icon by dragging the slider or entering a specific value. This lets you maintain visual balance on your page.

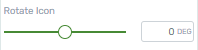
- Icon Rotation: If you want to add a dynamic touch to your icon, you can rotate it to a preferred angle.
- Adding Links: You can also make your icon clickable by adding a link that opens when a visitor clicks on it.

General Options
Besides these customization options, there are general settings that apply to most web design elements, including the Icon Element. These settings allow you to further fine-tune the appearance and behavior of your icon.
![]()
Understanding Icon Styling Options
Thrive Architect is a powerful WordPress page builder that allows you to create stunning web pages with ease. Icons are essential elements of web design, and Thrive Architect provides various styling options to customize them. In this step-by-step guide, you’ll learn how to understand and utilize the icon styling options in Thrive Architect
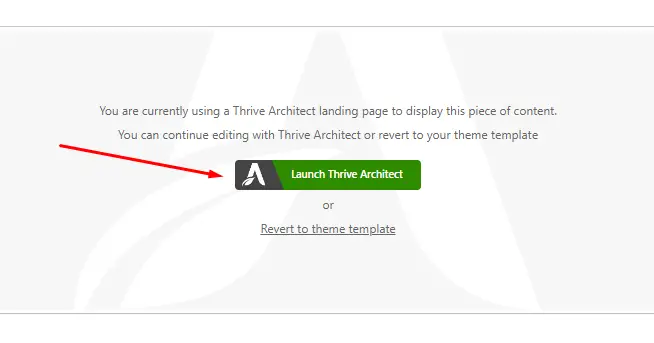
Step 1: Access the Thrive Architect Editor
Navigate to the page or post where you want to work with icons. Click the “Edit with Thrive Architect” button to access the editor.
Step 2: Add an Icon Element
In the Thrive Architect editor, click the “+” button to add a new element to your page. Search for and select the “Icon” element from the elements list.
Step 3: Customize the Icon
Once you’ve added the icon element to your page, click on it to select it. In the left-hand sidebar, you’ll find the “Icon” settings tab. Click on it to expand the options.
![]()
Step 4: Choose an Icon
You’ll see a field labeled “Change Icon.” Click on the field to open the icon library. Browse through the library to choose the icon you want to use on your page. After selecting the icon, it will appear on your page.
![]()
Step 5: Adjust Icon Size and Color
In the “Icon” settings tab, you’ll find options to control the icon’s size and color. Use the “Size” slider to adjust the icon’s dimensions. Click the color swatch under “Color” to change the icon’s color. You can choose from preset colors or use a custom color by entering its hexadecimal code.
![]()
Step 6: Add Effects and Animations
To make your icon stand out, explore the “Animations & Action” sections. In the “Animations” section, you can apply entrance animations to the icon to make it appear more engaging.
![]()
Step 7: Customize Icon Spacing
You can adjust the spacing around the icon and the margins and padding to control how the icon interacts with other elements on your page.
![]()
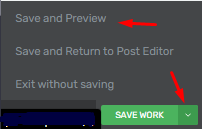
Step 8: Save and Preview
After customizing the icon to your liking, click the “Save Work” button to save your changes. You can also click the icon next to the “Save Work” button to see how the icon looks within your page’s design.
Icon Element Best Practices in Thrive Architect
In this step-by-step guide, we will explore how to effectively use the Icon Element in Thrive Architect. Icons are versatile visual elements that can enhance the design and functionality of your website. Whether you want to add a touch of creativity or guide your visitors’ attention, icons can be a valuable addition to your web content. This article will walk you through the process, from adding icons to customizing their appearance, and demonstrate how this feature can elevate the visual appeal of your website.
Accessing Thrive Architect
Before you can start using the Icon Element, you’ll need to access Thrive Architect. Ensure that you have the plugin installed on your WordPress website and that you’re logged in to your dashboard.
Adding an Icon Element
Click on the page or post where you want to add the Icon Element.
Look for the Thrive Architect button, and click on it to access the editor.
Within the editor, locate the “+” icon to add a new element.
Search for “Icon” and click on it to add the Icon Element to your page.
Choosing the Right Icon
With the Icon Element added you can now choose from a vast library of icons. Thrive Architect provides a wide selection, including social media icons, arrows, and various symbols. Select the one that best suits your content and message.
Customizing Icon Appearance
Icon Size and Color: You can easily adjust the size and color of the icon to match your website’s design. Customize these settings in the “Icon Style” section to achieve the desired look.
Adding Icon Animations: Make your icons stand out by adding animations. These eye-catching effects can draw attention and engage your audience effectively. Explore the animation options provided in Thrive Architect.
Positioning and Alignment: The placement of your icons is crucial. You can use alignment and positioning options to ensure your icons complement your content layout. Align them to the left, right, or center as needed.
Using Icons for Call to Action
Icons can be powerful calls to action. Whether it’s prompting users to subscribe, download, or explore further, icons are an effective way to guide your audience.
Icon as Bullet Points
Consider using icons instead of traditional bullet points in your lists. It adds a visual element to your content and makes it more engaging.
Using Icons in Buttons: Icons and buttons go hand in hand. Combine them to create visually appealing call-to-action buttons that drive user engagement.
Mobile Responsiveness: Always ensure that your icons are responsive on mobile devices. Thrive Architect offers options to fine-tune the display on smaller screens.
Conclusion
Icons are more than just decorative elements. They are valuable tools that can enhance the visual appeal and functionality of your website. By following the step-by-step guide outlined in this article, you can harness the power of the Icon Element in Thrive Architect to create captivating web content that engages your audience.


