
Introduction
Scroll-triggered popups have revolutionized digital marketing by offering a dynamic way to engage website visitors at precisely the right moment. Leveraging the power of Bricks Builder to create scroll-triggered popups effectively is now easier than ever. Unlike traditional popups that appear immediately or after a set time, scroll-triggered popups are activated when users scroll to a specific point on a webpage. This timing ensures that the popup appears when the user is actively engaged with the content, making it more likely to capture attention and drive conversions. Bricks Builder, a versatile WordPress plugin and page builder, simplifies the creation of these popups without the need for coding. This tutorial explores how you can harness Bricks Builder’s capabilities to enhance user interaction and boost conversions seamlessly.
Understanding Scroll-Triggered Popups
Scroll-triggered popups are designed to appear when a user scrolls to a specific point on a webpage. This timing ensures that the popup appears when the user is most likely engaged with your content, increasing the chances of interaction. Unlike traditional popups that may interrupt user experience, scroll-triggered popups offer a more seamless and user-friendly approach to deliver messages, promotions, or calls to action.
Benefits of Scroll-Triggered Popups
- Enhanced User Engagement: By appearing at strategic points during user interaction, scroll-triggered popups catch users’ attention without being intrusive.
- Higher Conversion Rates: Because they appear when users are actively engaged, scroll-triggered popups tend to have higher conversion rates compared to traditional popups.
- Improved User Experience: Users appreciate non-disruptive interactions, and scroll-triggered popups align with this expectation by appearing naturally as users scroll through content.
- Targeted Messaging: You can tailor the content of scroll-triggered popups based on where they appear, ensuring relevance and effectiveness.
Step-by-Step Guide to Creating Scroll-Triggered Popups with Bricks Builder
Step 1: Setting Up the Popup Form Template
Creating a New Template
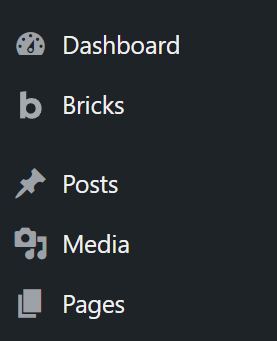
Start by navigating to your Bricks Builder dashboard.
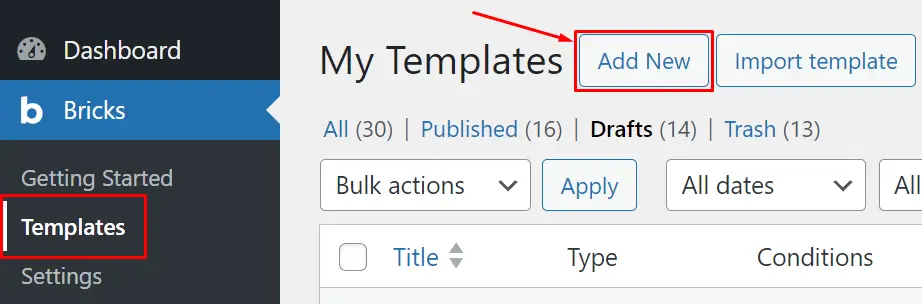
Click on “Templates” and then select “Add New.”
Name your template as “Popup Form Template” and set the type to ‘popup’.
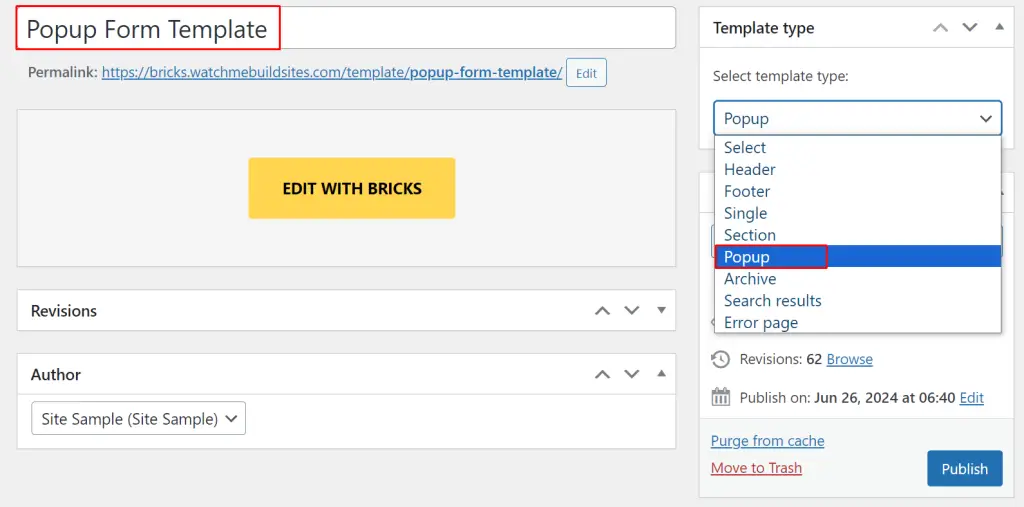
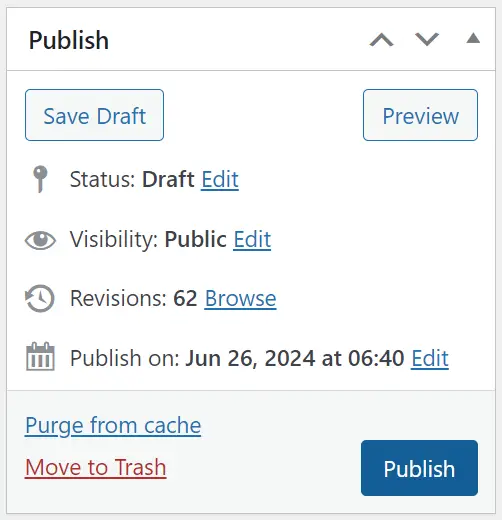
Click “Publish” to finalize the template creation.
Step 2: Editing the Template
Using Bricks Editor
Edit the Template with Bricks

Open the newly created template in the Bricks editor.
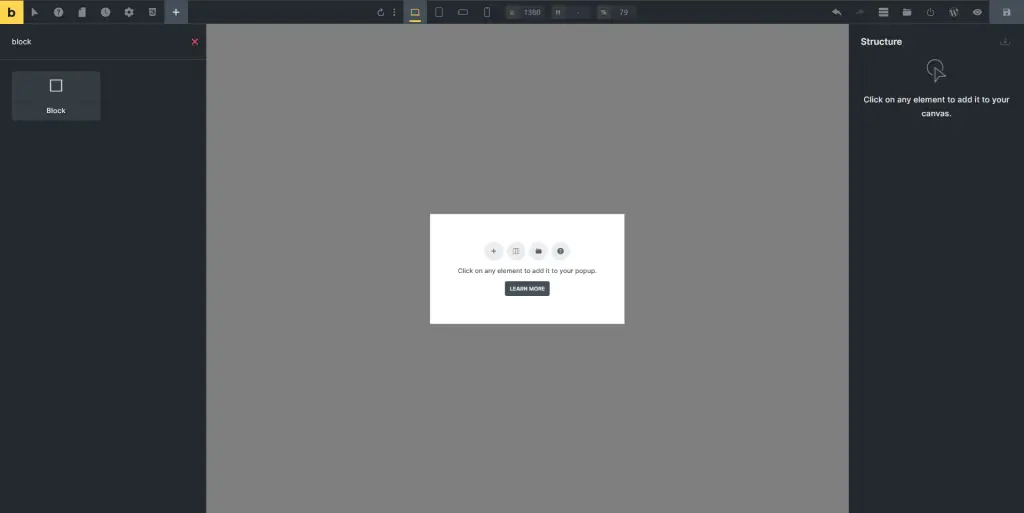
Begin by adding a div block to the popup area where your form will appear.
![]()
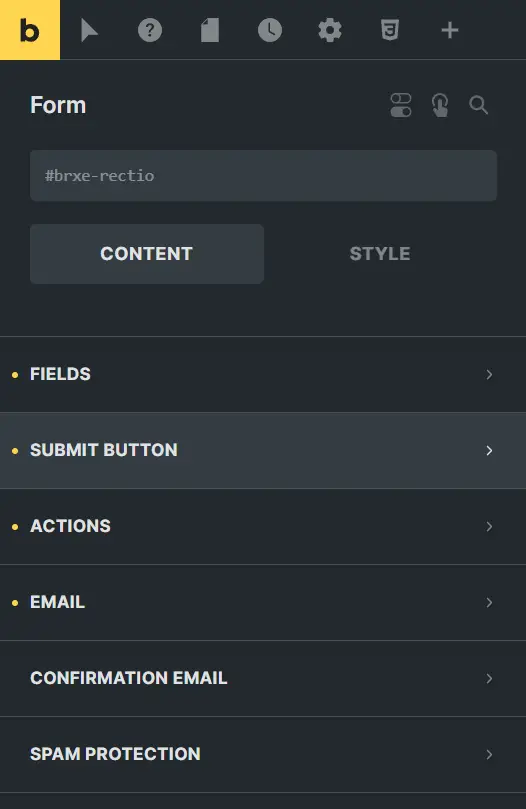
Step 3: Adding the Form Components
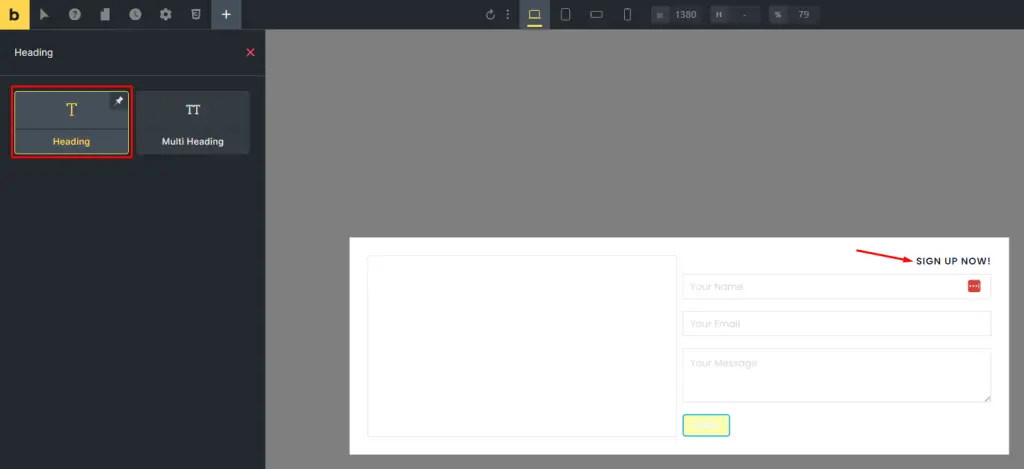
Adding the Form Widget
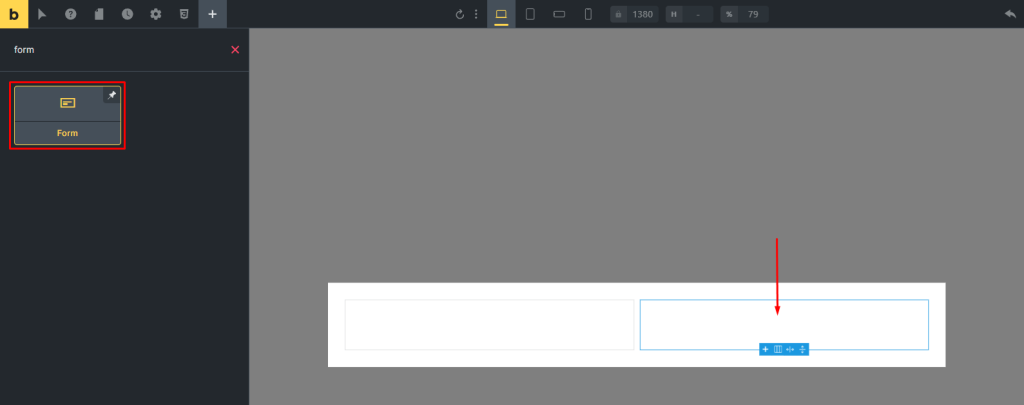
Drag and drop the Form widget into the div block.
Include a heading within the form and label it as ‘Sign up Now!’ for clarity.
Step 4: Customizing Form Elements
Navigate to the Style tab to adjust typography and alignment for the heading and form fields.
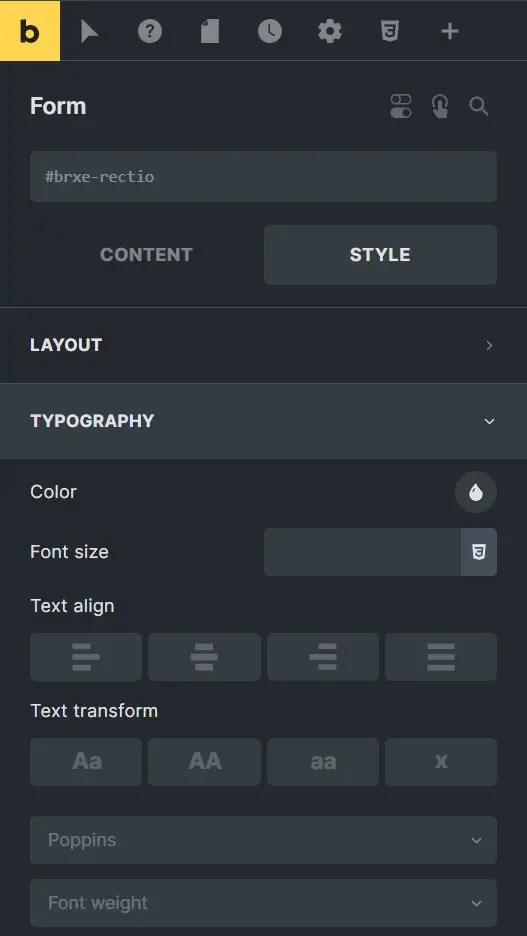
Add necessary form fields for user input (e.g., name, email) and customize the submit button’s size and spacing accordingly.
Step 5: Integrating Social Login Buttons
Customizing Social Login Buttons
Add a social login button, ensuring it integrates seamlessly with your preferred OAuth provider.
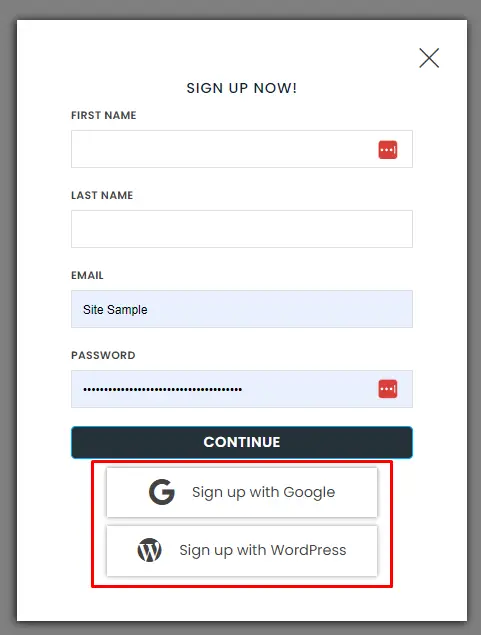
Duplicate the button if needed and customize each for different authentication methods.
Step 6: Styling and Interaction Settings
Inserting Links and Styling
Insert relevant links into buttons and customize their appearance.
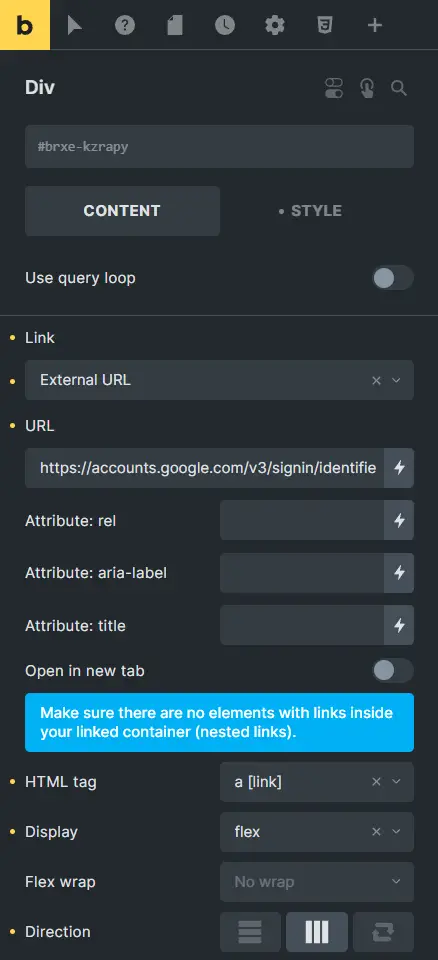
Ensure the exit icon has an interaction set to close the popup on click, enhancing user experience.

Step 7: Adding Scroll-Activated Interaction
Configuring Scroll-Activated Interaction
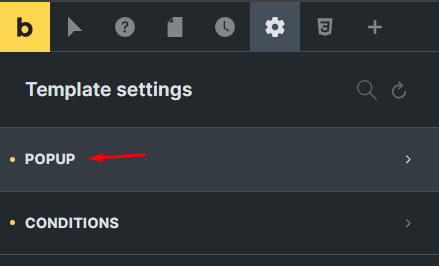
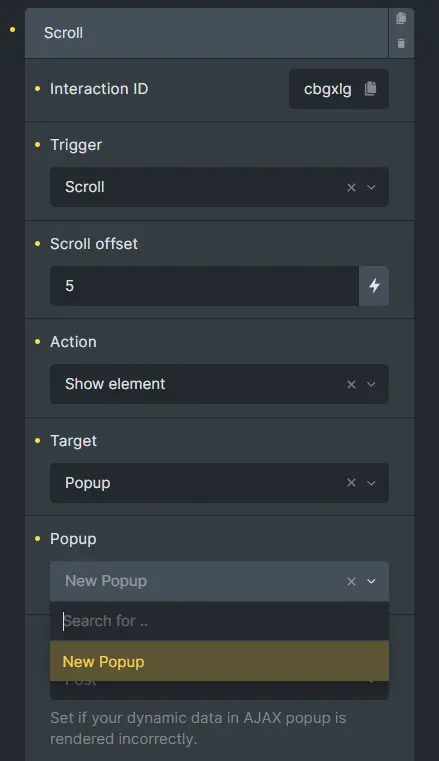
In the template settings, locate the Interactions section and add a new interaction triggered on scroll.
Define the scroll offset based on your preference and select ‘show element’ as the action.

Specify the popup you wish to display when users scroll, choosing from your created popups.
Step 8: Conditions and Final Checks
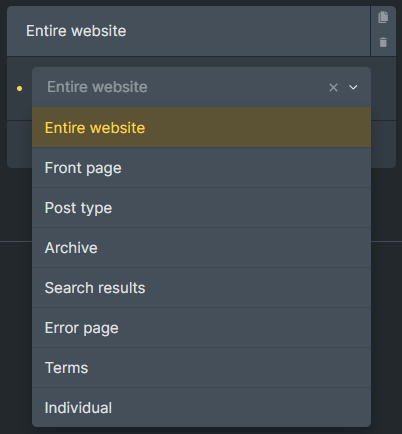
Setting Display Conditions
Specify where the popup should appear (e.g., front page, post page) using the conditions settings.
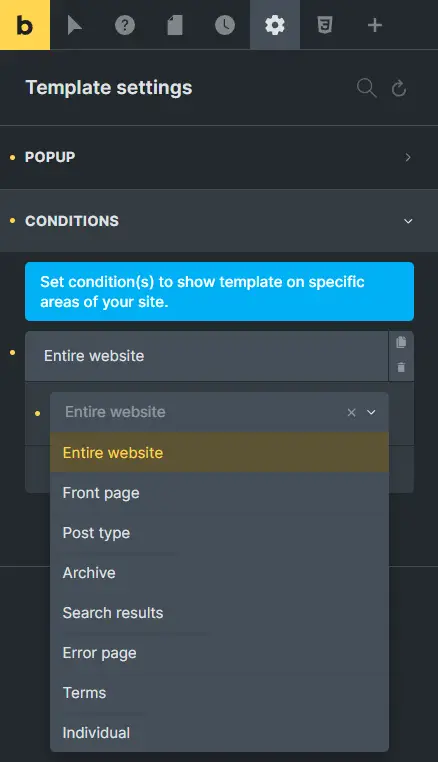
Adjust settings to ensure the popup behaves as expected across different sections of your site.
Step 9: Preview and Finalization
Save your settings and preview the template to ensure all interactions and appearances are functioning correctly.
Make any necessary adjustments to optimize user experience.

Best Practices for User Engagement
Engage users effectively without compromising their browsing experience:
Engaging users without being intrusive: Craft compelling messages and offers that add value without disrupting user flow.
Strategies for maximizing popup effectiveness: A/B test different designs and triggers to identify the most effective combinations.
Conclusion
Creating a scroll-activated popup sign-up form with Bricks Builder is a powerful way to engage your site visitors dynamically. By following these steps, you can enhance user interaction and capture valuable leads effortlessly.