
The Counter Widget allows you to add an animated numbered counter to your page. In this Elementor tutorial, we are going to walk you through creating a counter number. But before setting your counter, be sure to read about the best practices for making a counter widget below.
Understanding the Counter Widget
The Counter Widget is a versatile tool that Elementor provides to display numerical data in an engaging and visually appealing manner. It’s ideal for showcasing statistics, achievements, milestones, or any data that involves counting. This widget is particularly useful for businesses, nonprofits, and bloggers looking to highlight their accomplishments or important metrics.
Adding a Counter Widget to Your Page
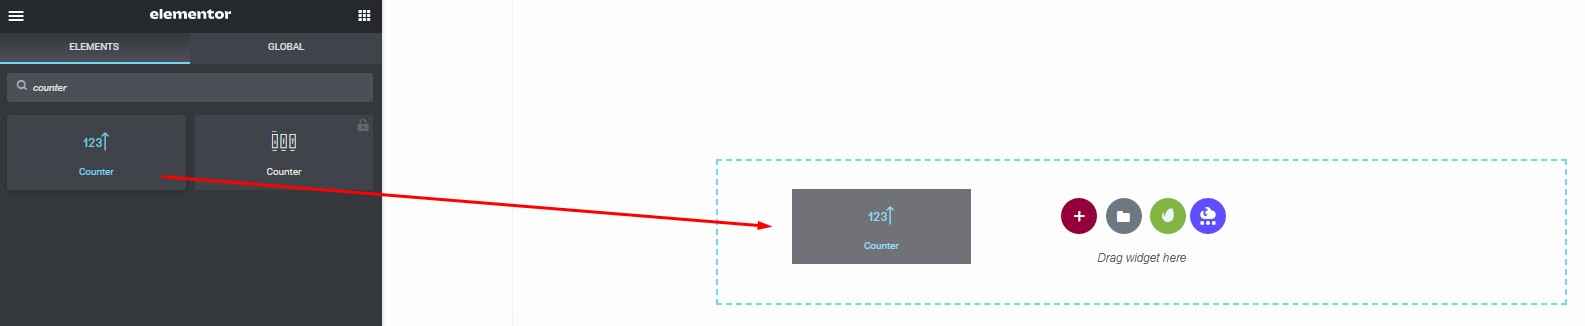
Step 1: Find the counter widget
Drag and drop it to the page
Customizing the Counter Widget
Step 2: Set the Elementor Counter
Under the counter
1. Set the starting and ending numbers of the counter.
2. In the number prefix Enter the text that will appear before the number, if any, such as a dollar sign.
3. In the number suffix enter the text that will appear after the number, if any, such as a plus sign.
4. Duration of animation This is the time it takes for the running animation to complete in milliseconds.
5. Show or hide a thousand separators.
6. Enter the title that will be shown under the number.

Styling and Design Options
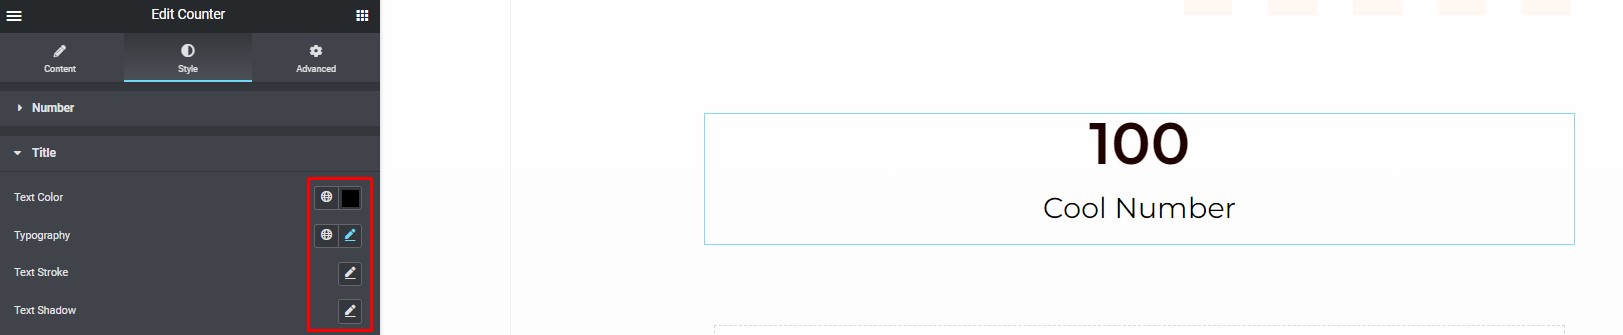
Step 3: Customize Counter Styles
You can change the styles of the number and title under the Style tab.
Number
To customize the number
1. Under the number, select the text’s number color.
2. Set the typography options for the number of text.
3. Apply the text stroke and text shadow for the number.

Title
To customize the title
1. Select the color of the text.
2. Set the typography options for the title text.
3. Apply the text stroke and text shadow for the title.
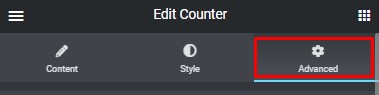
If you still want to use the rest of the options from the left sidebar you can make use of some other general options, in the advanced tab.
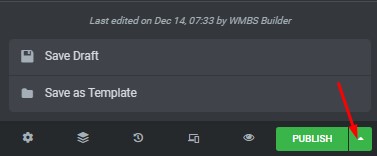
After you’ve finished configuring the widget, don’t forget to save your changes. To do so, go to the bottom of the page and click the save drafts button.
Tips for Effective Use of Counter Widget
Use the widget sparingly to avoid overwhelming your website with too many counters.
Ensure the data you display is accurate and up-to-date.
Experiment with different styles and animations to find what resonates best with your audience.
Customizing the Counter Widget in Elementor: Tips and Tricks
Introduction
In the world of web design, Elementor stands out as one of the most popular and user-friendly page builders for WordPress. Its intuitive interface and wide range of widgets allow designers and developers to create stunning websites without the need for extensive coding skills. One such widget that adds functionality and style to your website is the Counter Widget. In this article, we will explore the ways to customize the Counter Widget in Elementor, offering tips and tricks to make your website stand out.
Getting Started with the Counter Widget
The Counter Widget is a versatile tool for showcasing statistics, figures, or any numeric data on your website. It is perfect for highlighting achievements, milestones, or any data that requires visual representation.
Understanding the Basics
Before we dive into customization, let’s understand the basics of the Counter Widget. This widget allows you to display a numeric value, such as the number of satisfied customers, completed projects, or any other figure that’s relevant to your website.
Customization Tips
Now, let’s explore some tips and tricks to take your Counter Widget to the next level.
Style and Design
The Counter Widget in Elementor offers various style and design options. You can customize the typography, colors, and size to match your website’s aesthetics. Experiment with different fonts and colors to create a visually appealing counter that captures your visitors’ attention.
Animation Effects
To make your counters more engaging, you can add animation effects. Elementor provides a range of animations, such as ‘Grow,’ ‘Bounce,’ and ‘Fade In.’ Choose an animation that suits your website’s personality and makes your counters come to life.
Decimal Points
Sometimes, you might need to display decimal points in your counters. Elementor allows you to set the number of decimal points, making it perfect for showcasing precise figures like ratings or percentages.
Custom Icons
Enhance the visual appeal of your counters by adding custom icons. Instead of traditional number icons, you can use custom symbols or images that resonate with your brand.
Add a Separator
You can add separators to your counters, making them easier to read. For instance, you can use commas or periods as separators in large numbers to improve readability.
Advanced Customization Techniques
For those who want to take their counter widget to the next level, consider these advanced customization techniques.
Conditional Formatting
With Elementor Pro, you can use conditional formatting to change the counter’s appearance based on specific conditions. For example, you can change the color of the counter when it reaches a certain threshold.
Interactive Counters
Make your counters interactive by adding a progress bar or an increasing animation. This creates a dynamic user experience and encourages visitors to engage with your content.
Background Images
To add a unique touch to your counters, you can use background images. This can be particularly effective for displaying numbers related to specific products or services.
Conclusion
Customizing the Counter Widget in Elementor is a powerful way to make your website more engaging and informative. With the right combination of style, animation, and advanced techniques, you can create eye-catching counters that leave a lasting impression on your visitors.


