
Introduction
In the dynamic landscape of website development, Beaver Builder stands out as a leading page builder for WordPress, offering an intuitive drag-and-drop interface that empowers users to create stunning websites without the need for complex coding. In this tutorial, we will walk you through the process of adding and customizing the WordPress Search Module, making your website more user-friendly and efficient.
Understanding Beaver Builder
Before we dive into the specifics, let’s familiarize ourselves with Beaver Builder. It is a powerful and user-friendly page builder plugin for WordPress, known for its drag-and-drop functionality. Beaver Builder empowers users to create stunning web pages without the need for coding skills, making it a popular choice in the website development community.
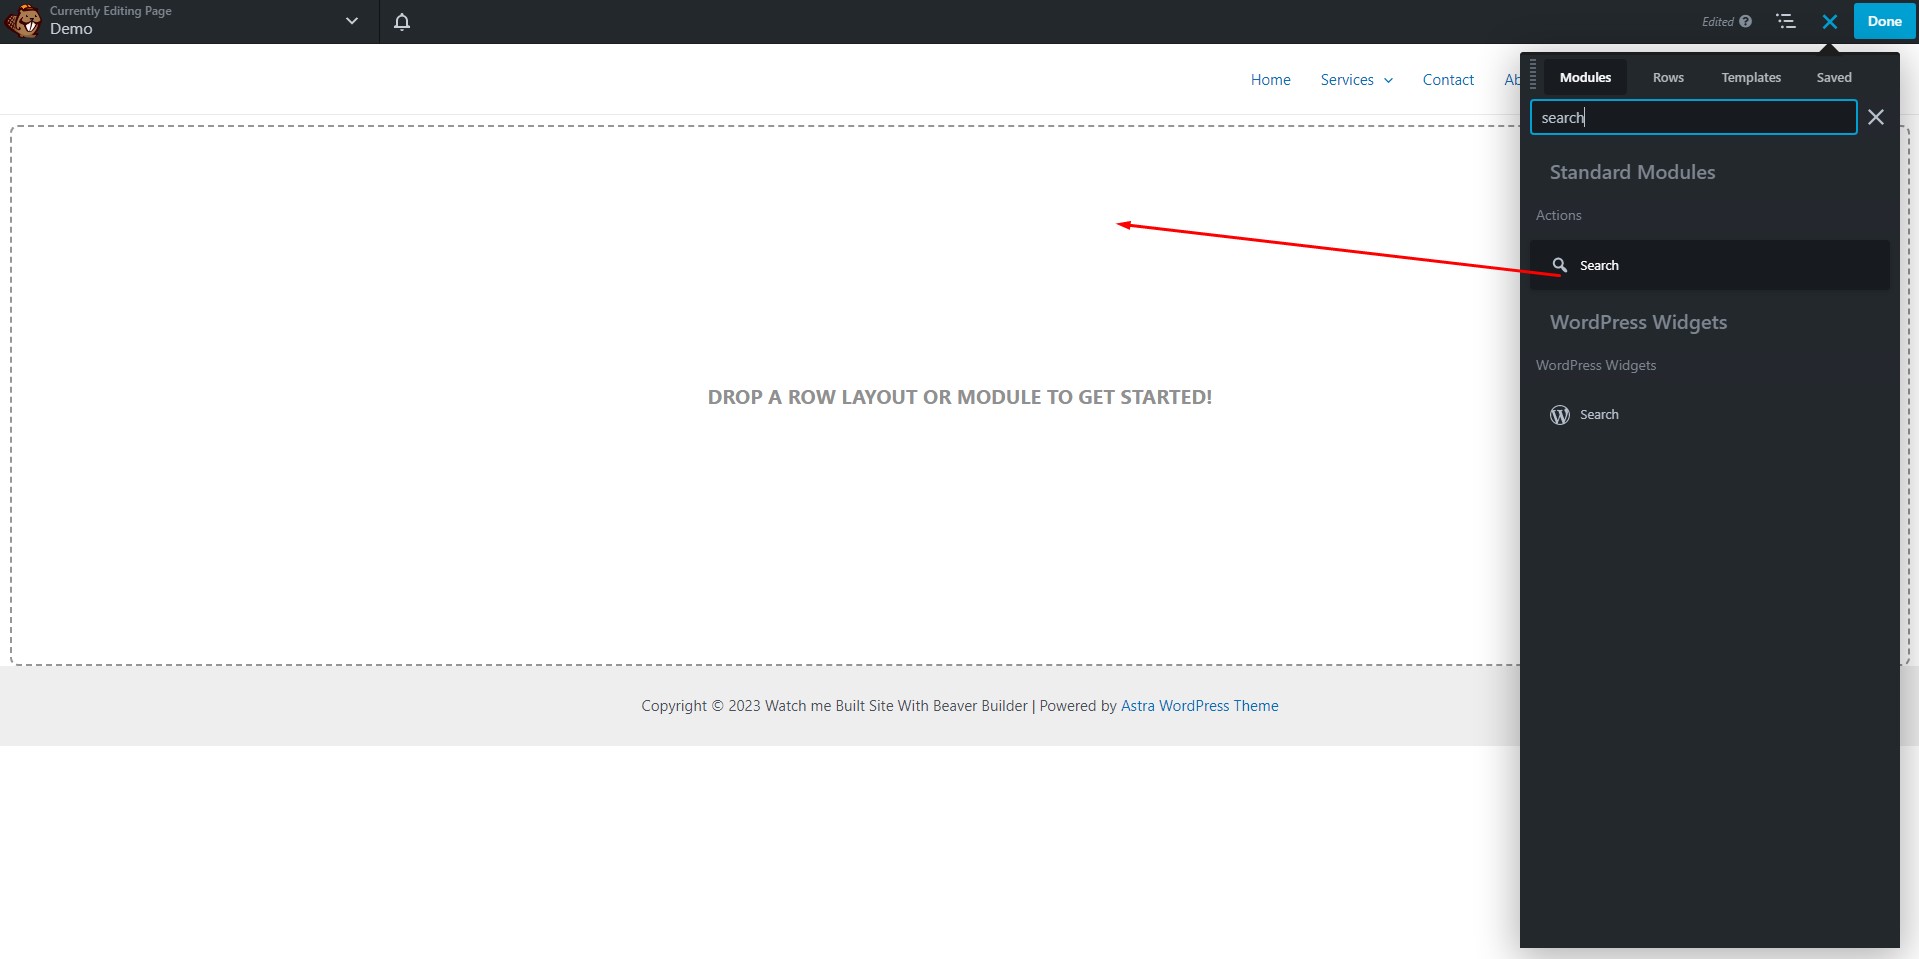
Step 1: Adding the Search Module
- Find the Search Module: Start by locating the Search Module on the right side panel of your WordPress dashboard.
Add the Search Module: Click on the Search Module to add it to the desired page.
Step 2: Configuring the Search Module
Under the ‘Layout’ Tab, you can tailor the appearance of your search bar according to your preferences.
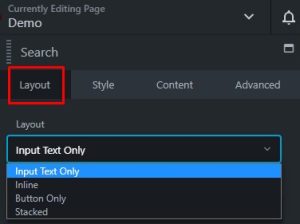
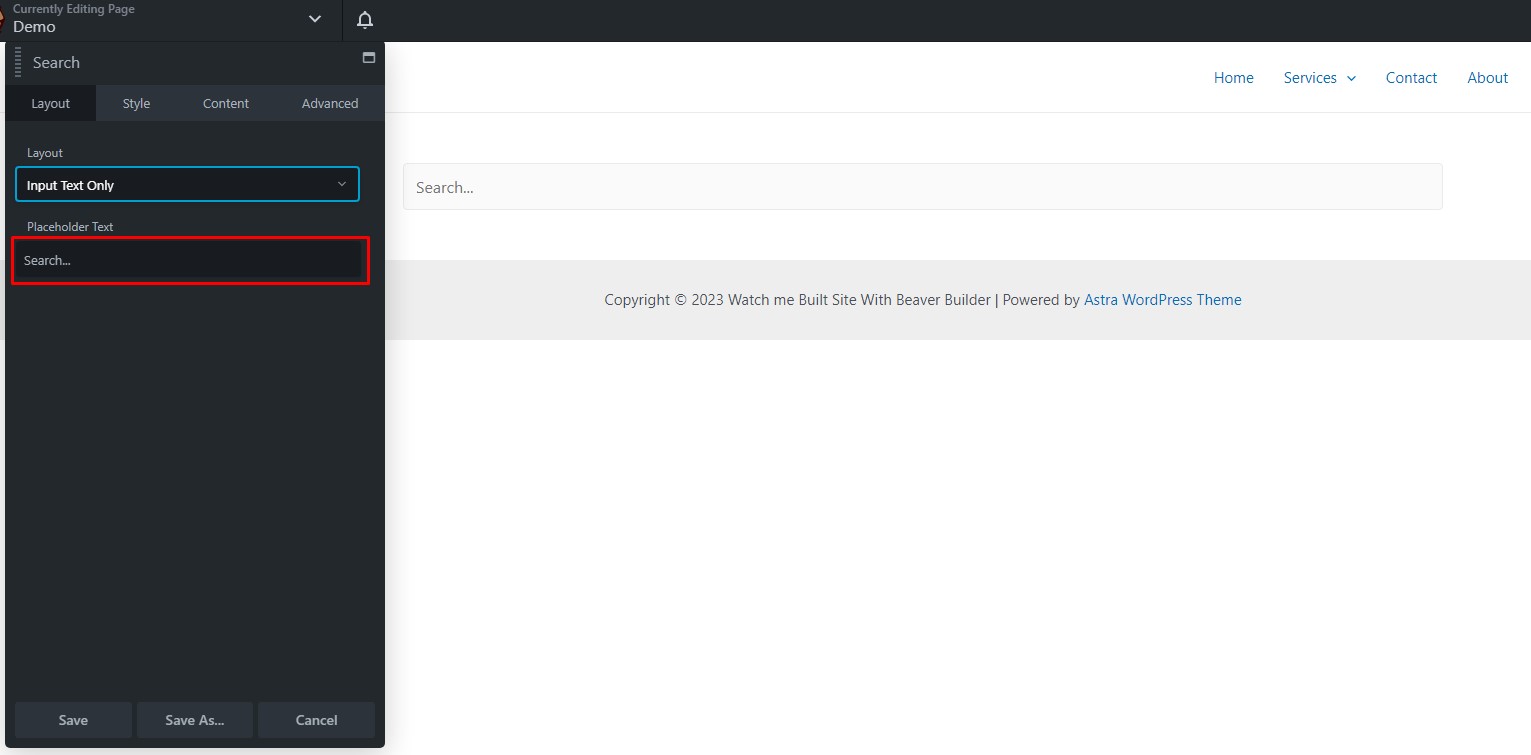
Input Text Only
- Select ‘Input text only’ to display only the search input field, excluding the search button.
- Set your placeholder text for the search module.
Inline
- Opt for ‘Inline’ to show the search button beside the search field.
- Specify your placeholder text for the search module.
- Define your button text.
- Choose the button style you prefer.
- Set the action field to expand on click or full screen, adjusting the expand position as needed.

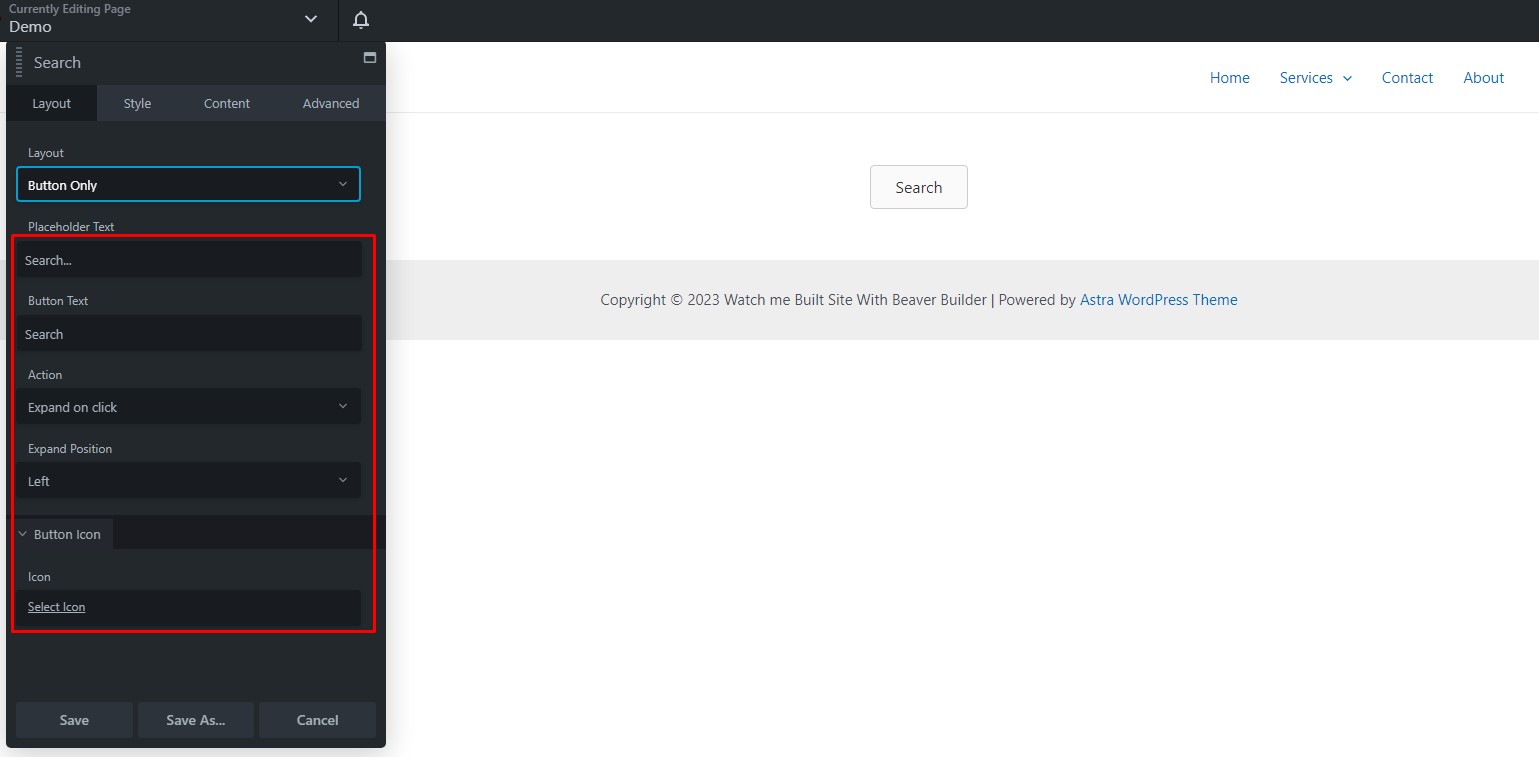
Button Only
- For ‘Button only,’ display only the search button.
- Define your placeholder text for the search module.
- Specify your button text.
- Configure the action field to expand on click or full screen, and choose the expanded position.
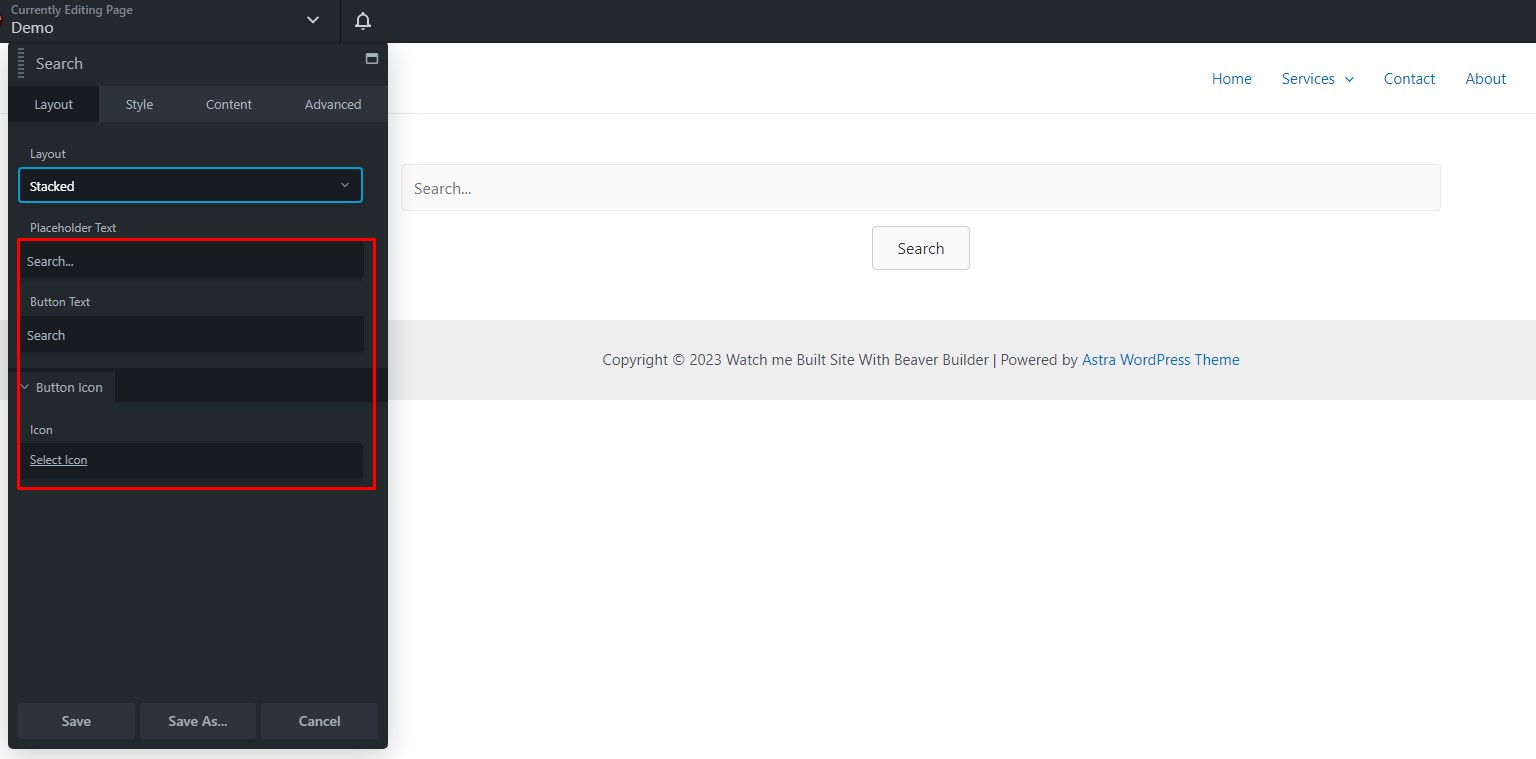
Stacked
- In ‘Stacked’ mode, the search button is centered below the search field.
- Set your placeholder text for the search module.
- Specify your button text.
- Choose the button style you prefer.
Step 3: Customizing Search Module Styles
Customize the appearance of your search module, including width, height, background, and border settings.
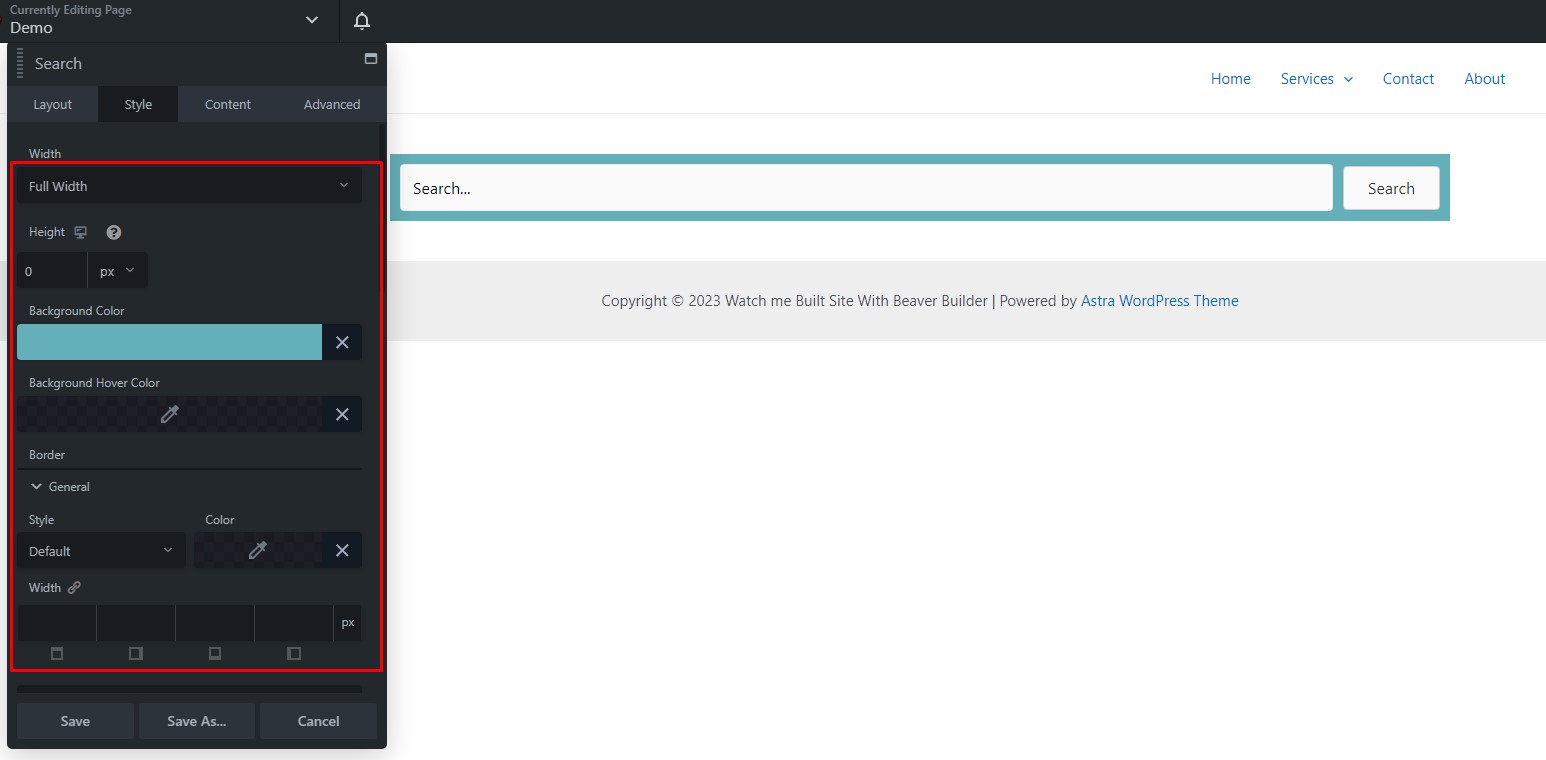
You can also modify the text and icon colors.
Input Text
- Customize the color and hover color for the input text.
- Set the background color and background hover color for the input text.
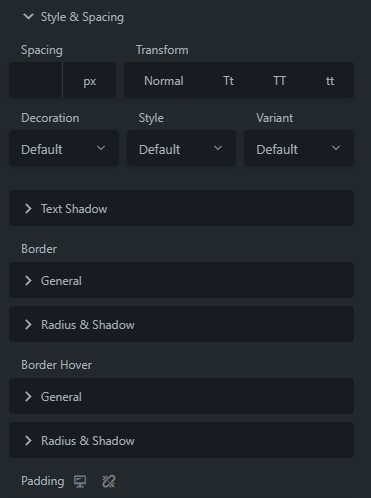
- Define typography settings like font, style, spacing, and text shadow.
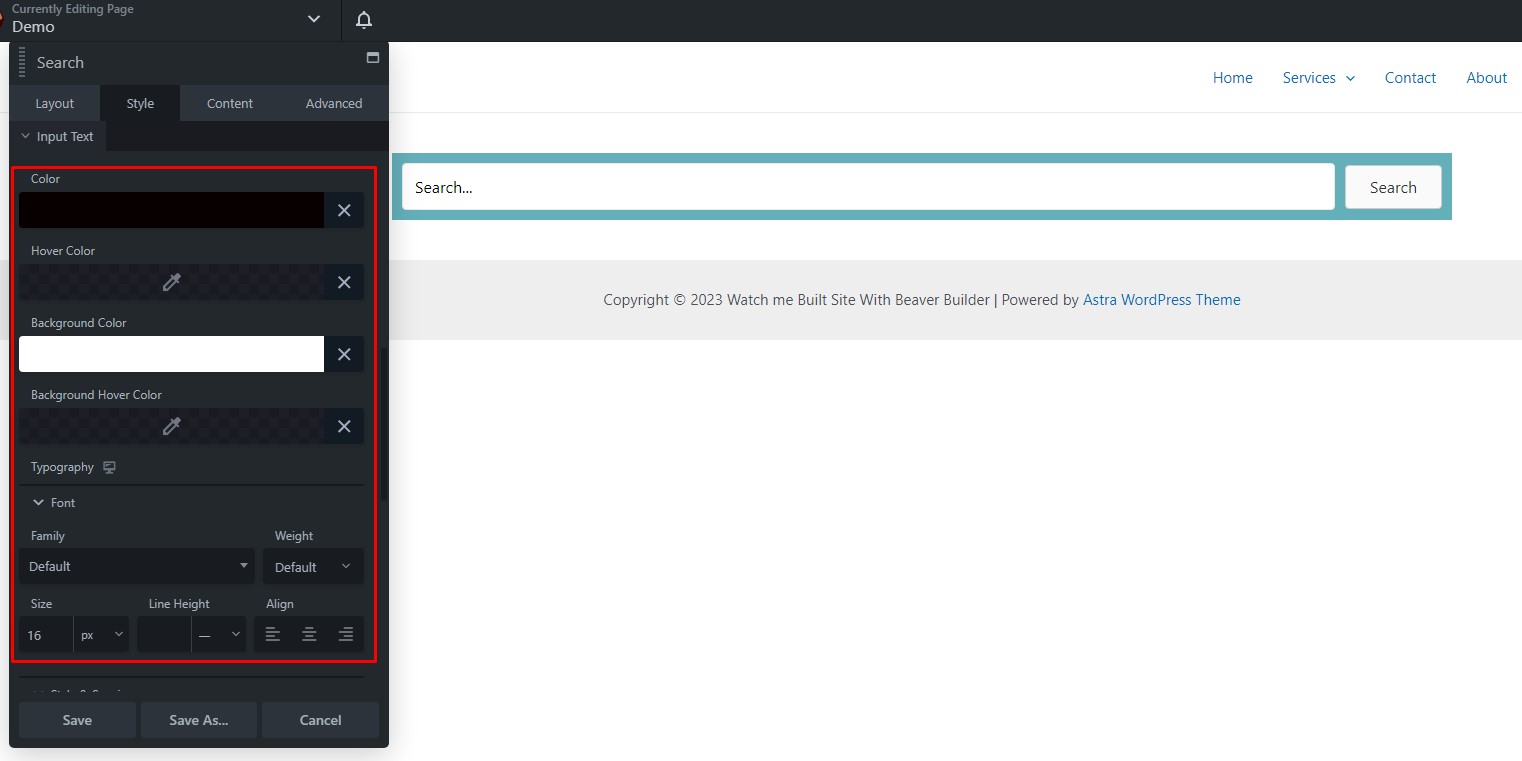
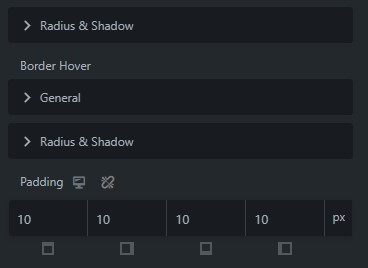
- Adjust border properties and radius & shadow settings.
- Configure padding for the input text.
Button
- Set the button’s padding.
- Choose text color and text hover color for the button.
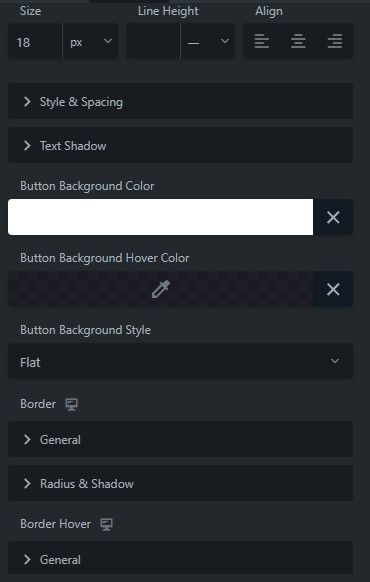
- Define typography settings for the button text.
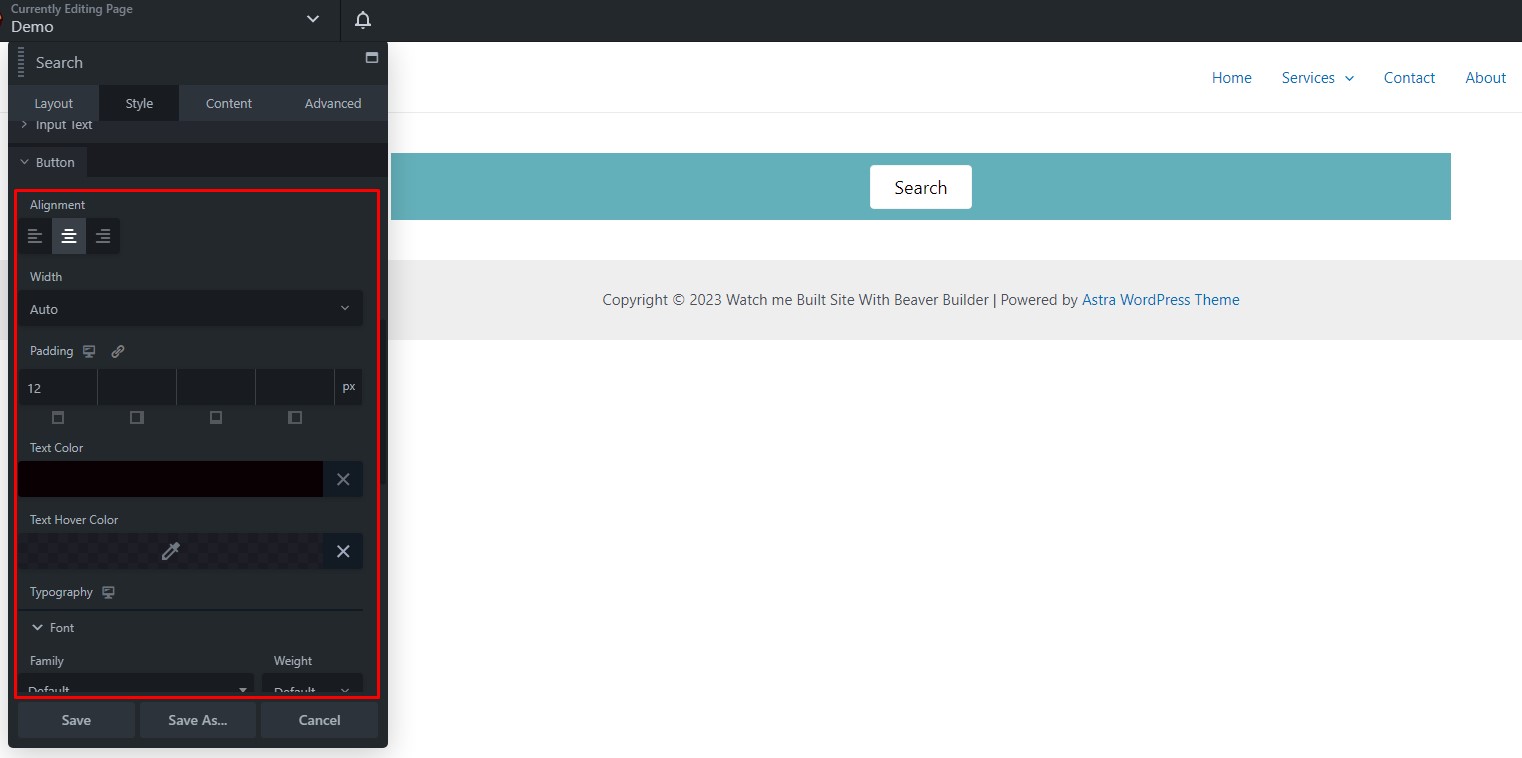
- Select the button’s background color and background hover color.
- Choose between a flat or gradient button background style.
- Adjust border properties, including general settings and radius & shadow for the button.
- Set padding for the button.
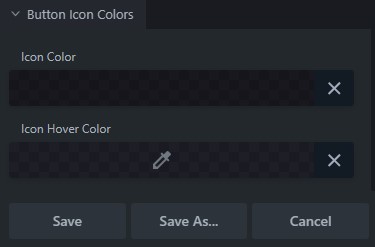
Button Icon Colors
- Customize the colors of the button icon.
- Define the hover color for the button icon.
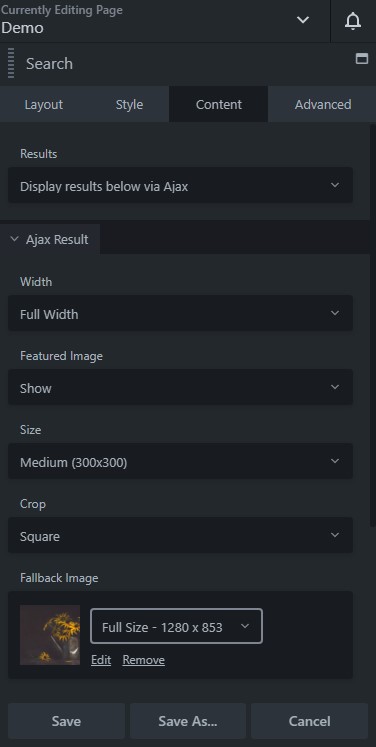
Step 4: Displaying Search Results
On the ‘Content’ tab, you can determine where and how to display search results.
- Redirect to the search page: This option directs users to the standard WordPress search results page, which resembles a WordPress archive.
- Display results below via Ajax: This choice instantly displays search results beneath the input field in a bordered box.
Advanced Customization
To further enhance your search module, explore the advanced tab and its additional options:
- Adjust the margin’s spacing.
- Set the visibility options.
- Define breakpoints and display visibility.
- Choose animations, delay, and duration.
- Set the container element’s ID, class, and label for the HTML element.
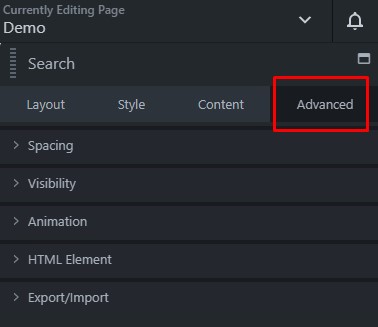
- Explore the export/import functionality.
![]()
![]()
Once you’ve configured all the desired settings and completed your search module customization, click ‘Done’ in the upper right corner. You can then choose to ‘Publish,’ ‘Save Draft,’ ‘Discard,’ or ‘Cancel’ your changes.
For more tips and tricks on enhancing your WordPress website’s functionality, continue exploring our resources.
Optimizing Search Functionality for Beaver Builder Pages
Before delving into the steps for optimization, it’s important to understand the significance of a well-optimized search feature. When users can easily find what they’re looking for on your website, it enhances user satisfaction, encourages longer visits, and increases the chances of conversions. Let’s get started with the optimization process.
Step 1: Configure Search Settings
Configure its settings to align with your website’s requirements. Pay attention to:
Search Index
Ensure that your search plugin is set to index the entire content of your website, including pages, posts, and custom post types.
Search Filters
Implement search filters to allow users to refine their search results. These filters can include categories, tags, and custom taxonomies.
Step 3: Customize Search Results Layout
Aesthetic and user-friendly search results can significantly improve the user experience. Customize the layout of your search results using Beaver Builder’s drag-and-drop functionality. Pay attention to:
Result Styling
Create a visually appealing search results layout, including fonts, colors, and spacing, to match your website’s design.
Featured Images
Incorporate featured images in search results to make them more visually appealing.
Step 4: Enable Live Search
Live search is a fantastic feature that displays search results as users type their query. Enable this option to provide instant feedback to users and enhance their search experience.
Step 5: Optimize Search Relevance
To ensure users receive the most relevant search results, optimize the search relevance by:
Using Synonyms
Implement synonyms to broaden the search results when users enter related terms.
Adjusting Weighting
Assign different weights to various parts of your content, such as titles, headings, and content body, to prioritize certain elements in search results.
Step 6: Implement AJAX Search
Enhance the search experience further by implementing AJAX search. AJAX search loads search results without refreshing the entire page, providing a smooth and seamless user experience.
Step 7: Mobile Optimization
With an increasing number of users accessing websites from mobile devices, it’s crucial to ensure your search functionality is mobile-friendly. Beaver Builder makes it easy to optimize the search bar for mobile devices, ensuring that it remains functional and user-friendly on all screens.
Conclusion
Optimizing search functionality for Beaver Builder Pages is an important step in enhancing user satisfaction and engagement on your website. By following the steps outlined in this guide, you can create a well-optimized search experience that keeps your visitors coming back for more.


