

Introduction
In the ever-evolving landscape of web design, Elementor has emerged as a go-to tool for creating stunning and functional websites. Among its myriad features, the Image Box element stands out as a powerful tool for enhancing visual appeal and user engagement. In this article, we will delve into the intricacies of adding the Image Box Elementor, exploring its benefits, customization options, and advanced techniques.
Understanding Elementor Image Box Element
The Image Box widget allows you to create visually appealing boxes that blend photos and text. Use this widget to make the most interesting features section possible, or to write about a journey you’ve taken. There are numerous ways to make your WordPress site more interesting by utilizing this widget. In this Elementor tutorial, we are going to walk you through adding the image box. But before setting your image box, be sure to read about the best practices for making an image box widget below.
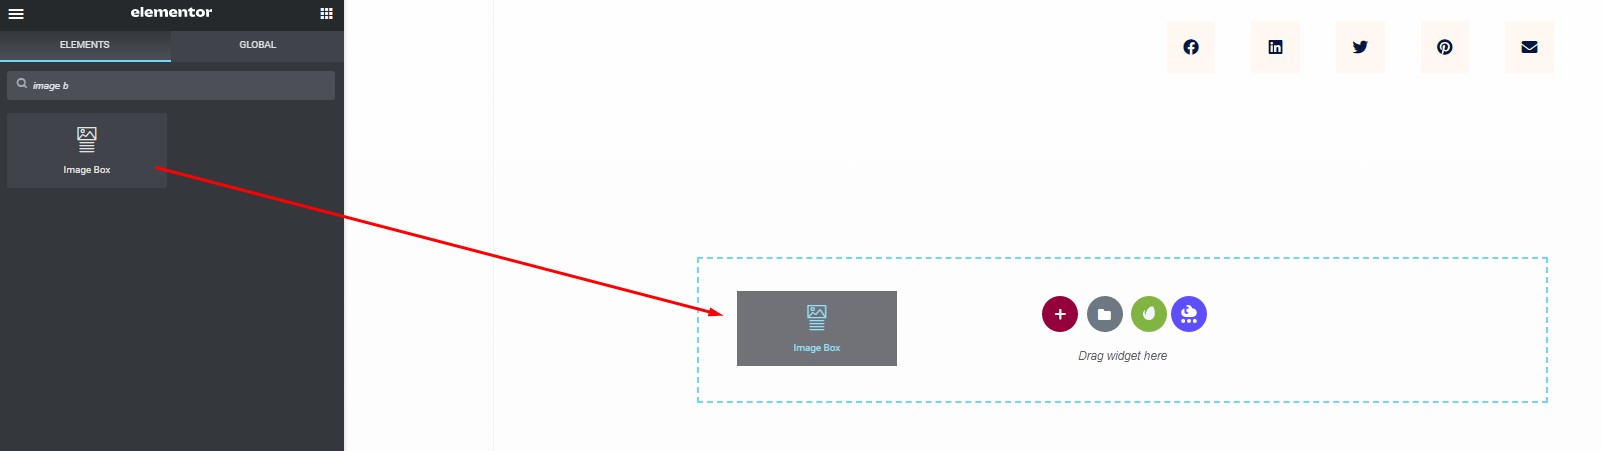
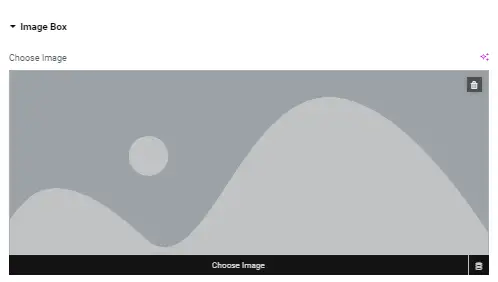
Step 1: Find the image box widget
Step 1: Find the image box widget
Drag-drop the “Image Box” and move it to your selected section.
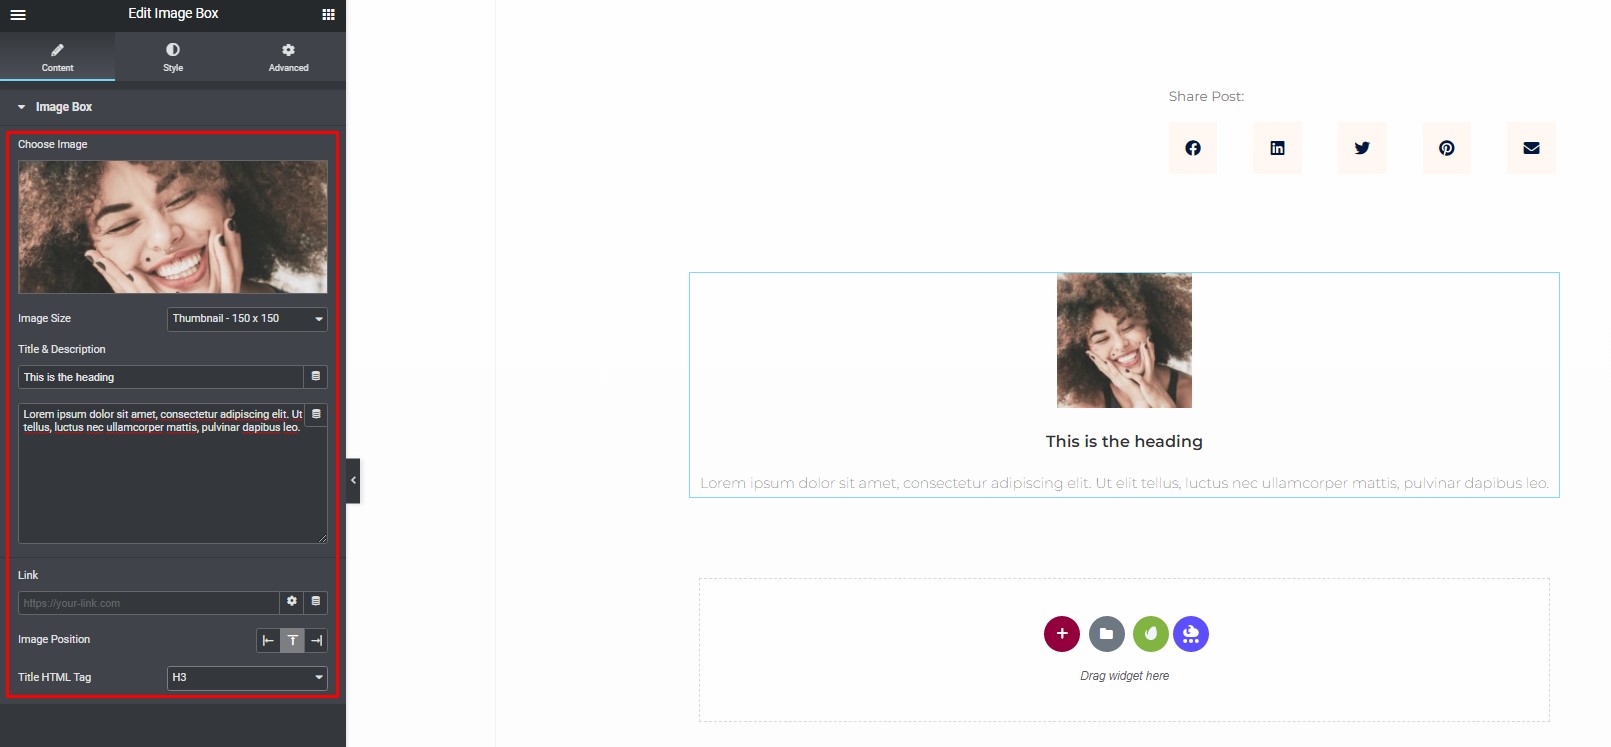
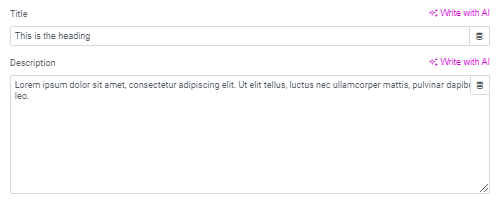
Step 2: Set the image box
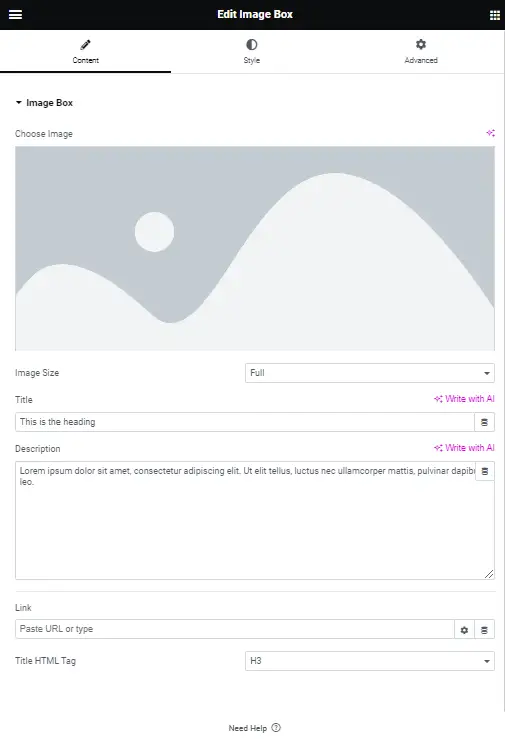
Content (Image Box)
1. Insert an image from your Media Library.
2. Choose an image size, from thumbnail to full-size, or enter a custom size.
3. Fill in the title and description that will appear in the image box.
4. Enter the URL for the item’s link.
5. Set the Picture Position and Title, as well as the HTML Tag, for your image box.
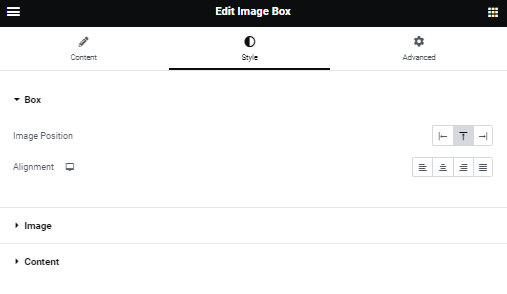
Step 3: Customize the Image Box Styles
You can change the styles of the image box and content under the Style tab.
Image
To customize the image
1. Under the image menu, set the spacing, width, border type, and border-radius.
2. Add Hover Animation for the image
3. By modifying the CSS Filter scales for the blur, brightness, contrast, saturation, and hue values in the Normal and Hover modes, you can change the appearance of the image.
4. Modify the image opacity in the normal and hover phases.
5. Set the time of transition duration it takes for each slide to appear. 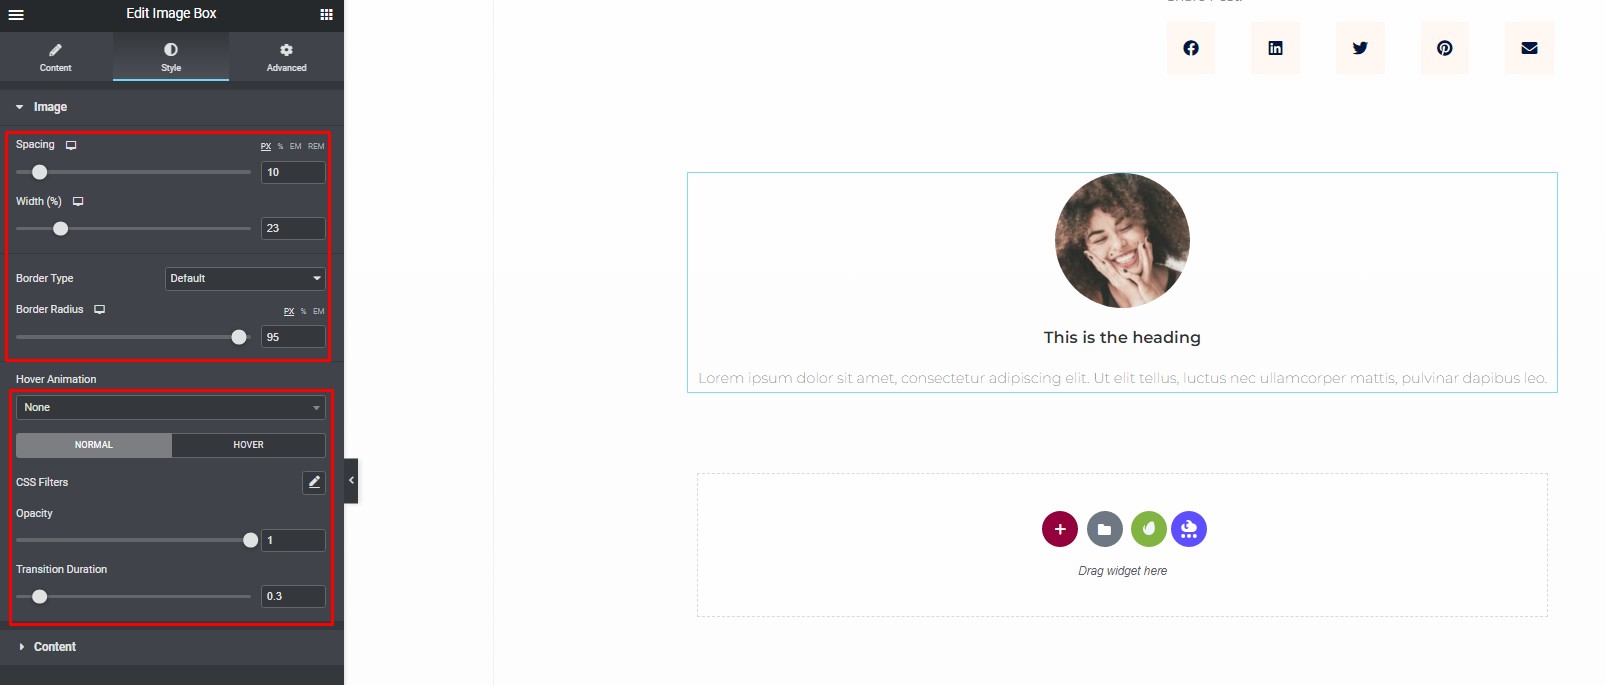
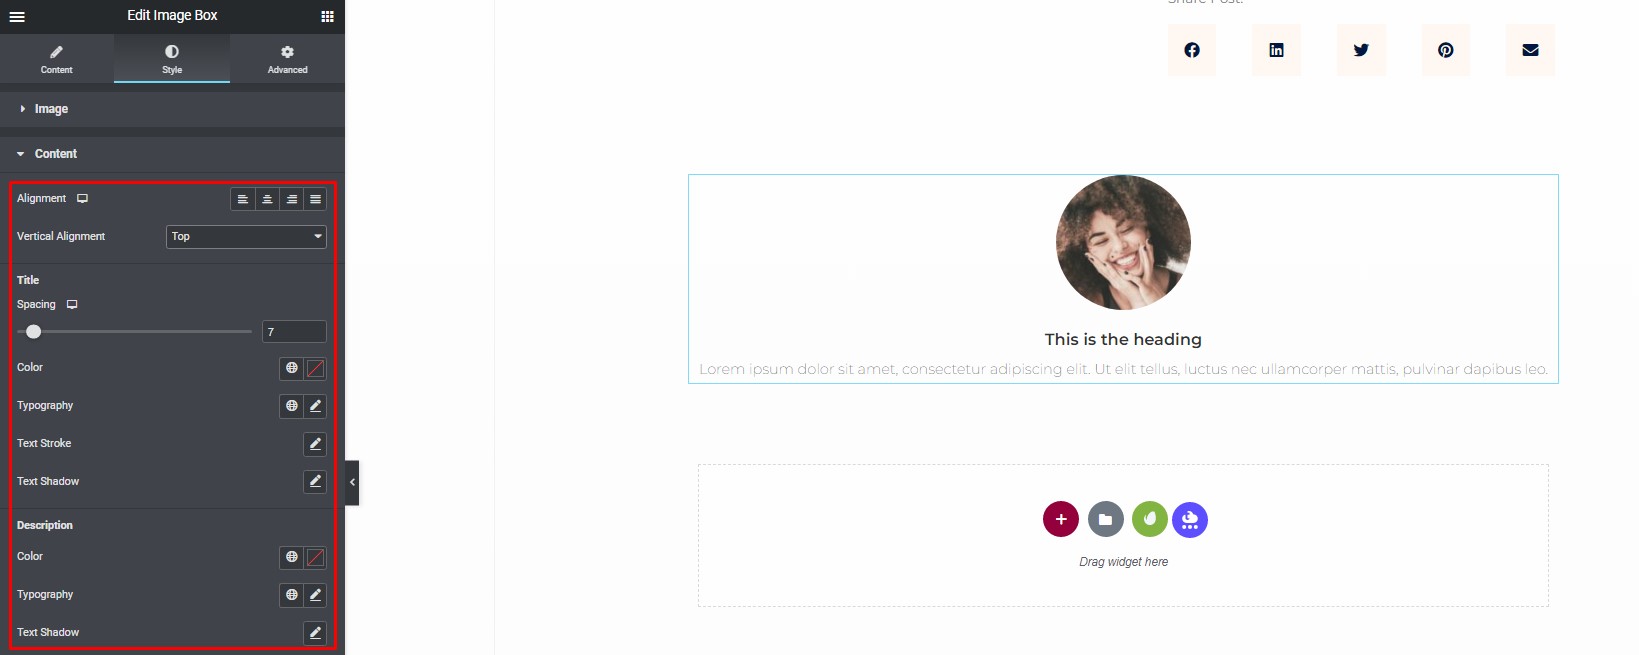
Content
To customize the content
1. Align the content to the left, right, center, or justified
2. Align the content to the top, middle, or bottom of the box
3. Set the alignment, vertical alignment, title spacing, color, and typeface for the content styles.
5. Under the Title and Description, set the spacing, color, typography, text stroke, and text-shadow of the image box.
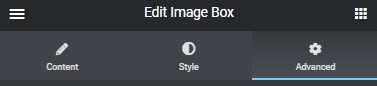
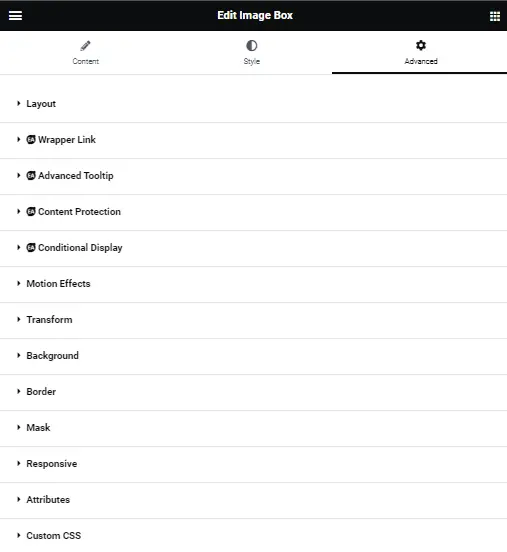
If you’d prefer a different style for your image box. Simply select the “Advanced Tab.”
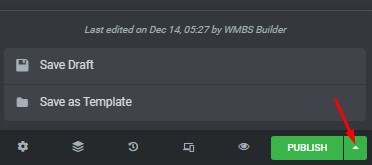
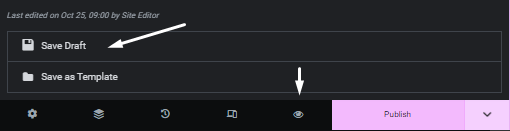
After you’ve finished customizing the widget, don’t forget to save the changes. To do so, go to the bottom of the page and click the save draft button.
Customizing Image Boxes in Elementor: A Step-by-Step Guide
Image boxes are a powerful tool for enhancing the visual appeal of your website. If you’re using Elementor, a popular website builder for WordPress, you’re in luck. In this comprehensive guide, we will walk you through the process of customizing image boxes in Elementor, step by step.
Getting Started with Elementor
Before we dive into the world of image box customization, let’s ensure you have Elementor up and running. If you haven’t already, install Elementor and get familiar with its user-friendly interface.
Benefits of Customizing Image Boxes
Customizing image boxes in Elementor offers several benefits. It allows you to maintain brand consistency, make your website visually appealing, and grab your visitors’ attention. Moreover, customized image boxes can be used for creating interactive and informative sections that improve user experience.
Step 1: Create a New Page or Post
Once Elementor is activated, create a new page or post by clicking on “Pages” or “Posts” in your WordPress dashboard and then selecting “Add New.”
Step 2: Add an Image Box
In the Elementor editor, search for the “Image Box” widget and drag it to your page or post.

Step 3: Customize the Image Box
Now, let’s customize the image box. This includes changing the image, adding content, and adjusting the style.
Change the Image: Click on the image box to open the settings panel. You can upload a new image or select one from your media library.
Add Content: Under the “Content” tab, you can add a title, and description, and customize the button text and link.
Adjust the Style: In the “Style” tab, you can modify the box’s background color, text color, and other visual elements to match your website’s design.
Step 4: Advanced Customizations
To make your image box even more unique, consider these advanced customizations:
Adding Hover Effects: You can add hover effects to your image box to create interactive elements that change when users hover over them. Experiment with animations and transitions to make your image box more engaging.
Using CSS: If you have CSS knowledge, you can further customize your image box by adding custom CSS rules to the “Advanced” tab.
Adding Links: Make the image box clickable by adding a link to it. This is useful for directing users to other parts of your website or external content.
Step 5: Preview and Save
After you’ve customized your image box to your satisfaction, click “Preview” to see how it looks on your website. If you’re happy with the result, save your changes.
Conclusion
Customizing image boxes in Elementor is a simple yet effective way to enhance your website’s visual appeal and engage your audience. With Elementor’s user-friendly interface, you can create unique and eye-catching image boxes that suit your brand and content.


