
Introduction
An immersive and engaging user experience is crucial in the world of website design and content creation. Including audio elements in your web pages is an effective way to achieve this. You have access to a flexible “Audio” element with Thrive Architect, a well-known page builder for WordPress, which enables you to seamlessly integrate audio files, whether they are personal recordings, SoundCloud tracks, or Spotify playlists. We’ll walk you through every step of this detailed tutorial process for using Thrive Architect’s “Audio” element to its full potential.
Understanding the Audio Element
The audio element is a versatile tool that allows you to embed sound directly into your web pages. It supports various audio formats such as MP3, WAV, and OGG, ensuring compatibility across different browsers.
Adding the “Audio” Element to Your Page
To get started, you’ll want to add the “Audio” element to your web page. Follow these simple steps:
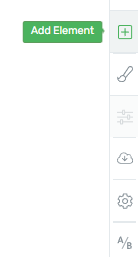
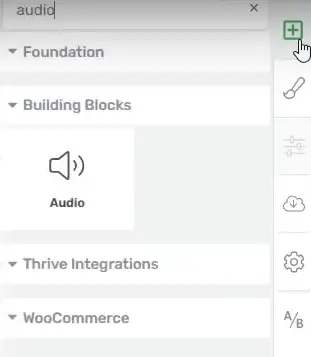
- Access the Element List: Begin by clicking on the plus sign located on the right sidebar of your Thrive Architect editor. This action will open a list of available elements.
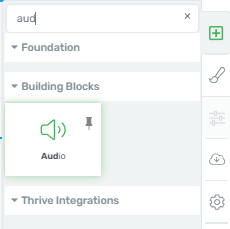
- Locate the “Audio” Element: In the elements list, search for the “Audio” element. Once you find it, simply drag and drop it onto your desired location within the page.
Now that you’ve added the “Audio” element to your page, you can proceed to customize it according to your needs.
Customizing Your Audio Element
Upon adding the “Audio” element, you’ll find a range of options in the left sidebar that allow you to tailor the audio experience. Follow these steps to customize your audio element:
1. Selecting the Audio Source
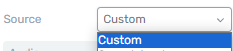
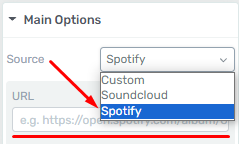
The first step is to choose the source of your audio file. You have several options:
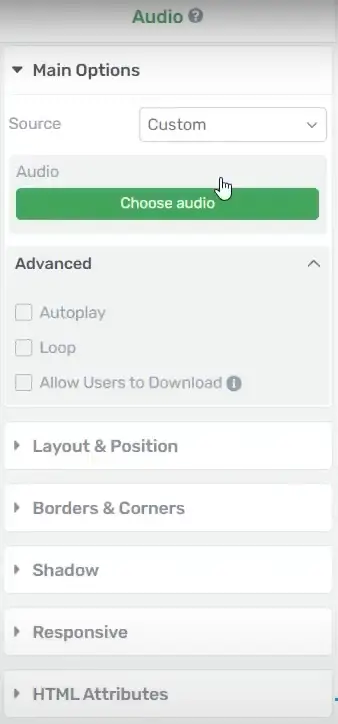
- Custom Audio: If you want to add your own audio file, select “Custom” from the “Source” field dropdown. This is the default option.
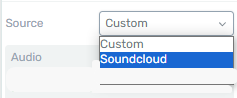
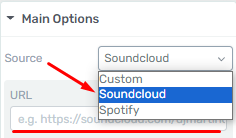
- SoundCloud: To include an audio track from SoundCloud, choose “SoundCloud” from the dropdown and paste the SoundCloud audio file’s URL into the designated field.
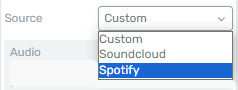
- Spotify: To incorporate an audio track from Spotify, select “Spotify” from the dropdown and provide the Spotify song’s URL in the “URL” section.
2. Adding a Custom Audio File
If you’ve chosen the “Custom” option, follow these steps to add your custom audio file:
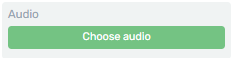
- Click on the “Choose audio” button to access your Media Library.
- Locate the desired audio file within the Media Library and select it.
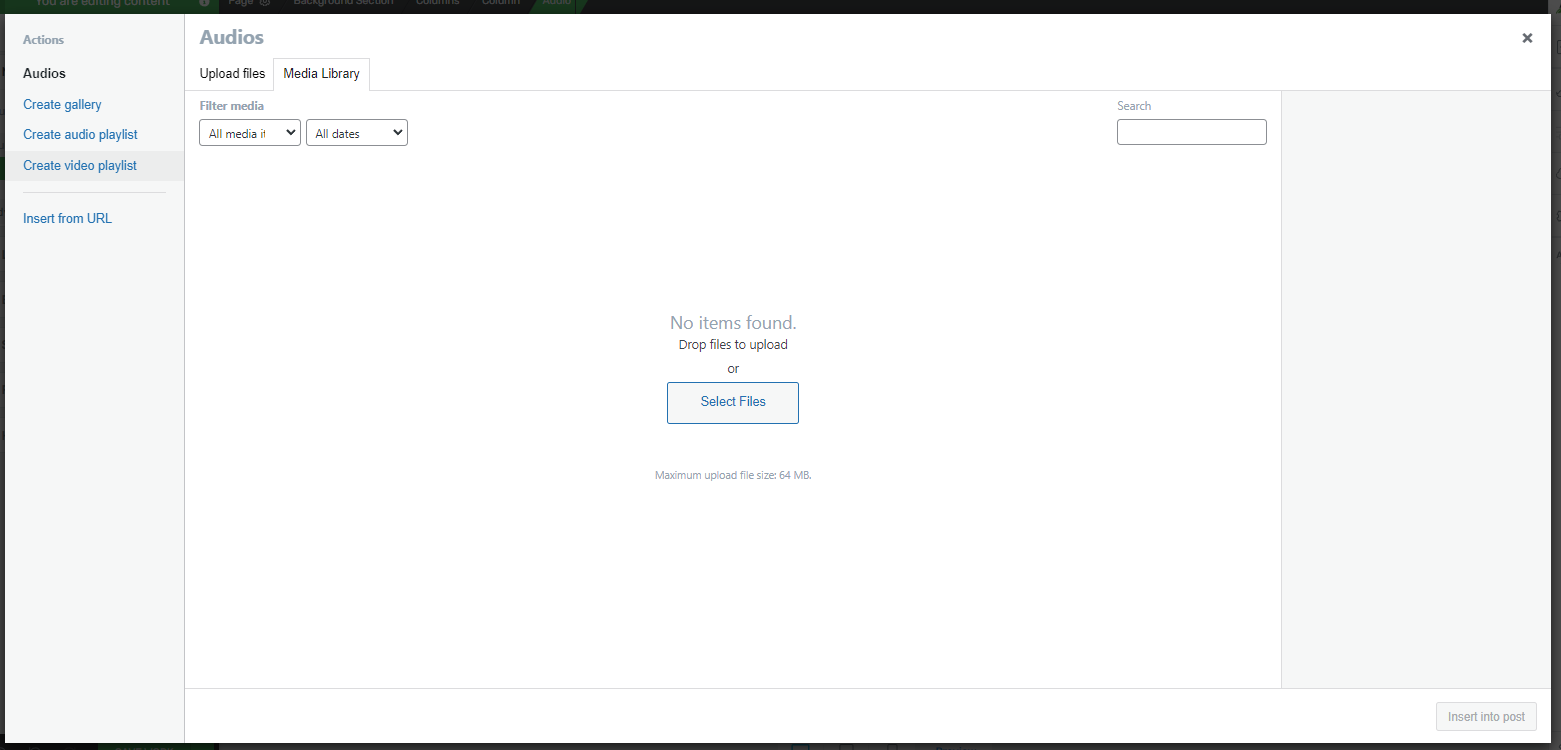
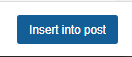
- Click on the “Insert into post” button to add the selected audio file to your page.
3. Changing the Audio File
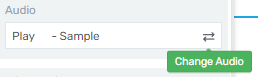
Should you wish to replace the audio file you’ve previously uploaded, simply click on the “Change” option (represented by two arrows icon) next to the existing file. This action will open the Media Library, allowing you to select a different file.
4. Advanced Options
Explore advanced options within the “Advanced” tab of the “Main Options” section:
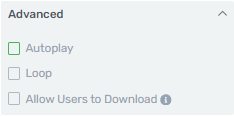
- Autoplay: Enable this option to have your audio file start playing automatically when visitors view your page.
- Loop: Activate this option to make the audio file play in a continuous loop.
- Allow Users to Download: By default, this option is disabled. If you want visitors to be able to download the audio file, activate this option.
Adding Audio from SoundCloud
To integrate an audio file from SoundCloud, follow these straightforward steps:
Click on the “Source” field and choose “SoundCloud” from the dropdown.
Paste the URL of the desired SoundCloud audio file into the URL field.
By following these steps, you’ll successfully embed SoundCloud audio into your page.
Adding Audio from Spotify
Incorporating audio from Spotify is equally straightforward:
Select the current source in the “Source” section.
Choose “Spotify” from the dropdown list.
In the “URL” section, insert the link to the Spotify song you want to feature on your page.
With these simple actions, your page will showcase Spotify audio seamlessly.
Enhanced User Experience with Spotify Integration
It’s important to note that when a visitor views the “Audio” element featuring Spotify audio and is logged into Spotify in the same browser, they can enjoy the full audio file experience. However, if the visitor is not logged into Spotify, they will only have access to a preview of the audio file and will need to log in to Spotify to listen to the complete track.
Save & Preview Your Page
After configuring your “Audio” element, it’s crucial to save your changes and preview your page to ensure everything appears as expected:
Click on the “Save Work” button located at the bottom left of the editor to save your modifications.
![]()
Utilize the “Preview” button in the bottom center of the editor to preview how the “Audio” element is displayed on your page.
Enhancing User Experience: Customizing Audio Player Styles in Thrive Architect
In the ever-evolving digital landscape, user experience stands as a paramount factor in retaining website visitors. One of the often-overlooked elements in this regard is the audio player. This article delves into the significance of customizing audio player styles within Thrive Architect, exploring how this enhancement can contribute to a more engaging and enjoyable user experience.
Insert an Audio Element
Open your Thrive Architect editor and navigate to the page where you want to add the audio player.
Drag and drop the “Audio” element onto your page.
Configure Audio Settings
Click on the inserted audio element to open its settings.
Upload the audio file you want to play.
Adjust other settings such as autoplay, loop, and volume according to your preferences.
Volume Control
If the audio player includes a volume control option, customize its appearance. This could involve changing the slider style or adjusting the volume icon.
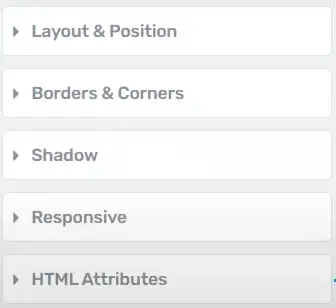
Additional Styling
Explore other styling options such as borders, shadows, and background colors to ensure the audio player integrates well with your overall page design.
Preview and Test
Before publishing your page, preview it to see how the customized audio player looks and functions.
Test the player to ensure that the customization doesn’t interfere with its functionality.
Responsive Design
Ensure that your customized audio player looks good on different devices by checking its responsiveness.
Adjust styling for different screen sizes if necessary.
Conclusion
Incorporating the audio element into your Thrive Architect-designed website opens up exciting possibilities for user engagement. From customization options to troubleshooting tips, this guide equips you with the knowledge to create a captivating audio experience for your visitors.


