
Introduction
In today’s digital landscape, creating engaging and visually appealing content is crucial. Thrive Architect, a powerful WordPress page builder, offers a variety of elements to help you achieve just that. One such element is the “Numbered List,” which can be a valuable addition to your posts and pages. In this comprehensive tutorial, we will walk you through the step-by-step process of using the “Numbered List” element in Thrive Architect, ensuring that your content not only looks great but also provides a seamless user experience.
Understanding Thrive Architect
Thrive Architect stands out as a comprehensive WordPress editor, offering an array of features to design and customize web pages effortlessly. It serves as a valuable tool for both beginners and experienced users seeking a seamless way to build engaging websites.
Adding the Numbered List Element
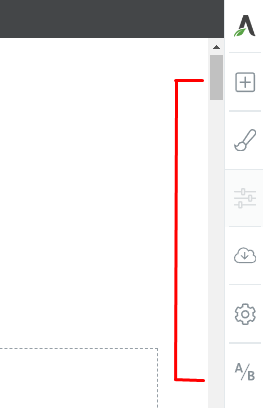
To begin, let’s add the “Numbered List” element to your post or page.
Go to the right sidebar of your Thrive Architect editor.
Next, click on the plus sign to access the list of available elements.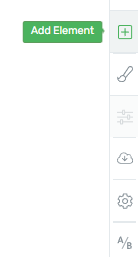
Then, look for the “Numbered List” element in the list or use the search bar to find it.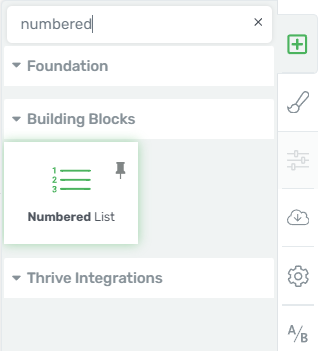
Afterward, drag and drop the element anywhere you desire on your page.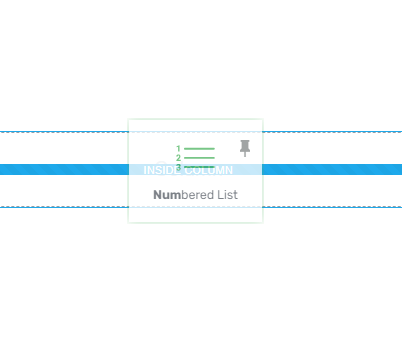
Now that you’ve successfully added the “Numbered List” element, let’s proceed to explore the customization options it offers in detail.
Customizing the Main Options
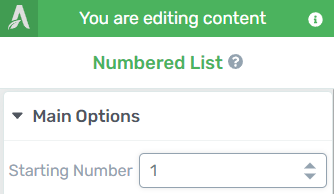
Starting Number
The first option you’ll encounter is the “Starting Number.” This option allows you to specify from which number your list should begin. The default value is 1, but you can easily change it to meet your requirements.
To adjust the starting number:
Click on the field next to the “Starting Number” option.
Then, delete the default value.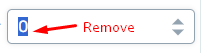
After that, enter the desired starting number.
You can also fine-tune the value using the up and down arrows by clicking and dragging them.
Increment
After setting the starting number, you have the option to determine the increment for your numbered list. By default, this value is set to 1, meaning each subsequent item will increase by 1.

To modify the increment:
You must enter a different number in the field next to the “Increment” option.
Then, use the up and down arrows to adjust the value.
Number Font
If you wish to change the font used for the numbers in your list, the “Number Font” option allows you to do just that. Follow these steps to customize the font:
Click anywhere within the “Number Font” field.
Then, a pop-up will appear, allowing you to choose the source of the font.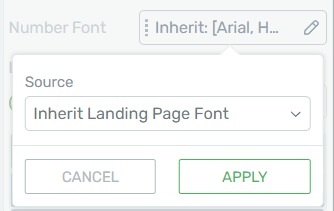
Next, click on the field below the “Source” option to reveal a dropdown menu with various source types.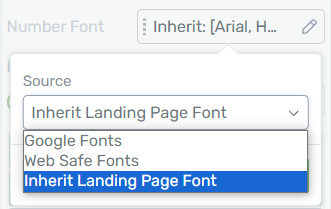
Then, select your desired source type.
Choose the specific font based on your selected source.
After that, click “Apply” to confirm your font choice.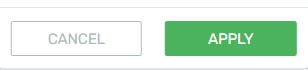
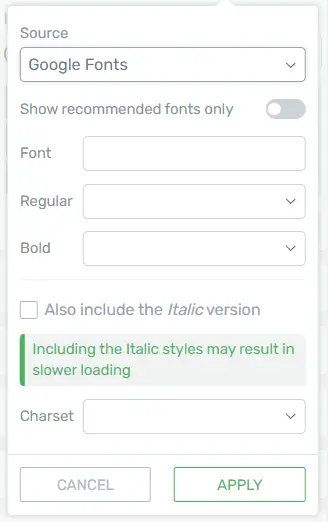
Source: Google Fonts:
If you opt for “Google Fonts” as your source, click on the “Font” option to make your selection. Other font settings will automatically populate based on your choice.
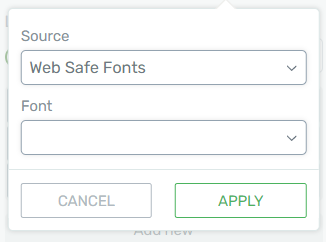
Source: Web Safe Fonts:
For “Web Safe Fonts,” the process is similar. Click on the “Font” field, select your preferred font from the dropdown, and click “Apply.”
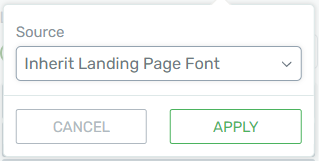
Source: Inherit Landing Page Font:
Choosing “Inherit Landing Page Font” will use the font of your Landing Page. Simply select this option from the dropdown and click “Apply.”
List Item Spacing
Once you’ve selected your font, you can set the spacing between list items. To adjust the spacing:
Use the slider to the left to drag it to your desired spacing.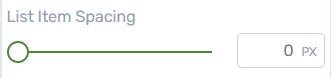
Then, enter a numerical value in the box next to the slider.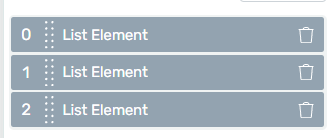
List Element Items
The final section under “Main Options” enables you to manage individual list items:
Adding a New Item
To add a new item to the list:
Click the “Add new” button.
Then, you can add as many list element items as needed.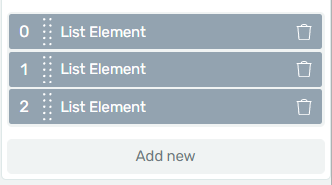
Rearranging Elements
To rearrange elements within the list:
Hover over the dotted side of an element until you see the “move” icon.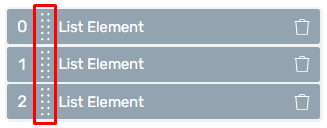
Then, click and drag the list element to your desired location.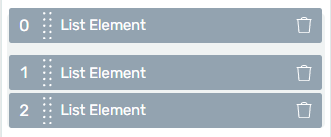
Deleting Elements
To remove list elements:
Click on the trash can icon next to the item you want to delete.![]()
These comprehensive customization options in the “Main Options” section allows you to fine-tune the appearance and structure of your numbered list element.
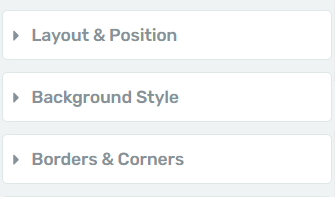
Exploring Additional Options
In addition to the “Main Options,” Thrive Architect provides various general options like Layout & Position, Borders & Corners, and more, enabling you to further enhance your content’s visual appeal and functionality. Feel free to experiment with these options to achieve your desired design.
Using Group Styling
“Group Styling” is a powerful feature specific to the “Numbered List” element in Thrive Architect. It allows you to customize different aspects of your list quickly and efficiently. Let’s explore how to make the most of this feature:
Click on either a number or text within the “Numbered List” element.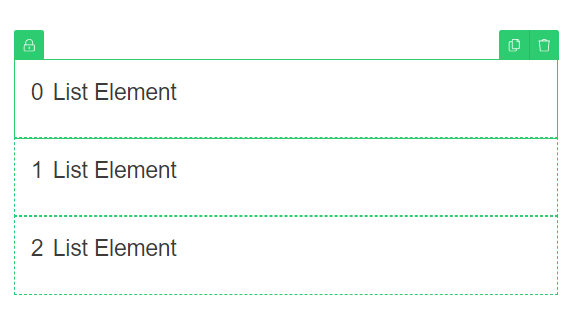
Then, you can find the “Currently styling” section in the sidebar on the left.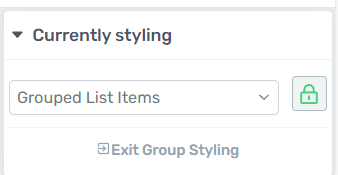
This section lets you choose what you want to customize: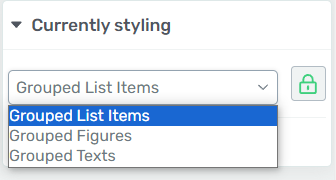
- Grouped List Items
- Grouped Figures
- Grouped Texts
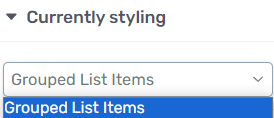
Grouped List Items
By selecting “Grouped List Items,” you can edit the entire list of items as a whole. For example, you can change the background style, and it will apply to each list element item.
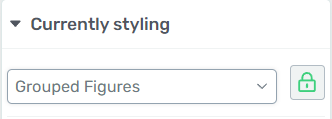
Grouped Figures
If you choose “Grouped Figures,” you will only customize the figures (numbers) within the “Numbered List” element. This means that modifications made will affect only the numbers and not the accompanying text.
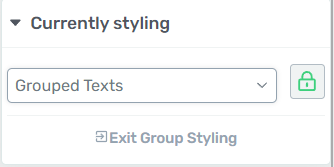
Grouped Texts
Opting for “Grouped Texts” allows you to edit the text fields exclusively. Any changes you make, such as applying a gradient effect, will impact the text fields while leaving the numbers unchanged.
Deactivating Group Styling
Deactivating “Group Styling” will allow you to customize elements individually rather than in groups. Follow these steps:
Click on the specific item you want to customize separately.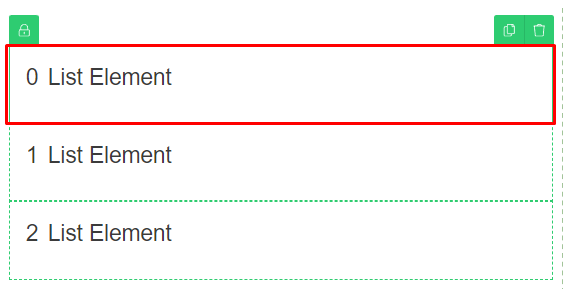
Then, look for the “Lock-Unlock” button in its upper left corner or within the “Currently Styling” box.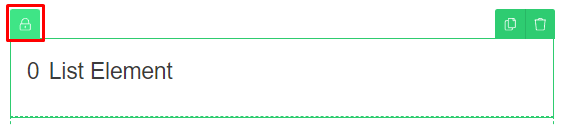
- Click the button to deactivate “Group Styling.”

This way, you can make changes to a single element without affecting others at the same level.
Existing Group Styling
Once you’ve finished customizing different parts of the “Numbered List,” you can exit “Group Styling” to return to the “Main Options” of the element. To do this:
Click the “Exit Group Styling” option within the “Currently Styling” section.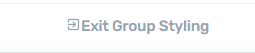
Then, click “Numbered List” in the breadcrumbs to go back.![]()
Conclusion
In conclusion, mastering the “Numbered List” element in Thrive Architect empowers you to create visually appealing and organized content that captures your audience’s attention. By utilizing the “Main Options” and “Group Styling” features, you can customize every aspect of your numbered list to suit your specific needs.
Just like any other element in Thrive Architect, the “Numbered List” offers endless possibilities for creativity and design. Experiment with different options, and don’t hesitate to explore the platform’s Knowledge Base for additional guidance on unleashing the full potential of this powerful tool.


