

Introduction
In the dynamic landscape of content creation, Thrive Architect stands out as a powerful WordPress page builder, empowering creators to craft visually stunning and highly engaging content. Today, we’ll delve into one of its standout features—the Social Share Element. This tool seamlessly integrates social media sharing buttons into your content, leveraging Thrive Architect’s capabilities to amplify your reach and audience interaction. In this tutorial, we’ll walk you through the process of using the Social Share Element in Thrive Architect to maximize the impact of your content.
Understanding Social Share in Thrive Architect
Thrive Architect, a powerful content creation tool, goes beyond just designing visually appealing content. It incorporates robust social share features that enable users to seamlessly integrate their creations with various social media platforms. This not only simplifies the sharing process but also enhances the overall reach and impact of the content.
Using Thrive Architect to “Boost Engagement with Social Share”
Now, let’s dive deeper into how Thrive Architect can help you maximize engagement with the “Social Share” feature.
Adding the “Social Share” Element
The first step is to add the “Social Share” element to your page. Follow these simple instructions:
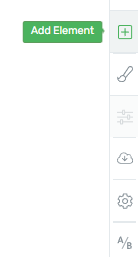
- Click on the plus sign located in the right sidebar of the Thrive Architect editor to access the list of available elements.
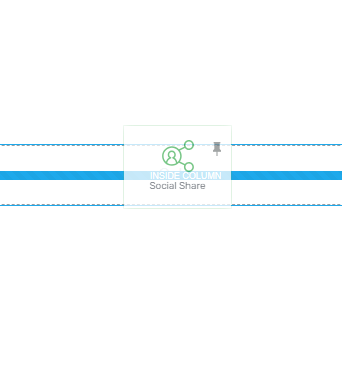
- Look for the “Social Share” element in the list.

- Once you’ve found it, drag and drop the “Social Share” element onto your page.
Customizing the Design of Social Share Element
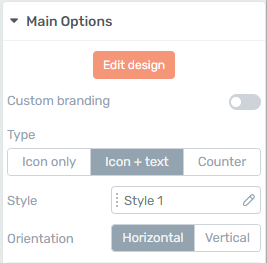
Now that you’ve added the element, it’s time to customize its design. Thrive Architect provides a range of customization options under the “Main Options” section:
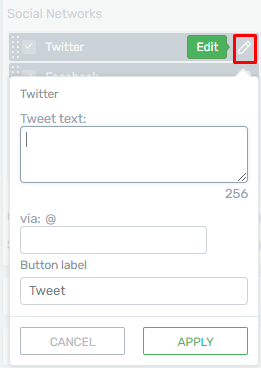
Editing Design
- Click on the “Edit Design” button to access design customization options.

- You’ll be presented with various design settings in the sidebar.
Group Styling
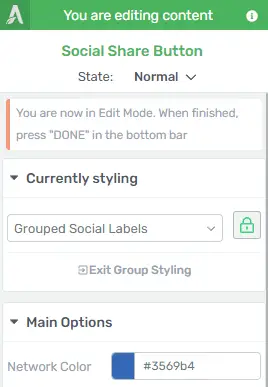
Thrive Architect’s “Grouped Social Buttons” feature lets you edit the design of labels and icons as a group. Here’s how:
- Select one of the fields available in the drop-down menu.
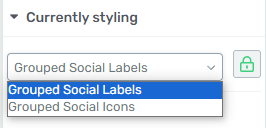
- Corresponding options for that field will appear in the main sidebar.
Icon
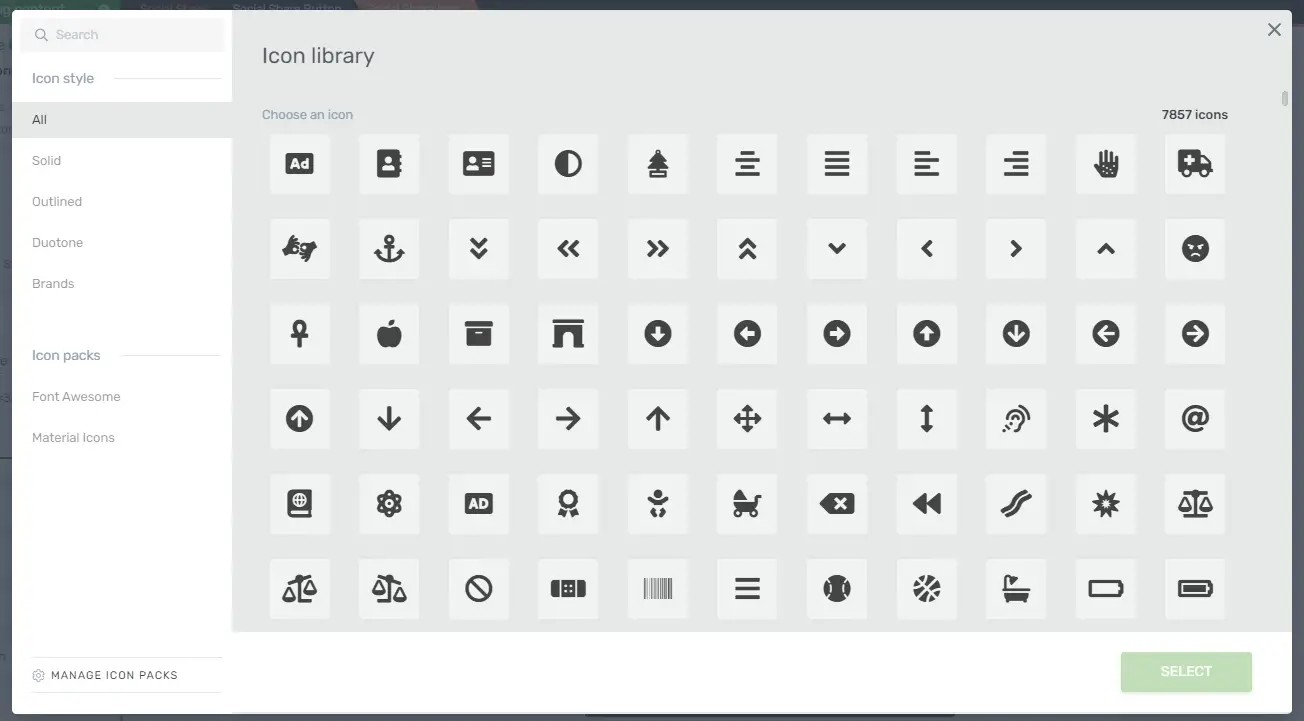
You can change the default icon with another one from the icon library. Follow these steps:
- Click on the “Icon” field.
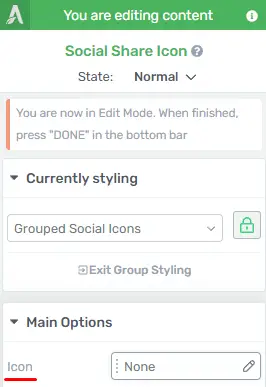
- Choose a new icon from the library and click “Select.”
Color
Change the color of the icon by following these steps:
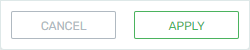
- To change the color, click on the color box.
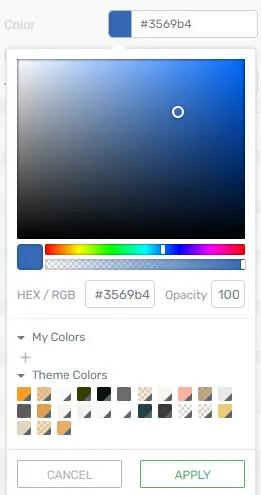
- Use the color picker, HEX/RGB code, or predefined colors to set a new color.
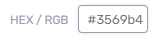
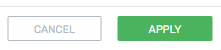
- Save your changes by clicking “Apply.”
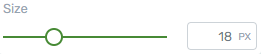
Size
You can adjust the size of the icon using the available options:
- Drag the slider or enter a numerical value in the field.
Individual Item Editing
If you prefer to edit each item individually, follow these steps:
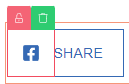
- Click on the green lock icon next to the item you want to edit.
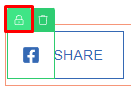
- The lock will turn red, indicating that it’s unlocked from the group and can be customized individually.
- All previous customization options are available for individual items.
Managing Social Share Icons
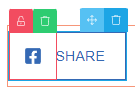
Thrive Architect allows you to manage social share icons efficiently:
- Click on a social share icon to access three options: lock/unlock, move, or delete.
- Make necessary changes and click “Done” or “Exit Group Styling” to save your work.

Custom Branding
By default, the “Custom branding” option is disabled, but you can enable it to change icon colors:
- Activate the toggle for “Custom branding”.

- Change the icon color in the “Color” box.

- Save your changes by clicking “Apply.”
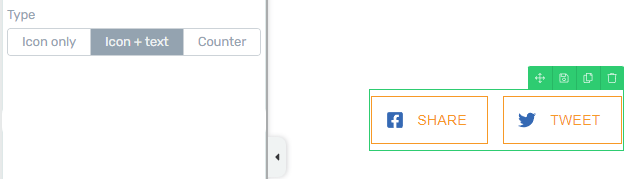
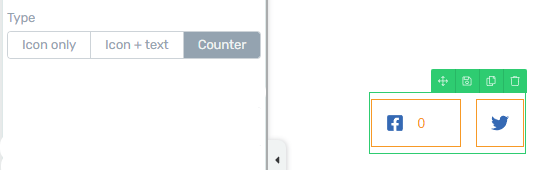
Selecting Icon Types
You have options to choose the type of icons displayed in your “Social Share” element:
- “Icon only” shows icons without additional information.
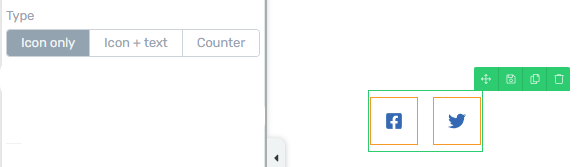
- “Icon+text” displays share text next to icons.
- “Counter” shows icons and a share counter.
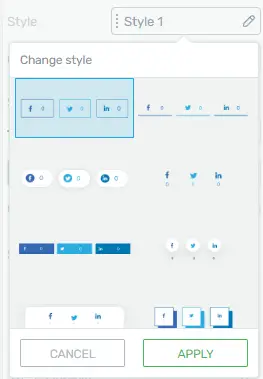
Styling
You can further style your icons:
- Click on the field next to “Style” to select a new style.
Orientation
Choose between “Horizontal” and “Vertical” orientation:
- Select your preferred orientation.

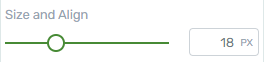
Size and Alignment
Change the icon’s size and alignment:
- Drag the slider or enter numerical values.
- Choose left, center, right, or full alignment.

Common Button Width
Ensure consistent button width, regardless of label text:
- Use this option for uniform button sizing.

Selecting Social Networks
Thrive Architect provides a list of available social media networks. Choose which ones to display:
- Click the checkbox next to the networks you want to include.
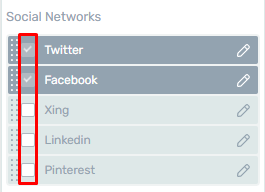
- Edit network labels as needed.
Custom Share URL
Allow users to share a different URL using the “Custom Share URL” option:
- Activate the option and enter the desired URL.

Show Share Count
Activate “Show share count” and set conditions for when the share count is displayed:
- Choose when the count appears based on the number of shares.

- Select the display location (left, right, top, or bottom).
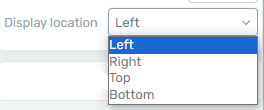
Please note that the “Show share count” option is applicable to Facebook and Pinterest shares and requires a Facebook API connection for accurate share count display.
Conclusion
Integrating social share buttons into your website is an excellent way to enhance your online presence and engage your audience. Thrive Architect’s “Social Share” element offers powerful customization options, allowing you to tailor the appearance and behavior of your social share buttons to match your branding and content strategy. By following these step-by-step instructions, you can effectively leverage this feature to boost your website’s reach and impact.


