Table of Contents
In the ever-evolving world of web design, enhancing user experience has become paramount. One effective way to do this is by adding an audio playlist to your WordPress website. This seamless integration can be achieved using Elementor, a powerful and user-friendly page builder. In this guide, we’ll take you through the steps to create an engaging audio playlist that will captivate your visitors.
Getting Started to Create an Audio Playlist
To create an audio playlist in Elementor, you’ll need to follow these simple steps:
Step 1: Adding a Text Editor Widget
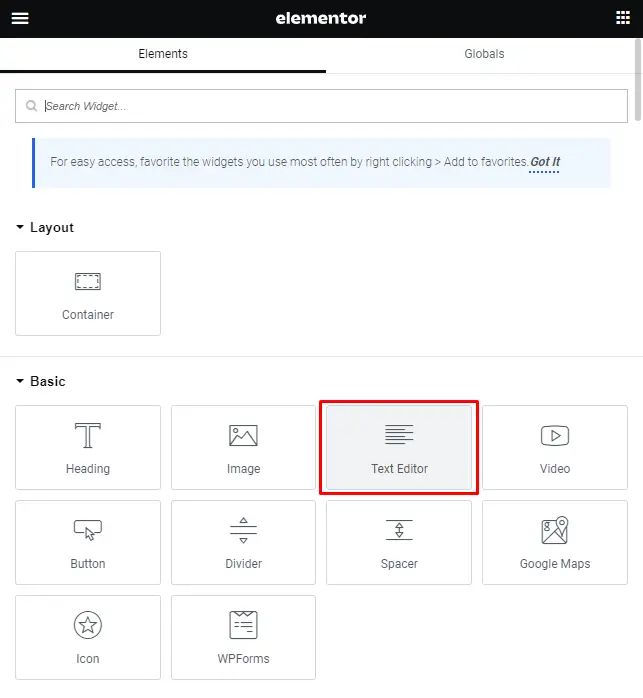
First, open the Elementor editor and from the Basic Widget library, drag and drop a Text Editor Widget to your desired location on the page.
Step 2: Adding Media
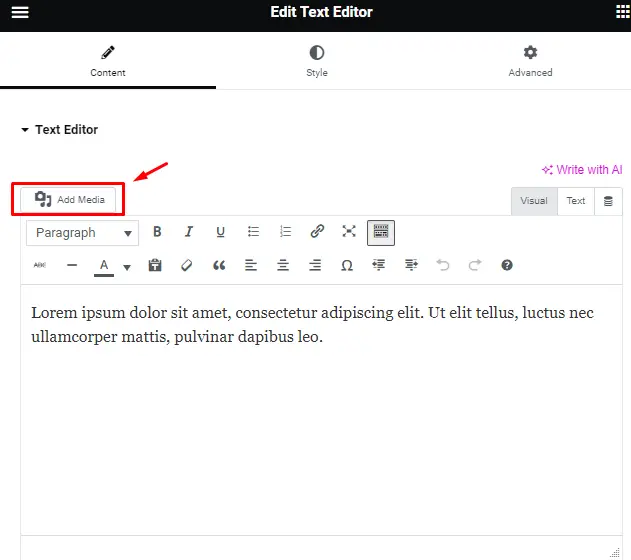
Within the Text Editor Widget, click on the “Add Media” button in the control panel.
Step 3: Creating an Audio Playlist
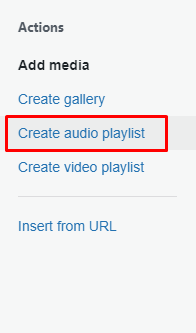
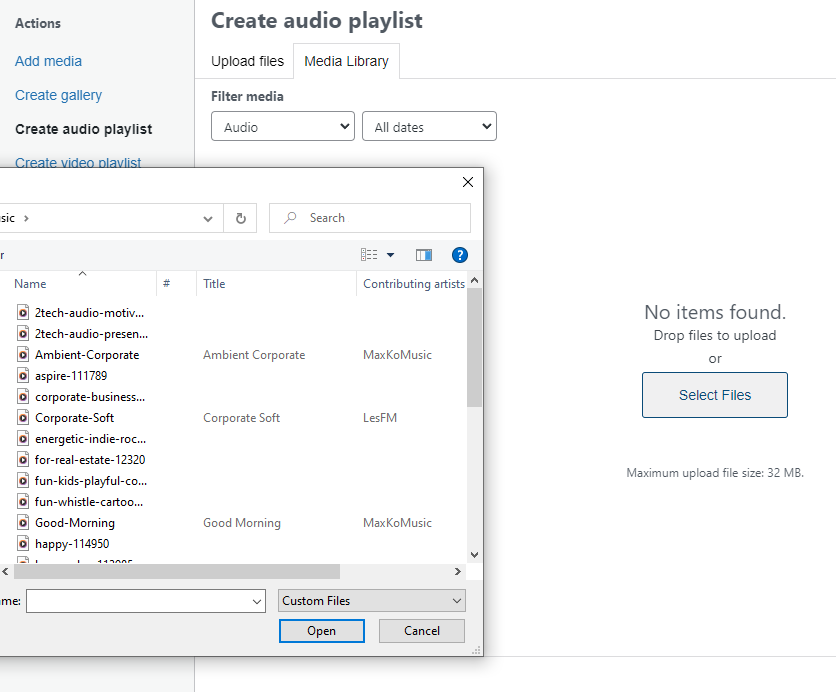
- Select “Create audio playlist” from the options available on the left-hand side.
- Choose the audio files you want to include in your playlist by selecting them from your media library.
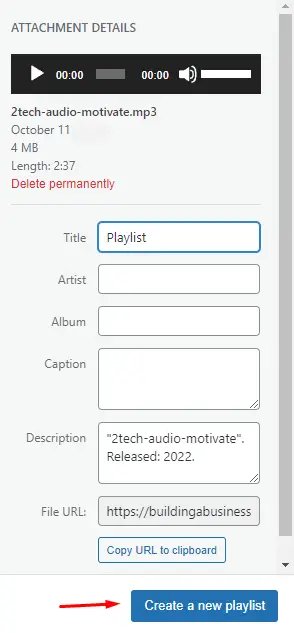
- Click the “Create a new playlist” button located in the lower corner of the media library.
Step 4: Customizing Playlist
Here, you have the opportunity to customize your audio playlist. You can edit track titles and adjust settings to fit your needs.

Step 5: Inserting Audio Playlist
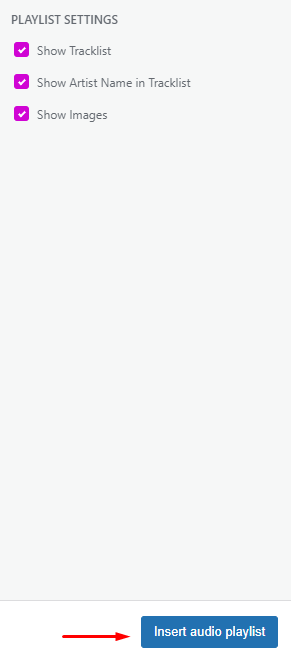
Once you’re satisfied with your playlist settings, click the “Insert audio playlist” button in the lower corner.
Step 6: Review and Publish
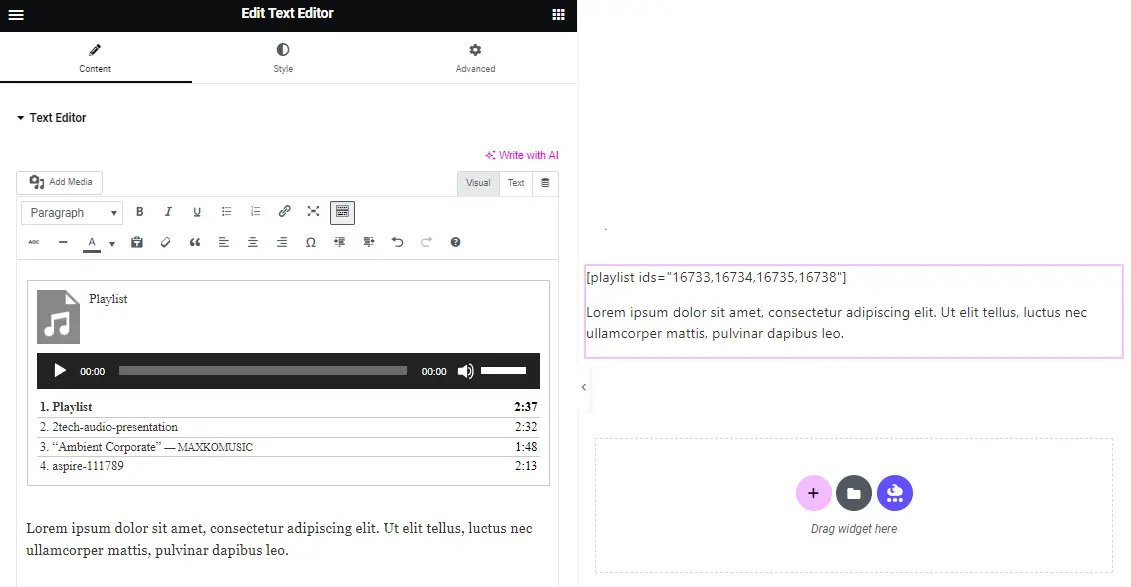
You will now see the playlist in the Elementor editor panel, but it won’t appear in the main window. Instead, it will be displayed as a shortcode. This is entirely normal. To view your playlist, you’ll need to publish or update your page and then access it from the preview icon or in another tab.
Advantages of Using Elementor for Audio Playlists
Elementor offers numerous advantages for creating audio playlists, which can significantly enhance your website’s functionality and appearance:
1. User-Friendly Interface
Elementor’s drag and drop interface makes it easy for both beginners and experienced users to create audio playlists without any coding knowledge.
2. Seamless Integration
As Elementor is a native WordPress feature, it seamlessly integrates with the classic editor or block editor using the classic block.
3. Customization Options
You have the freedom to customize your audio playlist according to your website’s design and layout.
4. Media Library Integration
You can effortlessly select audio files from your media library, ensuring a smooth and convenient process.
5. Compatibility
Elementor is compatible with most WordPress themes, making it a versatile choice for website builders.
Best Practices for Using Audio Playlists
To make the most of your audio playlists, consider the following best practices:
Engage Your Audience
Use audio playlists to engage your audience with relevant and appealing content.
Organize Your Content
Categorize your audio files into playlists based on themes, genres, or any other relevant criteria to make navigation easier for your visitors.
Optimize Metadata
Ensure that your audio files have accurate and descriptive metadata to improve SEO and make your content more discoverable.
Responsive Design
Make sure your audio playlist is responsive and looks great on all devices to provide a seamless user experience.
Promote Sharing
Include social sharing buttons to encourage your users to share your audio content with their networks, increasing your reach.
Conclusion
In conclusion, adding audio playlists to your WordPress website using Elementor is a straightforward process that can significantly enhance your user experience. Elementor’s user-friendly interface, seamless integration, and customization options make it a top choice for website builders looking to engage their audience with multimedia content.
