

Introduction
Thrive Architect, a page builder known for its user-friendly interface and powerful customization capabilities, opens up a world of possibilities for creating visually stunning and interactive web content.
If you’re wondering how to create captivating CSS hover animations for your Thrive Architect opt-in form elements, you’ve come to the right place. In this comprehensive tutorial, we will walk you through the process of adding animations to your opt-in form elements, making them stand out when they come into view and when users hover over them.
Understanding CSS Hover Animations
CSS hover animations refer to the dynamic effects applied to elements when a user hovers over them. These effects can range from subtle transitions to eye-catching transformations, providing an immersive and interactive experience.
Navigate to Thrive Leads Dashboard
To get started, follow these simple steps:
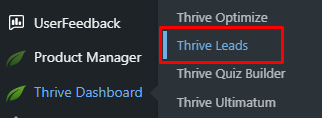
Head over to your Thrive Leads dashboard. You can find it in the left sidebar navigation panel.
Enter “Edit Design” Mode
Locate the specific form you want to work on and enter the “Edit Design” mode.

Choose or Add a Template
If you haven’t already chosen a template for your form, you can do so now. The editor will load it by default.
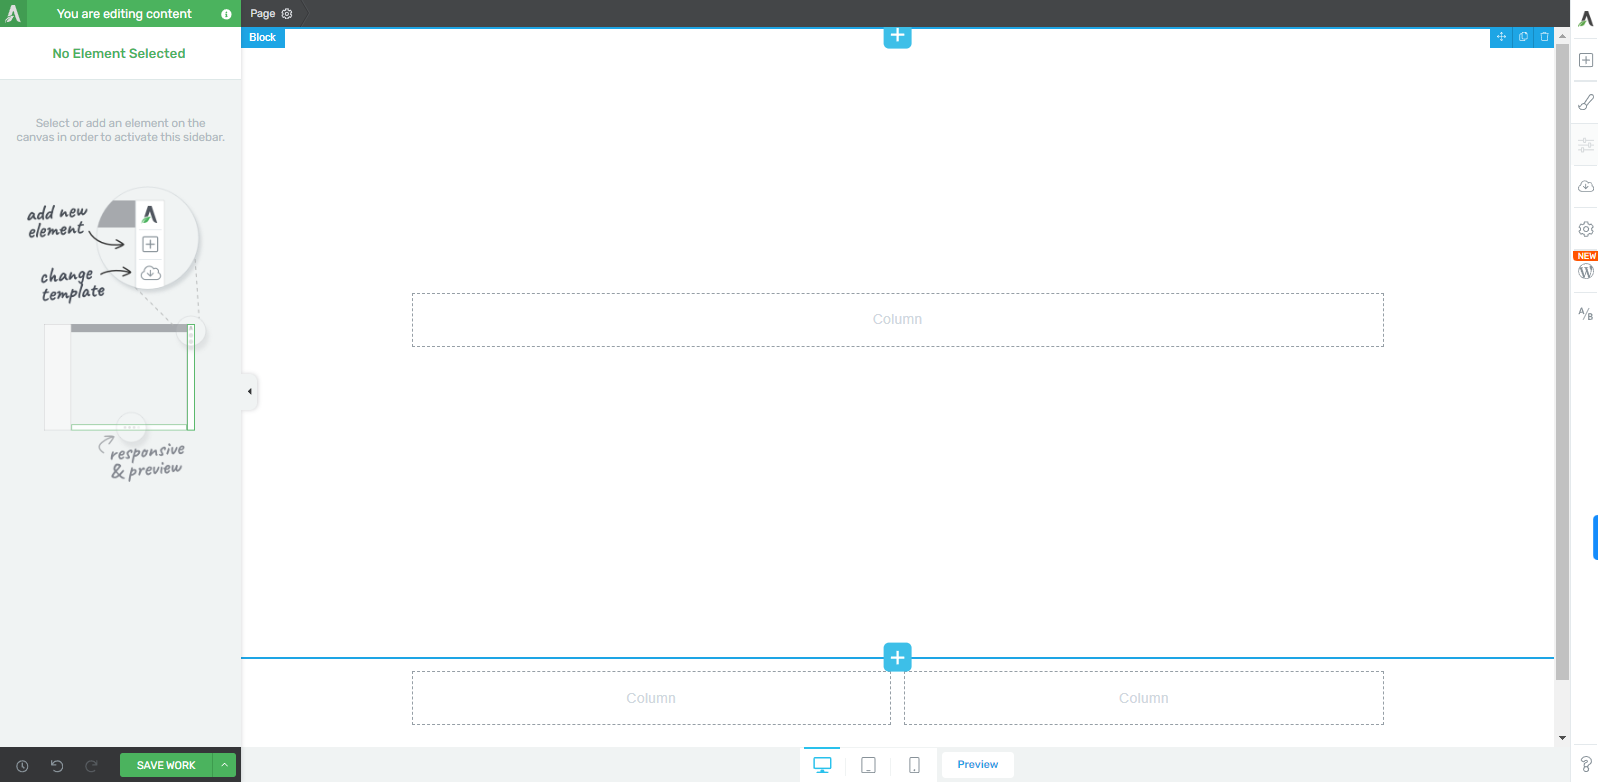
Select or Add Element
Your form can either already have the element on which you want to apply animations, or you can add it from the right sidebar list of elements.
Pro Tip: In this tutorial, we’ll be using an “Image” element from the form, but keep in mind that the same steps can be applied to other elements as well.
Navigate to the “Animation & Action” Section
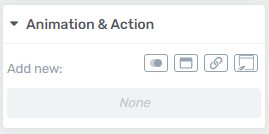
Now, let’s add an animation to your element when it’s in the ‘Normal’ state:
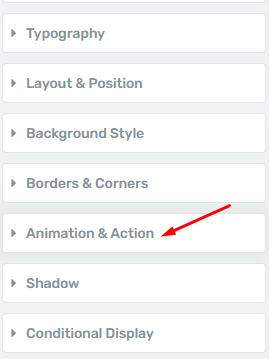
With your element selected, navigate to the “Animation & Action” section on the left sidebar and click to expand it.
Choose “CSS Animation”
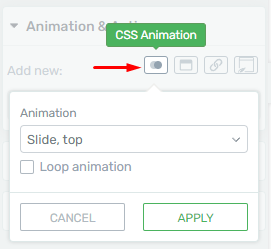
Within this section, select the “CSS Animation” option.
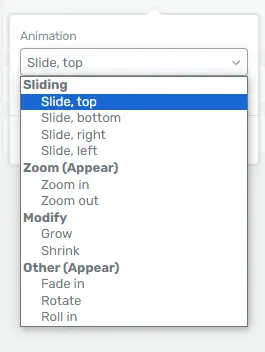
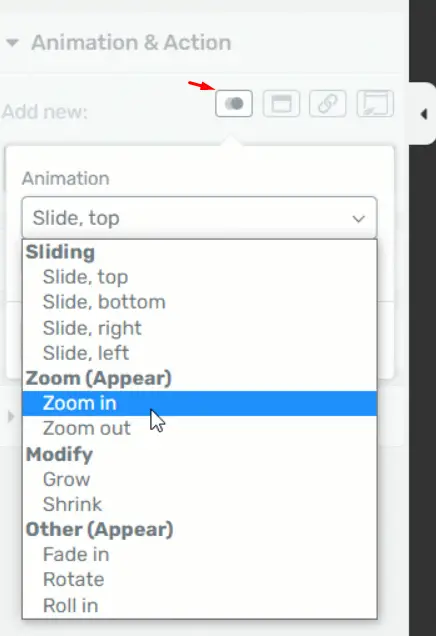
Browse and Select Animation
A pop-up list of available animations will appear. Browse through the options and choose the one that suits your design. You can also see a small preview of the action on the element itself.
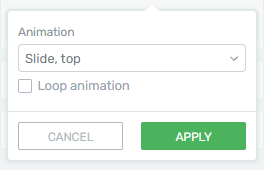
Apply Animation
Once you’ve made your selection, click on “Apply” to save your changes.
Add an Animation in ‘Hover State’
To create an animation that triggers when users hover over the element:
With the same element selected, click on the “Normal” state from the top part of the left sidebar list of options.
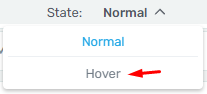
Select “Hover” State
In the list that opens, select “Hover.”
Any changes you make to the element will now be visible only when users hover over it.
Similar to the previous step, navigate to the “Animation & Action” section and select the “CSS Animation” option.
Choose and Preview Animation
Choose an animation from the list, and preview how it looks on the element.
Apply and Return
After finalizing your choice, click on “Apply” and return to the “Main Options.”
Now, your element should have two distinct animations: one when it enters the viewport and another when users hover over it. These CSS hover animations can greatly enhance the user experience and engagement on your website.
Enhancing User Engagement with CSS Hover Effects in Thrive Architect Opt-in Forms
In today’s digital landscape, user engagement is paramount. It’s the glue that holds a visitor to your website, urging them to explore more, interact, and ultimately convert into loyal customers. One powerful tool to achieve this is by harnessing the magic of CSS hover effects in your Thrive Architect opt-in forms. In this article, we will guide you through the process step by step to enhance user engagement effectively.
Step 1: Understanding the Importance of CSS Hover Effects
CSS hover effects are a visual treat for website visitors. When used thoughtfully, they can capture attention and encourage users to take desired actions. These effects make your opt-in forms interactive, drawing users’ focus and prompting them to explore further.
Step 2: Preparing Your Thrive Architect Opt-in Form
Before diving into CSS hover effects, ensure that your opt-in form is ready. Use Thrive Architect to create a visually appealing and user-friendly form. Make sure the form aligns with your website’s branding and aesthetics.
Step 3: Identifying Key Elements for Hover Effects
Not all elements in your opt-in form need hover effects. Identify the key components that, when interacted with, can enhance the user experience. This could include buttons, images, or text fields.
Step 4: Crafting CSS Hover Effects
Now, let’s get into the technical details. Craft CSS hover effects that are subtle yet captivating. Here’s an example:
Step 5: Applying Hover Effects
Implement the CSS hover effects you’ve created to your opt-in form elements. In Thrive Architect, you can easily add custom CSS to specific elements. Test your hover effects to ensure they work as intended.
Step 6: Monitoring User Engagement
After applying the hover effects, keep a close eye on user engagement metrics. Tools like Google Analytics can help you track user interactions with your opt-in forms. Monitor click-through rates, form submissions, and other relevant data.
Step 7: A/B Testing
To optimize user engagement further, consider conducting A/B tests. Create variations of your opt-in forms with different hover effects and analyze which ones perform the best. This iterative approach can lead to continuous improvements.

Step 8: Regular Updates
User preferences and trends evolve. Regularly update your hover effects and opt-in forms to stay relevant and captivating. This ensures that your website continually engages users effectively.
Conclusion
Adding CSS hover animations to your Thrive Architect opt-in form elements is a fantastic way to make your website more engaging and user-friendly. By following this step-by-step guide, you can easily implement animations that will captivate your audience and enhance their overall experience.
Remember to experiment with different animations, customize their settings, and let your creativity shine. These animations will not only make your opt-in forms more visually appealing but also encourage user interaction, ultimately boosting your website’s effectiveness.


