
Introduction
Thrive Architect, a powerful WordPress page builder, has revolutionized the way websites are designed and constructed. Its user-friendly interface and feature-rich environment make it a favorite among web designers seeking efficiency and creativity. With its arsenal of elements and features, one standout tool is the Search Element. The “Search” element is a valuable tool for improving the user experience on your website by allowing users to search for specific content easily. In this tutorial, we will walk you through the step-by-step process of adding, customizing, and how to effectively use the “Search” element in Thrive Architect. By the end of this article, you’ll have a well-optimized search feature on your website.
Understanding the Search Element
The Search Element is a versatile tool that allows visitors to search for specific content within a website. It acts as a virtual guide, helping users find information quickly and efficiently.
Adding the Search Element
To begin, you’ll need to add the “Search” element to your post or page in the Thrive Architect editor:
Click on the plus sign in the right sidebar.
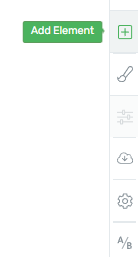
Then, scroll down or use the search bar to locate the “Search” element.
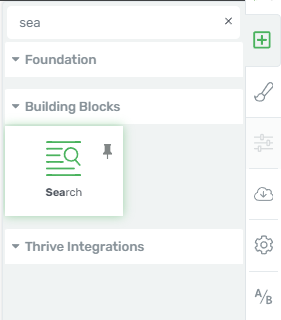
After that, drag and drop it onto your page.
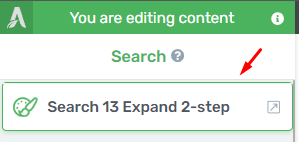
Now that you’ve placed it, options will appear in the left sidebar.
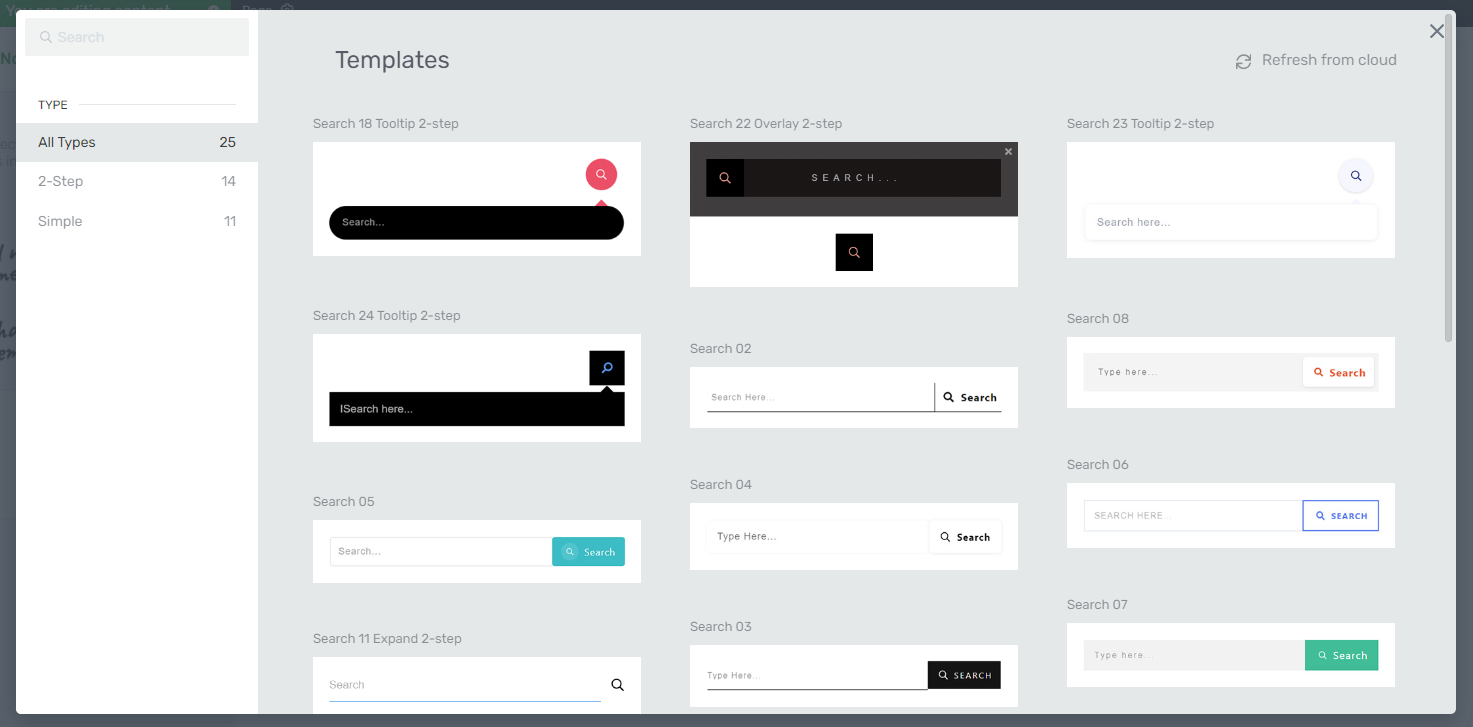
Choosing the Template
In the left sidebar, under “Template Library,” you can select a template for the “Search” element. Choose one that complements your site’s design and click “Replace Template.” Keep in mind that changing the template will reset any previous customizations.
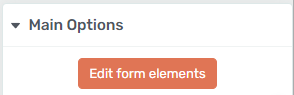
Editing Form Elements
The “Edit Form Elements” option allows you to fine-tune every aspect of the “Search” bar. Enter “Edit Mode” to modify individual elements. While in this mode, focus exclusively on the “Search” element.
Search Input
Click on the search bar to access the “Search input” options. You can customize the placeholder text to provide specific guidance to users.
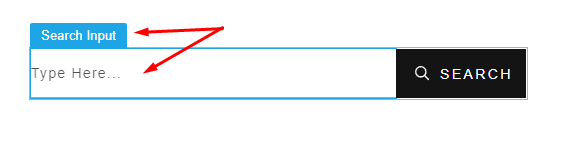
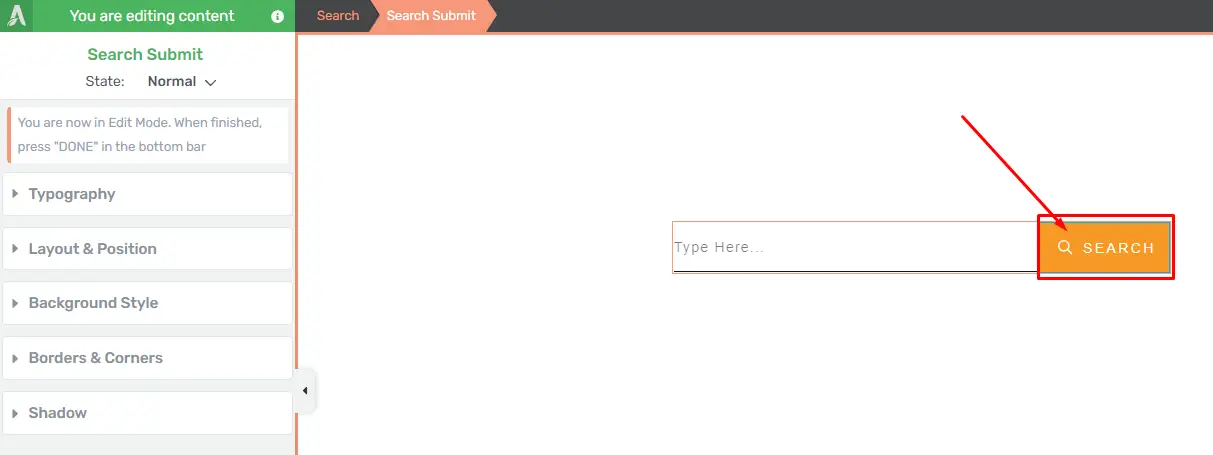
Search Submit
Then, to edit the “Search Submit” button, click on it. Adjust the button‘s color, style, icon, and size to align with your site’s aesthetics.
Master Color
Next, modify the button’s color by clicking the color box.

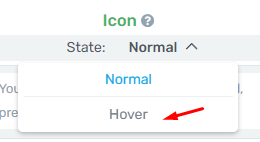
Icon
Then, customize the icon by selecting an appropriate style and color.
![]()
Hover State
Enhance the user experience by customizing the appearance of elements in the “Hover” state. Adjust settings to ensure a seamless transition when users interact with the “Search” element.
Returning to Main Options
Once you’re done fine-tuning the elements in “Edit Mode,” click “Done” to return to the main options of the “Search” element.

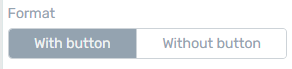
Format
So, in the “Format” section, choose whether the element should include a search button. Opt for the layout that best suits your page.
Enable Two-Step Search
This feature allows users to access the search field by clicking or hovering over the button. It provides a clean interface while maintaining functionality.
![]()
View Expanded Search in the Editor
Next, toggle this option to view the expanded search field by default in the editor, streamlining the customization process.

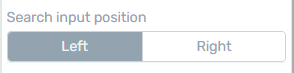
Search Input Position
Then, select the side where the search field should appear, ensuring it integrates seamlessly with your page’s layout.
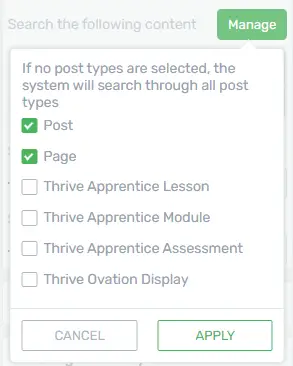
Content to be Searched
Manage the types of content the search will encompass by clicking “Manage.”
Then, check or uncheck the boxes next to the desired content types.
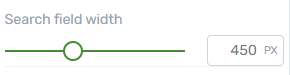
Search Field Width
After that, adjust the width of the search field to achieve the desired visual balance on your page.
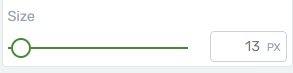
Size
Then, modify the overall size of the element to ensure it complements your page’s layout.
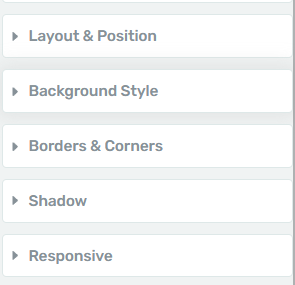
Use Additional Options
While “Main Options” offer substantial customization, don’t overlook the general options like Layout & Position and Background Style to further enhance the element’s appearance.
Customizing Search Results in Thrive Architect: Tips and Tricks
Thrive Architect is a powerful WordPress plugin that allows you to create and customize your website’s content. One area where you can enhance the user experience is by customizing search results. This guide will walk you through the step-by-step process of customizing search results in Thrive Architect, providing tips and tricks to optimize your website’s search functionality.
Step 1: Access Theme Builder
Go to the WordPress dashboard and select the “Thrive Dashboard”
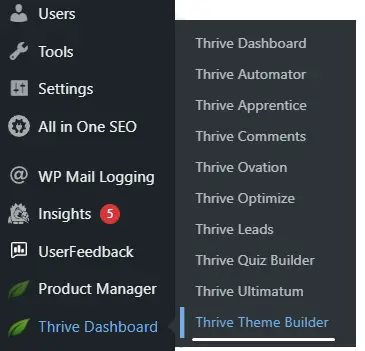
Click on “Theme Builder” to access the customization options for your website’s theme.
Step 2: Locate the Search Results Section
Within the Theme Builder, find and select the section related to search results.
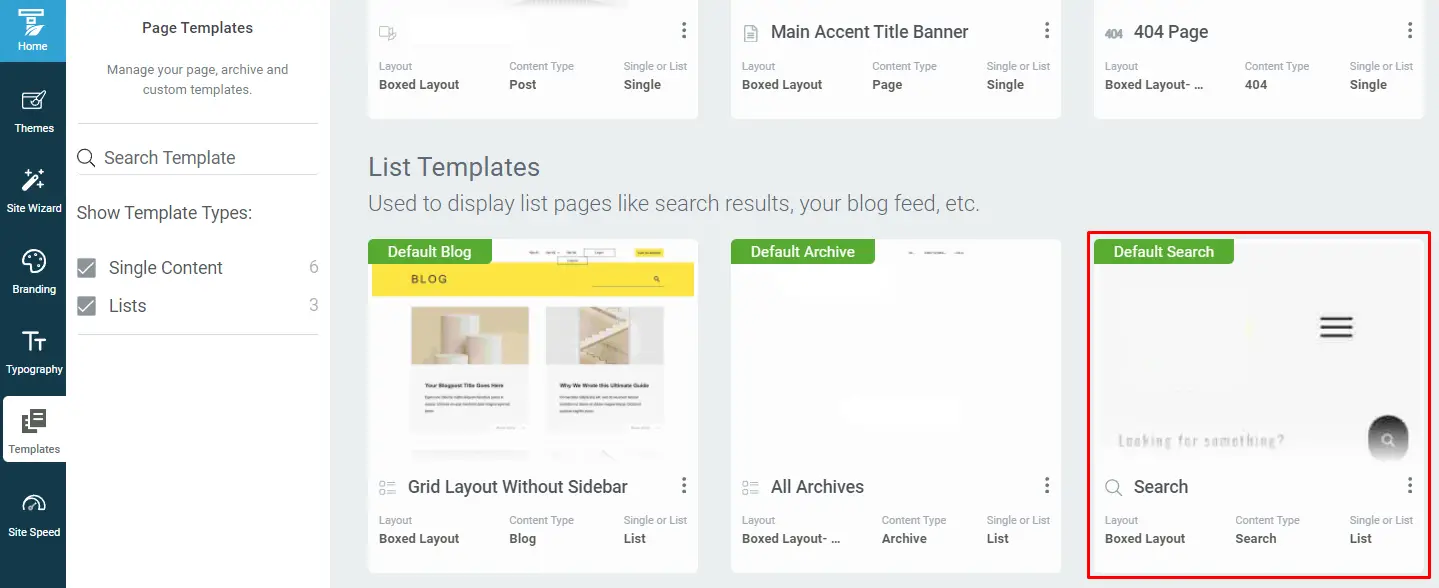
This section is often labeled “Search Results” or something similar.
Step 3: Customize Search Results Layout
Click on the search results section to open the customization panel.
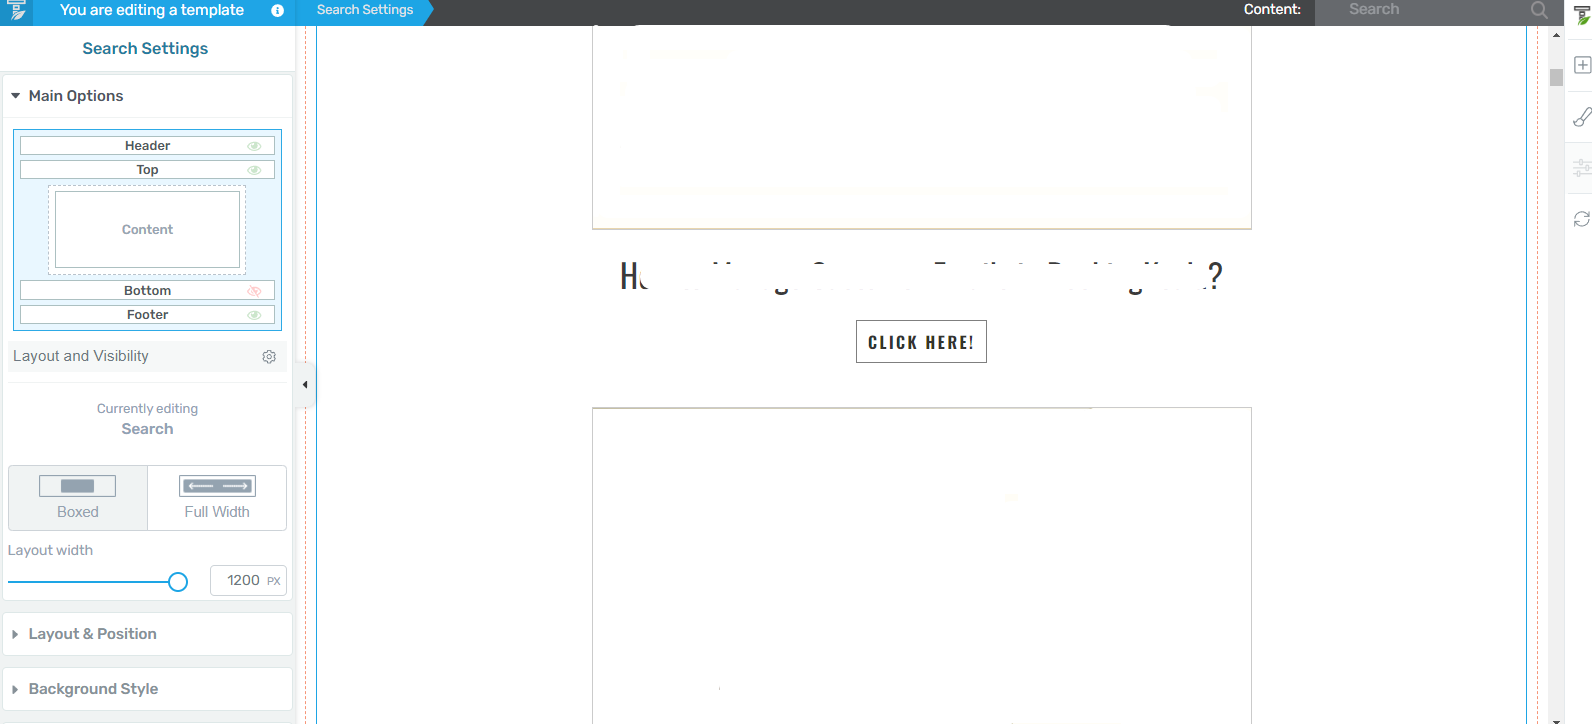
Explore layout options, such as changing the number of columns, adjusting spacing, and modifying typography to match your website’s design.
Step 4: Configure Search Results Elements
Identify the elements displayed in search results, such as post title, date, and excerpt.
Customize each element by adjusting font size, color, and other relevant styling options.
Step 5: Add Custom Fields
If you want to display additional information in search results, consider adding custom fields.
Use Thrive Architect’s interface to add and format custom fields for a more personalized search results display.
Step 6: Implement Advanced Styling
Access the advanced styling options to fine-tune the appearance of search results.
Experiment with border styles, shadows, and background colors to make your search results visually appealing.
Step 7: Optimize for Mobile
Ensure that your customized search results are responsive by checking the mobile preview.
Make adjustments as needed to provide a seamless experience across devices.
Step 8: Save and Publish
Once satisfied with your customizations, click “Save” to save your changes.
Click “Publish” to make your customized search results live on your website.
Conclusion
By following these step-by-step instructions, you can effectively customize search results in Thrive Architect, enhancing the overall design and user experience of your WordPress website. Try out various configurations to determine which works best for your particular specifications.


