

Introduction
In the dynamic realm of web design, Elementor has established itself as a powerful tool, enabling users to create stunning websites with ease. One of the standout features that adds to its versatility is the Elementor Popup Builder. Within this feature lies a crucial aspect that dictates user interaction – Popup Triggers.
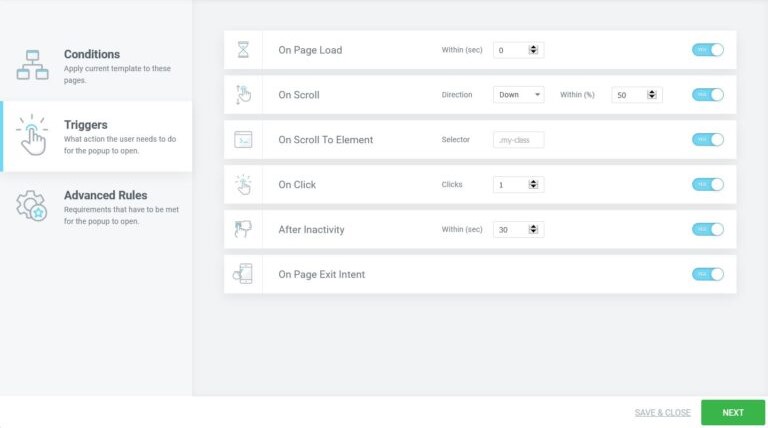
Understanding Elementor Popup Triggers
Popup triggers act as the catalysts for displaying popups on a website. They define the conditions under which a popup appears, making them a fundamental aspect of Elementor’s Popup Builder. Elementor offers a variety of triggers, each serving a unique purpose and catering to different user behaviors.
Creating Elementor Popup
Start by choosing a page or section of your website where you want to create the popup. Ensure the selected template includes a button that you can use to activate your popup. If necessary, make adjustments to the template to fit your design preferences.

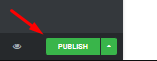
Step 1: Publish the Page
For now, publish your page with the selected template. You can return to it later after creating the popup.
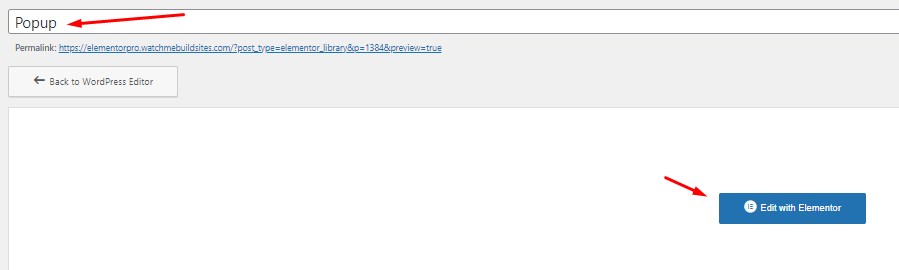
Step 2: Create the Popup
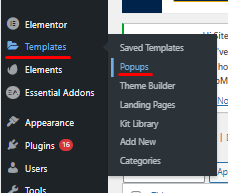
Navigate to the Elementor dashboard. Under “Templates,” click on “Pop-ups,” and then select “Add New Popup.” Give your popup a name, such as “Popup.”

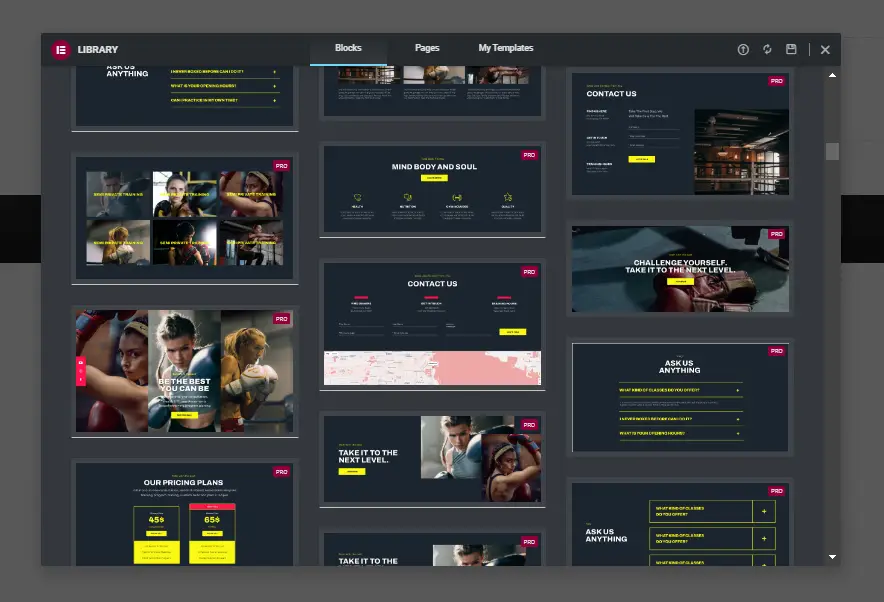
Step 4: Choose a Template for the Popup
Choose a pre-made template for your popup. This will serve as the foundation for your design. Modify the background and position settings to “Center Center” if desired. Customize the text, heading, and color according to your preferences. Add a text-shadow for a visual effect. Remove any unnecessary fields in the form widget or customize them as needed.
Customizing Elementor’s Popup Button, Triggers, and Display Settings
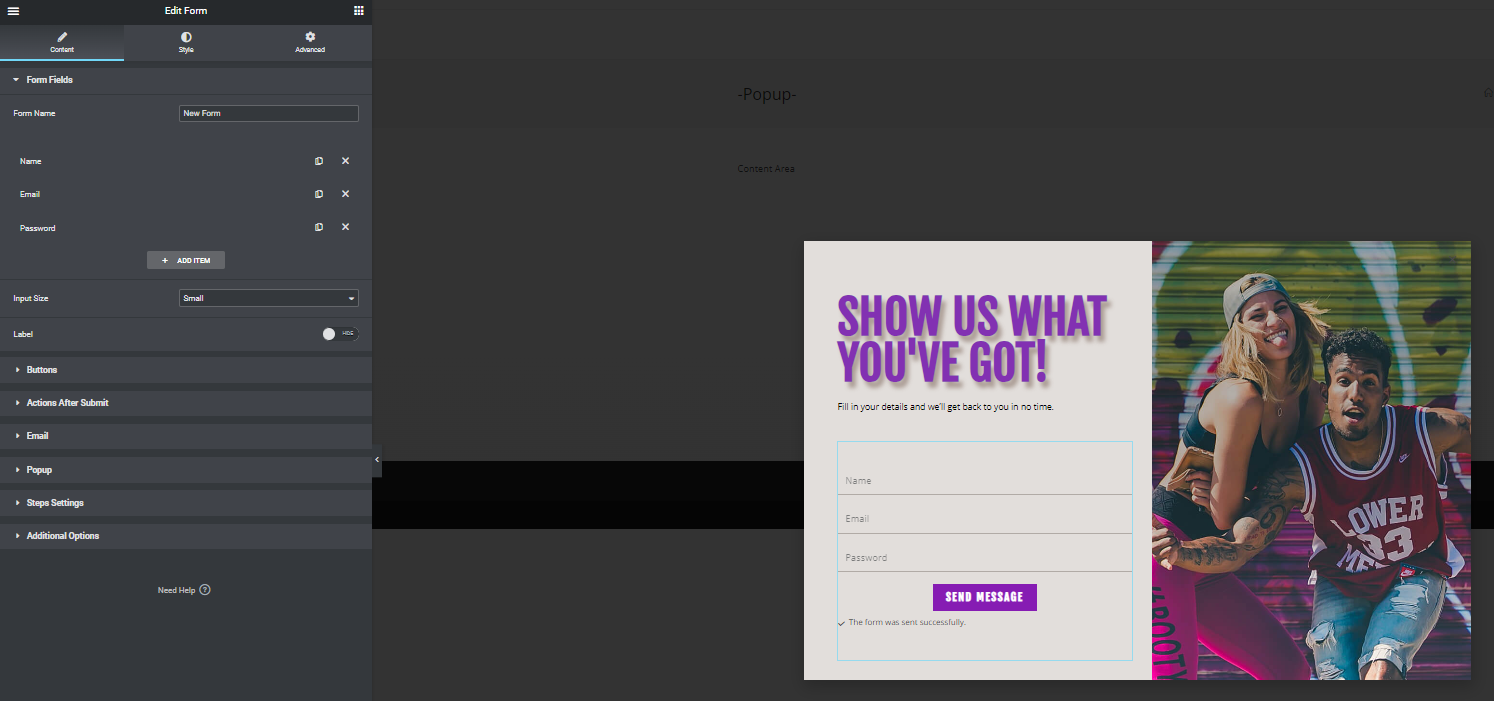
Configure the Popup Button
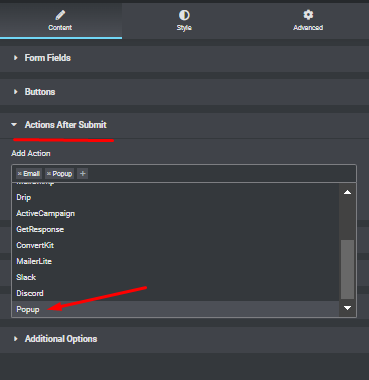
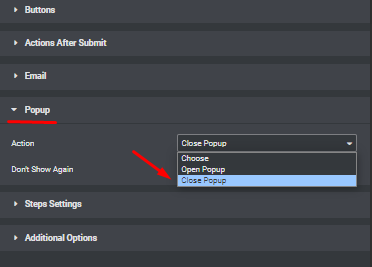
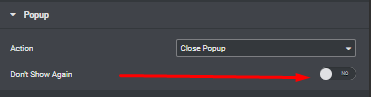
Customize the button’s color as desired. Make the button dismiss the popup when clicked. Under “Actions After Submit,” select “Popup.” In the “Popup” tab, choose “Close Popup.” Select “Don’t Show Again” if you want to prevent the popup from appearing again after a user submits the form.
Publish the Popup
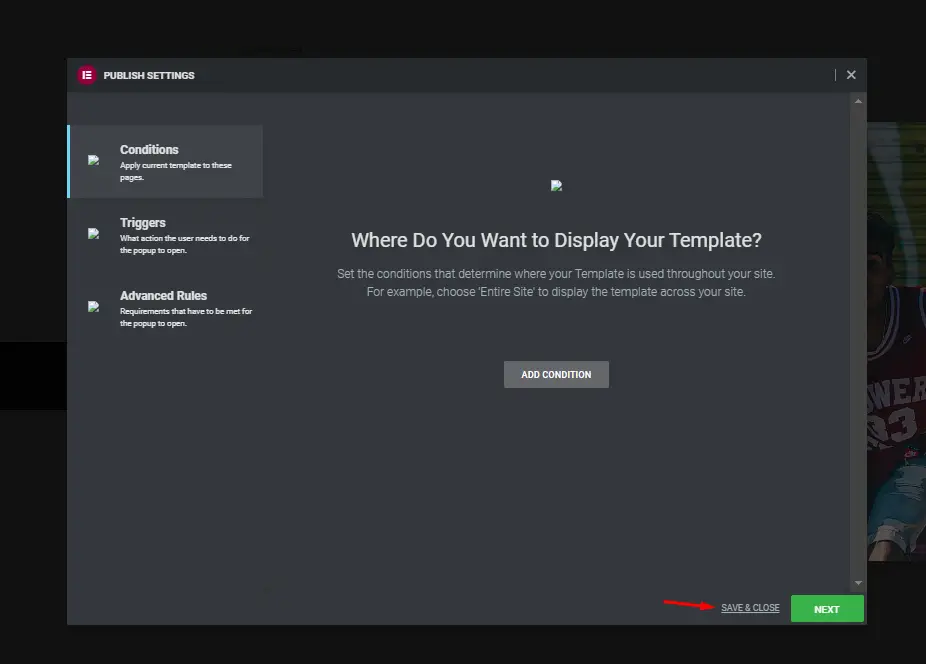
Ensure you don’t need any additional condition triggers or advanced rules for the popup. Click “Save and Close” to publish your popup.
Link the Button to the Popup
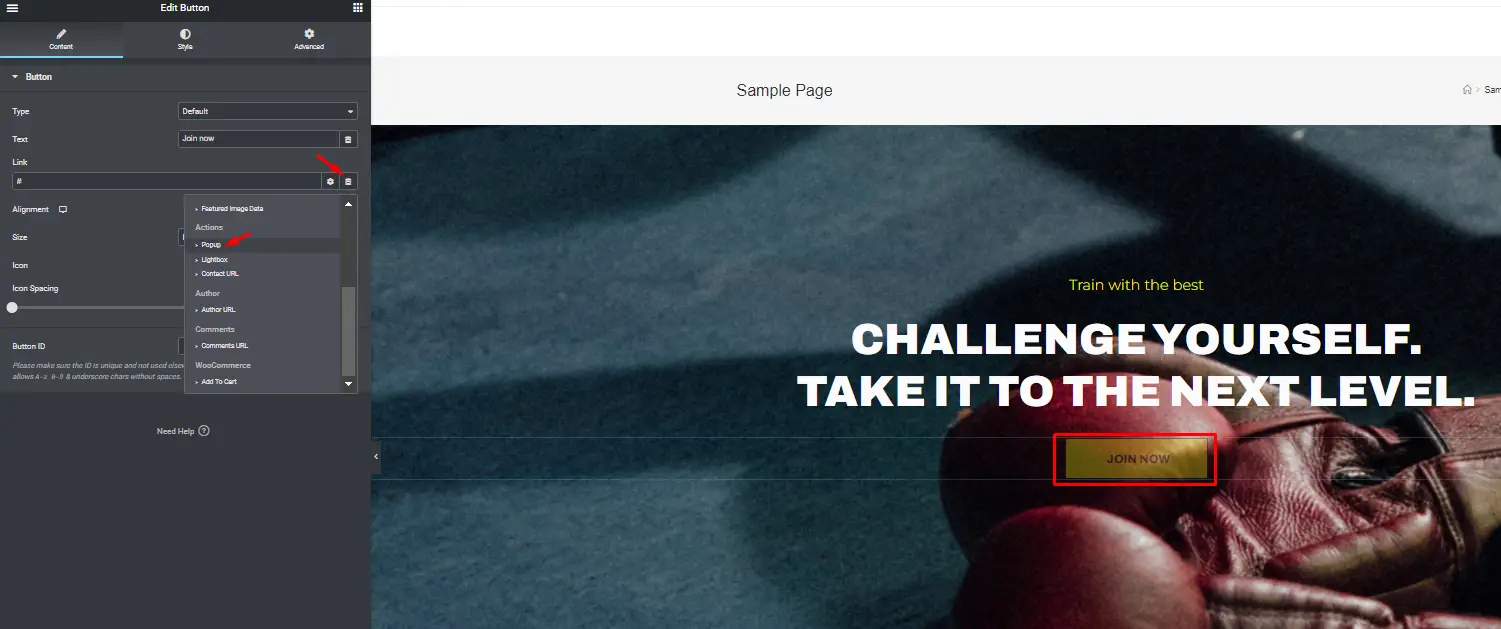
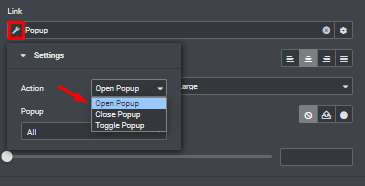
Return to the page or section where you want to activate the popup. Edit the button settings. In the link settings, click on “Dynamic” next to the link field. Under “Actions,” select “Popup.” Click the gear icon next to “Popup” and choose “Open Popup.” In the popup field, search for and select the popup you created earlier.
Test the Popup
To test your popup, click the button on your webpage. The popup should now appear as configured.

Finalize and Save
Review your popup to ensure it looks and functions as intended.
Save any changes if needed.
How to Get Popup Design Ideas for Your Elementor Popup?
Creating a popup design using Elementor, a popular WordPress page builder, is a great way to engage your website visitors and capture their attention. Here’s a step-by-step guide on how to create a popup design using Elementor:
Access the Elementor Popup Builder
In your WordPress dashboard, go to “Templates” and then select “Popups.”
Create a New Popup
Click the “Add New” button to create a new popup. Give your popup a name for easy identification.
Design Your Popup
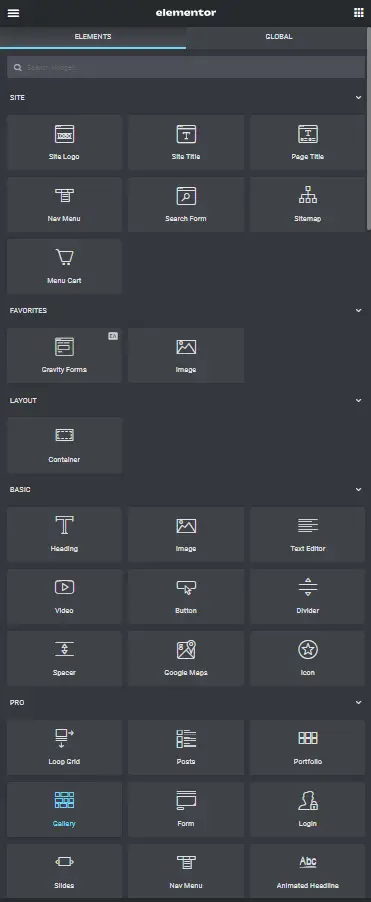
You’ll be redirected to the Elementor editor interface specifically designed for popups. Customize your popup design using Elementor’s drag-and-drop interface. You can add text, images, buttons, forms, and more. Modify the popup’s layout, typography, colors, and animations to match your website’s style.
Configure Popup Settings
Click the “Settings” icon in the bottom left corner to configure popup settings. Set the popup trigger (when it appears), conditions (where it appears), and the popup’s advanced settings.
Publish Your Popup
Once you’re satisfied with the design and settings, click the “Publish” button. You can then choose when and where your popup will appear.
Add the Popup to Your Website
Add the popup to your website where you want it to appear. You can usually do this by using a shortcode or widget provided by the popup builder plugin, or by configuring the trigger settings in Elementor’s popup builder.
Test Your Popup
Before making your popup live on your website, test it thoroughly to ensure it looks and functions as intended.
Conclusion
In the realm of Elementor popup triggers, understanding their significance and leveraging their potential can elevate a website’s performance. With a diverse range of triggers, Elementor empowers users to create engaging popups that capture attention and drive conversions. As you explore the possibilities, remember to strike a balance, test, and evolve your strategy based on real-world results.


