
Understanding the Date Display in Bricks Builder
In Bricks Builder, the date display feature allows users to incorporate dates into their brick designs in a visually appealing and informative manner. This feature typically enables users to include dates such as event dates, completion dates, or any other relevant dates within their brick creations.
The date display in Bricks Builder likely offers customization options such as font style, size, color, and placement to ensure that the displayed date aligns with the overall design aesthetics of the project. Users can choose to prominently feature the date or integrate it subtly into the design depending on their preferences and the purpose of the brick creation.
By incorporating date displays, users can add context, significance, and a sense of time to their brick models, making them more engaging and meaningful. Whether it’s commemorating a special event, marking a milestone, or simply adding information, the date display feature enhances the storytelling potential of brick creations in Bricks Builder.
Steps to Remove the Date Display
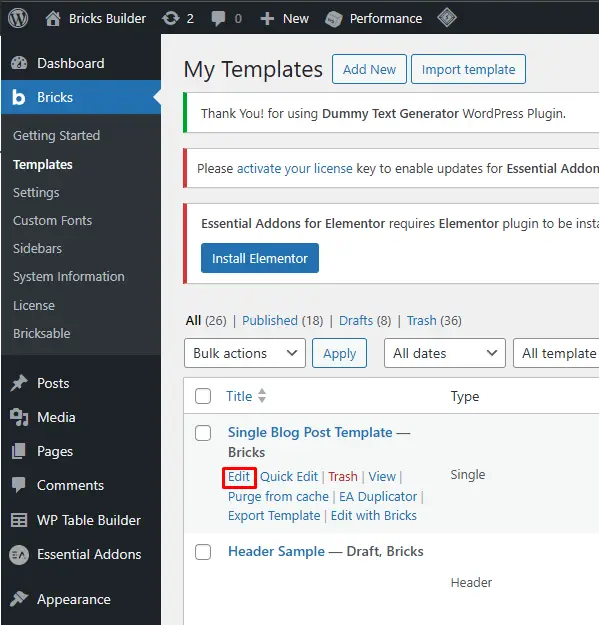
Go to the template option because any changes you make at the template level will carry over to individual pages/posts that are tied to that template.
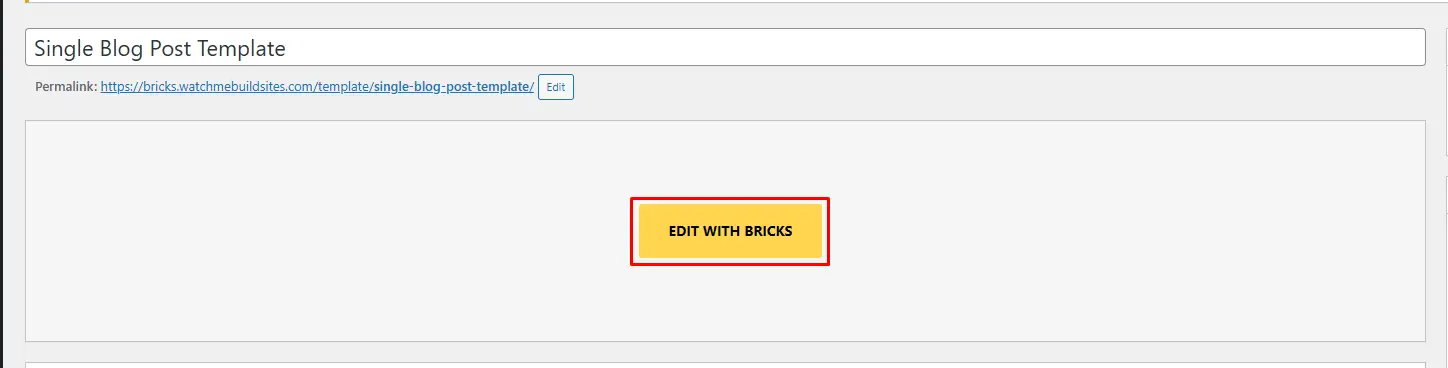
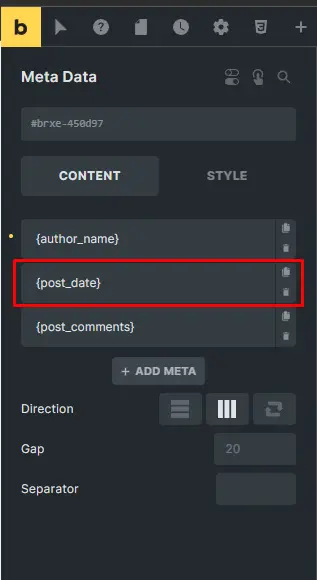
Once you’re in the Single Post template editor, locate the section that displays the metadata, including the published date.

Now, simply delete or modify the Meta Data element, which is responsible for displaying the published date. From here, you can remove whatever else you want, or replace the published date with a modified date or whatever else you wish.
Alternative Solutions
Look for WordPress plugins that offer customization options for post metadata display. Once installed, activate the plugin through the WordPress dashboard.
Navigate to the settings or customization options of the plugin and locate the setting related to post metadata display. Within the plugin settings, find the option to disable or hide the post date display and apply the changes.
Save the changes made to the plugin settings, and the date display should be removed from your blog posts.
Custom CSS to Hide the Date Display
- Access the Custom CSS section: Look for the option to add custom CSS code to your website. This is usually found in the theme customization or settings menu.
- Add the CSS code to hide the date display: Once you’re in the Custom CSS section, you can add the following code snippet to hide the date display: .post-date { display: none ; }
Using Custom Templates without Date Display
- Create a new custom template: Look for the option to create a new template or edit existing ones. Choose to create a new template.
- Design your custom template: Use the Bricks Builder interface to design your custom template according to your preferences. You can add various elements such as headers, footers, content sections, and more.
- Exclude the date display: When designing your custom template, ensure that you do not include any elements or modules that display the date. Skip adding date-related elements such as date boxes or date placeholders in your template design.
- Save your custom template: Once you’ve finished designing your custom template without the date display, save it within the Bricks Builder interface.
- Apply your custom template to blog posts: After saving your custom template, you can apply it to your blog posts within Bricks Builder. When creating or editing a blog post, look for the option to choose a template, and select your custom template from the list.
Testing and Verifying Changes
- Preview changes: Before applying changes to your live website, use the preview feature in Bricks Builder to see how the modifications will appear. This allows you to visualize the changes without impacting your website’s public view.
- Inspect individual blog posts: If you’ve removed the date display or applied a custom template without the date, navigate to individual blog posts to verify that the date is no longer visible. Check multiple posts to ensure consistency.
- Check across different devices: Test the changes on various devices such as desktops, laptops, tablets, and smartphones to ensure that the date display is hidden consistently across different screen sizes.
- Verify functionality: Make sure that removing the date display or applying custom templates without the date doesn’t affect any other functionality of your website, such as navigation, content layout, or interactive elements.
- Review in different browsers: View your website with the changes applied in different web browsers (e.g., Chrome, Firefox, Safari, Edge) to confirm that the date display is hidden uniformly across all browsers.
- Finalize and deploy changes: Once you’re confident that the changes are working as intended and have been thoroughly tested, deploy them to your live website.
Considerations and Best Practices
Impact on User Experience
- Improved aesthetics: Clean and uncluttered layouts enhance readability and visual appeal.
- Enhanced relevance: Content remains timeless and avoids conveying outdated information.
- Reduced distraction: Users can focus more on the content without being diverted by temporal details.
- Increased flexibility: Custom templates allow for tailored presentation, aligning with branding and user engagement goals.
- Consistency across devices: Uniform experience across devices enhances professionalism and trust.
- Improved accessibility: Simplifying the interface can enhance usability for all users, including those with disabilities.
Maintaining Consistency in Design
- Establish Brand Guidelines: Define clear brand guidelines that outline your brand’s colors, typography, imagery style, and tone of voice. These guidelines serve as a roadmap for maintaining consistency and ensure that all design elements align with your brand’s identity.
- Use Consistent Visual Elements: Consistency in visual elements such as logos, icons, and graphics strengthens brand recognition. Use these elements consistently across all platforms and materials to create a cohesive brand experience.
- Maintain Uniformity in Typography: Choose a set of fonts that reflect your brand’s personality and stick to them consistently across all communication channels. Consistent typography enhances readability and reinforces brand identity.
- Adhere to Color Palette: Consistent use of colors from your brand’s color palette reinforces brand recognition and creates a harmonious visual experience. Ensure that colors are applied consistently across all design assets and platforms.
- Create Templates and Style Guides: Develop templates and style guides for common design assets such as presentations, social media graphics, and email newsletters. These resources help maintain consistency and streamline the design process for your team.
- Pay Attention to Layout and Composition: Consistent layout and composition principles create a unified look and feel across all design materials. Establishing grid systems, alignment standards, and spacing guidelines ensures coherence and professionalism.
- Test Across Platforms: Test your designs across various platforms and devices to ensure consistency in appearance and functionality. Pay attention to how your designs adapt to different screen sizes and resolutions to maintain a seamless user experience.
- Seek Feedback and Iterate: Regularly solicit feedback from stakeholders and users to identify areas for improvement and ensure that your designs resonate with your target audience. Use this feedback to iterate and refine your designs while maintaining consistency.
Conclusion
In conclusion, removing the published date in Bricks Builder is a simple process that can be done at the template level to ensure consistency across all related pages/posts. By navigating to the Single Post template editor and deleting or modifying the Meta Data element responsible for displaying the date, you can easily remove the published date from individual blog posts. Similarly, for category or archive pages, you can follow the same steps to remove the date display from the respective templates. This customization allows you to tailor the appearance of your website to your preferences while maintaining a cohesive design. Thank you for watching our tutorial, and don’t forget to like, subscribe, and hit the bell icon to stay updated with our latest tutorials.


