

Introduction
In today’s fast-paced digital world, creating a visually appealing and user-friendly website is a must. Elementor Pro is the most popular visual page builder plugin for WordPress. To make this process more efficient, Elementor Pro offers a vast Template Library with hundreds of designer-made Page layouts and Blocks. These templates come with premium high-end stock images, ready to be used on your site. If you’re wondering how to harness the power of Elementor’s Template Library, you’re in the right place. In this step-by-step tutorial, we’ll walk you through the process of accessing, inserting, saving, and even exporting and importing templates.
Understanding the Template Library
In essence, the Template Library is a curated collection of pre-designed templates that cater to various needs. Whether you’re creating a landing page, a blog post, or an entire website, Elementor’s Template Library provides a diverse range of starting points.
Accessing the Template Library
Step 1: Click the Add Template From Library Icon
To get started with Elementor’s Template Library, open your Elementor editor and click on the “Add Template From Library” icon. It’s your gateway to a world of beautiful web design.

Step 2: Connect Your Elementor Account (First-Time Users)
If you’re a first-time user, the system will prompt you to connect your free Elementor account to access the Template Library. If you don’t have an account yet, no worries – you can easily register for a free account during this process.
Step 3: Preview the Templates
Before making your selection, take a closer look at the available templates by clicking the magnifying glass icon. This will give you a sneak peek of what each template has to offer.
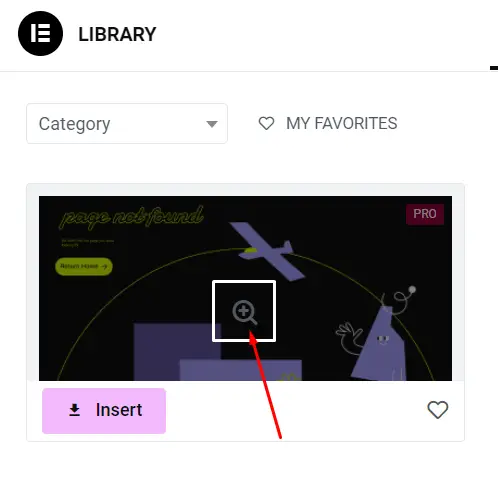
Step 4: Insert Your Chosen Template
Once you’ve found the template that suits your project, click “INSERT” to add it to your editing screen.

Step 5: Save Your Favorite Templates
Then, you come across a template that you love and plan to use again, you can mark it as a favorite by clicking the heart icon. This will save it to “MY FAVORITES” for easy access in the future.
![]()
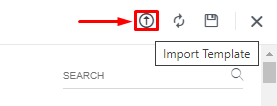
Step 6: Upload a JSON or Zip File
To upload a .json or .zip file, click the arrow in the top right corner of the page.
Saving Pages as Templates
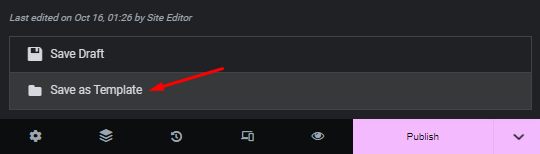
Step 1: Click the Green Button at the Bottom of the Panel
When you’re working on your website and have created a page layout that you’d like to save as a template, click the green button located at the bottom of the panel.
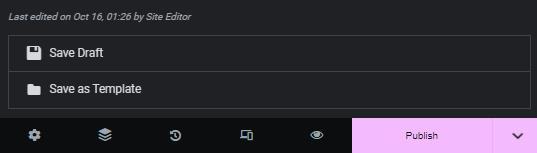
Step 2: Choose “Save Template”
Then, select “Save Template” from the list of available options.
Step 3: Give Your Template a Name and Save
Give your template a name that you’ll remember, and click “Save.” Your custom page layout is now safely stored in your Elementor templates for future use.
Saving Sections as Templates
Step 1: Choose the Section You Want to Save
Next, if you have specific sections within a page that you’d like to reuse, simply select the section by right-clicking the “Section Settings.”
Step 2: Name and Save the Section Template
After choosing the section, provide it with a descriptive name and click “Save.” This section is now ready to be used as a template for other pages.
Exporting Templates
After you’ve created a collection of templates and want to use them on another website or share them with someone else, here’s how you can export them:
Step 1: Access the Template Library
In your Elementor editor, click on the “Add Template From Library” icon.
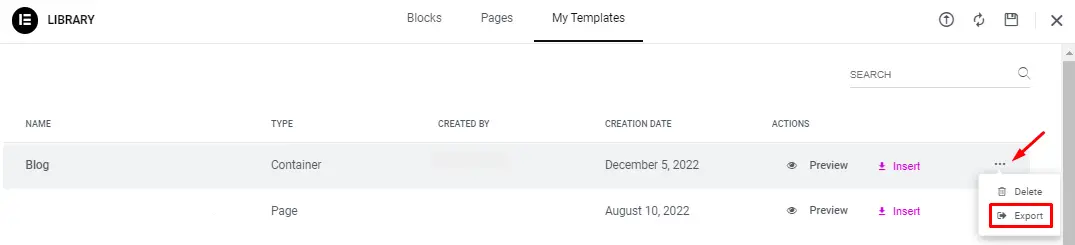
Step 2: Navigate to “My Templates”
Under “My Templates,” locate the template you want to export and click on the three dots (3 dots) menu. Then, select “Export.”
Importing Templates
Importing templates that you’ve previously exported or downloaded is a breeze:
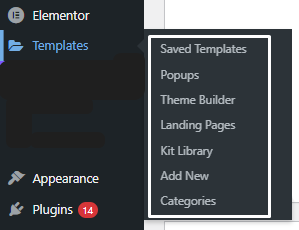
Step 1: Go to Templates
In your Elementor editor, navigate to “Templates,” and then choose “Saved Templates,” “Theme Builder,” or “Popups,” depending on the type of template you wish to import.
Step 2: Click the “Import Templates” Button
Click the “Import Templates” button to initiate the process.
![]()
Step 3: Choose the File and Import
Select the template file you want to import and click “Import Now.” Your imported template will now be accessible in your Templates list.

Creating Custom Templates with Elementor: A Step-by-Step Guide
Creating custom templates with Elementor is a fantastic way to take your website design to the next level. Whether you’re a seasoned web designer or a novice, Elementor’s user-friendly interface and powerful features make the process accessible to everyone. In this step-by-step guide, we’ll explore the world of custom templates and show you how to make the most of Elementor.
Understanding the Elementor Interface
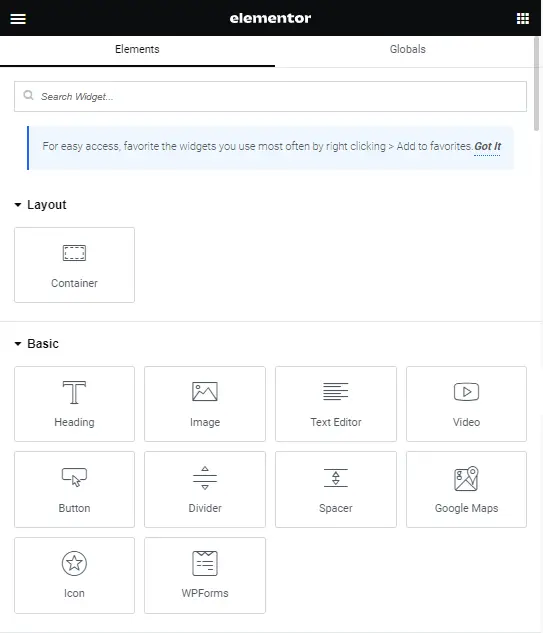
Elementor’s drag-and-drop interface is incredibly intuitive. You’ll have a live preview of your website on the right side of your screen and a panel with widgets, settings, and templates on the left. Familiarize yourself with these elements to make the customization process smoother.
Creating Your First Custom Template
Selecting a Template Type
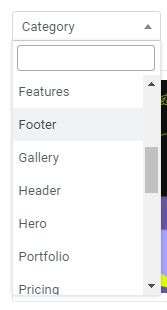
Elementor provides various template types, such as:
- Pages
- Sections
- Headers
- Footers
Choose the one that suits your needs. For this example, let’s create a custom page template.
Customizing the Template
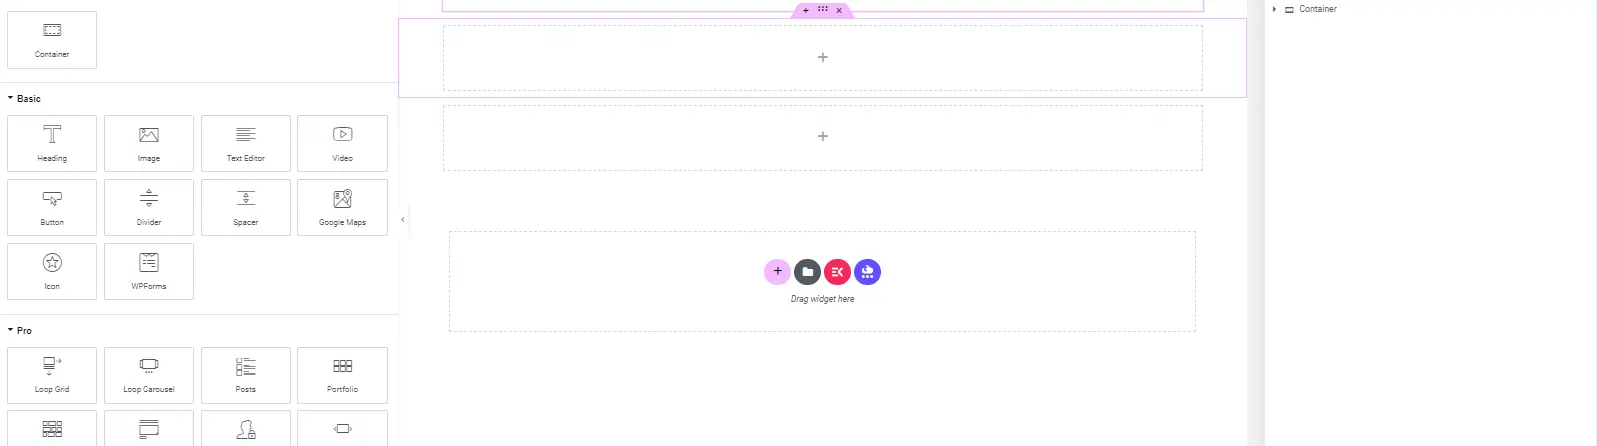
Drag and drop widgets onto the template to add elements like text, images, buttons, and more. Customize each element’s appearance and behavior using the options in the left panel.
Saving Your Template
Once you’re satisfied with your design, save your custom template. You can give it a unique name and add a description for easy reference.
Conclusion
In this guide, we’ve explored the power of creating custom templates with Elementor. The benefits of customization, real-world applications, and advanced techniques have been discussed. By following best practices and troubleshooting common issues, you can take your web design skills to new heights. So, go ahead, get creative, and make your website truly stand out!


