

Introduction
In the dynamic world of website development, Elementor stands out as a versatile and user-friendly page builder. One of its notable features is the ability to create interactive forms seamlessly. Forms play a crucial role in engaging website visitors, collecting data, and facilitating communication. In this tutorial, we’ll delve into the step-by-step process of creating a form using Elementor, ensuring you harness the full potential of this powerful tool.
Understanding Elementor Forms:
Elementor simplifies the form creation process by offering a dedicated form widget. This feature allows users to design and implement forms without any coding knowledge. The benefits are manifold, ranging from time efficiency to enhanced user interaction.
Preparing Your Page
Have an Elementor Page Ready
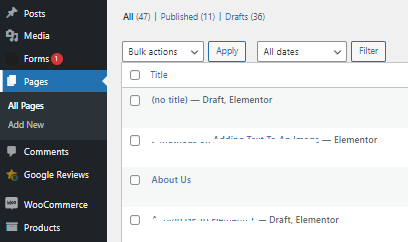
Before diving into the form creation process, ensure you have a page already created using Elementor. This will serve as the canvas for your contact form.
Creating the Elementor Form
Locate and Add Form Widget
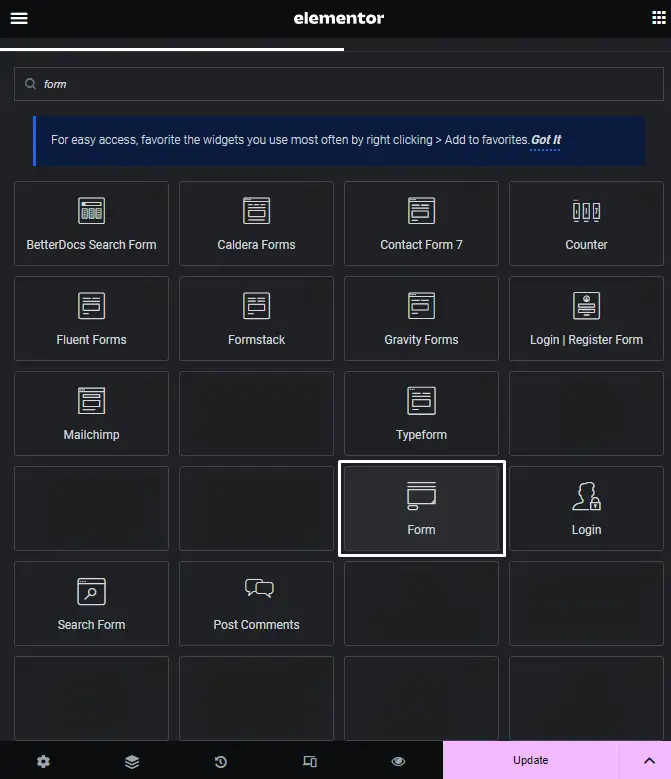
Navigate to the left-hand panel, search for the Form widget, and drag it to the desired location on your page.
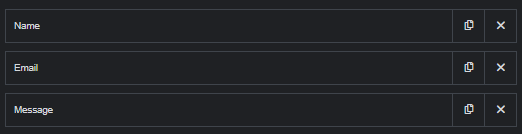
Basic Form Setup
You’ll see a basic form with default fields. On the left, change the Form Name.
Adding Fields to the Form
Include a Select Field
Add a select field in the following options.
Customize Select Field
Ensure the form is selected, click on “ADD ITEM” on the left, choose Select from the Type drop-down, and add “Technology” to Label. Make it required.
![]()
Styling the Form in Elementor
Display Fields on the Same Row
Adjust the Column Width of Name and Email to 50%, ensuring they appear side by side.

Mark Required Fields
Enable the “Required Mark” option to display a red asterisk next to the required fields.
![]()
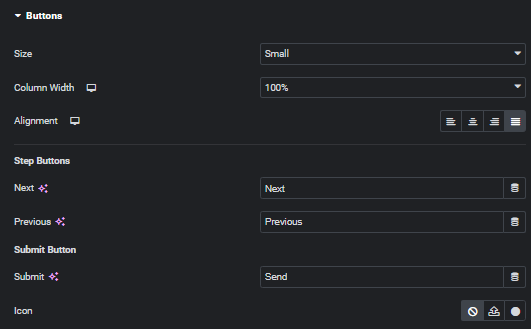
Customize Button Label and Size
Under Buttons, select Large for the button size and change the label.
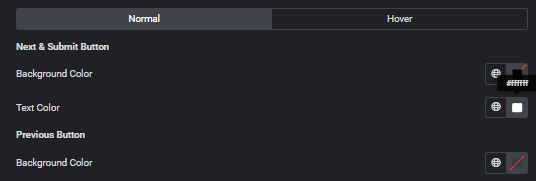
Modify Button Color
In the Style tab under Buttons, change the background color to black for a sleek look.
Testing the Form
Publish Your Page
Scroll to the bottom and click on PUBLISH. Visit the page to ensure the form is visible.
![]()
Test the Form
Submit a test entry and verify that the “Your submission was successful” message appears.
Viewing Form Submissions
Accessing Form Submissions
Go to Elementor, Submissions to view, filter, and export form submissions.

Customizing Elementor Form Messages
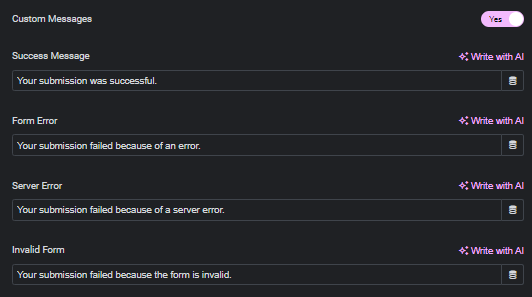
Edit Success Message
Prevent missing the default confirmation message by turning on Custom Messages. Change the Success Message to something personalized.
Customize Message Style
Adjust the style of the success message under the Style tab, making it stand out according to your website’s design.
![]()
Redirecting After Form Submission
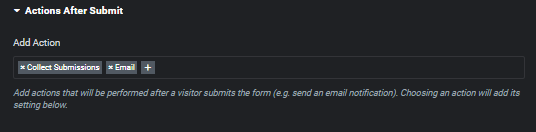
Redirect Users
Edit the form, go to Actions After Submit, add a Redirect action, and specify the URL for redirection after submission.
Bonus Tips
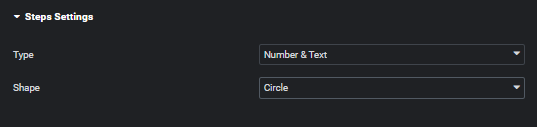
Add Form Steps
Break your form into steps for a better user experience. Name and Email can be the first step, Message the second, and Technology the third.
Explore Actions After Submit Options
Customize where the submission goes, such as redirecting to another URL or sending it to a 3rd party email service provider.
Conclusion
You’ve successfully created and customized a contact form using Elementor. Enhance your website’s functionality and user engagement with this interactive feature.


