
Introduction
Elementor, the popular page builder, has revolutionized website design, allowing users to create stunning layouts with ease. However, even the most seasoned users can encounter paragraph spacing issues that can impact the overall aesthetics and user experience. In this tutorial, we’ll explore the common causes of paragraph spacing problems and provide a comprehensive, step-by-step solution to resolve them using Elementor.
Understanding the Text Editor in Elementor
The Text Editor widget serves as a crucial tool for placing, editing, and styling body text on websites. Every website relies on body text, and with the right styling, it can captivate your visitors, encouraging them to explore and engage further. This widget offers extensive styling options, allowing you to tweak settings like font weight, line height, letter spacing, and alignment.
Identifying Unwanted Spaces in the Text Editor
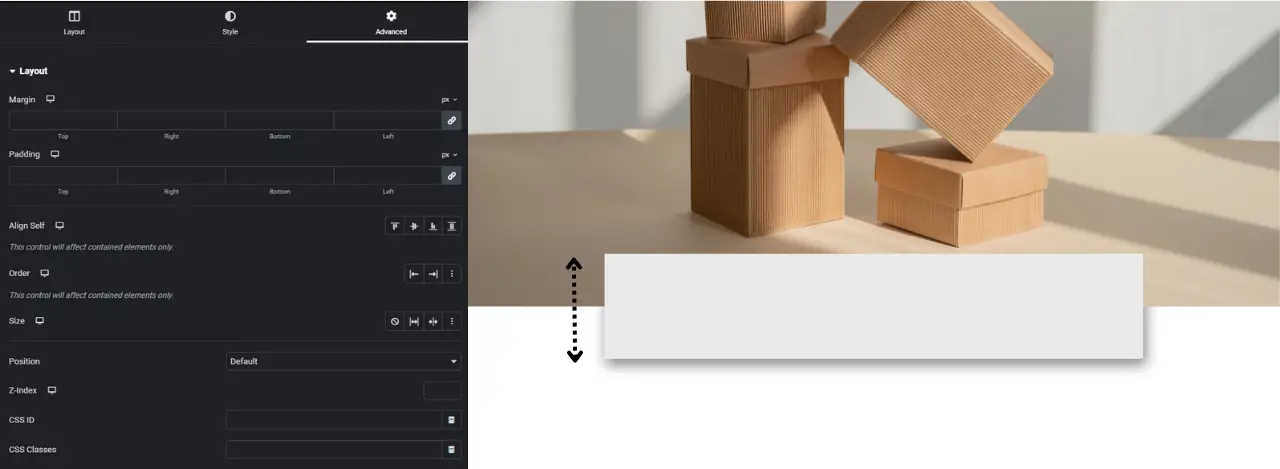
Upon closer inspection, you might notice an undesired white space of approximately 20 pixels at the bottom
 Option 1: Adjusting Drop Cap Settings
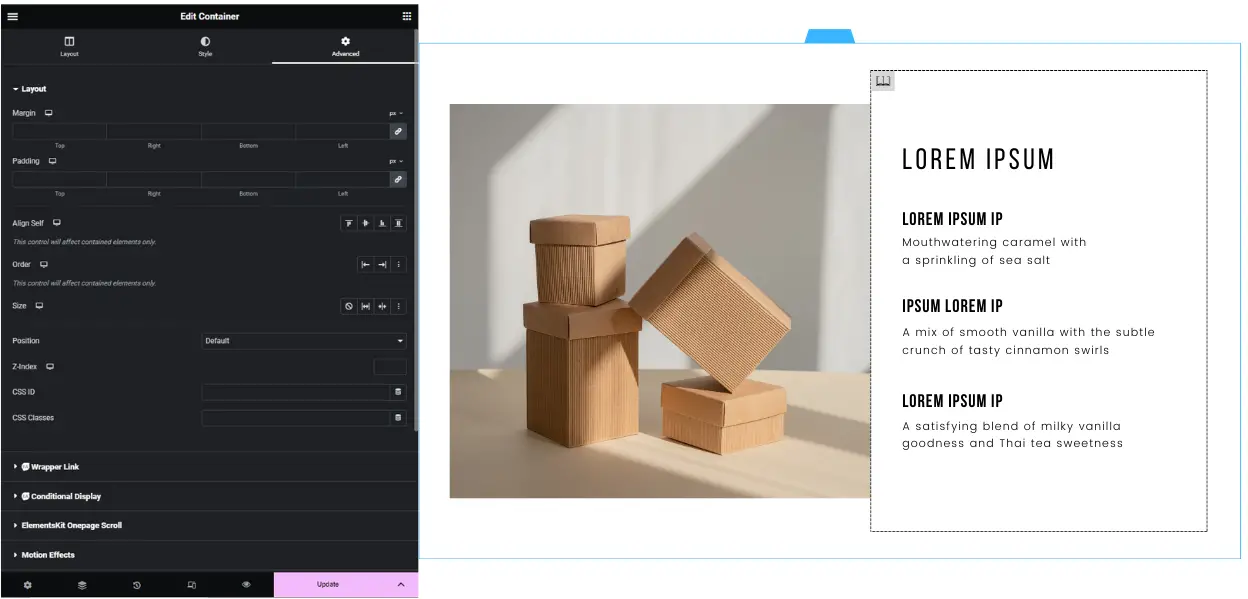
Step 1: Navigate to the Content Tab
Go to the Content tab and locate the drop cap area. Slide it on to set the first letter, making it larger and independent in style from the rest of the text.
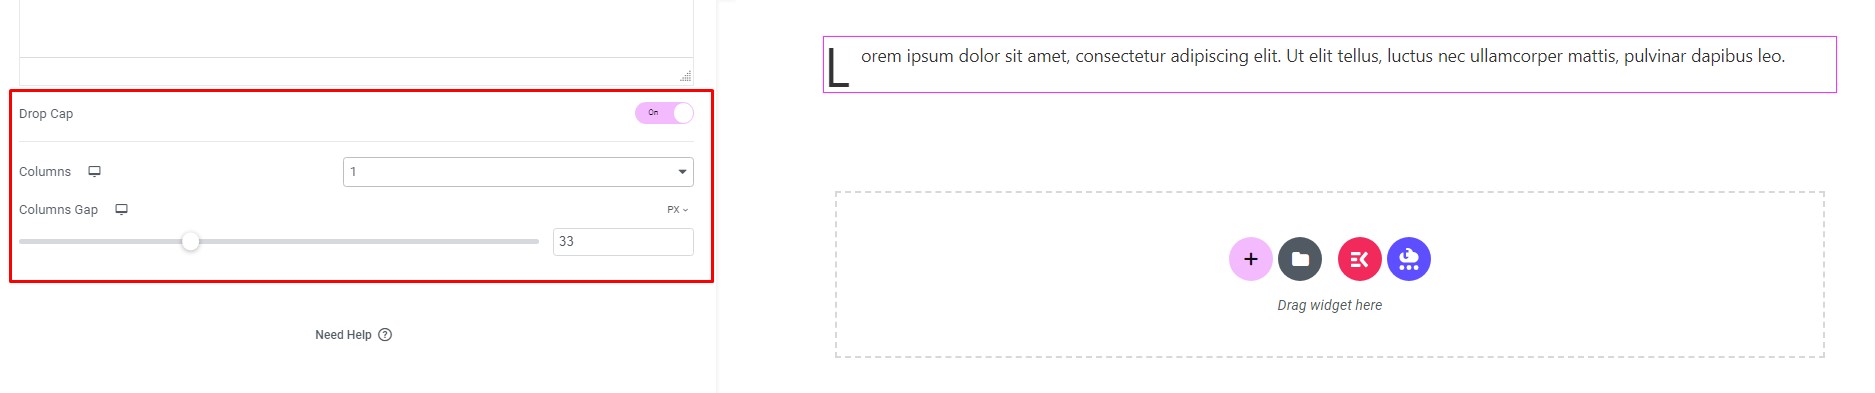
Columns: Select the number of columns to split the text into.
Column Gap: Set the width of the column spacing.
Step 2: Choose Drop Cap View Styles
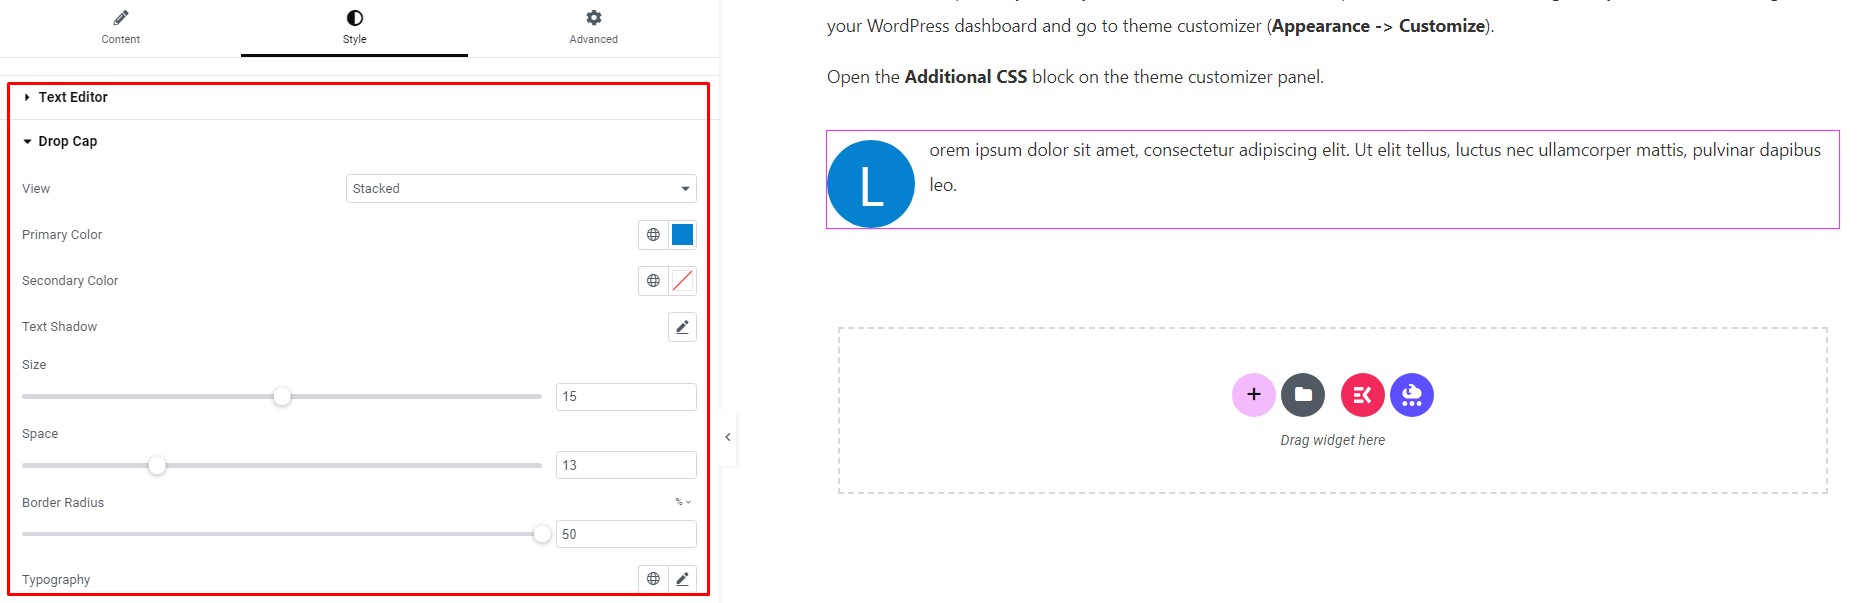
Select the view styles of the drop cap – Default, Stacked, or Framed.
Primary Color: Choose the primary color of the drop cap.
Adjust Space: Select the exact space between the drop cap and the remaining text.
Border Radius: If Stacked or Framed is chosen, set the border radius to control corner roundness.
Typography Options: Set the drop cap’s typography options.
This method is effective for eliminating unwanted space in the Text Editor widget on your website.
Option 2: Theme Customizer
For a more comprehensive solution, follow these steps:
Log in to your WordPress dashboard.
Go to Theme Customizer (Appearance -> Customize).
On the theme customizer panel, click the Additional CSS block.
Implementing these adjustments ensures a seamless and aesthetically pleasing appearance for your Text Editor widget in Elementor.
Resolving paragraph spacing issues in Elementor’s Text Editor is essential for maintaining a polished and professional website. By following the provided step-by-step guide, you can enhance the visual appeal of your content and create a more engaging user experience.
Advanced Tips for Consistent Padding and Margins in Elementor
Elementor is a powerful WordPress page builder that allows users to create stunning websites with ease. Achieving consistent padding and margins across your elements is crucial for maintaining a professional and polished appearance. In this guide, we’ll explore advanced tips to ensure uniform spacing throughout your Elementor designs.
Step 1: Introduction
Create space with padding and margins
Imagine safeguarding a valuable object in a display case. Like placing a barrier rope around the case to prevent accidental contact, margins act as protective space around an element. Adjusting the object’s position inside the case, akin to nudging it left or right, involves tweaking the “padding.”
Step 2: Spacer Widget vs. Margins and Paddings
Can’t I just use a spacer widget?
While spacer widgets are an option, they introduce additional dividers and code. It’s considered best practice to use margins and paddings whenever possible.
Step 3: Understanding Margins and Padding
Margin
Margins control the space “outside” an element, allowing movement up, down, left, or right. Each side of an element can have its margin size, influencing the spacing between adjacent elements.
Negative Margins
In some cases, applying a negative margin, combined with z-index, can visually “stack” elements. This technique is often used to overlap sections.
Negative Margins on Sections and Columns
Utilizing negative margins on sections and columns can create visual overlaps. For example, applying a top margin of -6% to a lower section moves it up, covering the background of the section above.
Padding
Padding controls the space “inside” a container, defining the distance between an element and its content. It also displays the container background around the element.
Padding with Sections and Columns
Adding padding to sections and columns allows elements to have “room to breathe.” For instance, applying 5% top and bottom padding to a section, and 5% left padding to a column, creates visually appealing white space.
Step 4: Locating Setting
Locating the Margins and Padding settings
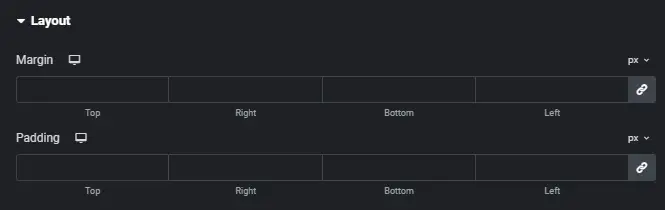
Find general padding and margin settings in the Advanced Tab of an element.
Locating Additional Padding Settings
Widgets like buttons and forms may have additional Style Tab settings that use paddings and margins.
Site Settings
Default margin and padding settings for the entire site can be found in Site Settings. Settings in the Style Tab take precedence over these defaults.
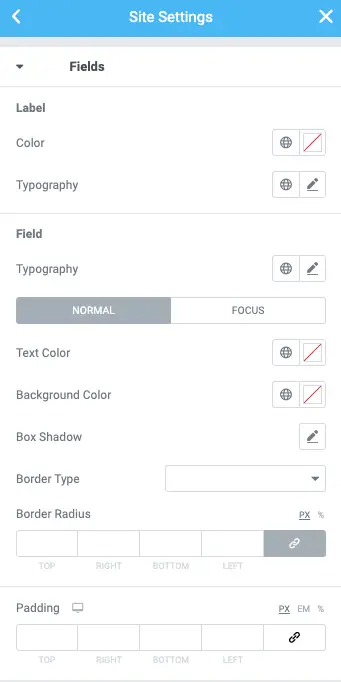
Step 5: Using Margins and Padding
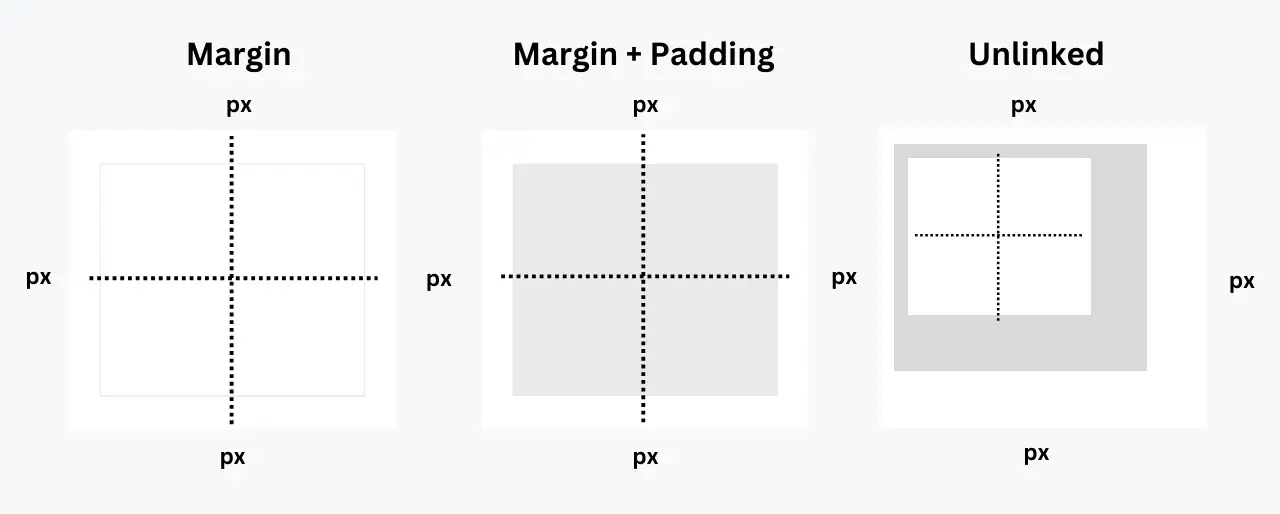
Setting Values
Margin and padding values can be set in PX, EM, %, or REM. To adjust values individually, click the chain icon to unlink them.
By following these advanced tips, you’ll be able to maintain consistent padding and margins in Elementor, resulting in a visually appealing and professional-looking website.
Conclusion
In conclusion, mastering paragraph spacing in Elementor is a key aspect of web design. By implementing the solutions provided in this article, you can achieve a polished and professional look for your website, enhancing user satisfaction.


