

Introduction
In the ever-changing landscape of web design, Elementor Pro shines as a powerful page builder for creating attractive and functional websites. Among its impressive features is the Blockquote widget, which allows you to seamlessly integrate stylish quotes into your web content. This Elementor Tutorial will show you how to harness the full potential of this widget to enhance your website’s appeal.
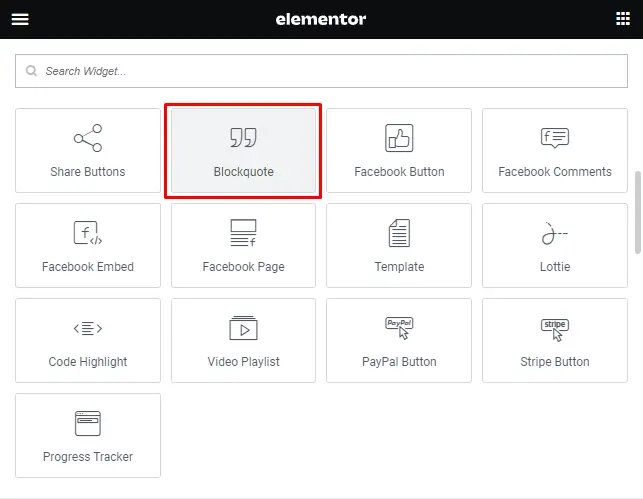
Step 1: Introducing the Blockquote Widget
The Blockquote Widget in Elementor is a versatile tool that empowers you to add compelling quotes to your web pages. You can also make these quotes easily shareable on Twitter using the ‘Click To Tweet’ feature. Let’s explore how to use it effectively.
Step 2: Content Tab
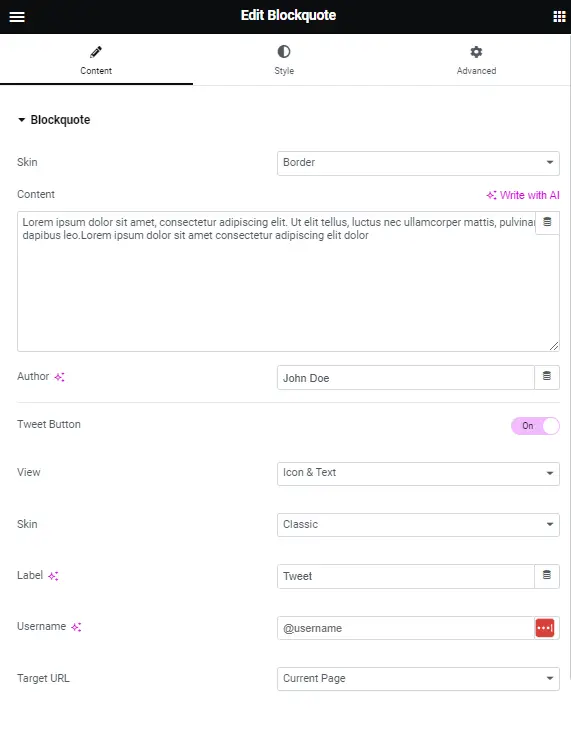
1. Dynamic Tag Integration
The Blockquote Widget offers a seamless fusion of content creation and dynamic tags. These dynamic tags allow you to retrieve data from WordPress or other plugins like Advanced Custom Fields or WooCommerce products. Look for the ‘stack’ icon next to input fields, indicating compatibility with dynamic data.
2. Crafting Your Blockquote
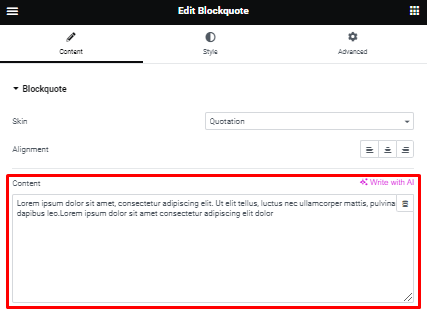
Skin Selection
Choose the Blockquote skin that aligns with your design vision. Options include Border, Quotation, Boxed, or Clean.

Alignment Control
For Quotation, Boxed, and Clean Skins, you can align your quote elements to the left, center, or right.

Adding Content
Type in the text of your Blockquote.
Attribution
Enter the author’s name for the quote.
![]()
Tweet It
Toggle the Tweet Button on or off as per your preference.
![]()
Step 3: Customizing the Tweet Button
The Tweet Button enhances the social sharing aspect of your quotes. Ensure it’s visually appealing and user-friendly.

1. View Options
Choose between Icon & Text, Icon, or Text only for your Tweet Button.
2. Skin Selection
Opt for Classic, Bubble, or Link based on your website’s aesthetic.
3. Label It
Type in a label that succinctly describes the purpose of the Tweet Button.
4. Your Twitter Handle
Enter your Twitter account username (e.g., @your_account) to attribute the tweet properly.
5. Destination URL
Decide where you want the tweet to link. Options include the Current Page, None, or a Custom Link.
Step 4: Style Tab
Now, let’s focus on the stylistic aspects of your Blockquote Widget.
1. Content Style
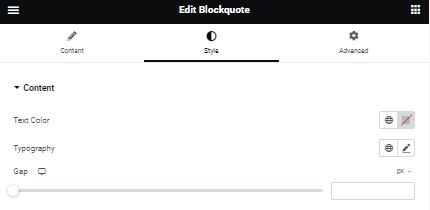
Text Color: Select the color that complements your quotation text.
Typography: Define the typography options for the quotation text.
Maintaining Spacing: Control the gap between the quotation text and the author’s name for a polished look.
2. Author’s Style

Text Color: Choose the color for the author’s name that harmonizes with your overall design.
Typography: Set the typography options for the author’s name to maintain a consistent look.
3. Button Customization
The Tweet Button is a vital element for sharing. Let’s make it visually appealing and seamlessly integrated.
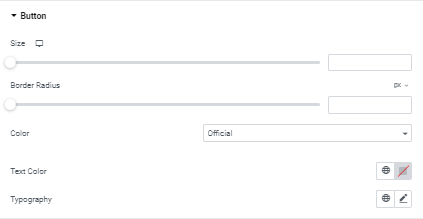
Size: Adjust the button’s size to make it visually prominent.
Round It Up: Set the border radius to control the button’s corner roundness.
Color Palette: Choose from the Official Twitter colors or define custom button colors to match your branding.
Text Style: Define the typography options for the button text, ensuring it aligns with your design language.
4. Custom Color Option
Should you opt for a custom color scheme, consider these additional settings:

Background Color: Select the background color of the button.
Text Hue: Choose the color for the button’s text to maintain visual harmony.
Typography: Set the typography options for the button text for a cohesive look.
5. Quote Settings (Exclusively for Quotation Skin)

Quotation Mark Color: Define the color of the quotation mark itself.
Size Matters: Set the size of the quotation mark.
Spacing Control: Adjust the spacing between the quotation mark and the quoted text to achieve the perfect balance.
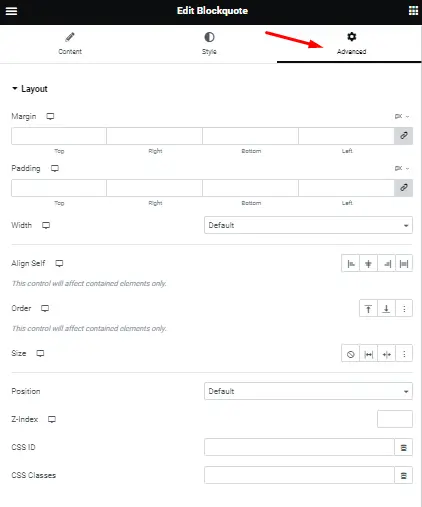
Step 5: Advanced Settings
The Advanced tab contains additional options to enhance the Blockquote Widget’s functionality and appearance. Customize these options to align with your website’s unique requirements.
Step 6: Conclusion
By mastering the Blockquote Widget in Elementor, you can add an engaging element to your web content that’s not only visually appealing but also highly shareable. Utilize its features wisely and watch your website’s appeal soar.
Please follow these step-by-step instructions to effectively use the Blockquote Widget in Elementor.


