
In the dynamic realm of website design, Elementor stands out as a powerful and user-friendly page builder. With its drag-and-drop interface and robust features, Elementor has become a go-to tool for both beginners and experienced developers. In this tutorial, we will delve into one of Elementor’s standout features—the Slides Widget—and explore how it can elevate your website design.
Introduction to the Slides Widget
Before we delve into creating slides, it’s important to understand how the Slides widget works and its essential features. This will ensure that you make the most of this powerful tool.
Step 1: Finding the Slides Widget
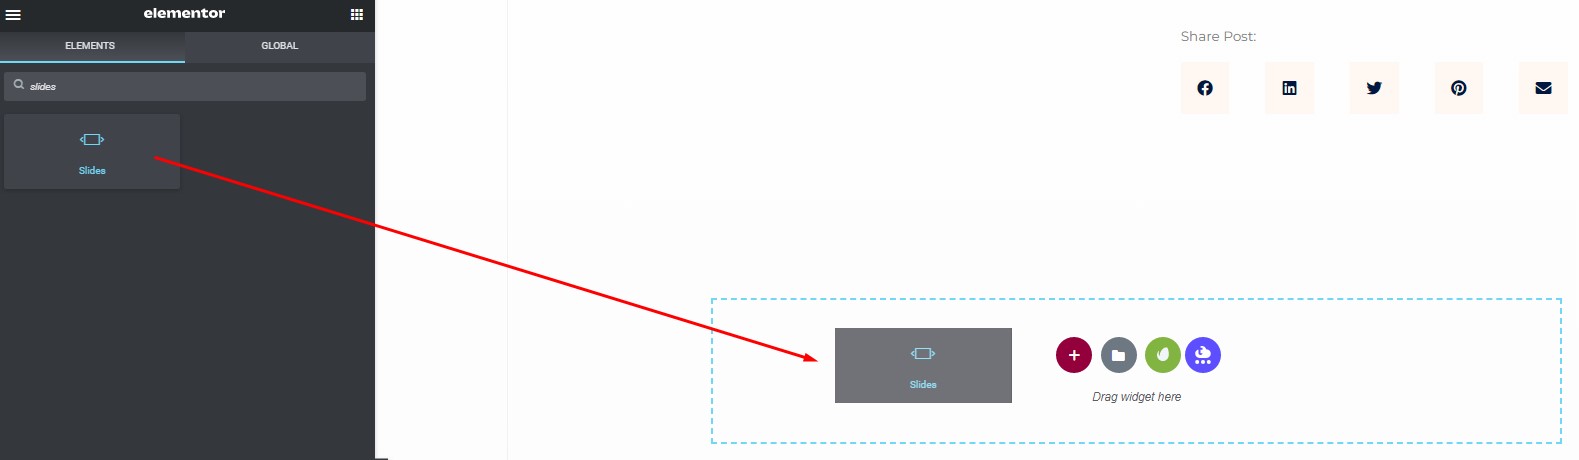
To start using the Slides widget, follow these simple steps:
- In the Elementor editor, search for the “Slides” widget in the widgets section.
- Once you find it, drag and drop the widget into the desired section on your web page.
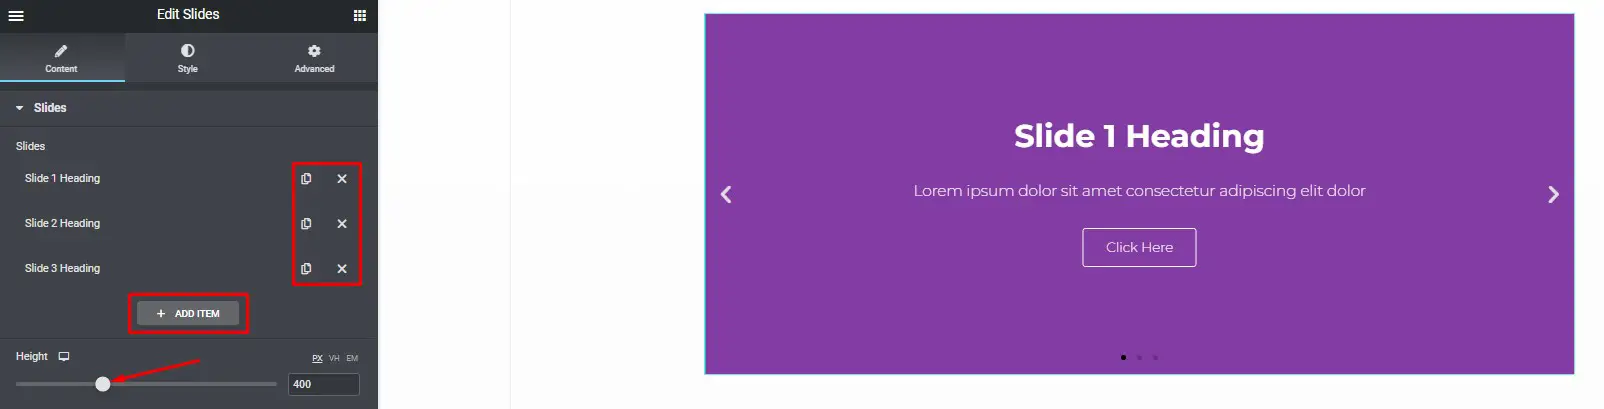
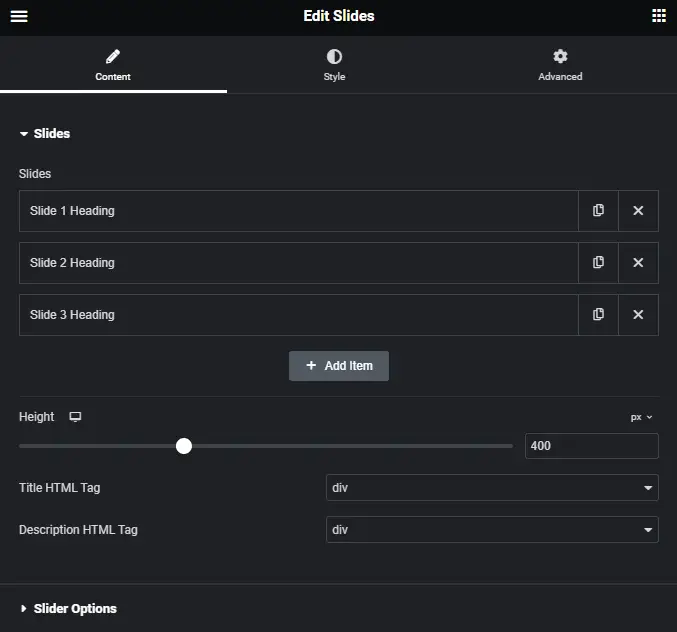
Step 2: Configuring the Slides Widget
After adding the Slides widget, you can customize it in various ways to create visually stunning slides for your website. Here are the key configuration options:
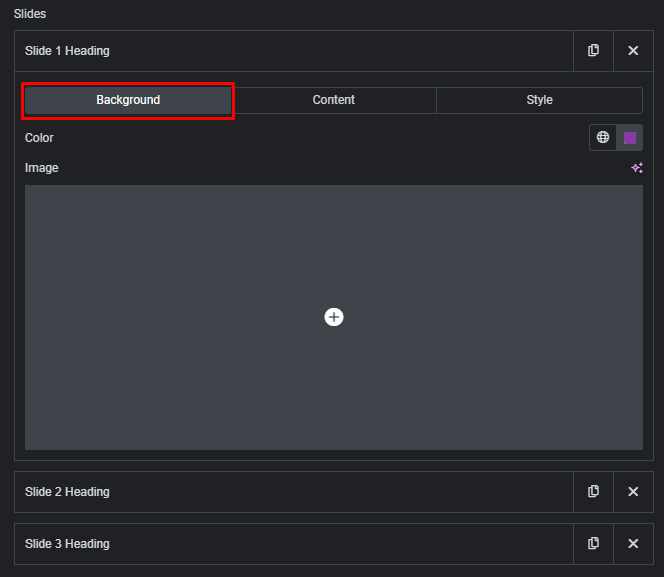
Slides Background
In this section, you can set the background for your slides:
- Choose a background color for the slide.
- Select an image from the media library as the slide’s background.
If you choose an image, you’ll have additional options:
- Size: Decide whether the background should be displayed as a cover or on auto. “Auto” is suitable when you have exact sizes for the image. “Cover” is ideal for more abstract and atmospheric images.
- Ken Burns Effect: Enable this option to add a zooming effect to the background image.
- Background Overlay: If you select “Yes,” you can set a background overlay color.

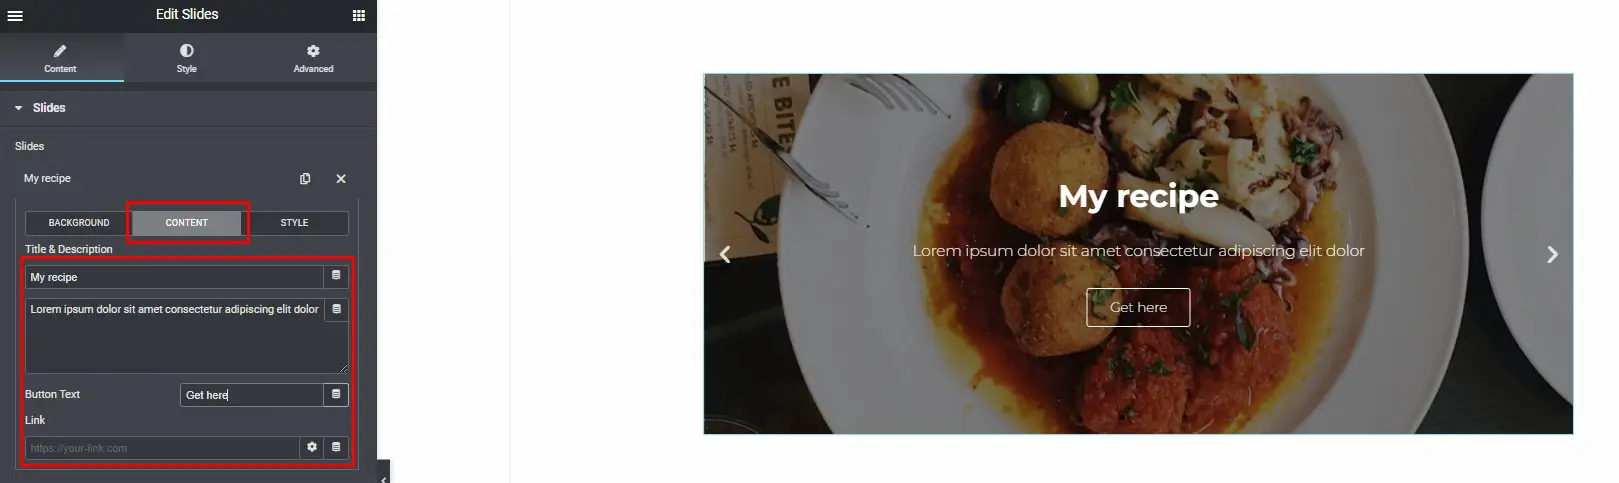
Slides Content
This section allows you to configure the content of your slides:
- Insert the slide’s title and description.
- Set the button’s text.
- Add a link to a URL for the slide or button.
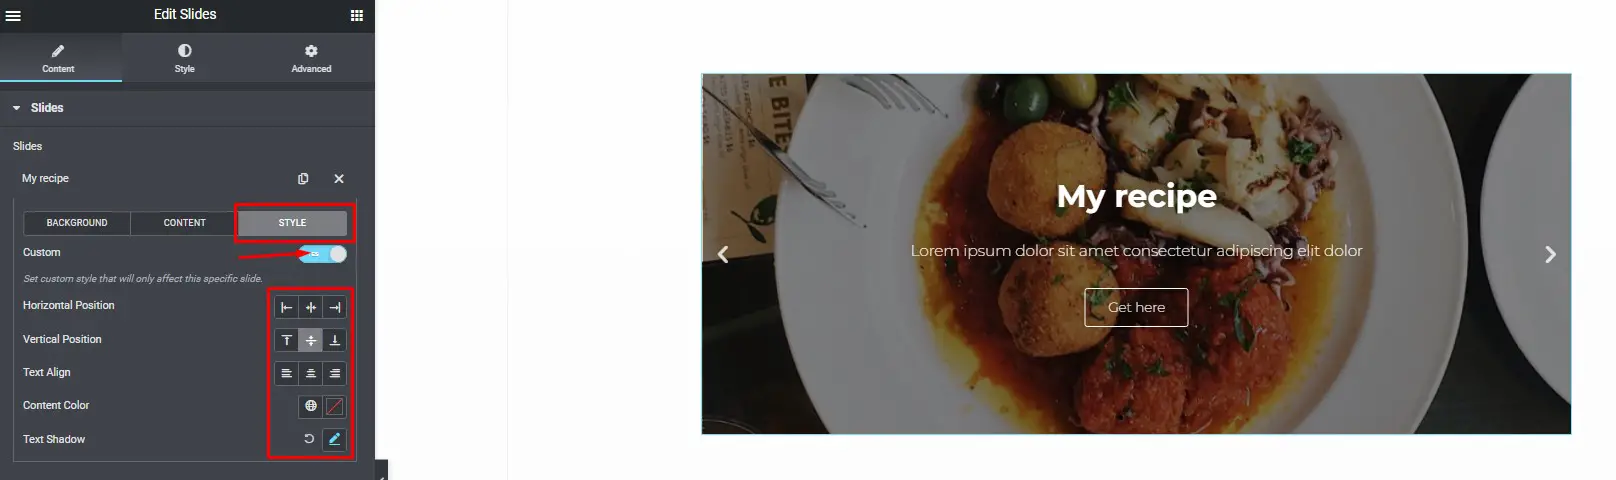
Slides Style
By default, the styling for individual slides relies on global styles. If you want to customize the style for a specific slide, turn on the “Custom” switch. You can then set the following styles:
- Arrange the content horizontally (left, right, or center).
- Set the content’s vertical position (top, middle, or bottom).
- Choose the content’s color.
- Define the slide’s exact height in pixels (PX), viewport height (VH), or em units (EM).
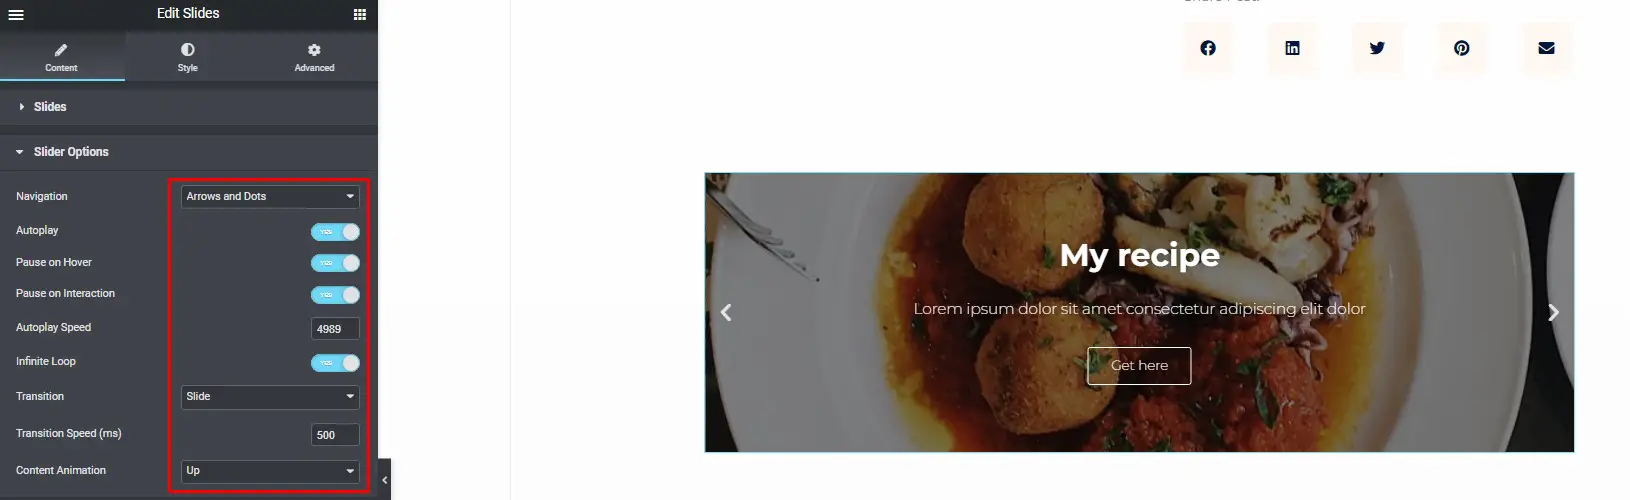
Slider Options
Under Slider Options, you can control how your slides function:
- Choose whether to display arrows, dots, both, or neither.
- Adjust the automatic slide rotation speed.
- Set the slide to pause when the mouse hovers over it.
- Configure the time it takes for the slides to begin rotating.
- Enable infinite loop rotation.
- Select slide transition (fade or slide).
- Set the time it takes for the slides to rotate.
- Choose a slide animation effect (None, Down, Up, Right, Left, or Zoom).
Step 3: Customizing Slide Styles
To make your slides visually appealing and cohesive, you can customize various style elements:
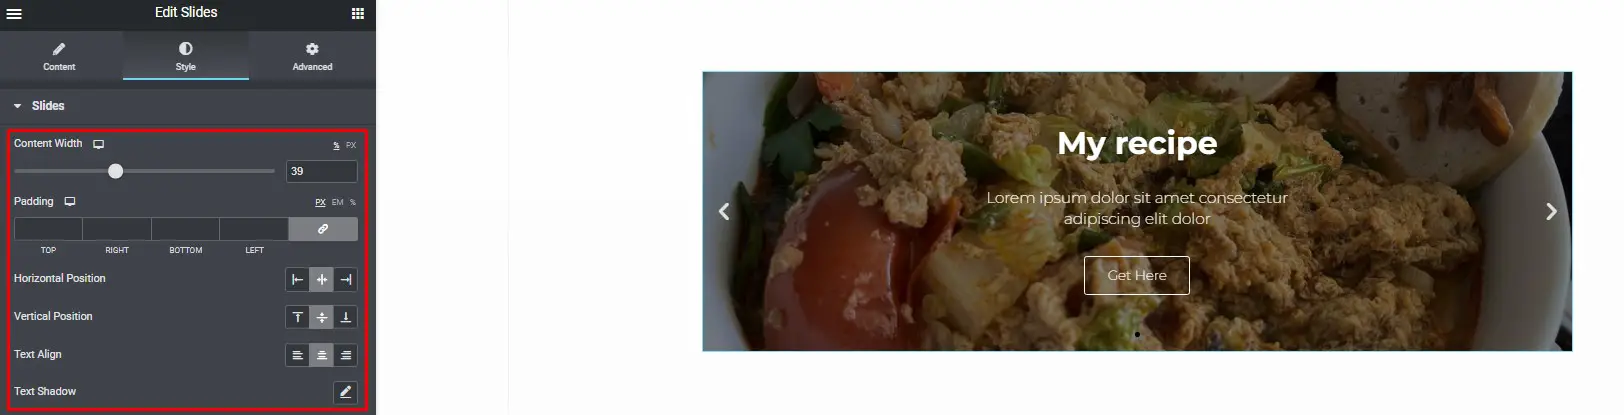
Slides
Under this menu, you can adjust the content’s width, padding, horizontal and vertical positions, text alignment, and add text shadow and blur effects.
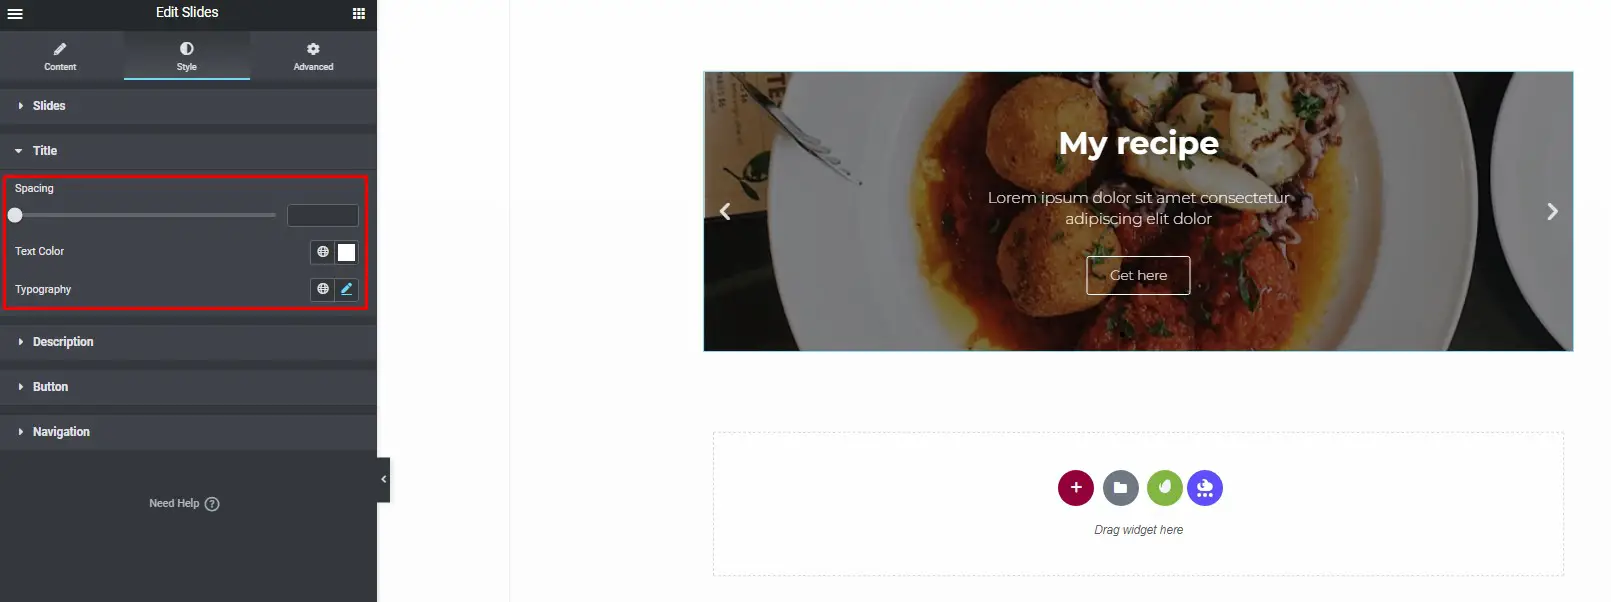
Title
Customize the title by setting spacing, text color, and typography options.
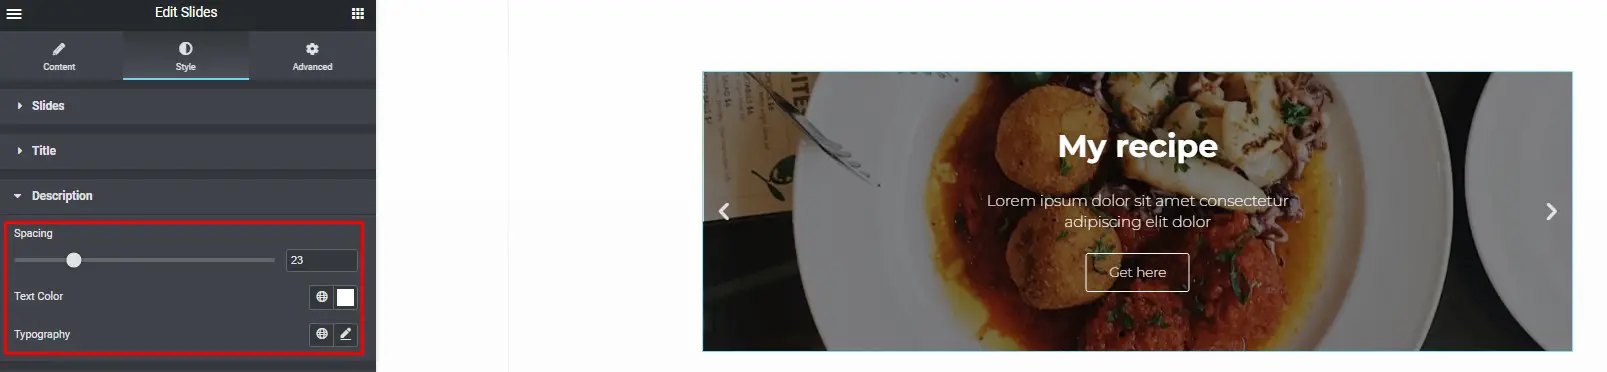
Description
For the description, customize spacing, text color, and typography.
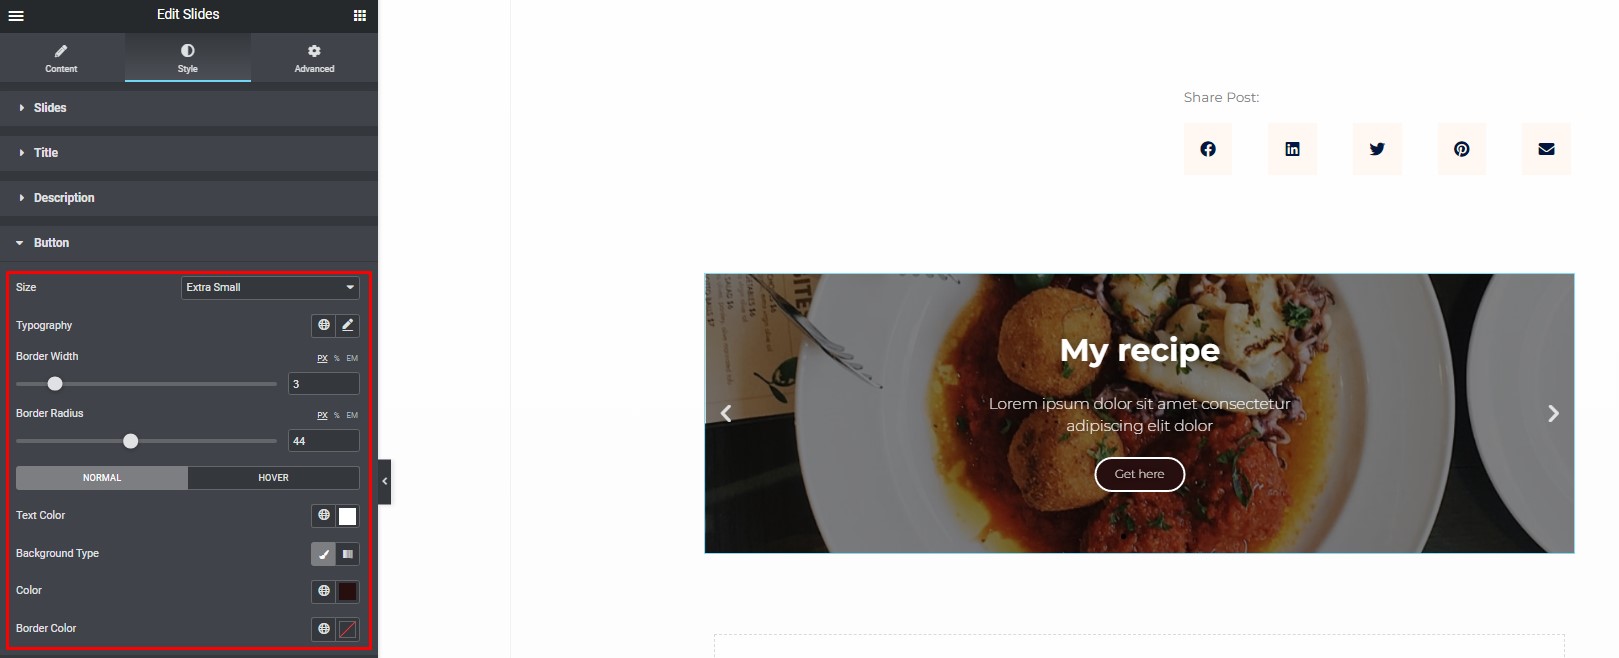
Button
Customize the button’s appearance, including size, typography, border width, border radius, text color, background color, and border color for both normal and hover states.
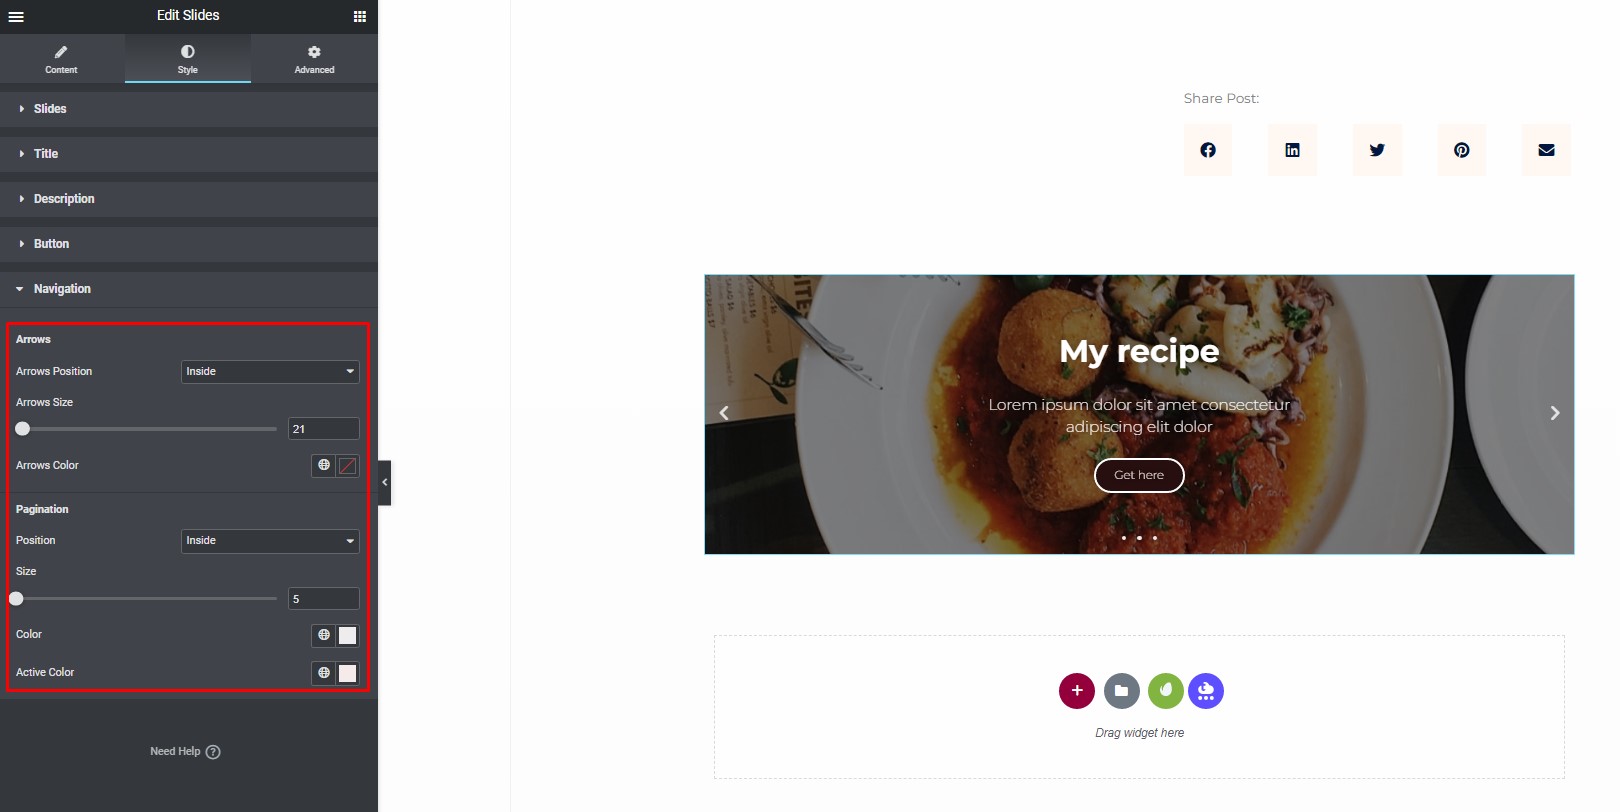
Navigation
Finally, you can customize the navigation elements, including arrows and pagination:
- Under the arrows section, set the arrow position, size, and color.
- For pagination, adjust its position, size, color, and active color.
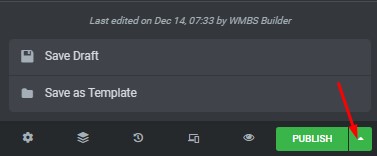
Don’t forget to save changes after finishing the widget setup and designing your slides.
Conclusion
Creating appealing slides with Elementor’s Slides widget is a breeze when you follow these step-by-step instructions. With the ability to customize backgrounds, content, and styles, you can design stunning slides that enhance your website’s visual appeal. Don’t forget to save your changes after configuring the widget to ensure your slides look just as you envisioned.
Advanced Customization Tips for Elementor Slides Widget
Introduction
In the ever-evolving landscape of web design, Elementor stands out as a versatile and user-friendly page builder. One of its prominent features is the Slides Widget, which allows users to create dynamic and engaging slideshows. However, to truly make your website stand out, it’s essential to go beyond the basic customization options and delve into advanced techniques.
Understanding Elementor Slides Widget
The Elementor Slides Widget is a powerful tool that enables users to add visually appealing slideshows to their websites. With basic customization options, users can tweak elements like text, images, and transitions. However, for those aiming for a unique and highly customized design, exploring advanced options becomes imperative.
The Need for Advanced Customization
While the basic customization options provide a good starting point, there are instances where they might fall short. Advanced customization becomes necessary when you have specific design requirements that demand a more tailored approach. This could include aligning the slideshow with your brand identity or ensuring seamless integration with the overall website design.
Step-By-Step Guide to Advanced Customization
Installing Elementor Pro
To unlock advanced customization features, upgrading to Elementor Pro is the first step. This not only provides access to a myriad of additional widgets but also unlocks enhanced customization capabilities for existing elements.
Accessing Advanced Settings
Navigate to the Slides Widget settings. Here, you’ll find a range of advanced options that go beyond the basic settings available in the free version.
Exploring Typography Options
Customize the text on your slides by experimenting with different font styles, sizes, and colors. This level of control allows you to ensure that your message is not only visually impactful but also aligns with your brand guidelines.

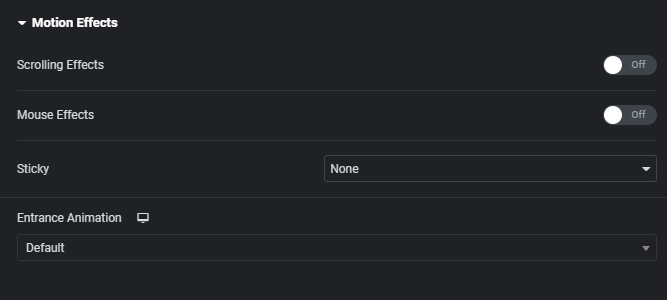
Customizing Animation Effects
Add a layer of dynamism to your slides by incorporating advanced animation effects. From subtle fades to attention-grabbing transitions, Elementor Pro provides a spectrum of choices to suit your website’s tone and style.
Leveraging Background Customization
Take full control of the background elements of your slides. Whether it’s incorporating images, videos, or gradient overlays, advanced customization options allow you to create visually stunning and cohesive slideshows.
Tips and Tricks for Seamless Customization
Consistency in Design Elements
Maintain a consistent design language across your slides to ensure a polished and professional look. This includes using the same color palette, font styles, and imagery.
Blending with Overall Website Aesthetics
Your slides shouldn’t feel like a separate entity but rather seamlessly integrate with the rest of your website. Pay attention to the overall aesthetics and ensure harmony in design.
Using Color Schemes Effectively
Experiment with color schemes to evoke specific emotions or convey particular messages. A well-thought-out color palette can significantly impact how users perceive your content.
Real-life Examples
To inspire your customization journey, here are some websites that have effectively utilized advanced Elementor Slides customization. By analyzing these examples, you can gain insights into successful design choices and apply similar principles to your own project.
Troubleshooting Common Issues
Even with advanced customization, you may encounter issues such as compatibility concerns or challenges with responsiveness. To address these, refer to Elementor’s support resources or community forums for solutions tailored to your specific situation.
Conclusion
In the realm of web design, advanced customization is the key to setting your website apart. By harnessing the full potential of Elementor Slides Widget, you can create visually stunning and highly tailored slideshows that captivate your audience. Don’t shy away from experimenting and pushing the boundaries of design to achieve a truly unique online presence.


