
Introduction to Styled List Elements
Styled list elements refer to the design customization of traditional lists, adding flair and personality to your content. In web design, the importance of a visually appealing layout cannot be overstated. Visitors are more likely to engage with content that is easy to read and aesthetically pleasing.
Thrive Architect Overview
Thrive Architect, an influential WordPress page builder plugin, streamlines the creation of striking web pages. Notably, it offers the Styled List Element, a valuable feature for crafting visually captivating lists on your website. In this comprehensive guide, we’ll walk you through the process of customizing and using the Styled List Element in Thrive Architect.
Adding the Styled List Element to Your Page
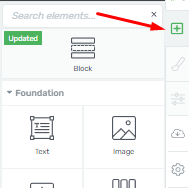
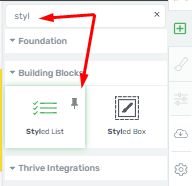
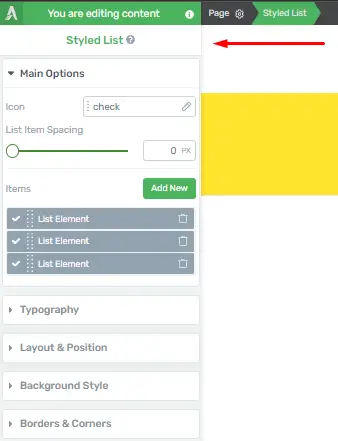
To get started, open Thrive Architect and access the desired page or create a new one. In the right sidebar, click the plus symbol to add a new element to your page. You can either search for the “Styled List” element or find it in the list of available elements.

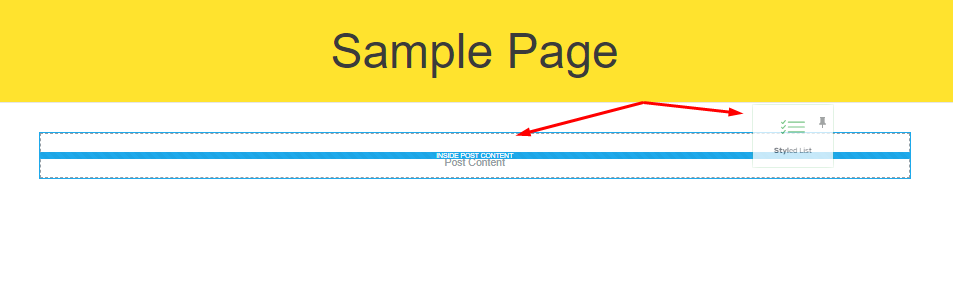
Once you’ve located the Styled List Element, simply drag and drop it onto your page in your preferred location.
Customizing the Styled List Element
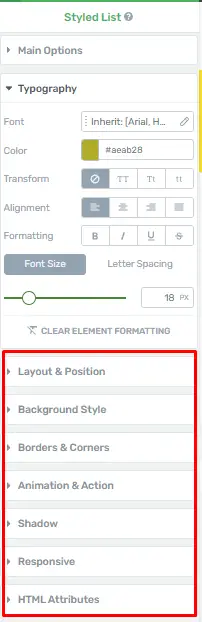
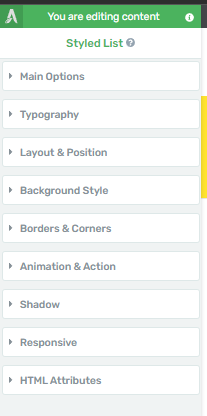
After successfully adding the Styled List Element, its main customization options become accessible in the left sidebar.
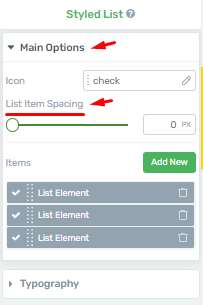
The first option lets you change the icon that appears next to each list item. Additionally, under the “Main Options” section, you’ll find the “List Item Spacing” option, enabling you to adjust the spacing between list items for a more visually appealing result.
Adding and Removing List Elements
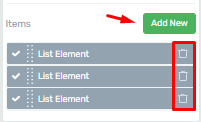
To add new elements to the list, place your cursor at the end of the text where you intend to add a new item. Click the “Add New” button to insert a new list item. If you wish to remove an item, locate it and click the trash icon next to it.
Customizing Text and Styling
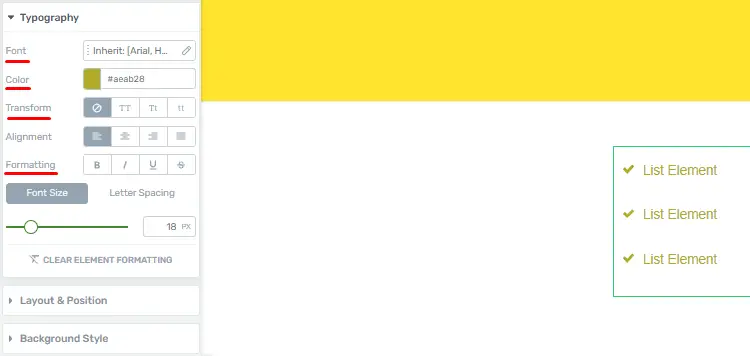
Enhance each list item by adjusting its text color, font, formatting, and more. You can also add highlights or modify text spacing to align with your design preferences.
Exploring Additional Options
For advanced customization, explore other settings available for the Styled List Element to fine-tune its appearance and meet your specific needs.
Finalizing Your Styled List
Once you’ve made all the desired adjustments and are satisfied with the Styled List Element’s appearance, you’re ready to proceed. Your customized Styled List Element is now primed to elevate your page’s content.
Styling List Items with Icons and Images
Styling list items with icons and images in Thrive Architect significantly enhances the visual appeal of your content, making it more engaging for your audience. Here are step-by-step instructions.
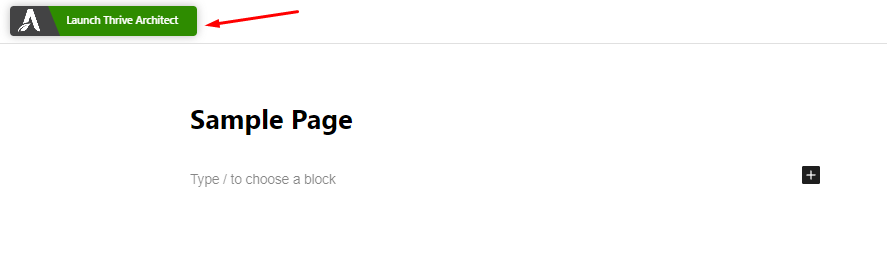
Navigate to the Page Editor
Click on the “Edit with Thrive Architect” button to access the Thrive Architect editor for that page or post.
Add a List Element
In the Thrive Architect editor, click on the “+” icon to add a new element to your page. Search for and select the “List” element from the list of available elements.
Once the List element is added, you can start creating your list. Click on the List element to select it, and then click the “Edit List” button.
In the list editor, add individual list items by clicking the “Add Item” button and entering your list item text.
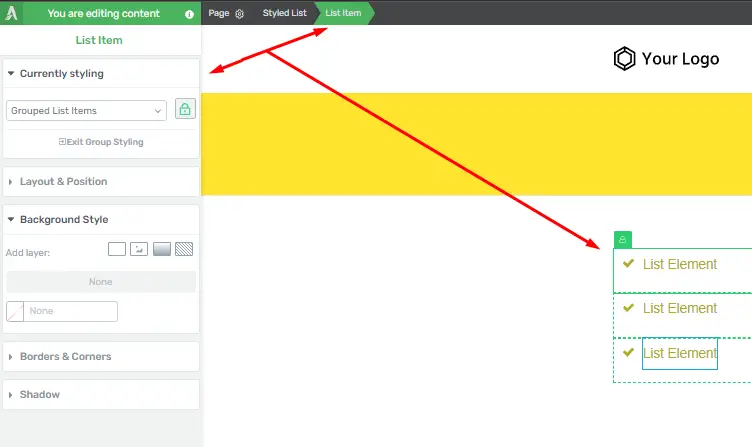
Style Your List Items
Click on the list item you want to style.
In the left sidebar, you will find various styling options. To add an icon, click on the “Icon” tab.
Choose an icon from the available icon library or upload your custom icon.
Adjust the icon size, color, and alignment to match your preferences.
Click on the “Image” tab to add an image.
Upload an image or choose one from your media library.
Adjust the image size, alignment, and spacing as needed.
Customize List Styling
Further, customize the overall list styling by returning to the list editor and selecting one of these tabs.
Adjust the font size, color, bullet style, and spacing between list items to align with your design.
Save Your Changes
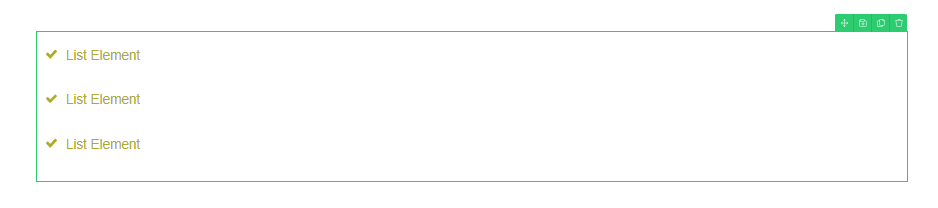
Once you’re satisfied with the styling of your list items, click the “Save” or “Update” button to save your changes. To preview how your styled list items with icons and images appear on your page, click the “Preview” button. If everything appears to be in order, click the “Publish” or “Update” button to publish your changes to your website.
Now, you have a beautifully styled list that not only enhances the aesthetics of your web page but also improves the overall user experience. Experiment with different styling options to create lists that are visually appealing and engaging for your website visitors.
Conclusion
In this step-by-step guide, we’ve explored the powerful Styled List Element in Thrive Architect and how you can use it to create visually appealing lists with icons and images. By following these instructions, you can enhance your website’s design and make your content more engaging. Start using the Styled List Element today and take your web design to the next level!


