
Introduction
Welcome to this tutorial on how to design a product list block for your review site using Thrive Themes. In this step-by-step guide, I’ll show you how to create a professional and visually appealing product list from scratch using Thrive Themes. Whether you’re a beginner or an experienced web designer, you’ll find these instructions easy to follow. Let’s get started with building your product list block using the Thrive Themes page builder.
Understanding Product List Blocks
What are Product List Blocks?
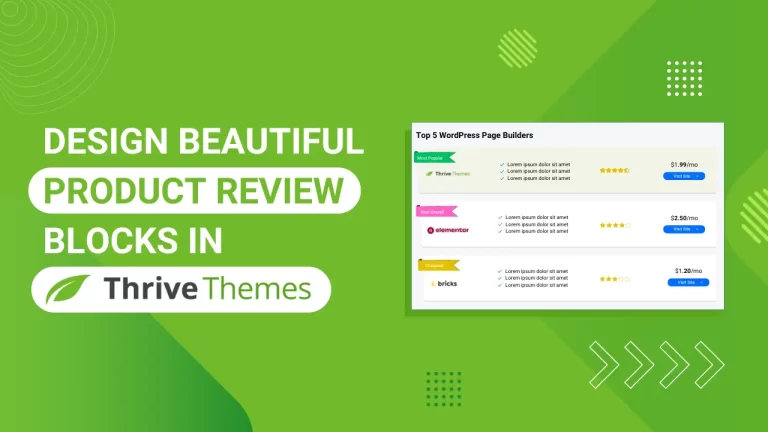
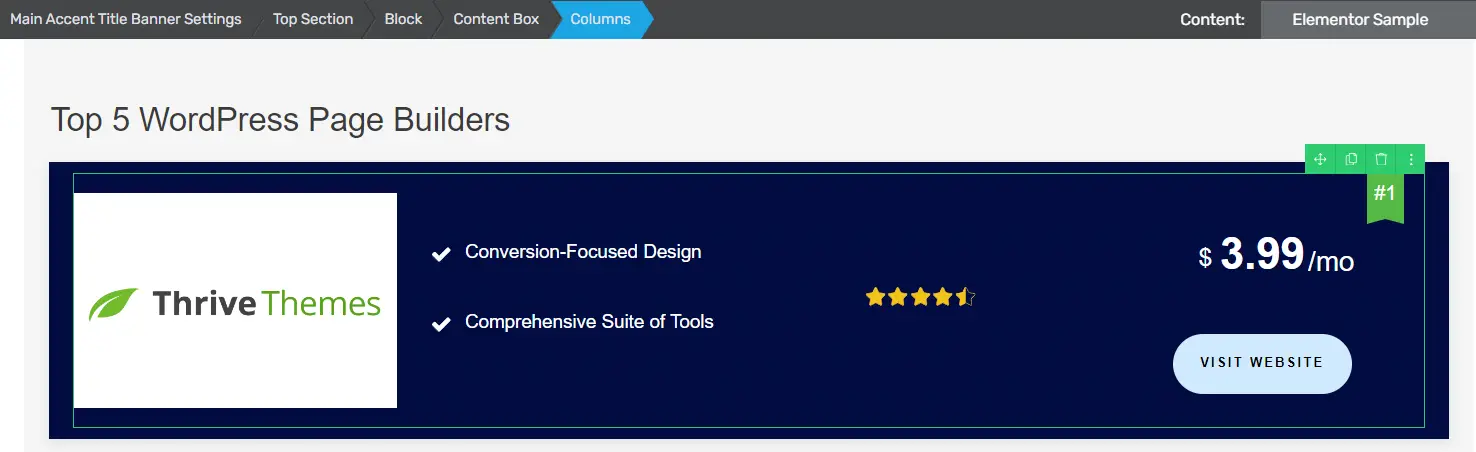
Product list blocks are sections of your website that display a collection of products, often with images, brief descriptions, prices, and ratings. They help users quickly compare different products and make informed purchasing decisions.
Benefits of Using Product List Blocks
Enhanced User Experience: They make it easy for visitors to scan and compare products.
Increased Engagement: Well-designed blocks can keep visitors on your site longer.
Improved SEO: Properly optimized product lists can boost your search engine rankings.
Step-by-Step Guide: Designing a Product List Block
Step 1: Adding the Block Element
To begin designing your product list block, follow these initial steps:
Choosing the Block Element
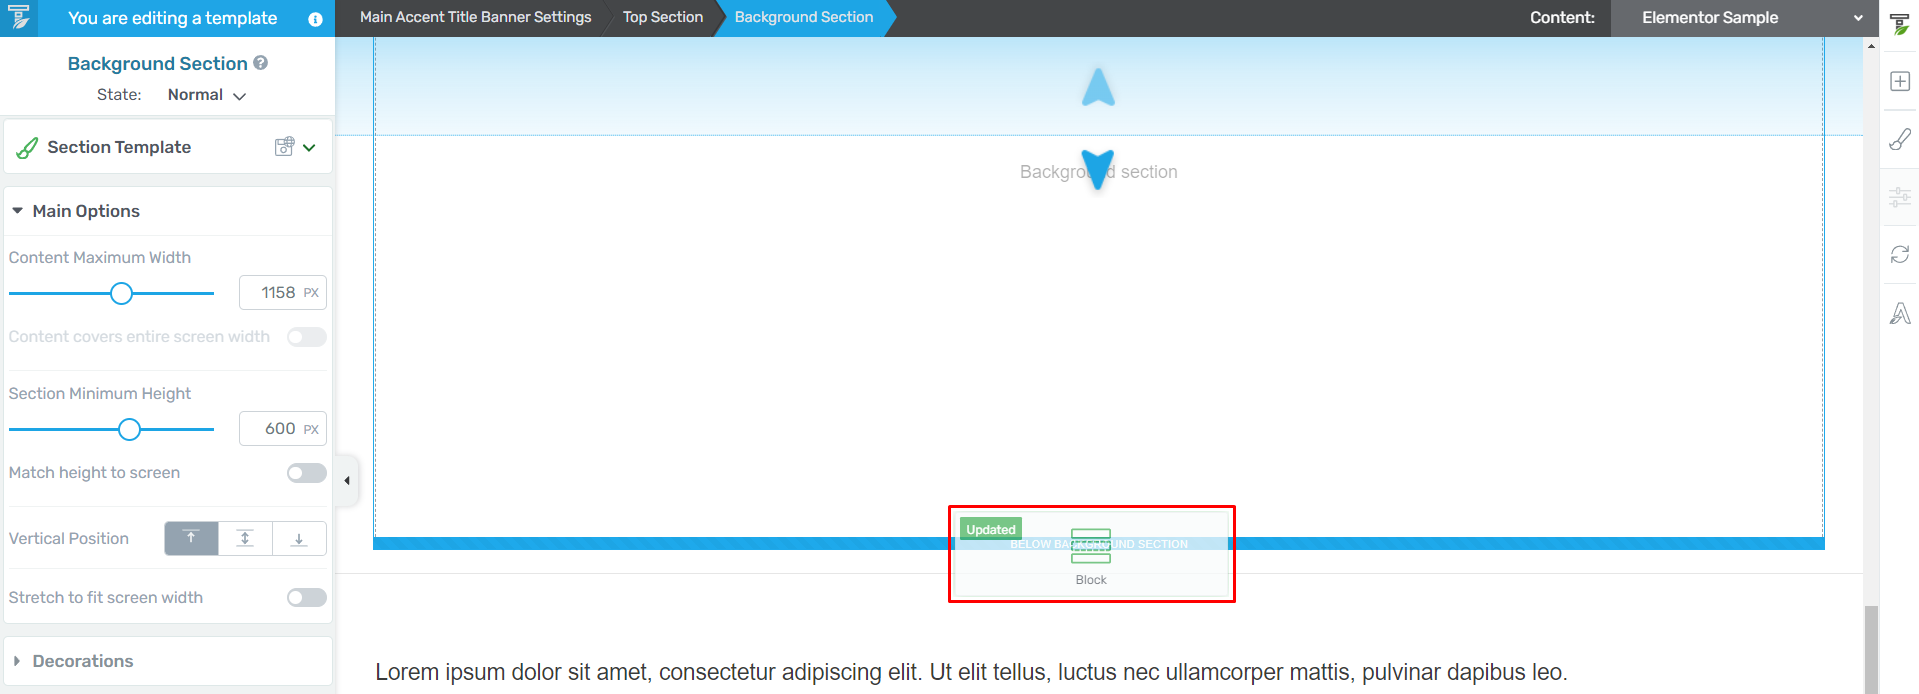
Navigate to the right sidebar of your Thrive Themes editor.
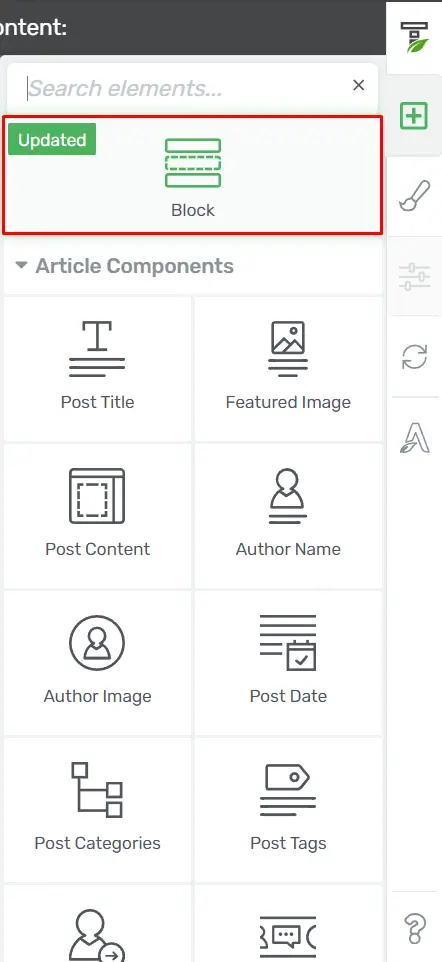
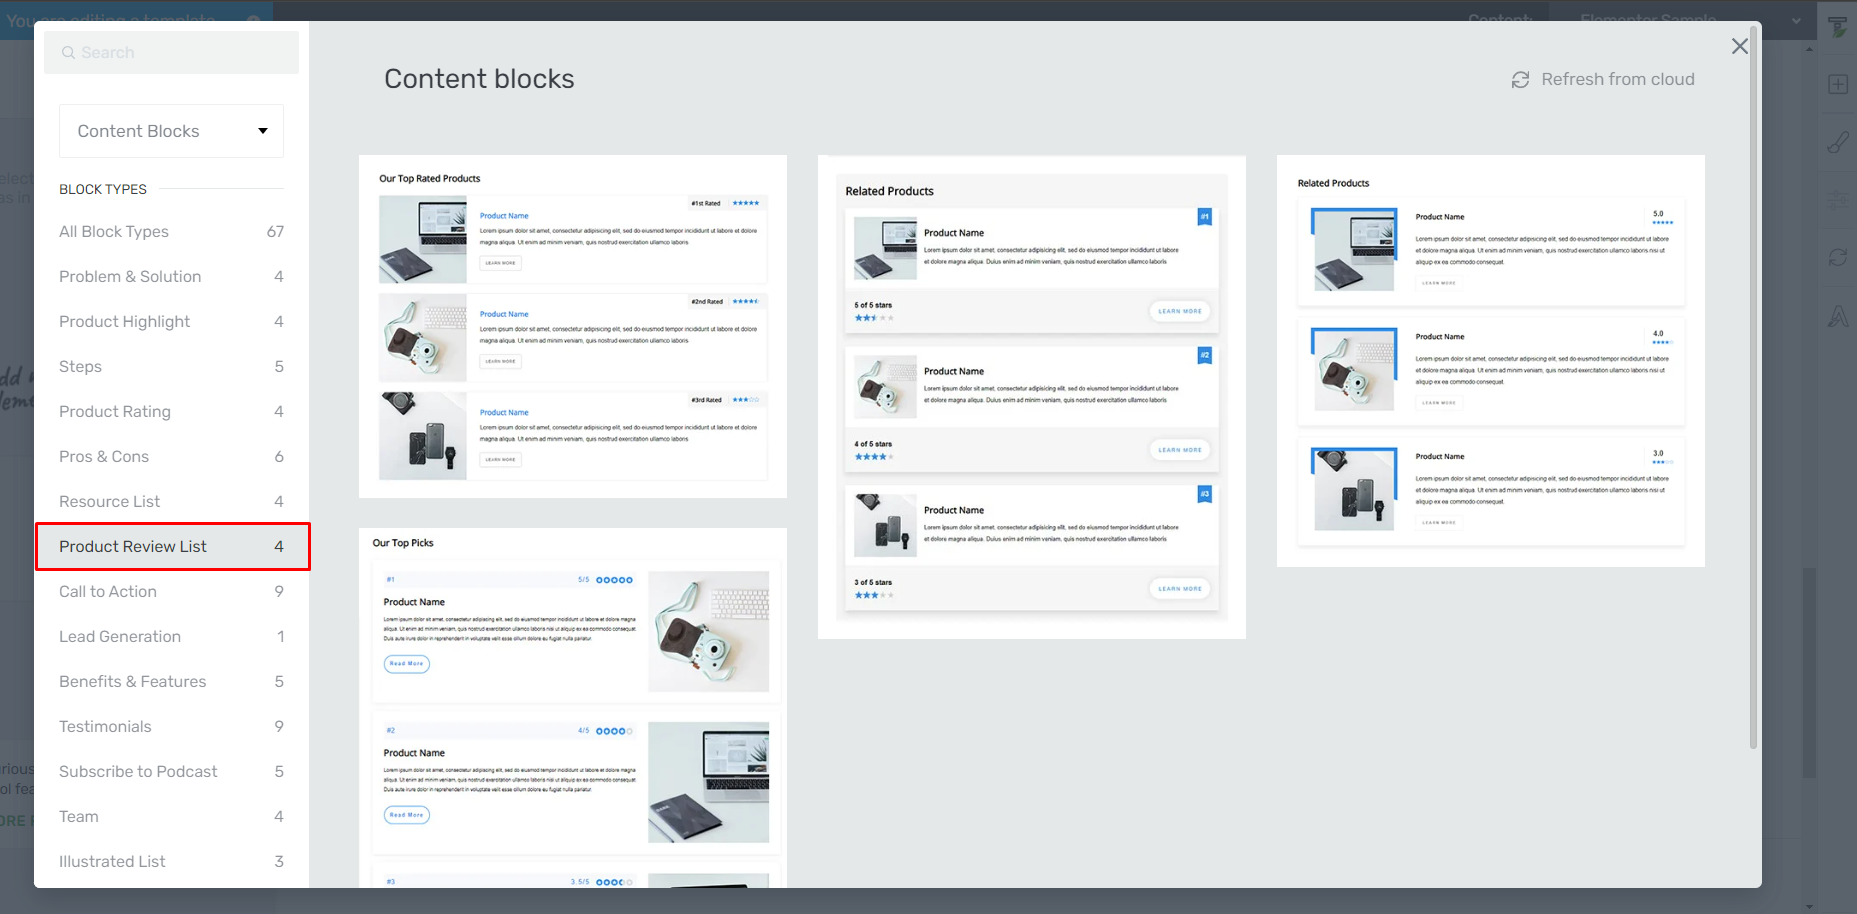
Drag and drop the “Block” element onto your page.
A popup will appear with numerous templates; you can start from scratch or use a pre-designed template like “Product Review List”.
Step 2: Creating the Column Layout
Now, let’s establish the layout of columns for your product list:
Setting Up Columns
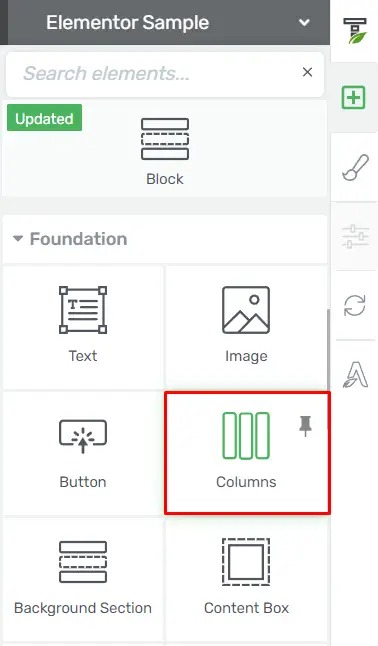
Reopen the right sidebar and add the “Columns” element to your page.
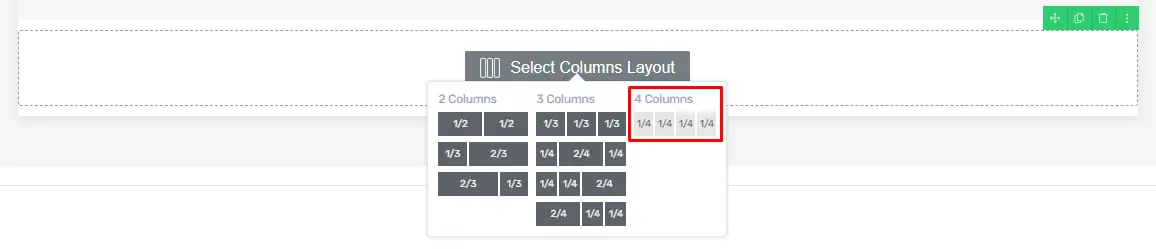
Choose a suitable column layout; for this tutorial, we’ll opt for a four-column structure.
Step 3: Adding Elements to Columns
Let’s populate each column with essential elements for your product list:
First Column
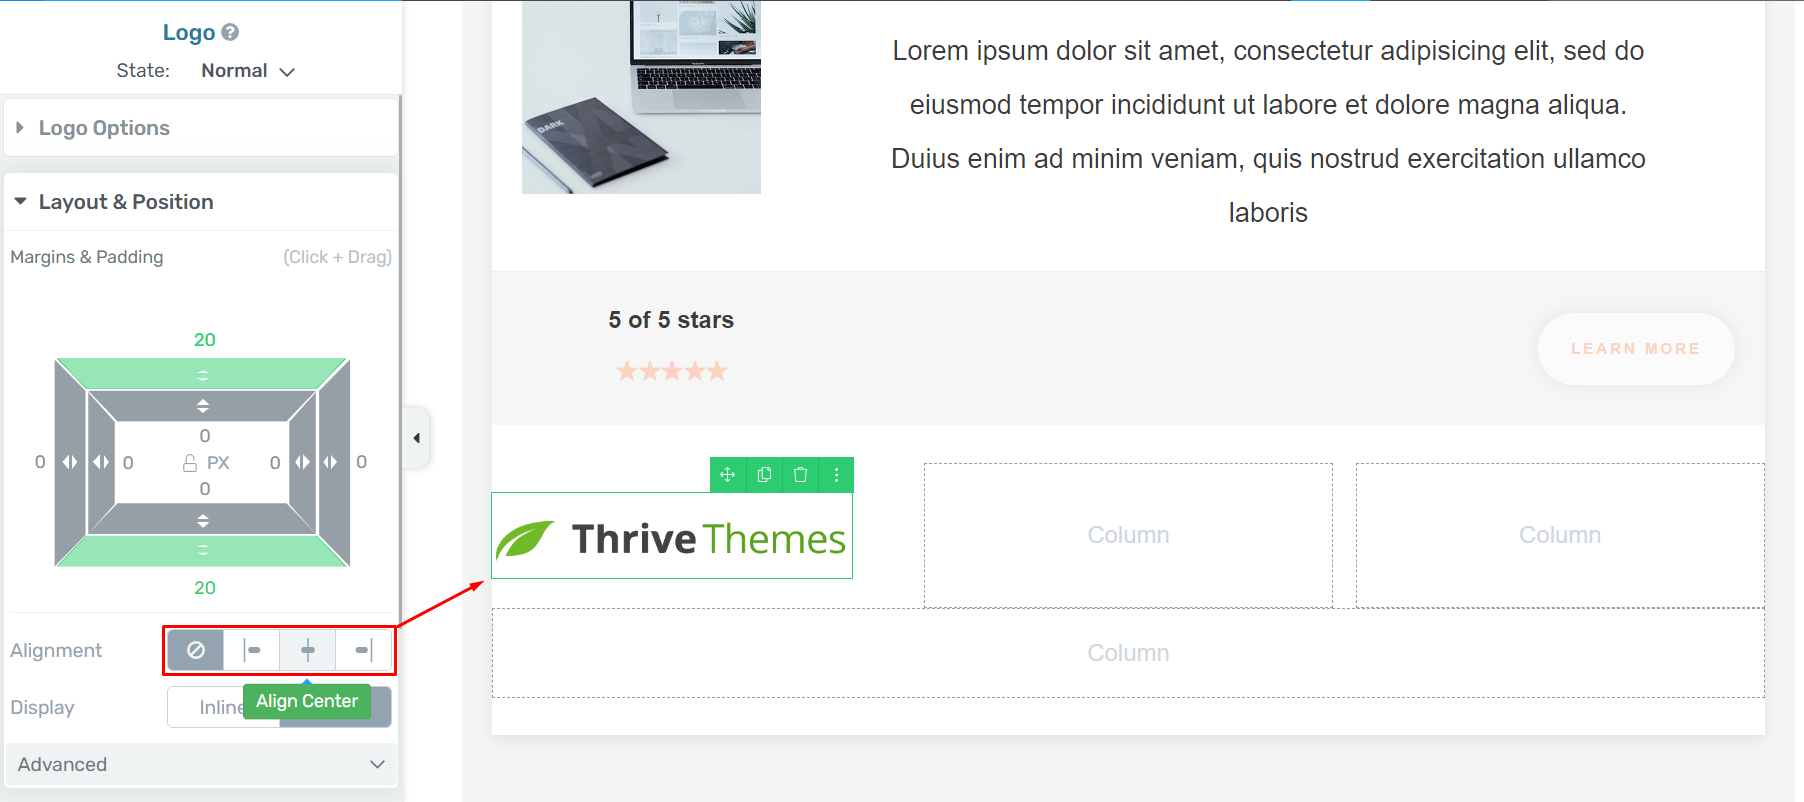
Insert the “Logo” element into the first column.
![]()
Use the “Layout & Position” settings to center-align the logo.
Second Column
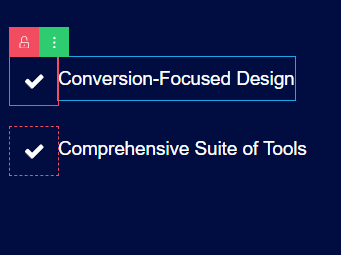
Include a “Styled List” element; you can duplicate it from a template or create a new one.
Ensure the logo in the first column remains centered.
Third Column
Integrate a “Star Rating” element to display product ratings.
Adjust padding within the “Content Box” for proper spacing.

Fourth Column
Display the product price using the “Pricing Table” element.

Step 4: Customizing the Columns
Now, let’s enhance the visual appeal of your columns:
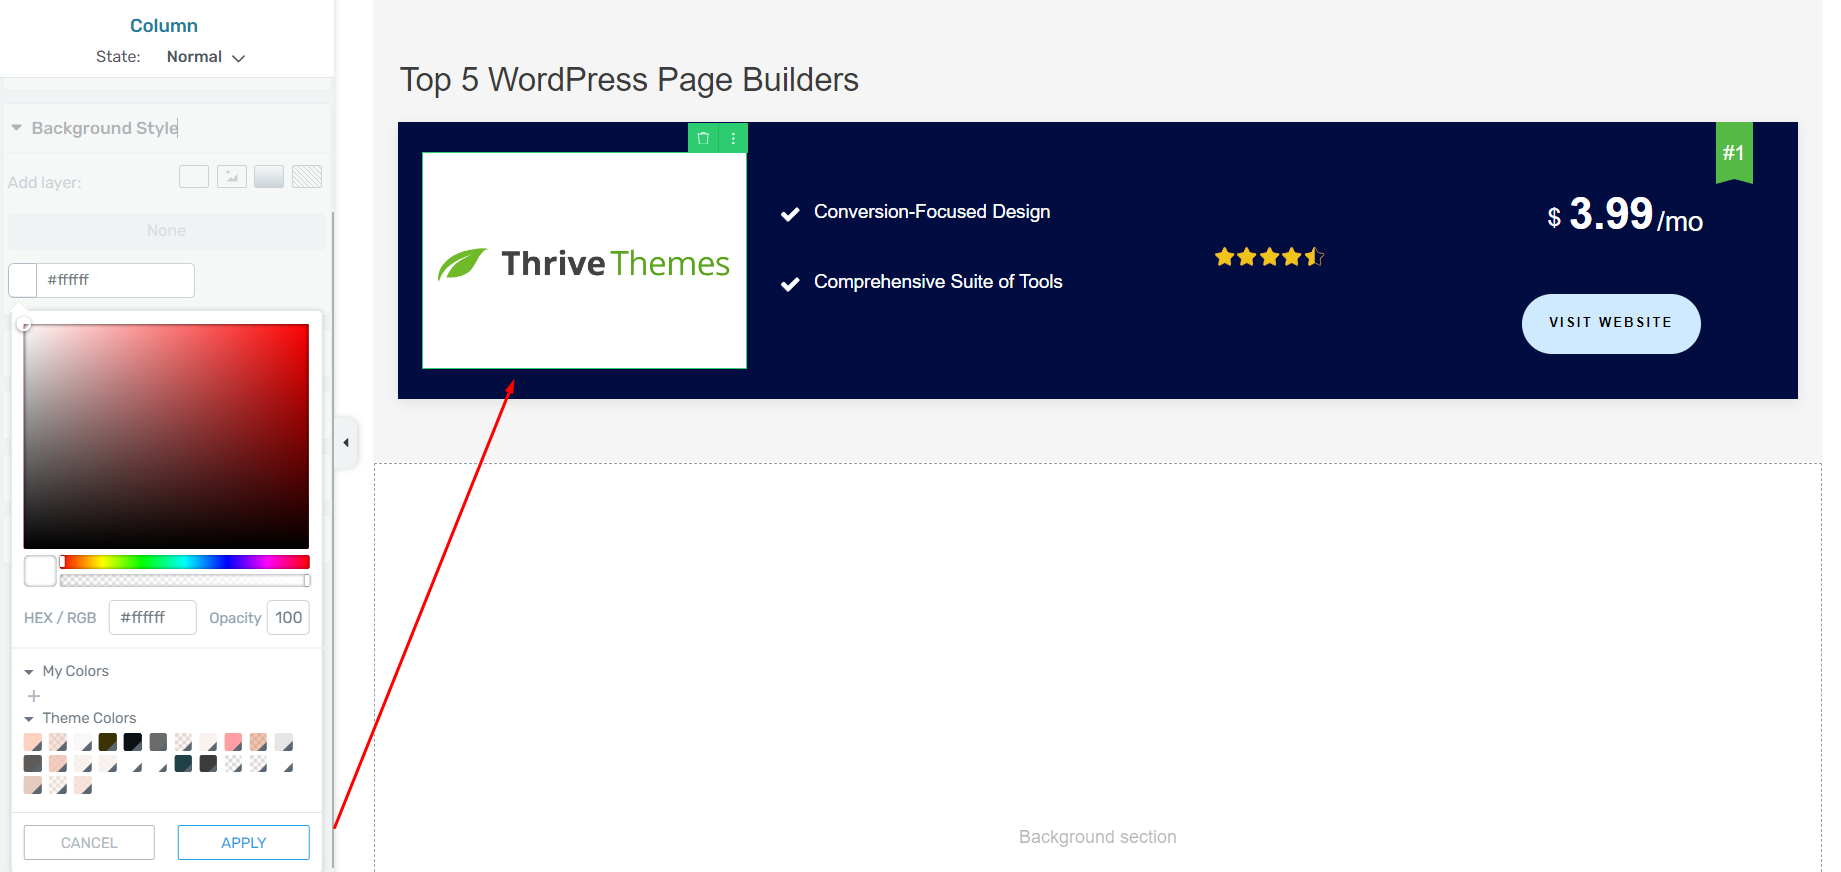
Color and Alignment Adjustments
Click on each column to modify its background color; apply changes using the color picker.
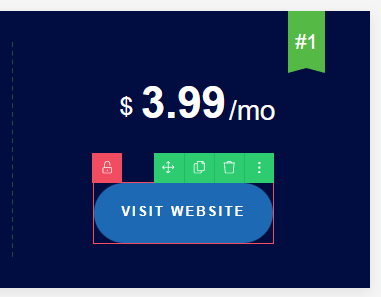
Add a “Button” element in the third column for call-to-action purposes.
Align elements like the “Star Rating” and “Styled List” centrally within their respective columns.
Step 5: Final Adjustments
Make final tweaks to perfect your product list block:
Detailing and Fine-tuning
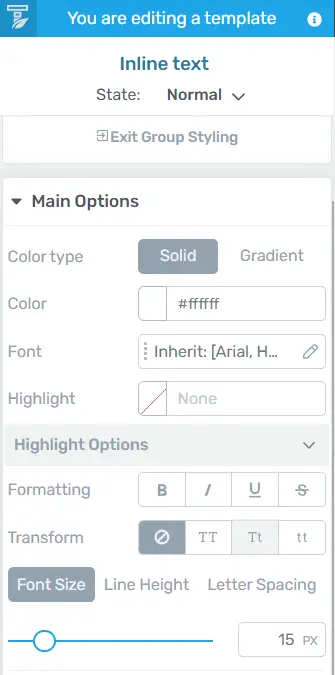
Adjust icon and font colors in the second column to match your site’s theme.
Customize text size and style using the “Main Options” menu.
Consider adding a background color to the logo for emphasis.
Step 6: Ensuring Responsiveness
Ensure your design is responsive across different devices:

Testing Responsiveness
Test the responsiveness of your product list design.

Remove any guide elements once satisfied with the layout.
Step 7: Adding Links to Buttons
Make your product list interactive by linking buttons:
Linking Buttons
Select the “Button” element in the fourth column.

Paste the desired link into the “Target Link” section within “Main Options”.
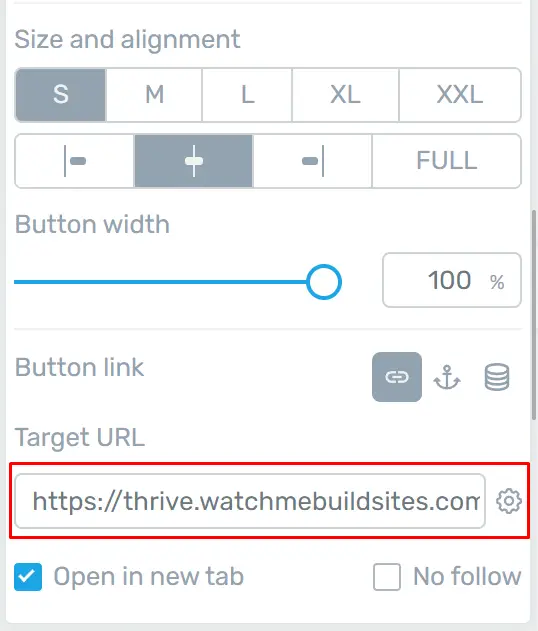
Optionally, enable “Open in New Tab” for user convenience.
Step 8: Saving Your Work
Finalize and save your product list block:
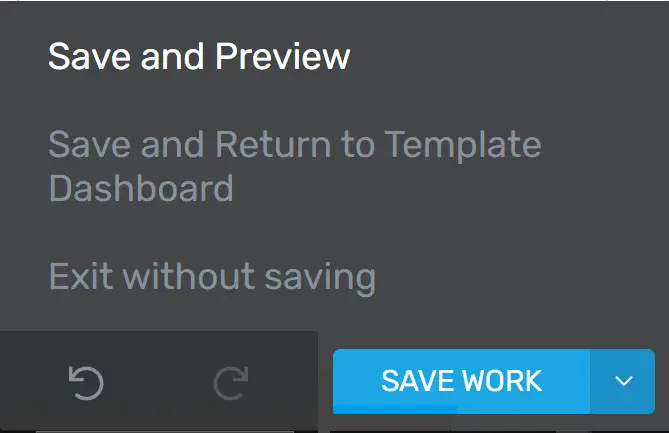
Saving and Previewing
Click on “Save Work” to preserve your edits.

Use “Save and Preview” to review your product list before publishing.
Conclusion
We now have created a product list block for review site using Thrive Themes. By following these steps, you can easily customize each element to match your website’s design. Don’t forget to save your work and preview it to ensure everything looks perfect.