
Introduction
Welcome to the world of Thrive Architect, where you have the power to transform your website’s appearance effortlessly. In this comprehensive guide, we will explore the intricacies of setting a separate homepage and blog page within Thrive Architect, ensuring your website stands out and captivates your audience. Let’s embark on this journey of customization and creativity.
Understanding Thrive Architect
Before diving into the specifics, let’s familiarize ourselves with Thrive Architect. It’s a powerful WordPress page builder plugin that empowers users to design visually appealing and functional websites without the need for coding skills. Now, let’s unlock the potential of separating the homepage and blog page for a more tailored user experience.
Creating a separate homepage and blog page on your WordPress website is important because it helps make your site look and work the way you want it to. Whether you have a personal blog or a business website, having different pages for your homepage and blog can help people find what they’re looking for. In this tutorial, we’ll show you how to make a separate homepage and blog page on WordPress, step by step.
Follow these steps to set up a separate homepage and blog page on your WordPress site.
Creating a New Homepage
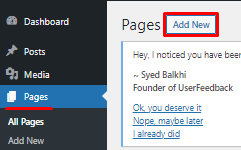
- Navigate to Your WordPress Admin Dashboard.
- Click on “Pages” and select “Add New”.
Title Your New Page
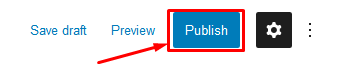
- Give your page a title that reflects it as your homepage.
- Click “Publish” to save it.
Adding Content to Your Homepage
- Return to the newly created homepage.
- Add all the content you want for your homepage.
- You can publish it temporarily and come back later to refine the content.
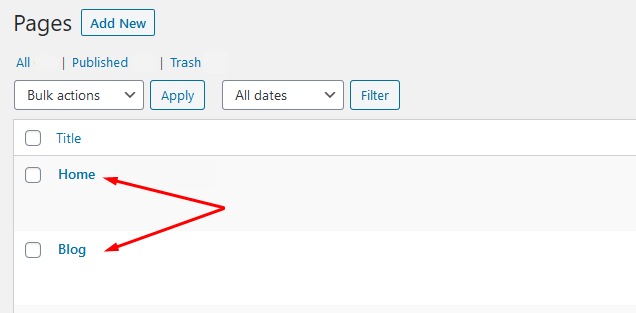
Note: At this point, you should have two pages in your WordPress dashboard.
Configuring Reading Settings
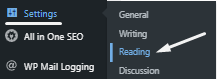
In your WordPress admin dashboard, go to “Settings” and click on “Reading”.
Selecting Static Page
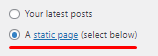
- Choose the “Static Page” option.
Setting the Homepage
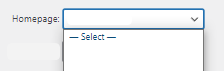
- For the “Homepage”, select “New Page” or whichever page you designated as your homepage.
Setting the Posts Page (Blog)
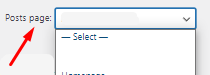
- For the “Posts Page”, select “Article” or the name you gave to the page that serves as a placeholder for your blog.
Saving Changes
- Click on “Save Changes” to apply the settings.

Confirming the Setup
After saving the changes, your WordPress site should now have a separate “New Page” as the homepage and an “Article Page” for your blog.
Note: You can customize and add content to both pages as needed.
Follow these steps carefully to effectively set a separate homepage and blog page on your WordPress website.
Maximizing User Engagement with Thrive Architect Homepage and Blog Page
With Thrive Architect, you can create a captivating homepage and blog page that will keep your visitors coming back for more. In this guide, we’ll walk you through step-by-step instructions on how to maximize user engagement using Thrive Architect.
Plan Your Homepage and Blog Page Layout
Before diving into Thrive Architect, it’s essential to have a clear plan for your homepage and blog page layout. Consider the following elements:
Homepage Elements:
- Header section with a compelling headline and navigation menu.
- Hero section with an attention-grabbing image or video.
- Clear call-to-action buttons or links.
- Featured content or products.
- Testimonials or reviews.
Blog Page Elements:
- Clear blog post listings with thumbnails.
- Readable typography and spacing.
- Related posts or popular posts sections.
- Social sharing buttons.
- Comment section.
Create a New Homepage
Let’s create an engaging homepage.
- In your WordPress dashboard, go to “Pages” and click “Add New” to create a new page for your homepage.
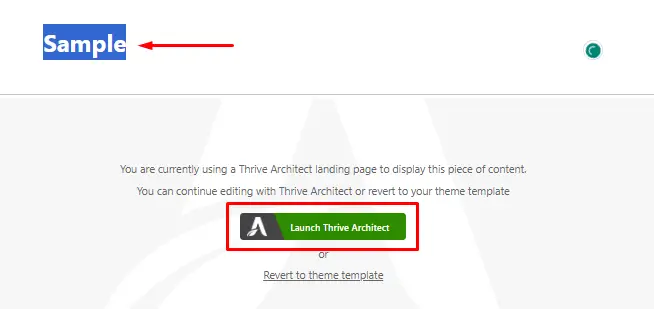
- Give your page a title (e.g., “Homepage”) and click the “Edit with Thrive Architect” button.
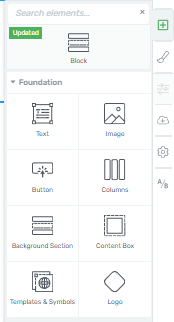
- Use the Thrive Architect drag-and-drop editor to build your homepage layout.
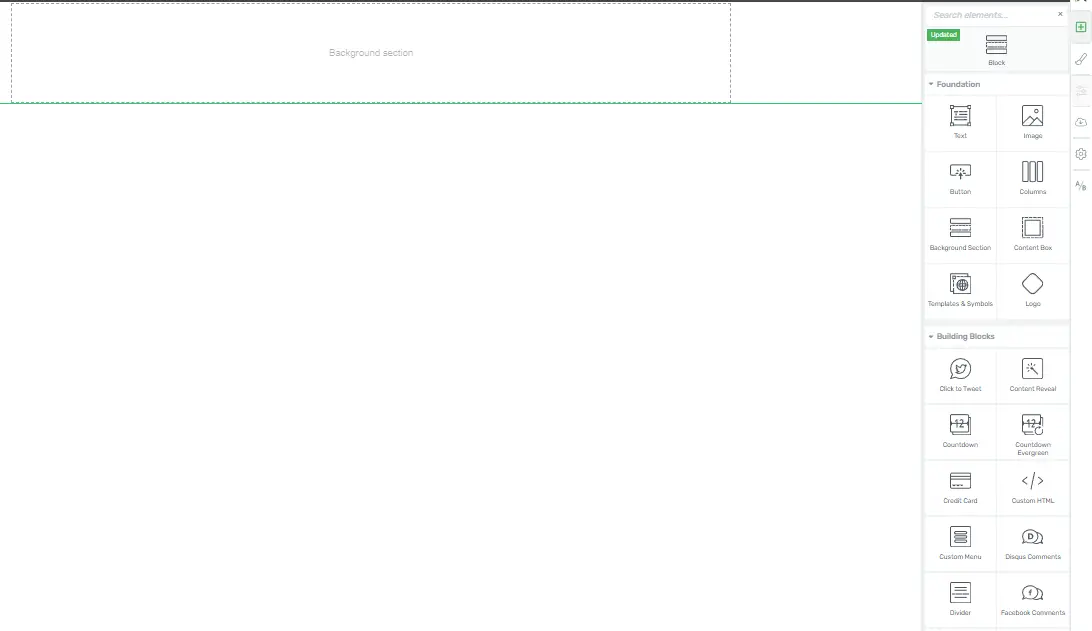
- Add and customize elements like headings, images, buttons, and testimonials.
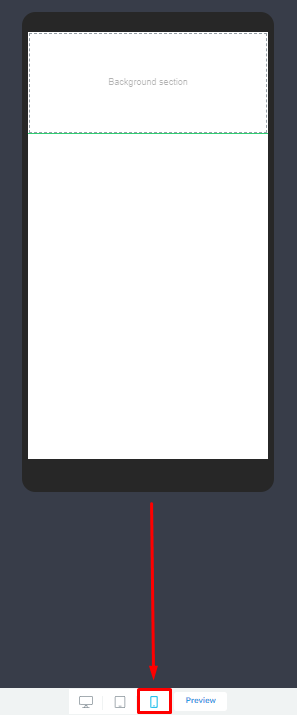
- Ensure your homepage is mobile-responsive by checking the mobile view and making necessary adjustments.
- Save your changes when you’re satisfied with the homepage design.
Set the Homepage as Your Front Page
To make your newly designed homepage the default front page of your website:
- Go to “Settings” in your WordPress dashboard.
- Select “Reading.”
- Under “Your homepage displays,” choose “A static page.”
- From the dropdown menu next to “Homepage,” select the page you created.
- Save changes.
Create an Engaging Blog Page
Now, let’s create an engaging blog page for your website:
- In your WordPress dashboard, go to “Pages” and click “Add New” to create a new page for your blog.
- Give your page a title (e.g., “Blog”) and click the “Edit with Thrive Architect” button.
- Use Thrive Architect to design your blog page layout, including blog post listings and related post sections.
- Make sure the typography is easy to read, and the page is visually appealing.
- Save your changes.
Set the Blog Page as Your Posts Page
To set your newly designed blog page as the default posts page:
- Go to “Settings” in your WordPress dashboard.
- Select “Reading.”
- Under “Your homepage displays,” choose “A static page.”
- From the dropdown menu next to “Posts page,” select the page you created.
- Save changes.
Optimize for Performance
Ensure your homepage and blog page load quickly by:
- Compressing images using plugins like Smush or optimizing them before uploading.
- Using a caching plugin like WP Super Cache or W3 Total Cache.
- Minimizing the use of heavy scripts and plugins that can slow down your site.
- Regularly update Thrive Architect and WordPress for security and performance improvements.
By following these steps, you can create an engaging homepage and blog page using Thrive Architect, keeping your users interested and coming back for more of your content.


