


Installation and Activation
First, you will have to install Bricks.
![]()
From your account, download the most latest version of bricks.
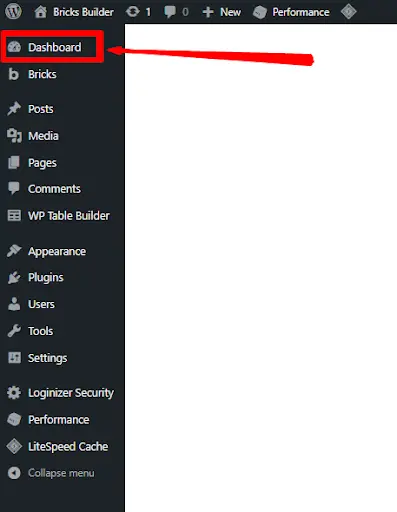
Go to your WordPress dashboard.
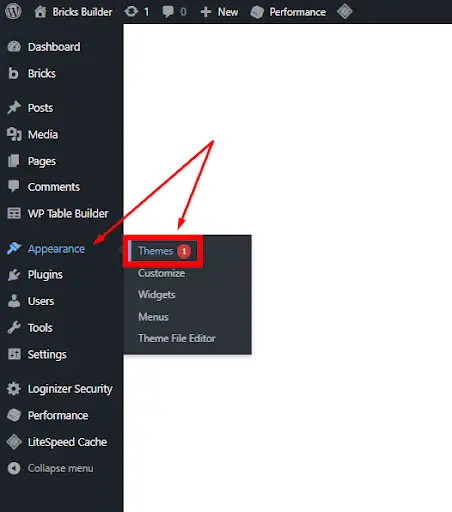
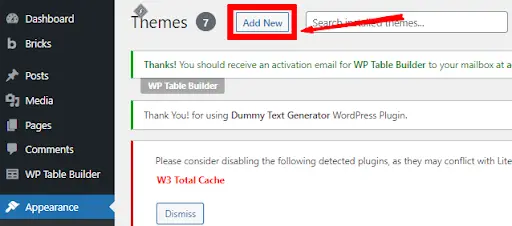
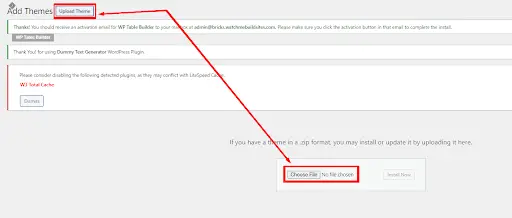
Select Themes from the Appearance menu, then select Add New.
Select the bricks.zip WordPress theme from your computer by clicking the Upload theme button on the screen. Then, select Install.
Once Bricks has been installed, Bricks is installed as a theme rather than a plugin. Then, you should see a new menu item with the name Bricks in your WordPress dashboard along with the following notification asking you to activate your license so that you can use the builder.
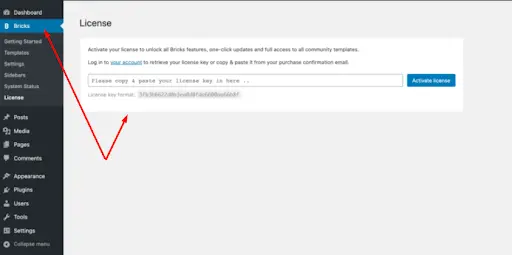
To activate a license, either select Bricks > License or click the link. The license activation screen should show.
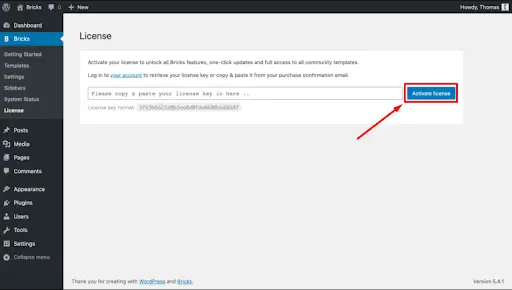
So, from your Bricks account, copy your license key, and paste it into the license field. Then, click activate the license.
After installation, you must activate the theme or child theme. You should upload both the Bricks theme and the Bricks child theme. It is advised that you use the Bricks child theme, especially if you are going to insert custom code into the theme files. Never insert custom code into the main theme file.
Then, you can now start using Bricks to build your site.

Bricks Builder Settings
We will go over the settings here. We will also recommend the settings that you should turn on/off inside a bracket with orange font. So if you see [Enable] next to the setting, that means we recommend setting it to enable.

General Tab
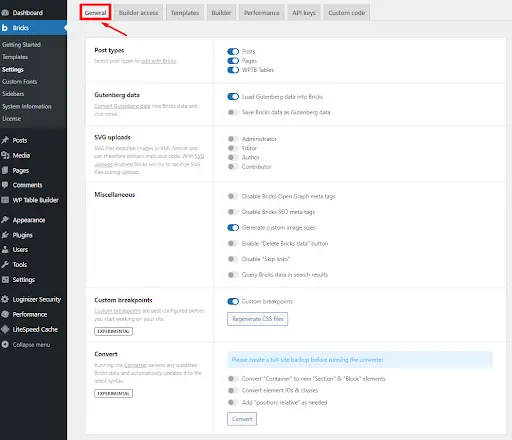
Post Types – Choose the post types you want Bricks to edit. Pages are automatically enabled. If you want to enable it for Posts, you can do so, or any other type that appears here. Some other registered post types may appear depending on what plugins you have activated. In the example above, there is also a WPTB post type, which is the WP Table Builder plugin.
Gutenberg data – Gutenberg data is only being used for migration purposes, thus you can save your bricks data as Gutenberg data and load your Gutenberg blocks into Bricks.
SVG uploads – WordPress disables SVG file uploads for security concerns. Choose the user roles for which SVG uploads should be allowed. SVG files are vector files and you would need to enable this if you want to use custom icons or infographics on your site. SVG files can be scaled and modified with Html code. [Enable]
Miscellaneous – Then, down here, we do have a variety of other settings.
Visual Builder Access Tab

Bricks is often only fully accessible to site administrators by default. Every user role can have its builder access defined and set to No Access, Edit Content, or No Access. Additionally, when modifying a user profile in WordPress, you can control a user’s access to the builder.
These users will have “Edit content” access, which allows them to edit content like text, images, etc. but prevents them from altering Bricks’ style or layout.
Administrators – All administrators have complete access, whereas all other rows have no access.
Editor – For the editor user role, for instance, I offer edit content capabilities, which means that someone with that access can change the text inside the builder and can change images and videos, but they won’t be able to alter the layout or remove elements—those things can only be done with full access. As a result, you can do this on a per-user rule basis, but you can also now set up the access on a more specific level if you change each user’s profile individually.
Code Execution – Code execution is a feature that enables you to use the code element inside of Bricks to run javascript, HTML, and PHP code.
Templates Tab
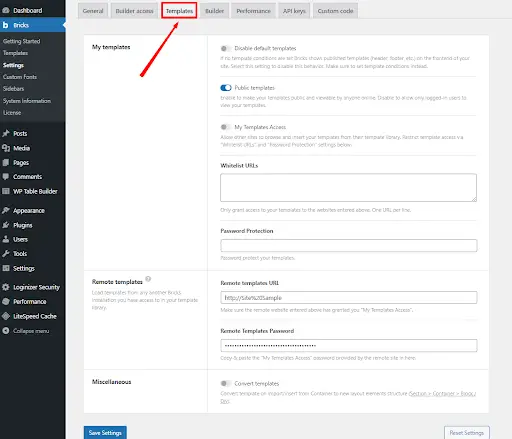
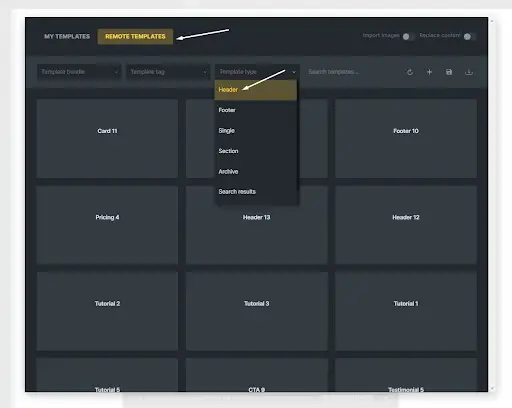
This page contains all global options relating to templates. This is really only important if you want to work with remote templates, which means you can access your Bricks templates from a different Bricks installation. You don’t really need to specify anything here at first. (Remote Templates)
Builder Tab
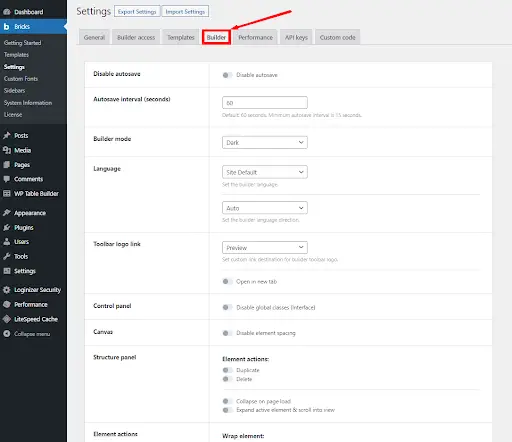
Here, you can change the autosave interval for the builder or turn it off. Every 60 seconds, the builder automatically saves all adjustments; however, you can also manually save changes at any time.
Builder Mode – You can choose between dark, light, or custom colors for your builder.
Language – Here, select the builder language.
Toolbar logo link – You can enable the Open in a new tab option and choose a custom link destination for the builder toolbar logo.
Control panel – The control panel and canvas can also be enabled.
Structure panel – In this element actions: you can enable duplicate and delete.
Element actions – There are three different element actions: “Wrap element,” “Insert element,” and “Insert layout.” Choose the element action that you want.
Disable WP REST API render – Enable or disable the Disable WP REST API render.
Dynamic data – With Bricks, you can render any type of data from your WordPress database using dynamic data. [Enable]
Performance Tab
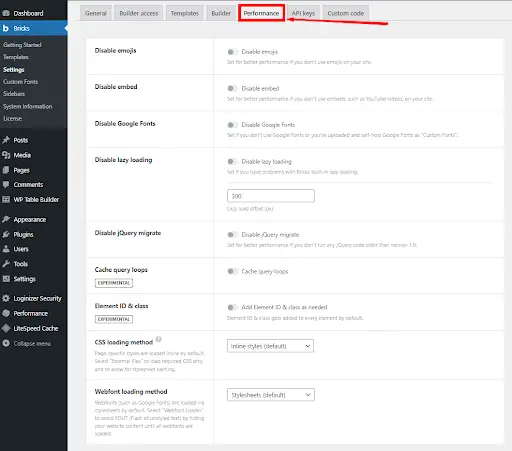
WordPress automatically loads a ton of styles and scripts that you might not require for your website. In case there are any problems with Bricks, you can disable emojis, embeds, jQuery migrate, as well as this tab’s built-in lazy loading. Enable what will actually help your site the most.
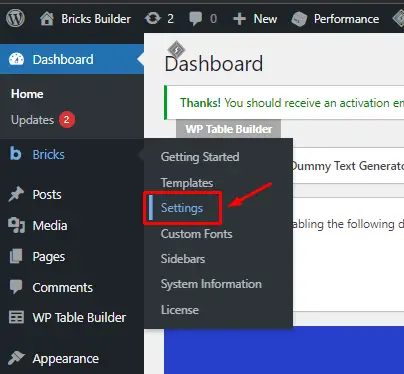
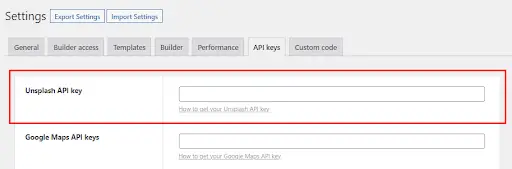
API Keys Tab
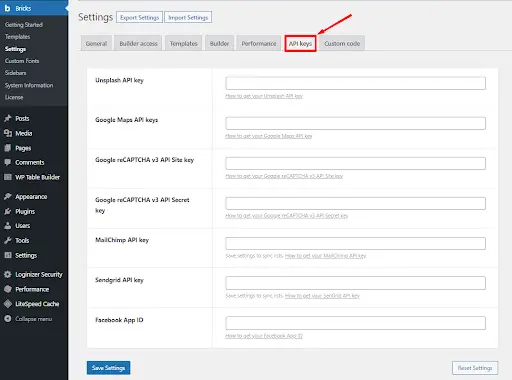
Your API keys for services like Google Maps, Unsplash, Mailchimp, Facebook, etc. must be copied and pasted here.
Custom Code Tab
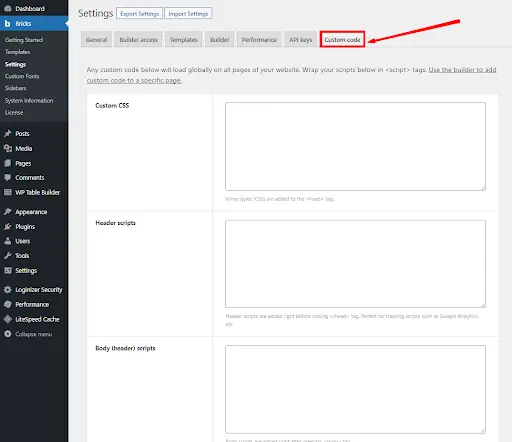
Any global custom CSS and JavaScript (such as Google Analytics, etc.) can be included here to your website.
Enabling The Editor
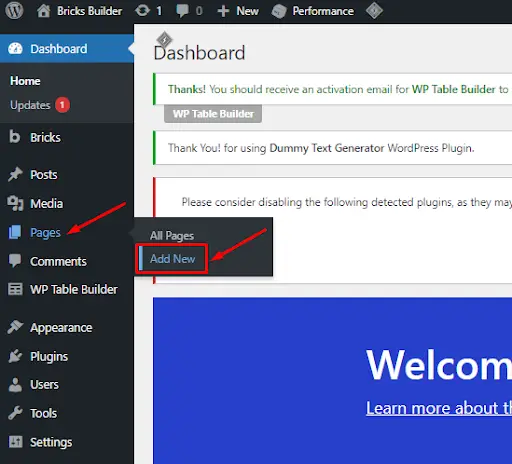
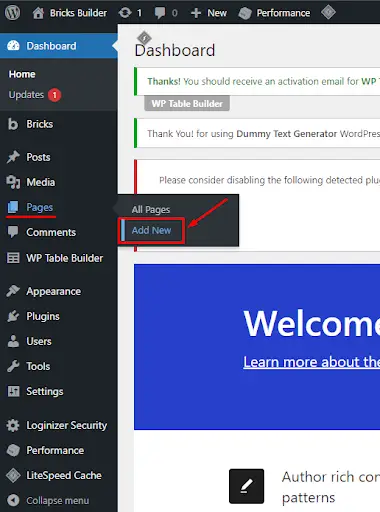
Hover your mouse to either Posts or Pages in your WordPress dashboard.
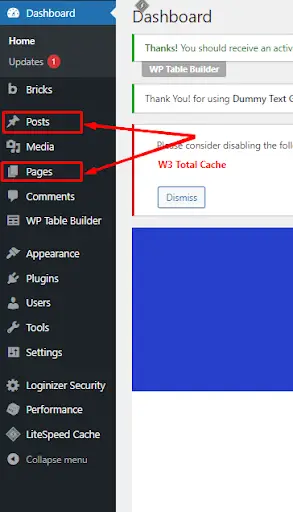
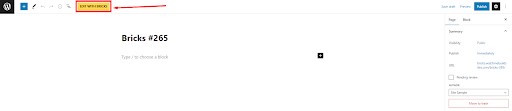
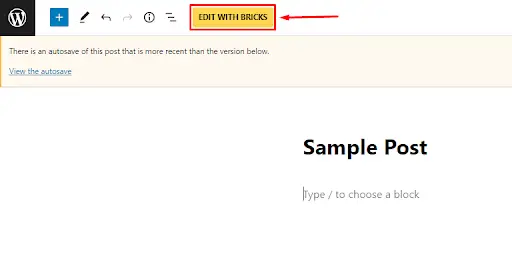
You can create a new page by clicking the “Add New” button or edit an existing Page by clicking the “Edit with Bricks”.
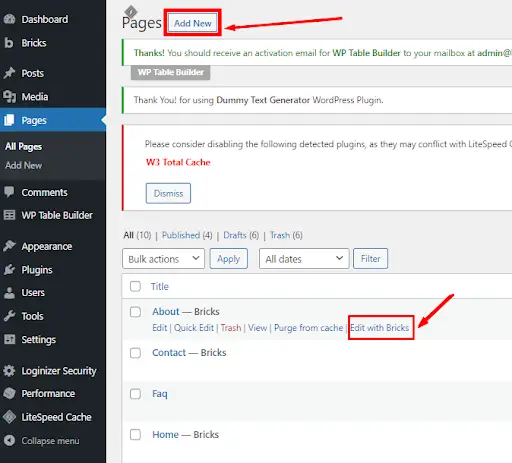
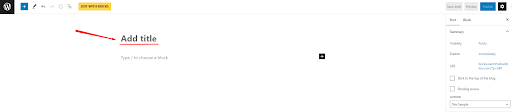
When you click the “Add New” button. Add a title for your page.
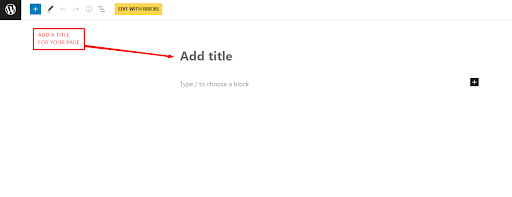
Then, click the “Edit with Bricks” at the top of the page and save it as a draft.
After that, you can now start customizing your first post or page.

Understanding Layout Hierarchy of Bricks Builder
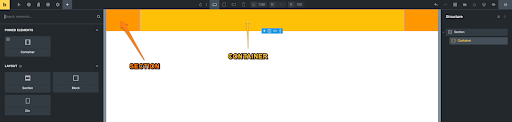
Bricks Builder uses four elements to create and render your page’s layout. The four elements from outermost to innermost are section, container, block, and div. See below for an illustration of the layout hierarchy.
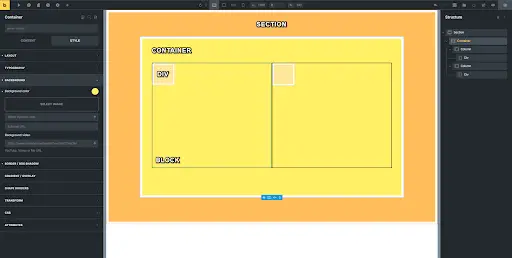
Section Element
Sections can be used to separate the various parts of your page. It heightens according to the contents.
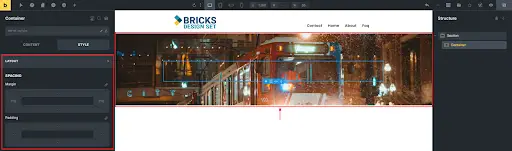
Under the “Section” settings in the left sidebar. You can modify the section width, min-width, max-width, margin, padding, and other options.
Container Element
A “Container” element is automatically added to the section when you add a new section. If you don’t need to “contain” any other elements, you can remove this Container.
The Container has a centered layout model with a default width of 1100px. This gives users access to a number of settings that make it simple to align, space out, and direct the elements inside a Container.
Clicking the “column” layout icon on the canvas while editing the Container, you can easily insert a premade column-based layout.
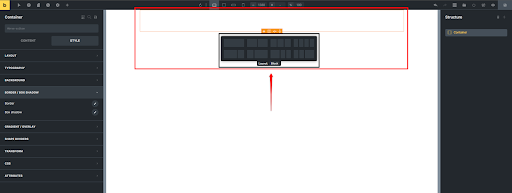
Block Element
It has the same controls as the Container element, such as flexbox, query loop, and so on. However, it uses a 100% width by default.
Because of this, it is the ideal component to use within a Container (such as a column- or row-based layout). or wherever you need to cover the entire width, and you can quickly access alignment and direction settings. because flex is the default for the Block element.
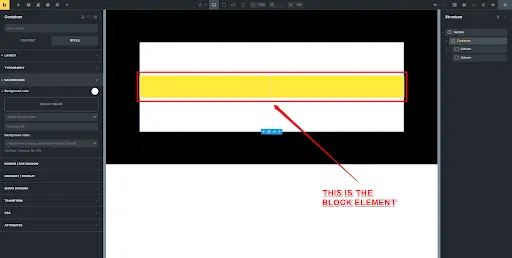
Div Element
The Div element in Bricks is an ordinary, unstyled div. It is the most typical technique to group and arrange your content.
With the Container and Block elements, you can “contain” other elements inside a predefined width of 1100 pixels, but the Div element has no defaults.
It is ideal for use within other layout elements because it can be used to create Div-only class-based layouts or expand and shrink in size based on the content.

Bricks Builder Visual Editor Settings and Walkthrough
![]()
Bricks Logo – Another way of preview mode.
![]()
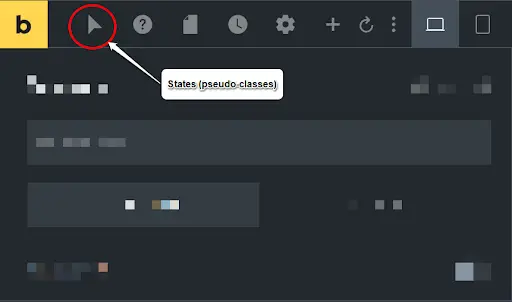
States (pseudo-classes) – A pseudo-class is a CSS function that can apply specific styling to parts of an element depending on its state. For instance, you can apply different styling to an element when it is hover, active, or visited. To apply pseudo-classes, just select the element you want and click on the states icon.
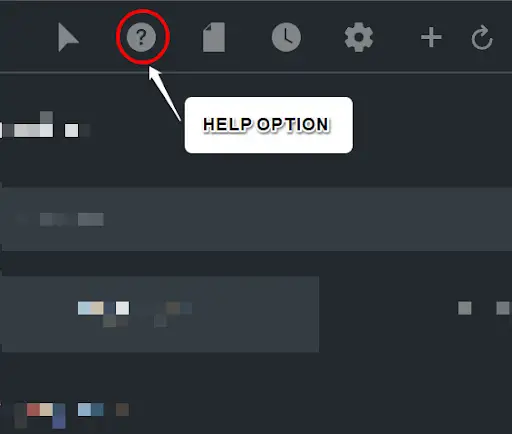
Help – You can access the help options to learn more if you are experiencing trouble building your website.
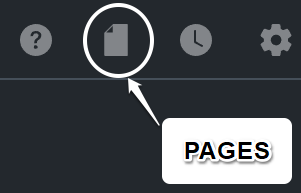
Pages – You can see the pages you’ve created, and if you want to move to a different page, you can do so here as long as you save your work.
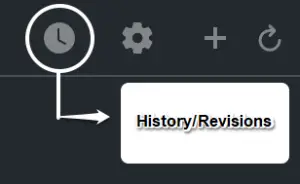
History/Revisions – Bricks automatically creates a snapshot or revision of your data whenever you save it. In the builder toolbar, select Revisions to view a list of all your revisions. To preview a revision, choose it from the list. You should automatically see the selected revision on the canvas as it updates. To continue editing the chosen revision, click Apply. To continue modifying your current version, click Discard.
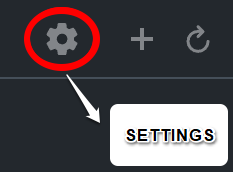
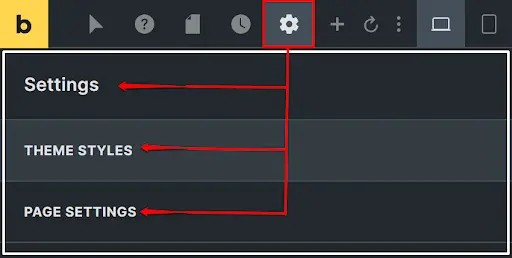
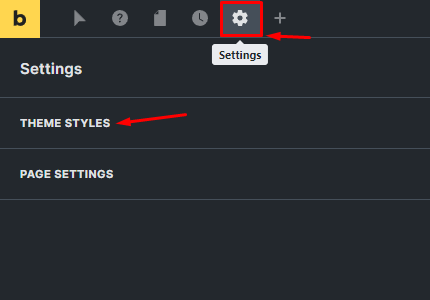
Settings (Gear Icon)
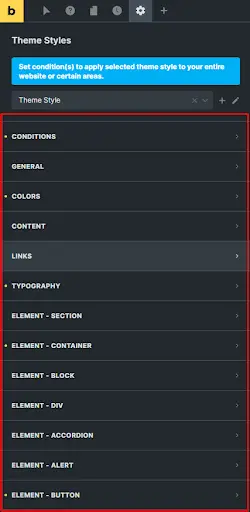
Theme Styles – Change your site’s elements, colors, links, typography, and another default styling. through Theme Styles throughout your website for a design system that is consistent and simple to maintain across the board.
Page Settings – Page Settings enable you to change the markup and appearance of the page you’re working on.
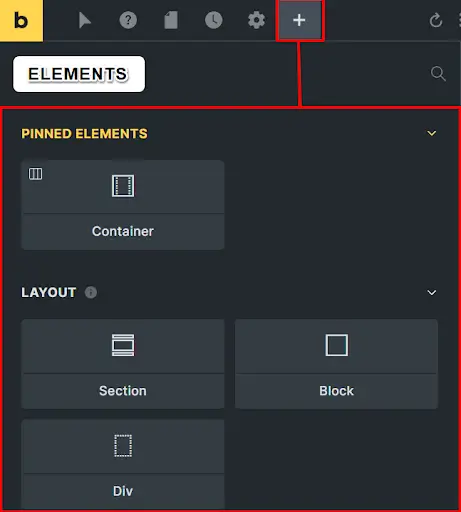
Elements – All the elements that you can use on creating your site are here.
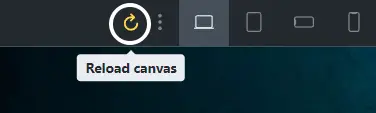
Reload Canvas – You can reload your canvas by clicking this.
Breakpoints – All other breakpoints inherit styles set on the base breakpoint. At this point, you should only enable it and use it for testing and bug reporting. Breakpoints are where you can see how your site looks on various screens (mobile, tablet, etc)

Responsive – To see and change the styles for a particular breakpoint.
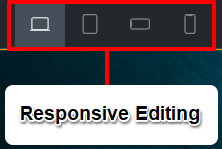
Width (Desktop Locked) – You are able to lock widths greater than the base breakpoint.
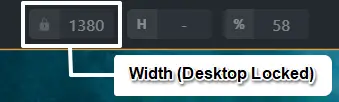
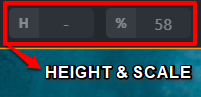
Height – You can adjust the height and Scale.
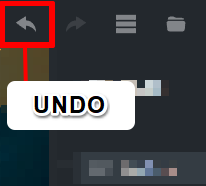
Undo – This allows a user to cancel or reverse the last one or more commands executed.
Structure – This allows the user to hide the structure panel in the right sidebar.
Templates – This enables you to look through templates from any other Bricks installation to which you have access.
Publish – If you are already done creating your page, you can click the publish button.
Edit in WordPress – If you want to edit it also in WordPress, you can click this icon right here.
Preview mode – If you want to view it on the front end before publishing. Click on the eye icon.
Save draft – If you don’t want to publish it yet, you can save it as a draft.
Setting Up Your Global Templates
Header
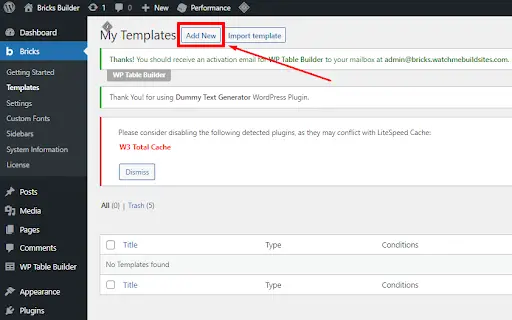
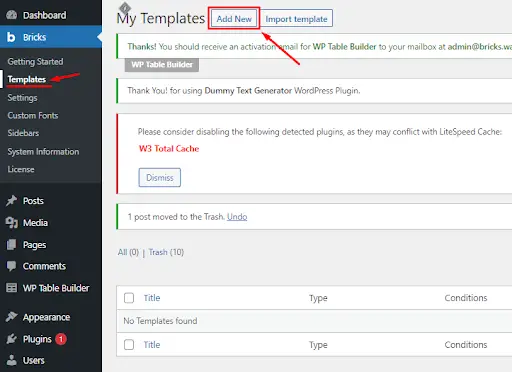
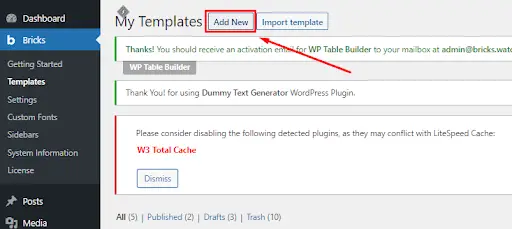
First, click templates.

Then, click add new.
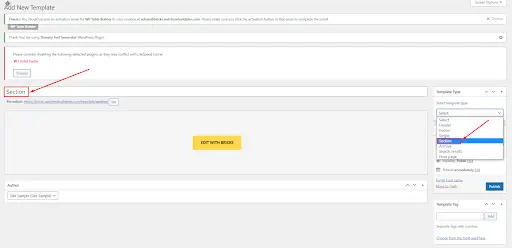
Add a title.
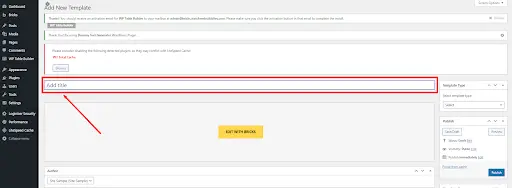
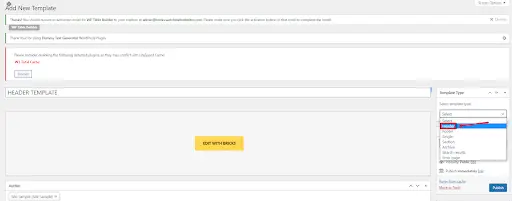
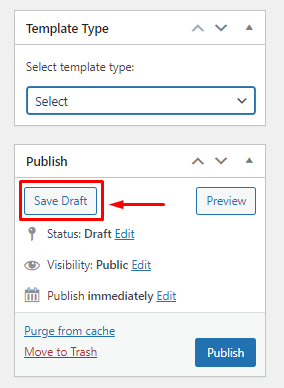
Select a template type.
Save it as a draft or you can also publish it.
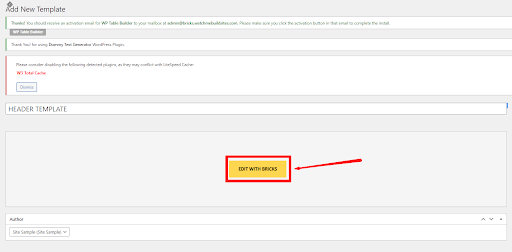
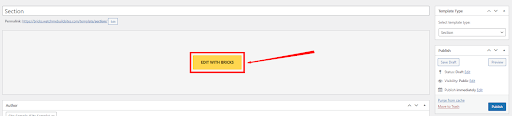
After that, click the “Edit with Bricks” button.
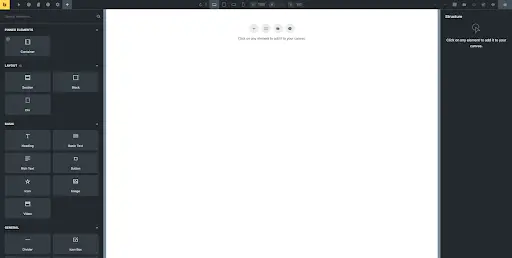
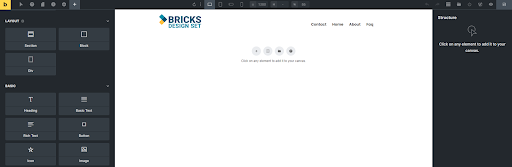
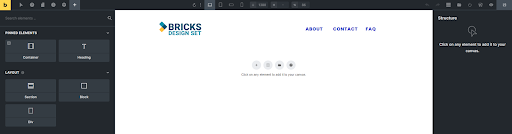
This will direct you to the builder. In the builder. You have so many options to choose from.
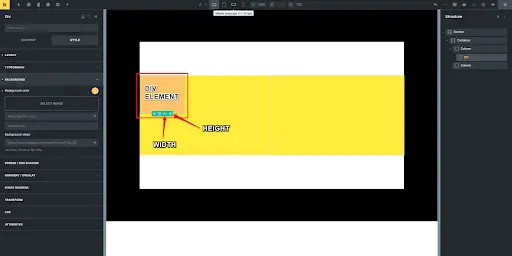
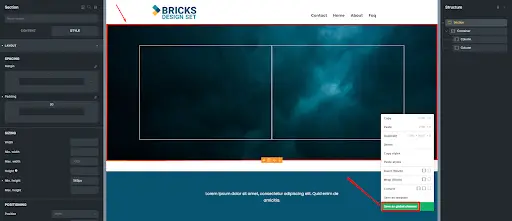
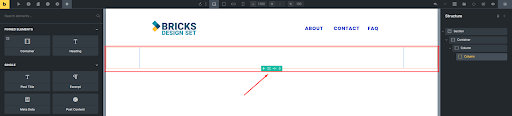
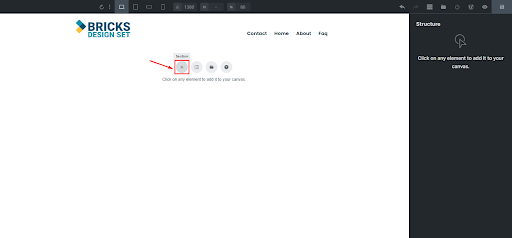
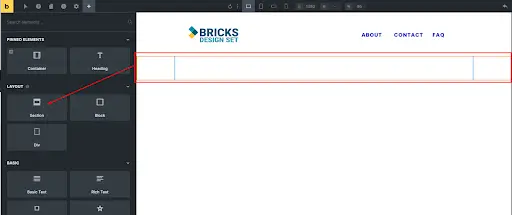
I will add a section.

Here’s what the section looks like. A container is automatically added when you add a section.

I have added columns to the section.

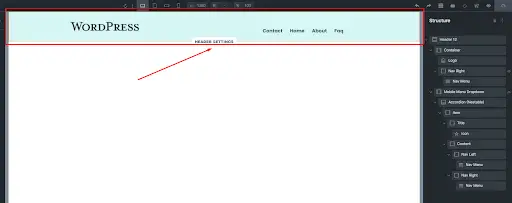
You can also select a template in the template library.

This is what the header looks like.
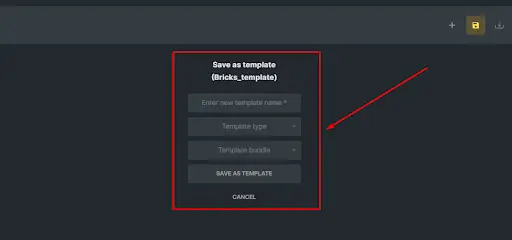
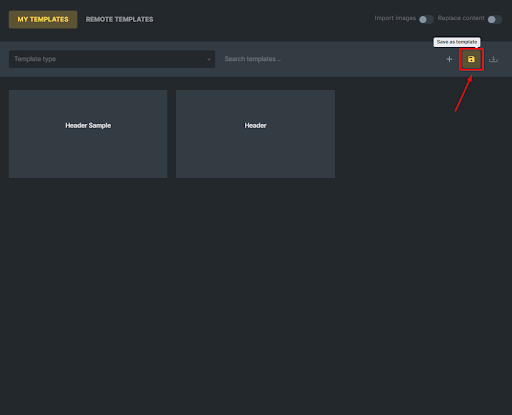
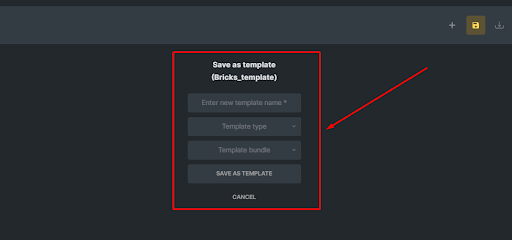
Then, add it as a global template. Go to the Templates folder. Click save as template.

Fill up this one. After that, the header is already set as a global template.

Footer
Go to templates. Then, click add new.
Add a title and select what type of template you are going to create.

After that, save it as a draft. Then, click the “Edit with Bricks” button.
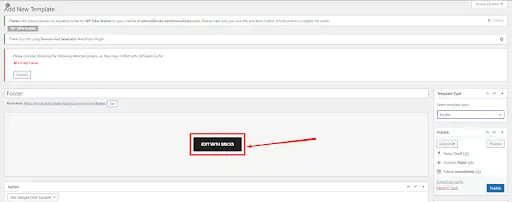
Then, to add it as a global template. Go to the Templates folder. Click save as template.

Fill up this one. After that, the Footer is already set as a global template.
Single Post
The Single Post template is extremely necessary if you are using your site as a blog. This is where all your single blog entries go. Without creating a Single Post template, there is no uniform look on your posts.
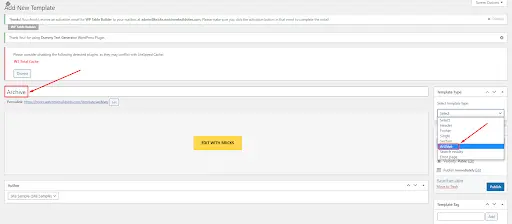
To save the post as a global template. All you have to do is, you will do the same thing for this template that you want to save as a global template as you did for other templates. Remember to select Single as the Template Type. Name it Single Post, or Single Blog Post, or something like that, as to not confuse it with your Single Page template.
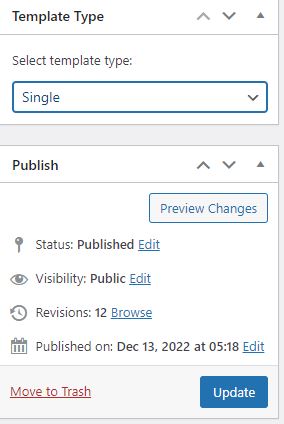
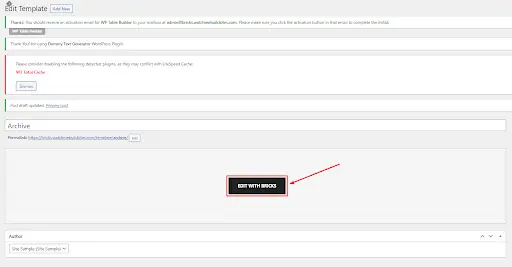
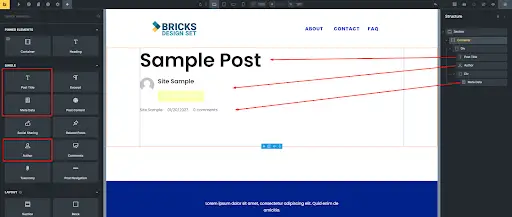
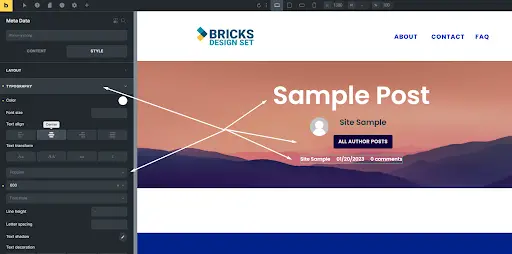
![]()
The click “Edit with Bricks” button to edit.
For Single Post templates, the absolutely necessary element that you need to put in there is the Post Content element.
But you should at least add the following elements to the template:
- Post Title
- Author
- Social Sharing
- Image (for featured images)
- Related Posts
Other optional elements:
- Comments
Be sure to edit the settings of each element to meet your needs.
How to Query Your Featured Image In Bricks Builder for the Single Post Template
Step 1: Look for the Image element.
Once found, drag it to the top of the Post content widget on your canvas. Or anywhere you’d like really.
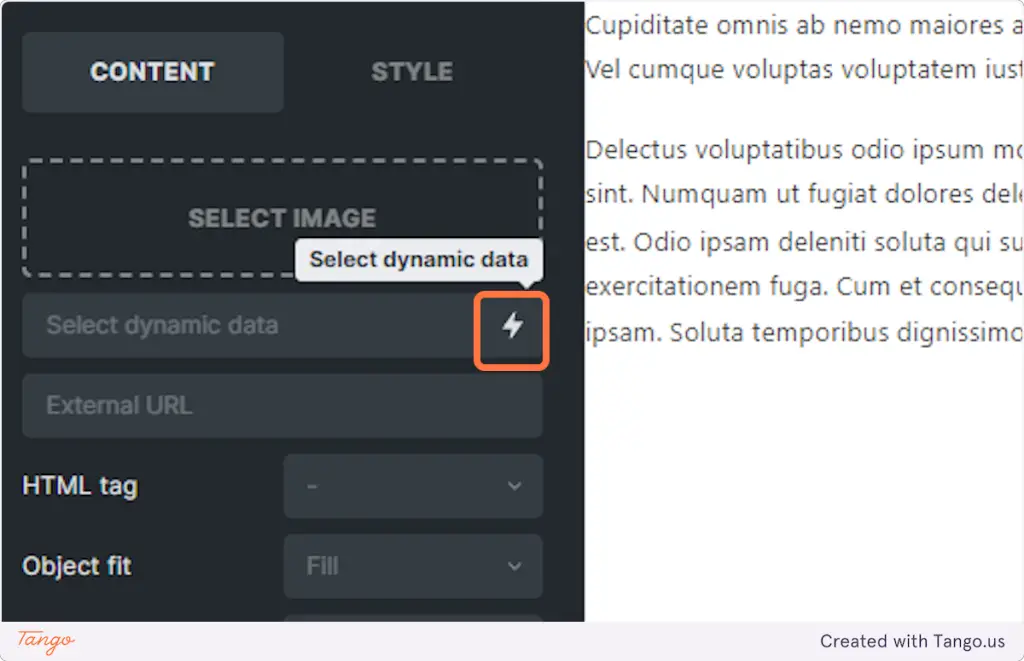
Step 2: Click on the lightning icon on the left side of the panel that opens up.
The lightning icon will bring up dynamic data.
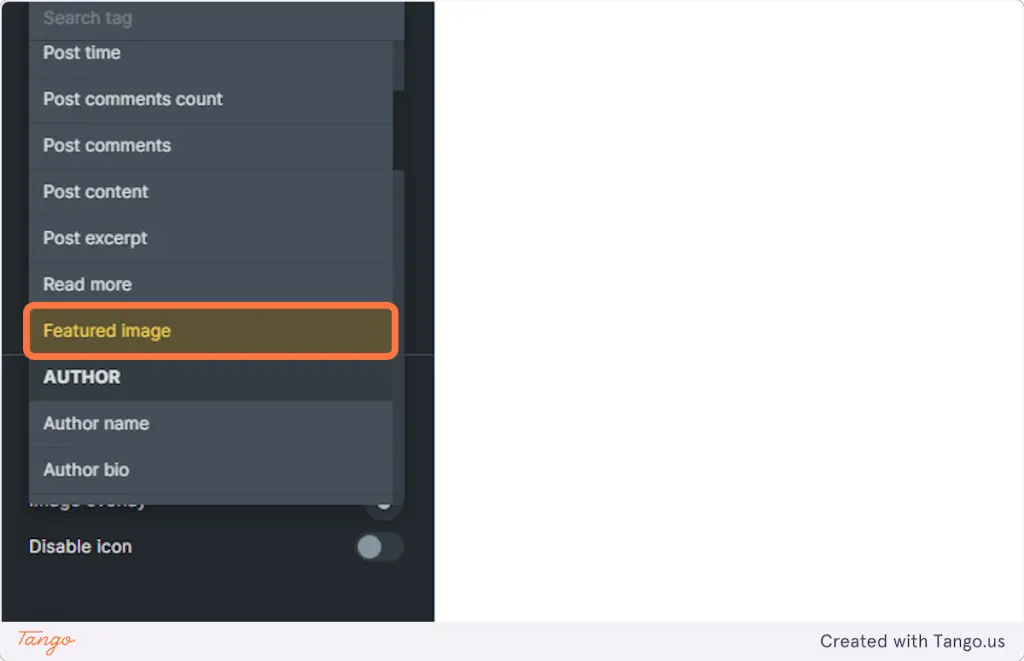
Step 3: Click on Featured image.
By clicking on “Featured Image”, each post will dynamically use its own featured image to be featured on top of the post.
Single Page
The Single Page template is less important template. It’s the template for static content such as an “About Me” page. Here is how to setup a Single Page global template. Essentially you just do the same thing you did with the Single Post template. But name it Single Page instead. And you don’t need to put in any of the fancy elements like, Featured Image, Author, Published Date, etc.
Go to the Templates folder. Click save as template.
Fill up this one. After that, the page is already set as a global template.
Archive Page (or Category Pages)
The first thing that you will have to do is to click add new.

Add a title. Then, select a template type.
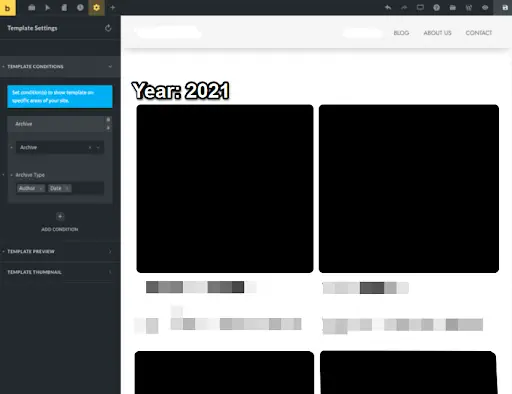
Save it as a draft. Click the “Edit with Bricks” button.
Here’s what the Archive looks like.
Save it as a global template.
Sections
First, click add new.
Then, add a title. Select the template type. Then, save it as a draft.
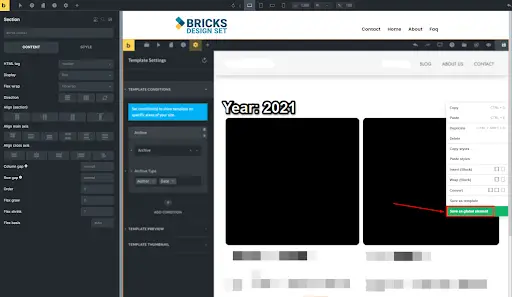
Click the “Edit with Bricks” button.
Right click your mouse then save it as a global template.
First, click the settings.
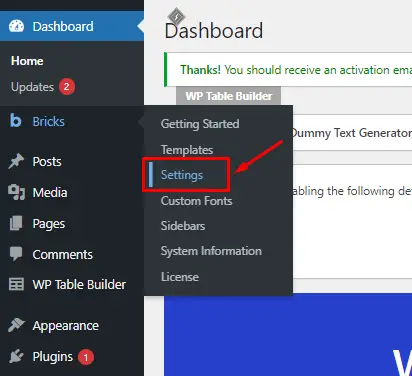
Then, click the templates tab.

Scroll down, then change Remote templates URL.
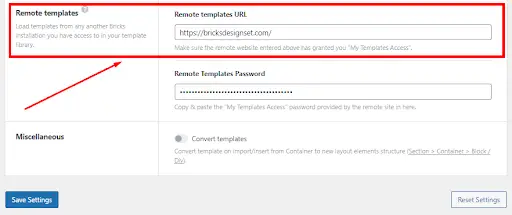
Then, paste this link – https://bricksdesignset.com/

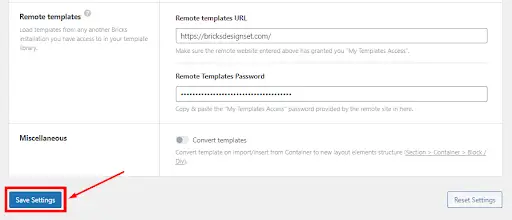
After that, click save settings.
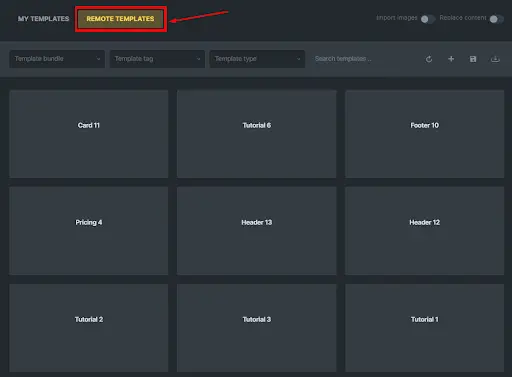
Go to the page editor and click the templates folder.

Select remote templates. Then, you’ll see a lot of pre-built templates.
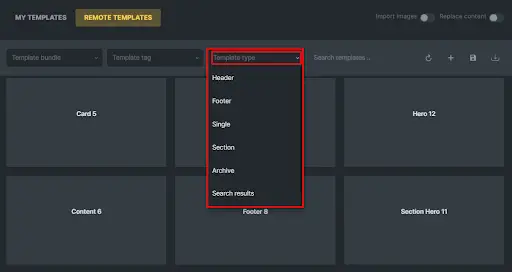
Select the template type.
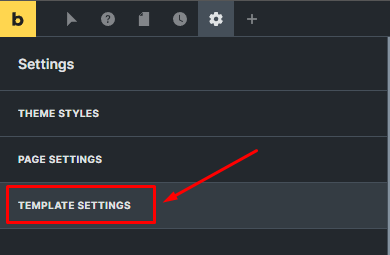
To set conditions for templates. Go to settings.
Select template settings.
Click the plus icon to add a condition.

The template type must be specified for every template. “Template conditions” determine where the template shows on your site.
Applying the ideal template type allows you to quickly browse large template libraries and enables Bricks to determine whether a certain template should be shown on the front end of your website in case no conditions are set.


Adding a Logo and Menu to Your Site
First, open your visual builder editor.
Select section.
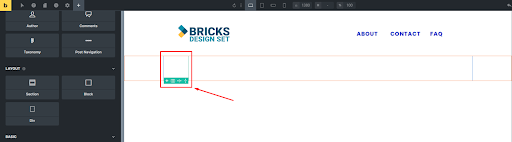
You can add a column.

You can also add a div for the logo.
![]()
Find the logo element.
![]()
After adding the logo element to the page, this is what it looks like.
![]()
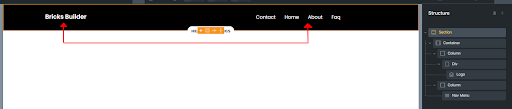
Now, we will add the menu to the other column.

After adding the nav menu. This is what it looks like.

You can adjust the height and width and add color by going to the settings in the left sidebar.

Let’s adjust the section first. Go to the padding to add a space.
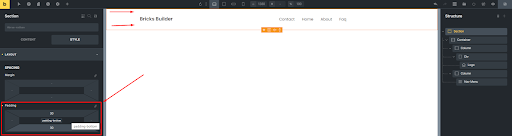
You can add a color for the background.

You can change the color of your typography for the logo if your logo is text.
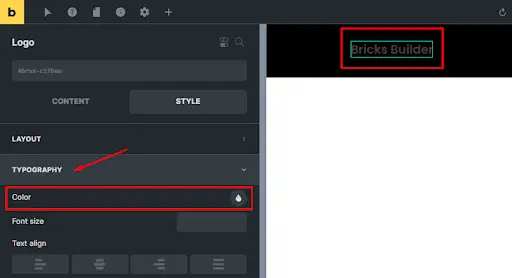
Do the same for the nav menu.

However, in order to have a navigation menu to show, you must set the navigation menu in the WordPress dashboard first. To find out how to do that, go to our tutorial.

How to Publish Your First Post In Bricks Builder
Publishing Your First Post
Go to Posts, then click add new.

Add a title for your post.
Save it as a draft.
Then, click the “Edit with Bricks” button.
Add a section.
I will add a div to my container.
You can add a post title, metadata, and author.
You can also align its elements.
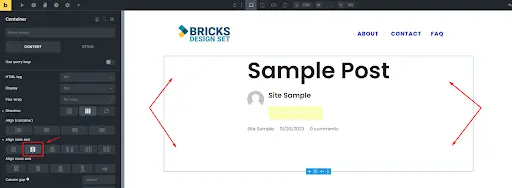
Same with the div element, if you want to align its elements inside the div. You can go to its options and align it to the center.
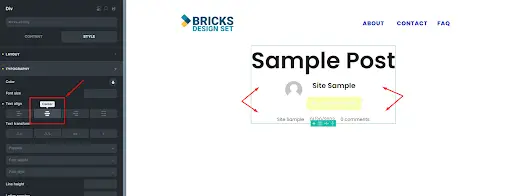
You can also add a color, an image, or a video to your background.
Then, you can change the colors of each element.
Now, you can add another section and add elements that you can use to create your post.
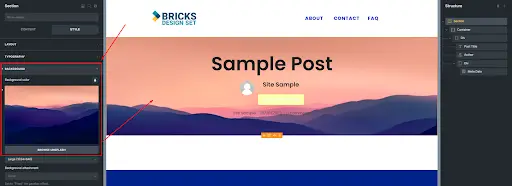
You can preview your post by clicking the eye icon.
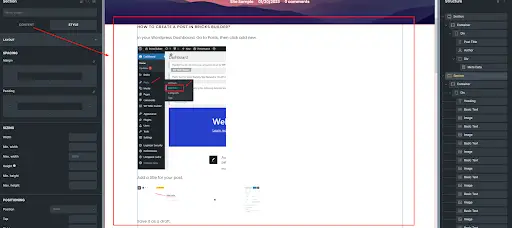
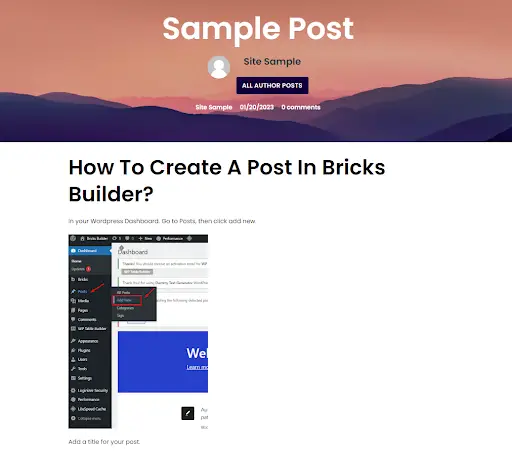
![]()
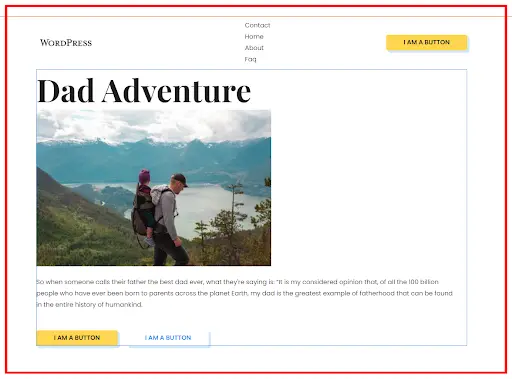
Then, here’s what your post looks like when you preview it.
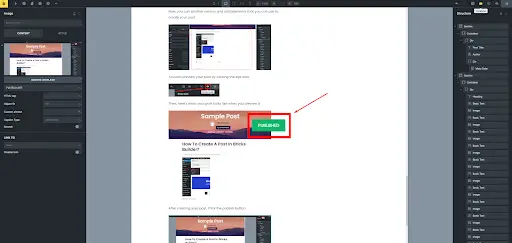
After creating your post. Click the publish button.
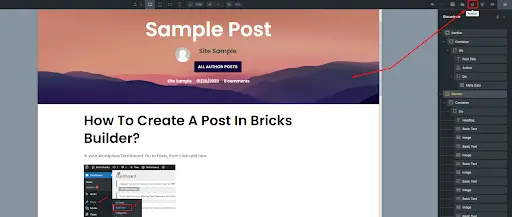
When you click on publish, you will see the popup in the center.
Create Landing Pages
Go to pages, then click add new.
Add A title and save it as a draft.

Click the “Edit with bricks” button.

Then, you will see the visual builder editor.
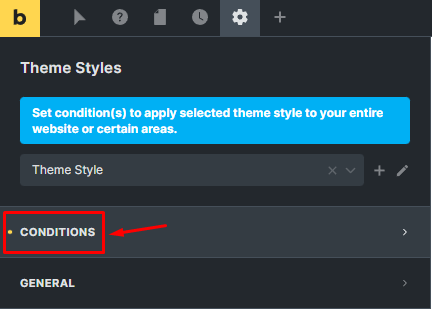
Click the settings at the top of the builder and select theme styles.
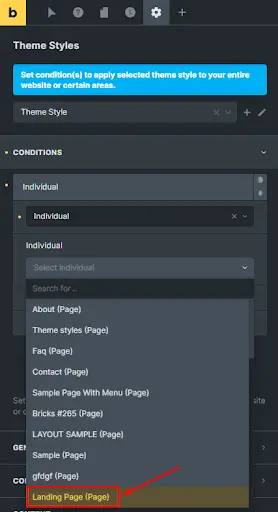
Then, click the conditions.
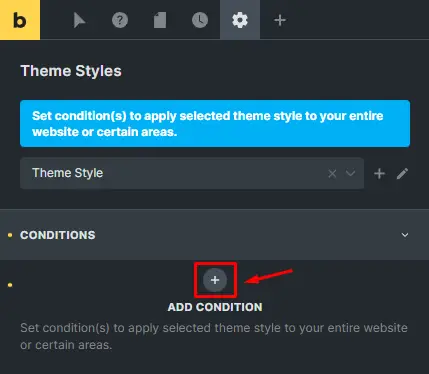
Click the plus icon to add a condition.
After that choose “Individual”.
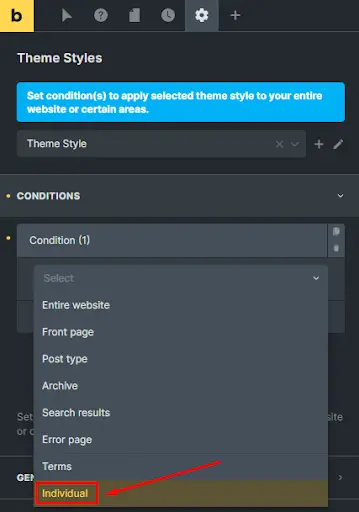
Then, another dropdown will appear. Click, Select, and scroll down until you find the landing page.
Customize it using the left sidebar options.
After customizing options in the left sidebar. Add a section.
You can add color, an image or a video as your background.
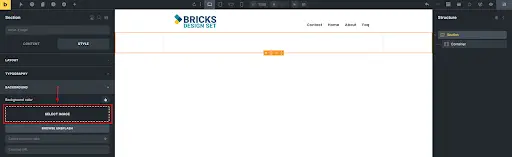
Customize it using the settings in the left sidebar.
Add a div for the heading and button.
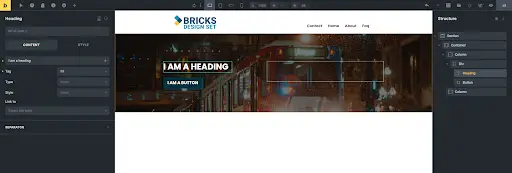
I am adding a Heading, basic text, and a button.
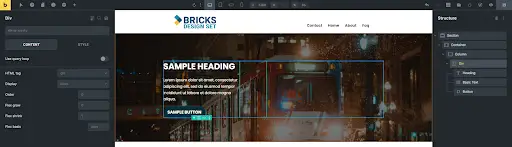
You can also change your image and insert another section with a container. Add a div for the elements so that you can add it anywhere you want. Then, use the left and right sidebar settings.
If you want to add a hover to your menu or button. Just select States (Pseudo-classes) if you want to add a hover.
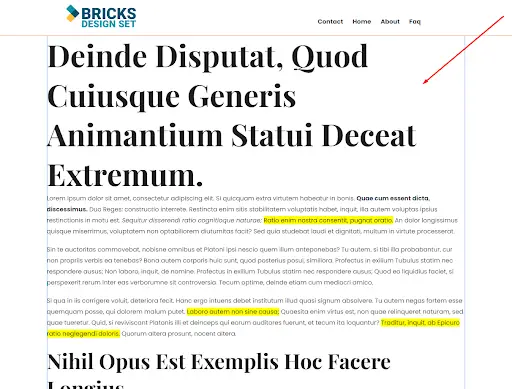
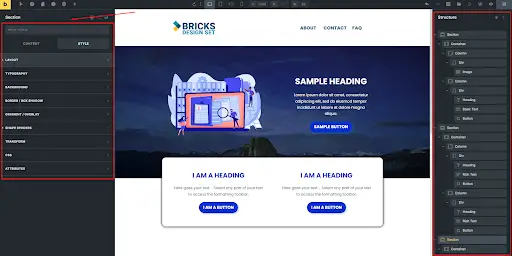
After customizing everything. You can preview your work by clicking the eye icon.
![]()
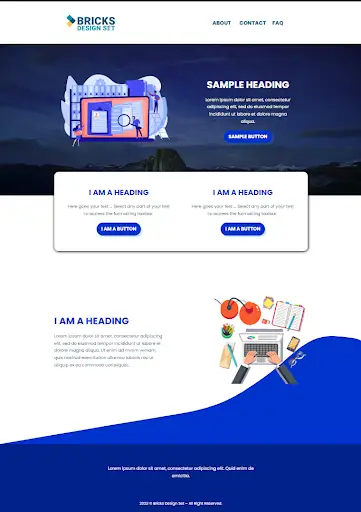
Here’s what your landing page looks like when you preview it.
Now you can save it as a draft.

Bricks Builder offers millions of stock images for free right in its builder. This is done through a partnership with Unsplash.
But to setup access to the stock images, you do have to do a little bit of light work…about 5 minutes worth. Here is how you get access to millions of Unsplash stock images in Bricks Builder for free.
Setting Up Unsplash Stock Images
Creating Your Unsplash API Key
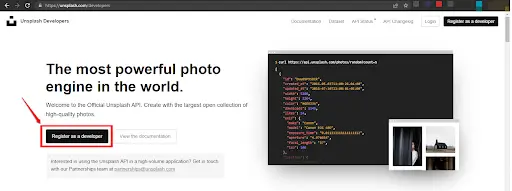
You will need to generate an API key in order to gain access to the photo library on Unsplash.
1. Create a developer account for Unsplash. Here:
https://unsplash.com/developers
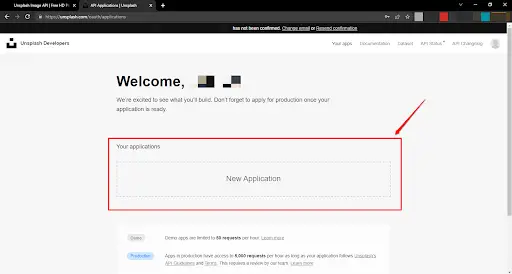
2. Visit https://unsplash.com/oauth/applications after logging in.
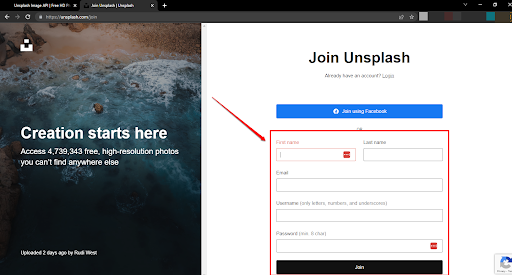
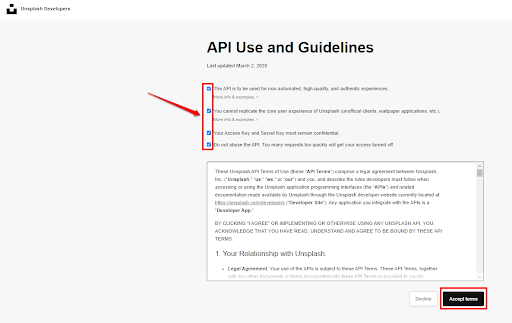
3. Click the “New Application”, check all the boxes then click Accept terms.
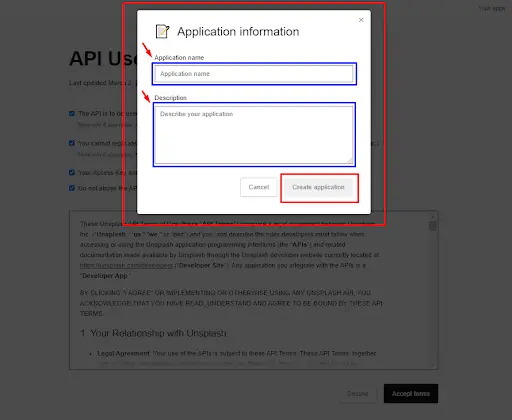
4. Fill in the application with the name and description and then click Create application.
5. Scroll down and copy the Access key.
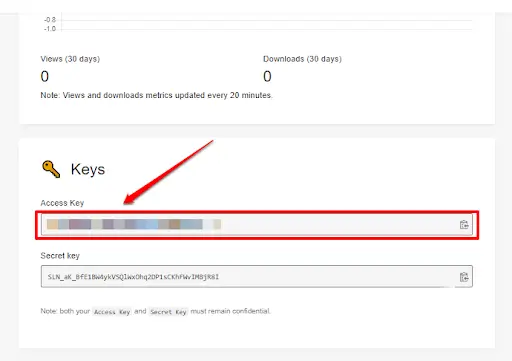
6. Go back to your WordPress dashboard. Then, go to Bricks > Settings > API Keys.
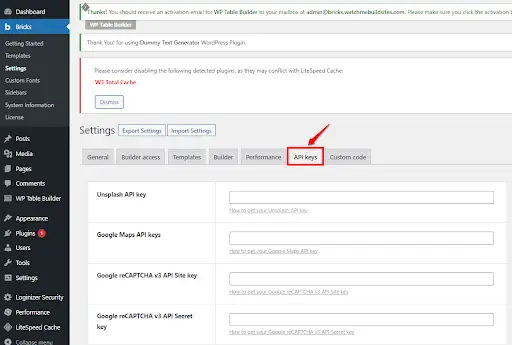
7. Under Unsplash API Key, paste your Unsplash API key. Save the changes.
The most recent Unsplash images should now be available for download if you click Browse Unsplash under any image control in the builder.

Editing Images
The first thing that you have to do is to go to pages and click add new.
Then, add a title.

Save it as a draft.

After that, select the “Edit with Bricks” button.

This will take you to the visual builder editor.
Add a section.
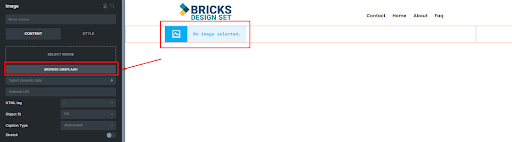
Add an image element to the container.
Add an image or you can also browse an image using Unsplash.
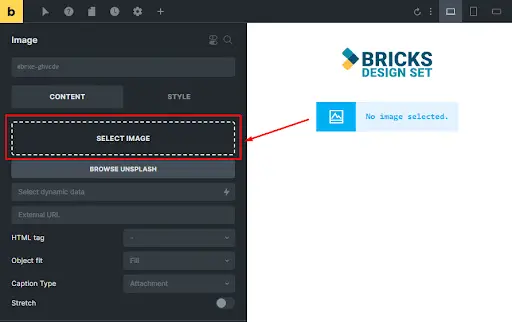
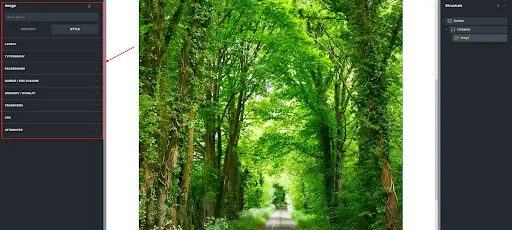
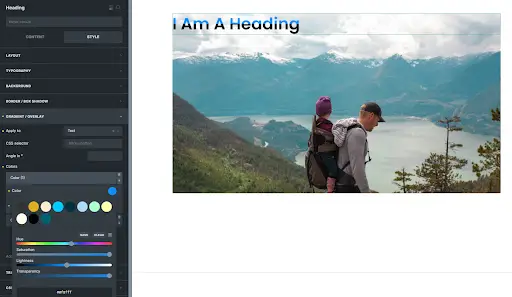
You can edit your image by going to its option in the left sidebar.
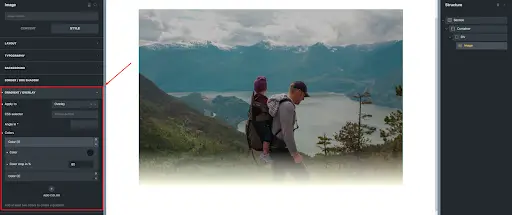
You can also use gradients to add some colors to your image.
You can also add a gradient to the heading element.
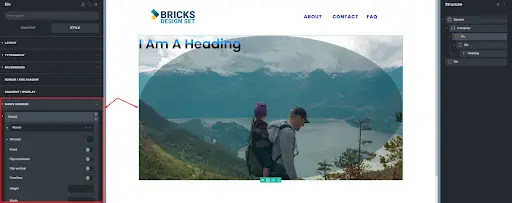
There are also shape dividers that you can choose from.
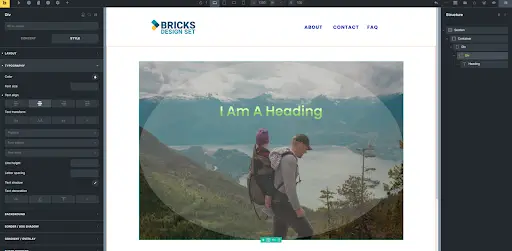
Then, Align your heading to where you want to locate it.
You can also add an Anim.Typing.
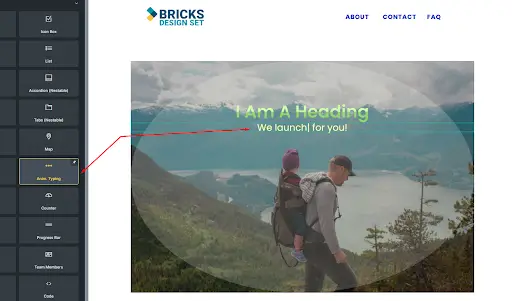
If you’re done editing your image. Preview it.

This is now what it looks like.
You can use the rest of the options in the left sidebar to edit your image. Then, save it.


