
Introduction
Elementor, a robust and user-friendly page builder for WordPress, has transformed the landscape of web design. Its intuitive drag-and-drop interface empowers users to create visually stunning websites without the need for coding expertise. One of Elementor’s standout features is the Animated Headline Widget, a dynamic element that adds a touch of creativity and engagement to your website’s headlines. Follow this step-by-step tutorial to use the Animated Headline widget in Elementor.
Using the Highlighted Style
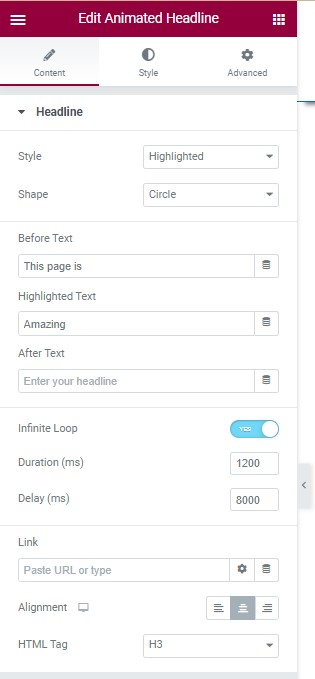
Choose Highlighted Style:
Select the Highlighted style for your animated headline.
Select Shape and Input Text
- Select a shape for the highlight. (such as a circle, curlicue, underline, etc.)
- Input a Before text that appears before the animated text.
- Type the word you want to animate in the Highlighted text.
- Enter an After text that will show up after the animated word.
Infinite Loop and Duration
- Enable the Infinite Loop option to endlessly play the animation.
- Set the duration of the animation loop in milliseconds.
Add Link
- Enter the URL in the Link textbox.
- Click Link Options to configure additional link settings.
Alignment and HTML Tag
- Set the alignment of the headline to Left, Center, or Right.
- Choose the heading’s HTML tag.
Using the Rotating Style
Choose Rotating Style
For your animated headline, use the Rotating style.
Select Animation and Input Text
- Choose a rotating text animation (Typing, Clip, Flip, etc.).
- Input a Before text that appears before the animated text.
- Type a list of rotating text in the order of rotation.
- Input an After text that follows the animated word.
Motion Effects Examples in Elementor
Vertical Scroll
Creates a Classic Parallax Effect.
While scrolling, the element moves at a different speed than the page.
Horizontal Scroll
When a visitor scrolls up and down, it moves to the right and left.
Transparency
The elements become more transparent or opaque as you scroll down.
Fade In, Fade Out, Fade Out In, and Fade In Out effects are all included.

Rotate
Rotates elements as you scroll.
Choose clockwise or counterclockwise rotation and set speed.
Scale
Grows and shrinks elements according to scroll.
Example: Background grows when scrolling down and shrinks when scrolling up.
Blur
- Similar to Transparency but blurs the element.
- To apply motion effects:
- Edit the container.
- Under the Advanced Tab, go to Motion Effects.
- Select the desired scrolling effect.
Popup Examples in Elementor
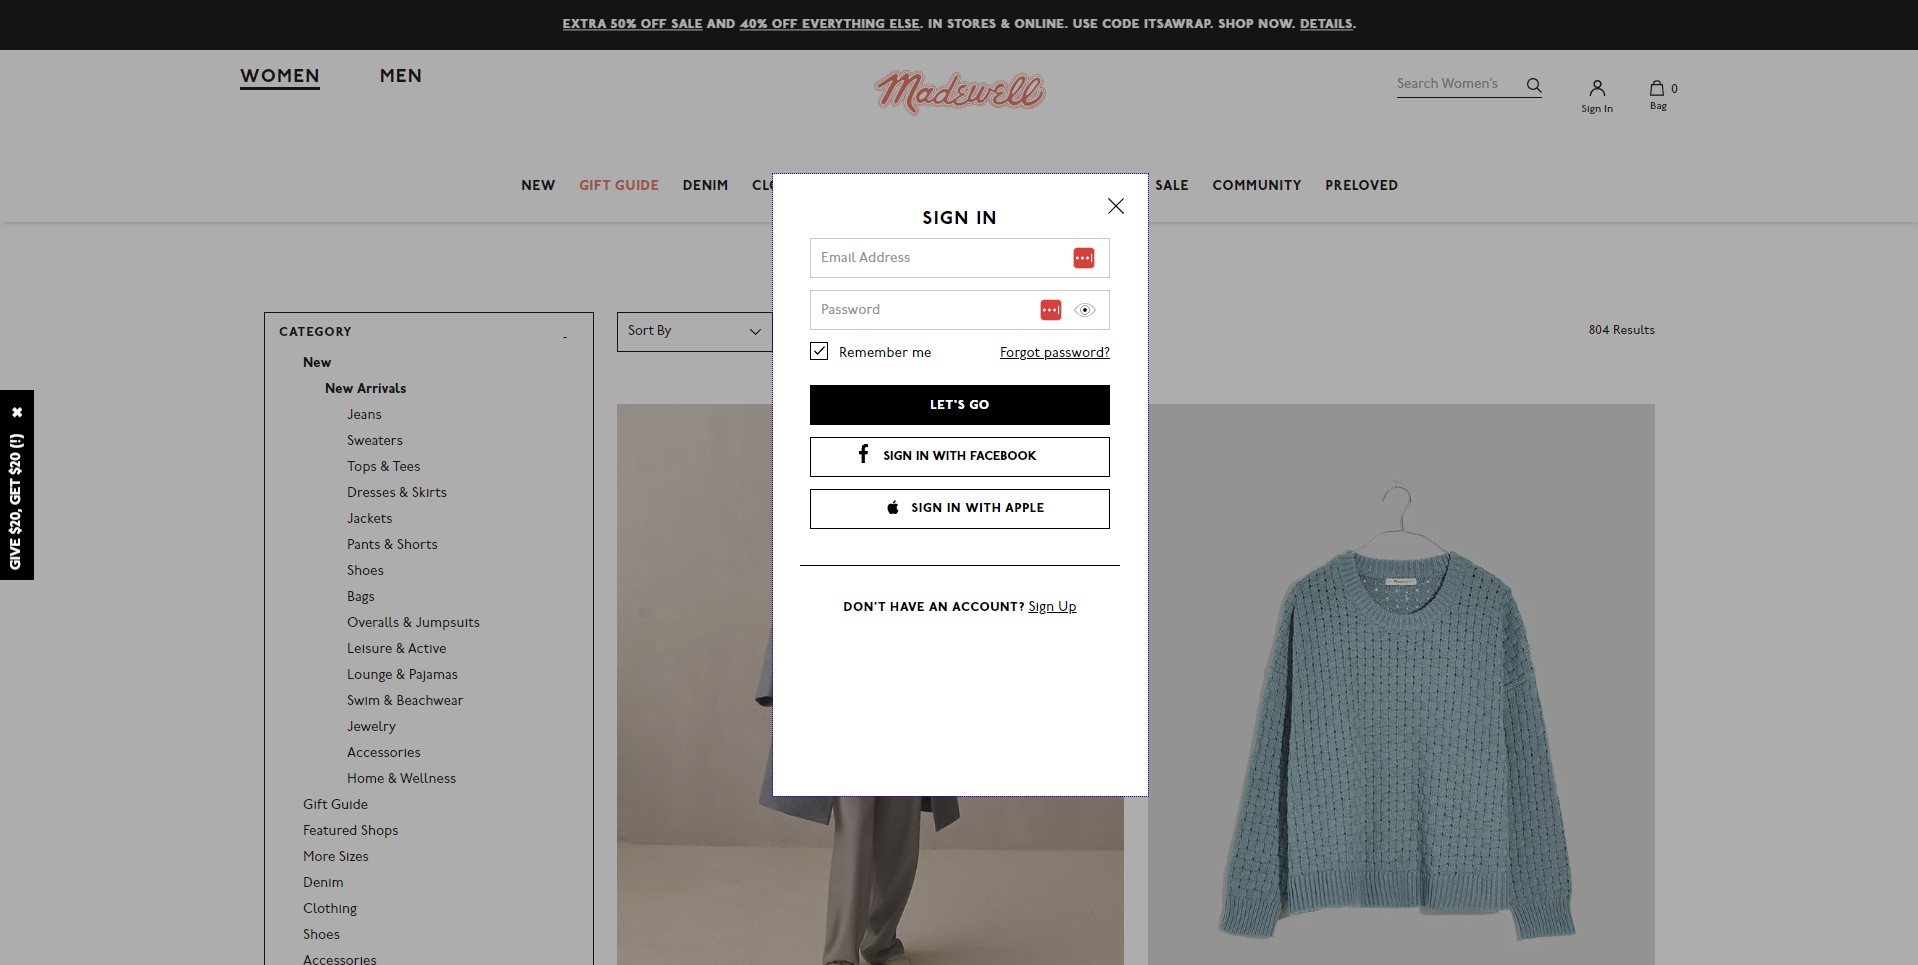
Customer Signup Menu
Incorporate full-blown menus in popups.
Ideal for showing options not fitting in the primary navigation.
First-Time Discount Offer
Offer one-time discounts to new users.
Capture new visitor emails and nurture leads.

Appointment Booking Popups
Use a popup as an extension of the bookings page.
Lead visitors step by step until appointments are set.

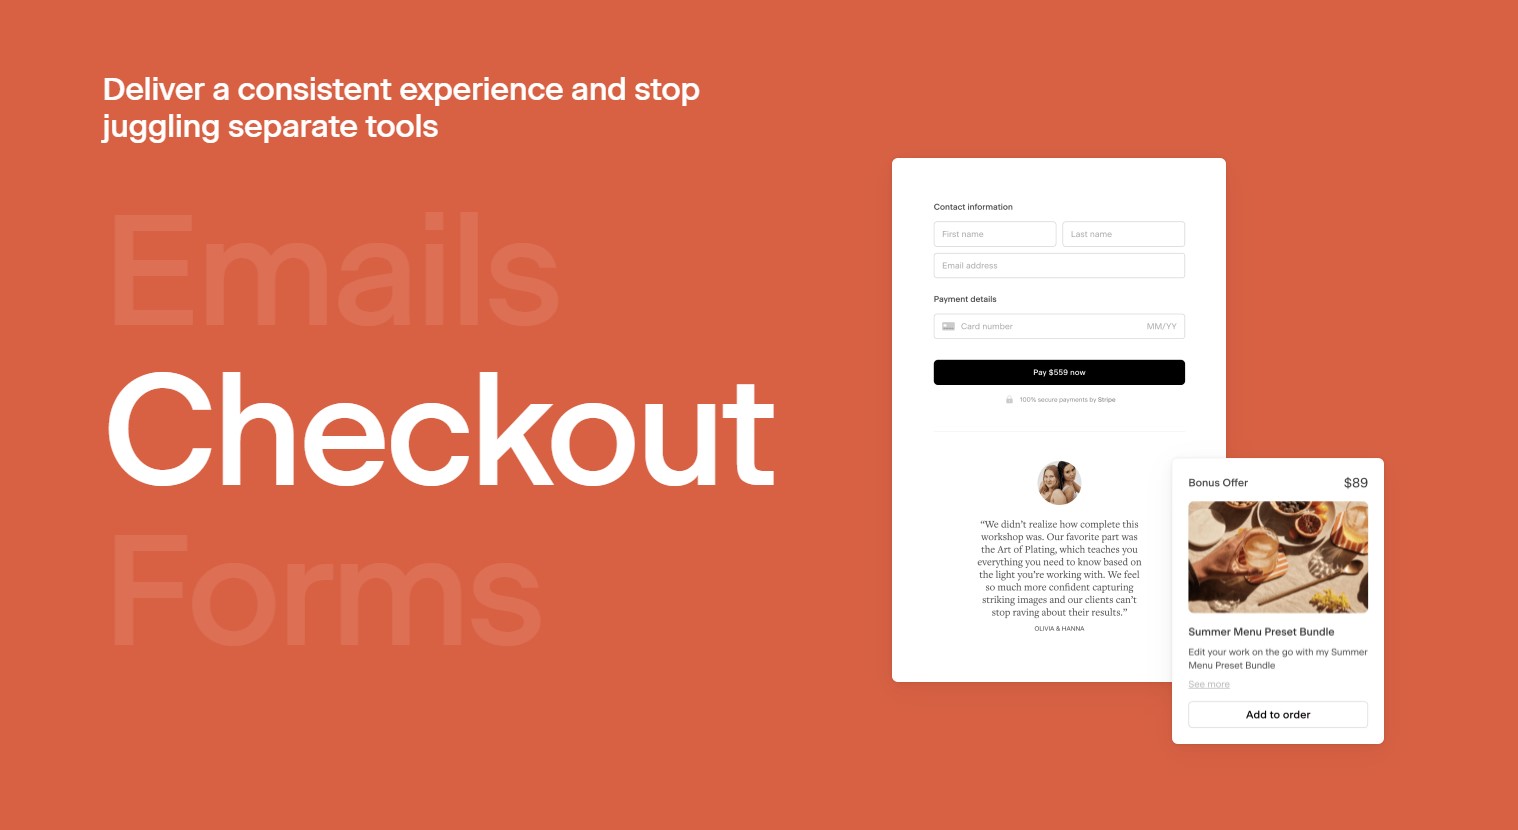
Simple Email Signup Form
Use a basic email signup popup, especially for well-known brands.
Free Learning Materials
Offer valuable learning resources with a colorful popup.

Tips for Creating Attention-Grabbing Headlines with Elementor
Step 1: Accessing Elementor
Open your WordPress dashboard.
Navigate to the page or post where you want to create an attention-grabbing headline.
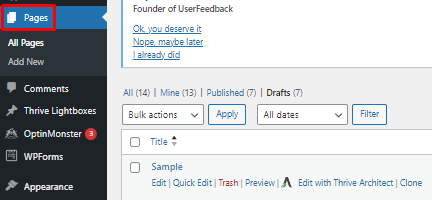
Click on “Edit with Elementor” to access the Elementor page builder.
Step 2: Choosing the Animated Headline Widget
Locate the “Animated Headline” widget in the Elementor widget panel.
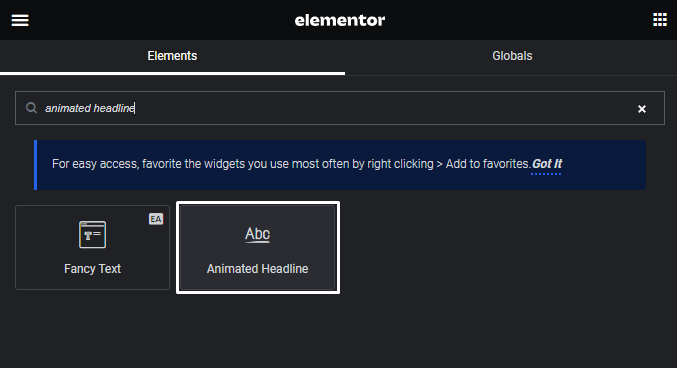
Drag and drop the “Animated Headline” widget onto the desired section of your page.
Step 3: Crafting the Headline Text
Choose a clear and concise headline that accurately represents your content.
Experiment with different fonts and text styles to find a visually appealing combination.
Consider using power words or action verbs to make your headline more impactful.
Step 4: Utilizing Elementor’s Style Options
Click on the “Style” tab in the left panel to access Elementor’s styling options for the heading.
Experiment with color, size, and alignment to enhance the visual appeal of your headline.
Ensure that the chosen style aligns with your overall website design for consistency.
Step 5: Incorporating Dynamic Content
If applicable, use dynamic content options to personalize headlines based on user interactions or page attributes.
Explore Elementor’s dynamic tags to automatically pull in relevant information.
Step 6: Testing Responsiveness
Toggle between different device views within Elementor to ensure your headline looks appealing on various screen sizes.
Make adjustments as needed to maintain readability and aesthetics across devices.
Step 7: Adding Animation Effects (Optional)
For added visual appeal, explore Elementor’s animation options under the “Advanced” tab.
Consider subtle animations that draw attention without distracting from the main message.
Step 8: Previewing and Saving
Click on the eye icon to preview your page and ensure the headline appears as expected.
Save your changes in Elementor once you are satisfied with the headline’s design and placement.
By following these step-by-step instructions, you can create attention-grabbing headlines using Elementor, enhancing the visual appeal of your WordPress website or blog.


