
Introduction
In the realm of web design, captivating your audience is of paramount importance. You want your website to stand out, engage visitors, and leave a lasting impression. One powerful tool at your disposal for achieving this is the “Parallax” feature in Thrive Architect. In this comprehensive tutorial, we will delve into the intricacies of this feature, exploring how to use it effectively and enhance your website’s visual appeal.
Understanding the “Parallax” Feature
The “Parallax” feature is a game-changer when it comes to web design. It allows you to infuse your web pages with dynamic and engaging effects, creating a unique user experience. This feature is particularly handy when you want to add a touch of sophistication and interactivity to your website. With “Parallax,” you can apply advanced parallax/scroll animations to various elements on your page, ensuring that your content not only informs but also captivates.
Selecting the Right Element
To embark on your journey of creating stunning parallax effects, you first need to choose the element you want to enhance. Thrive Architect offers a plethora of elements to pick from, making it a versatile tool for web designers. Whether you want to accentuate an image, a text block, or any other element, the process remains the same.
Adding a New Element
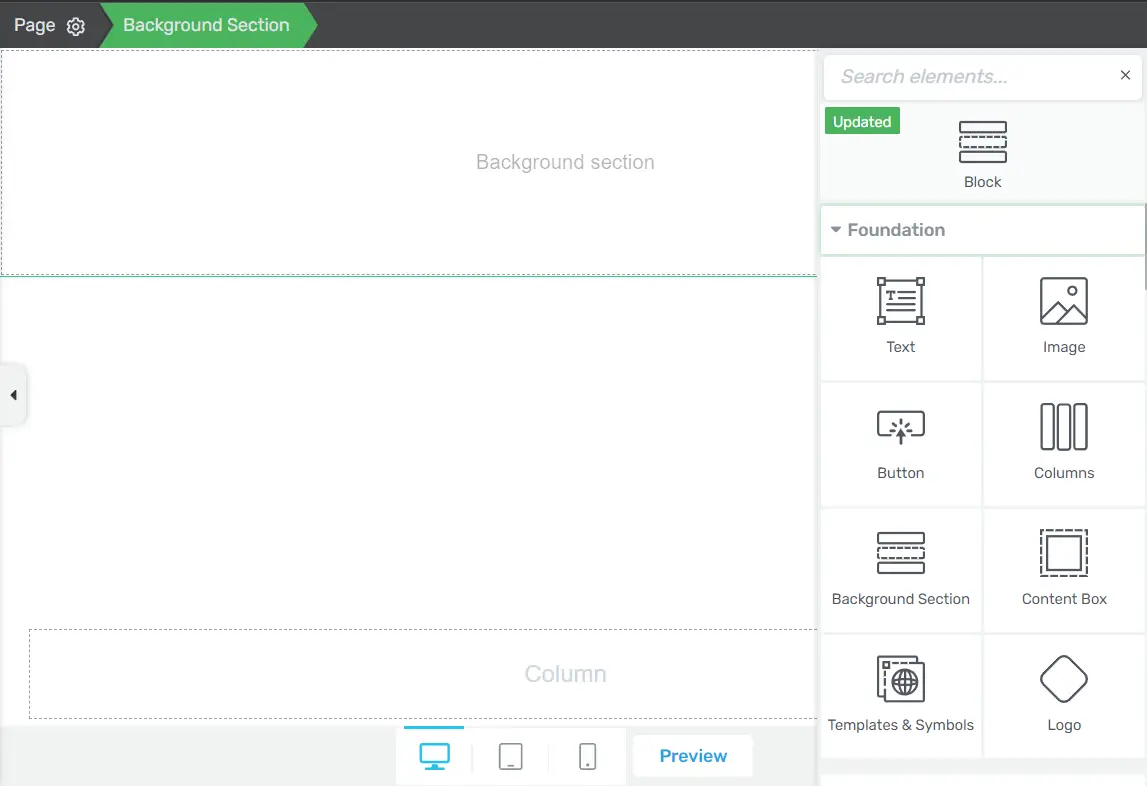
If you’re starting from scratch and need to add a new element to your page, follow these steps:
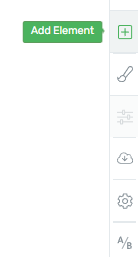
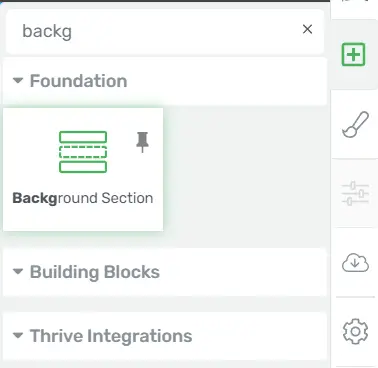
- Click on the plus sign in the right sidebar to access the list of elements.
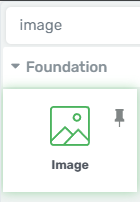
- Find the element you wish to use the “Parallax” feature on.
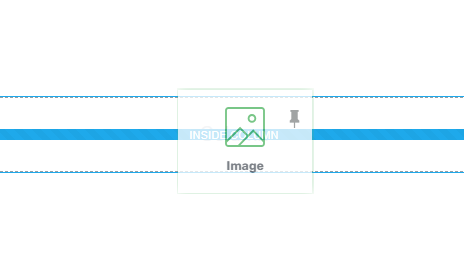
- Drag and drop the element to your desired location on the page.
If you’ve already added the element you want to enhance, simply click on it to select it.
Unveiling the “Scroll Behavior” Option
With your chosen element in place, it’s time to unveil the all-important “Scroll Behavior” option. This is where the magic of the “Parallax” feature begins.
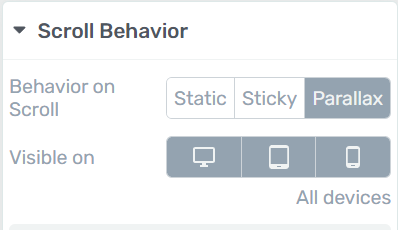
- Click on the selected element, and you’ll see its options appear in the left sidebar.
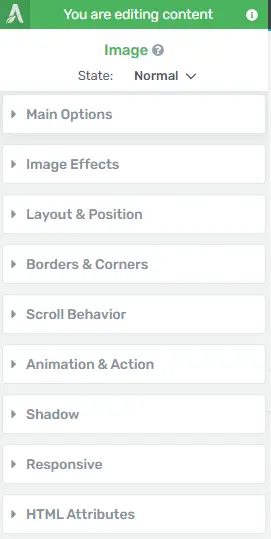
- Look for the “Scroll Behavior” option and click on it to access its settings.

Applying the Parallax Effect
Now that you’ve accessed the “Scroll Behavior” option, you’re ready to add and set up the “Parallax” effect.
Scroll Behavior
Within the “Scroll Behavior” option, click on the blue “Add New Effect” button.
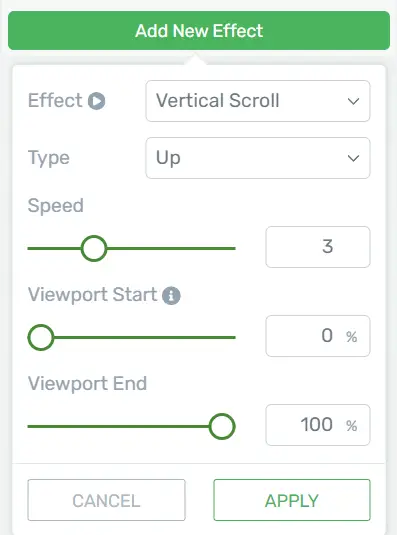
Add New Effect
A pop-up section will appear, allowing you to configure your chosen effect.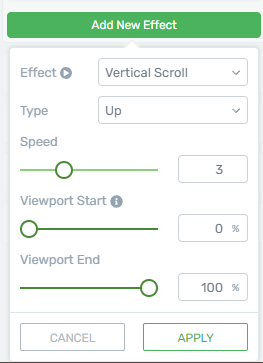
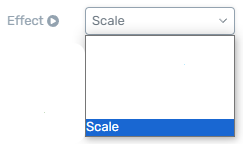
Choosing Your Parallax Effect
Thrive Architect offers a variety of parallax effects to choose from, each with its unique appeal:
- Vertical Scroll: This effect makes your element appear from a vertical position as users scroll up or down the page.

- Horizontal Scroll: Elements using this effect emerge from a horizontal position as users scroll.

- Transparency: The transparency effect gradually reveals your element as users scroll, adding an element of intrigue.

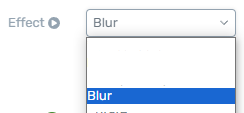
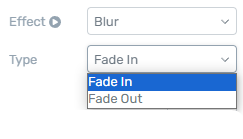
- Blur: Elements utilizing this effect start blurred and gradually become clearer as users scroll.
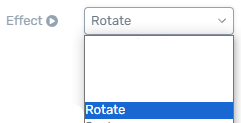
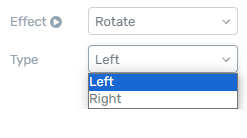
- Rotate: The “Rotate” effect adds a dynamic twist to your element as it rotates on the scroll.
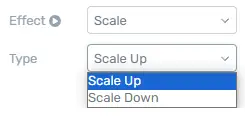
- Scale: With the “Scale” effect, your element can grow or shrink in size as users scroll.
Configuring Your Effect
Once you’ve chosen an effect, you can fine-tune its behavior:
Type
The “Type” option allows you to define precisely how the effect should be showcased:
- Vertical Scroll: Choose between “Up” or “Down” to control the direction of the element’s appearance.

- Horizontal Scroll: Select “Left” or “Right” to determine the horizontal emergence of your element.

- Transparency: Opt for “Fade In” or “Fade Out” to control the element’s transparency transition.

- Blur: Decide between “Fade In” or “Fade Out” to govern the element’s blur transformation.
- Rotate: Pick “Left” or “Right” to dictate the direction of rotation.
- Scale: Choose “Scale Up” or “Scale Down” to control the element’s scaling.
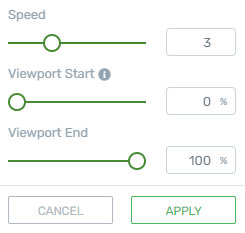
Speed/Level
Depending on the effect you’ve chosen, you can adjust its speed or intensity:
- For “Vertical Scroll,” “Horizontal Scroll,” “Rotate,” and “Scale,” adjust the effect’s speed to control how quickly it appears.
- For “Transparency” and “Blur,” modify the effect’s level to determine its intensity.
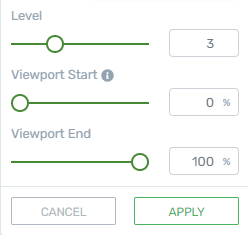
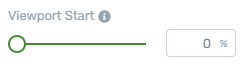
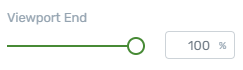
Viewport Start & Viewport End
Fine-tuning your effect further involves specifying when it begins and ends within the user’s viewport:
- “Viewport Start” defines when the effect commences relative to the element’s position in the viewport.
- “Viewport End” marks when the effect concludes as the element exits the viewport.
Preview and Application
As you configure your parallax effect, you can preview it in real-time using the “Parallax preview mode.” This feature allows you to see how the effect will appear on your element as you make adjustments.
![]()
To apply your configured effect, simply click the “Apply” button within the pop-up. Your element will now showcase the chosen parallax effect, enriching your website’s visual appeal.
Editing and Deleting Effects
Should you wish to modify or remove an effect, Thrive Architect offers straightforward options:
Editing the Effect
- Click the “Edit” option (pencil icon) next to the effect you want to modify.

- The familiar pop-up will appear, enabling you to make adjustments.
- Once satisfied, click “Apply” to save your changes.
Deleting the Effect
If you decide to remove an effect:
- Click the “Remove” option (trash icon) next to the effect.

- Confirm your choice in the pop-up window.
Customizing Parallax Sections: A Simple Guide for Thrive Architect Users
Let’s learn about parallax sections and how they can make your website look cool. Parallax sections make your website more interesting by making different parts move at different speeds when someone scrolls.
Step 1: Add a Parallax Section
Open Thrive Architect for the page you chose.
Pick the section where you want the parallax effect.
Press the “+” icon, and choose “Background Section.”
Select “Parallax” as the background type.
Step 2: Set Parallax Settings
Click on the Scroll Behavior section, and choose “Parallax”.
Then, select the “Add New Effect” tab.

Type
Pick “Classic,” “Simple,” or “Mouse Move.”
Speed
Choose how fast the parallax effect goes.
Direction
Decide which way the parallax moves.
Step 3: Add Content
Inside the parallax section, put in your text, images, buttons, etc.
Arrange them in layers to make the parallax effect better.
Step 4: Style it Up
Make your parallax section look good by changing colors, fonts, and spacing.
Try different styles until you like how it looks.
Step 5: Mobile-Friendly
Click on the mobile icon in Thrive Architect to see and adjust the parallax section for phones.
Make changes to make sure it looks good on all screen sizes.
Step 6: See and Save
Click the eye icon to see your whole page.
Check if the parallax section works well when you scroll.
Save your changes to make the parallax effect show up on your website.
Conclusion
Incorporating the “Parallax” feature into your web design arsenal can elevate your website to new heights. With its dynamic and engaging effects, you can capture your audience’s attention and create a memorable online experience. From choosing the right element to configuring your preferred parallax effect, Thrive Architect empowers you to craft visually stunning web pages that leave a lasting impression.
Enhance your website today with the “Parallax” feature and unlock the potential for captivating, immersive user experiences.


