
Introduction
In the world of web design and content creation, user engagement is paramount. Visitors to your website should find it not only informative but also visually appealing. To achieve this, you need to leverage the right tools and elements. Thrive Architect, a powerful WordPress page builder, offers a wide array of elements to enhance your site, one of which is the “Progress Bar” element. In this comprehensive tutorial, we will walk you through the step-by-step process of using and customizing the “Progress Bar” element in Thrive Architect to make your website more engaging and informative.
Understanding Thrive Architect
Before delving into the specifics of using the progress bar element, let’s take a moment to familiarize ourselves with Thrive Architect. This intuitive plugin empowers WordPress users to create stunning and conversion-focused pages without the need for coding skills.
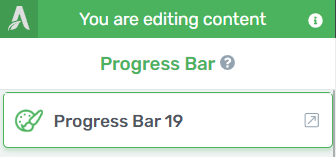
Adding the Progress Bar Element to Your Page
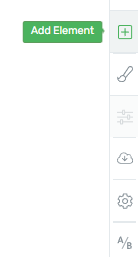
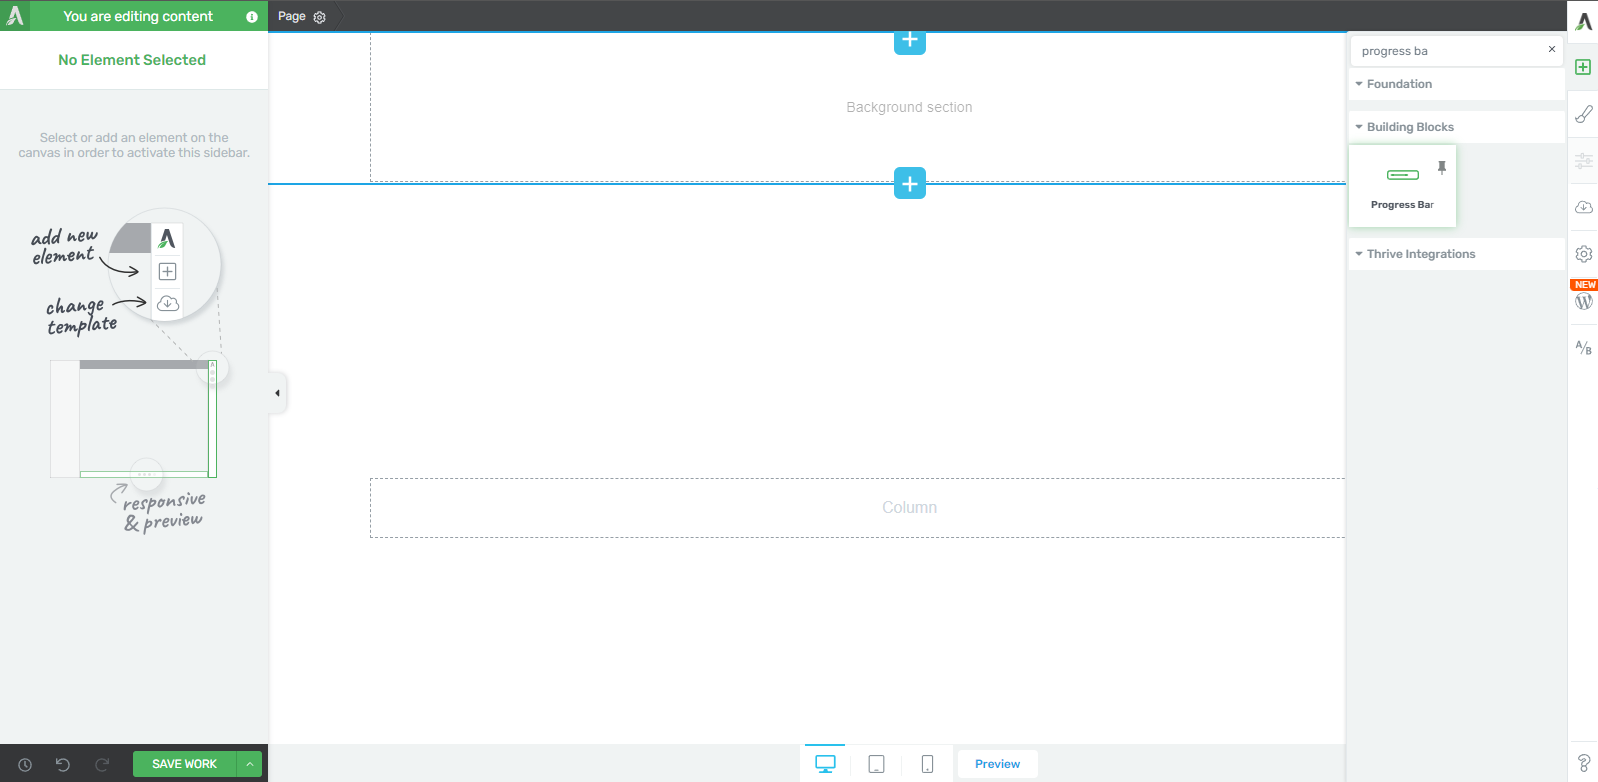
The first step to harnessing the power of the “Progress Bar” element is to add it to your page or post. Follow these simple steps:
- Click on the plus sign in the right sidebar to open the list of available elements.
- Search for the “Progress Bar” element either by scrolling down or by typing its name into the search field.
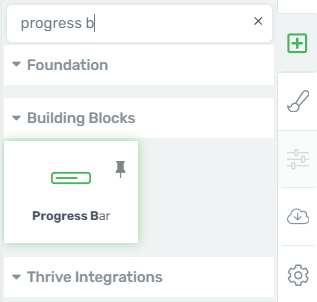
- Once you’ve found it, drag and drop the “Progress Bar” element onto your page.
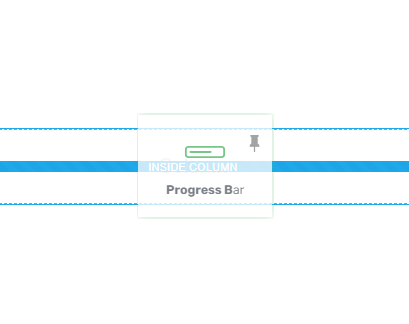
With this done, you’re ready to customize your “Progress Bar” element using the “Main Options” in the left sidebar.
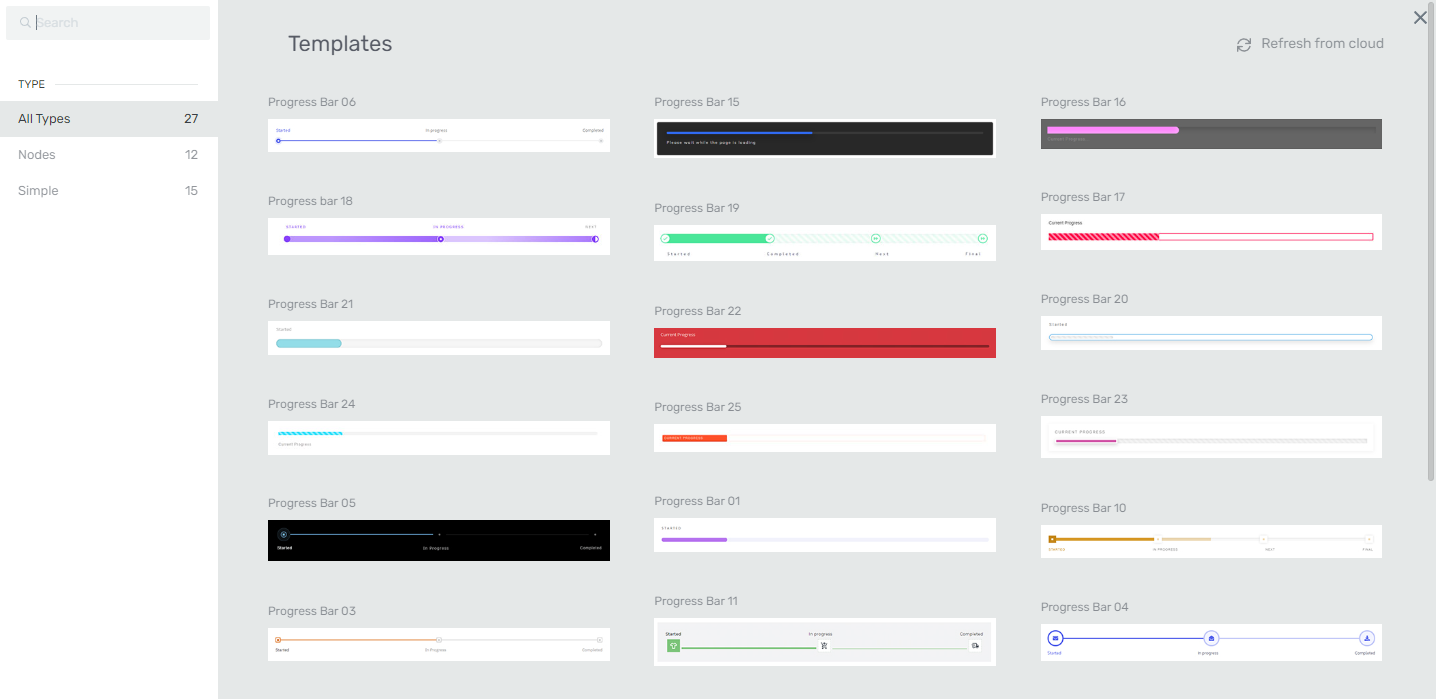
Choosing the Right Template
Thrive Architect makes it easy to get started by offering a variety of templates for your “Progress Bar” element. To choose the template that best suits your needs:
- Click on the “Templates Library” in the “Main Options” section of the left sidebar.
- Explore the available templates and select the one that aligns with your design vision.
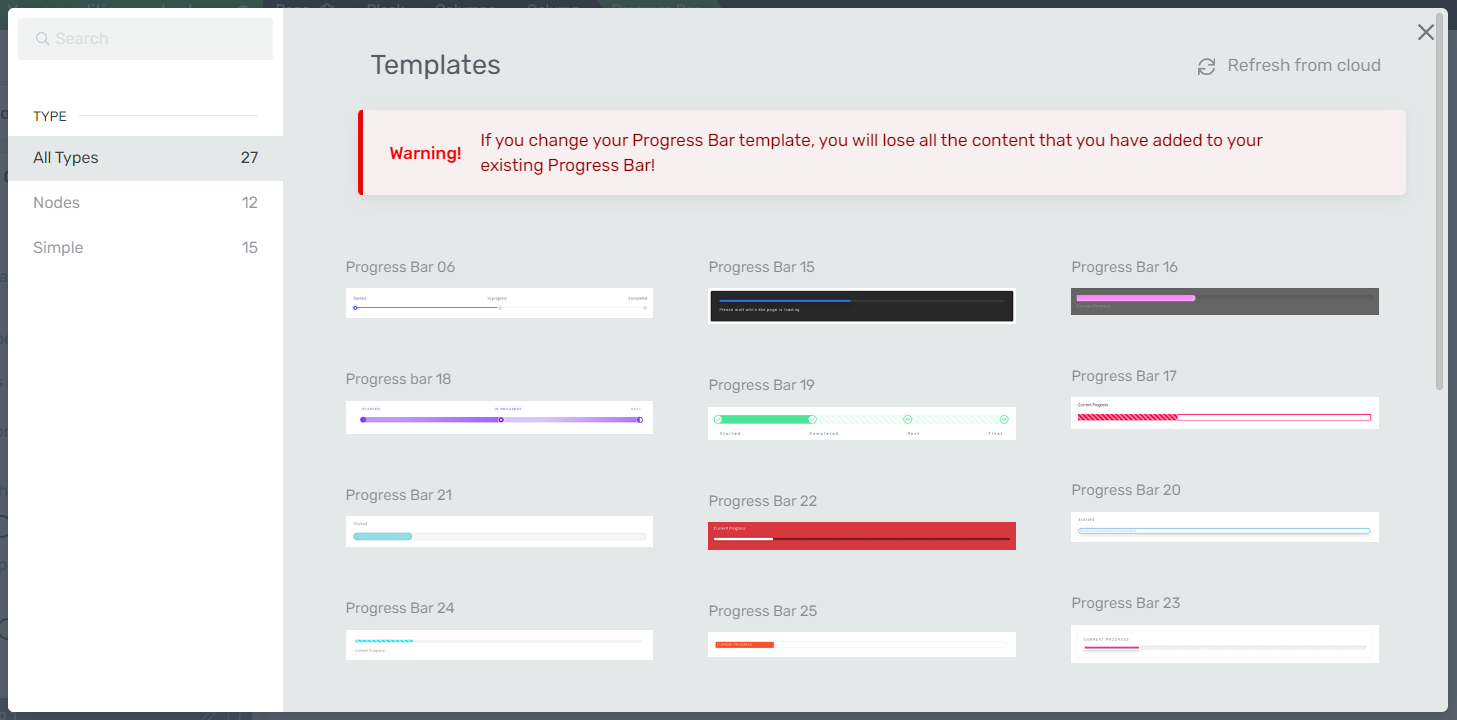
This step allows you to give your “Progress Bar” element a visually appealing and customized look.
Exploring the Main Options
The “Main Options” section in the left sidebar is where you can truly customize your “Progress Bar” element. Here’s a breakdown of the main features and their functions:
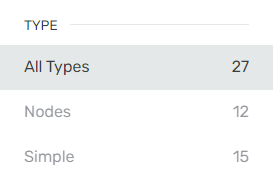
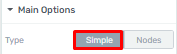
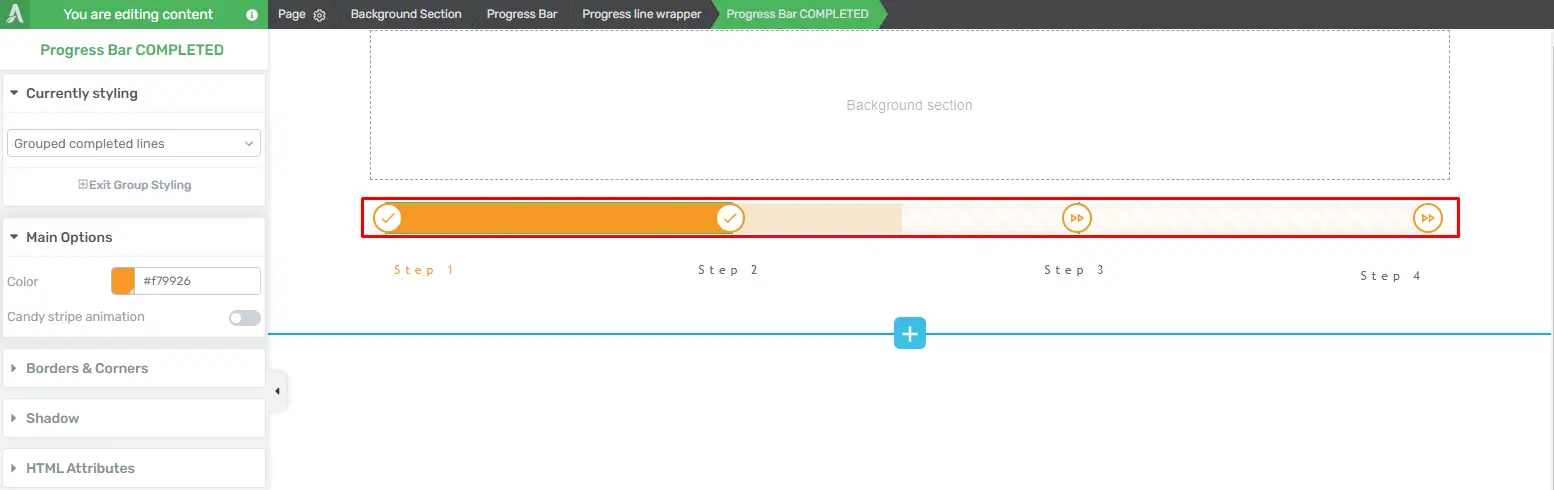
Type
You can choose between two types of progress bars: “Simple” or “Nodes.” The “Simple” type displays a regular bar that fills in based on the progress made, while the “Nodes” type displays individual steps or nodes. The choice between the two depends on your design preferences and the information you want to convey.
Inherit Page Smart Colors
Thrive Architect allows you to inherit element colors from your template or theme. This feature ensures consistency across your site’s design. However, you can also manually select and customize colors according to your brand’s style.

Colors
This option lets you change the color of your progress bar. You can either manually select a color or input HEX/RGB codes. Alternatively, you can choose from pre-existing colors in the “My Colors” and “Theme Colors” sections.

Show Label
Toggle this option to display or hide the label associated with your progress bar. The label provides context to your users, making it a useful addition to your element.

Progress Label Position
If you choose to display the label, you can also determine its position within the progress bar. Select from available options to achieve the desired layout.

Display Progress Labels
This feature is available when using the “Nodes” type of progress bar. It allows you to choose which labels to display: “All,” “Current,” or “First & last.” You can even customize label names to make them more informative.

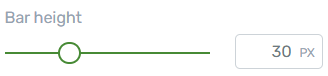
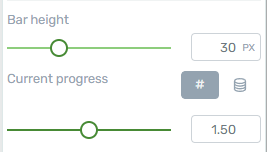
Bar Height
Control the height of your progress bar by using the slider or entering a specific numerical value. This customization ensures that the element aligns with your website’s design and layout.
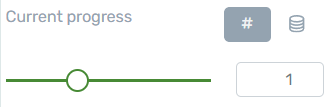
Current Progress
This option lets you set the completion percentage of the progress bar. You can manually adjust it or use dynamic data sources like “URL QueryString,” “POST Variable,” or “Cookie Data” to populate the progress.
Advanced Options
Advanced options are available when using the “Simple” type of progress bar. These options include:
Fill Animation on View
Activate this option to create an animated effect where the progress bar fills from a defined starting point to the current progress value.
![]()
Speed
Choose from three different speed settings for how fast the progress bar fills in, allowing for dynamic and engaging user experiences.
![]()
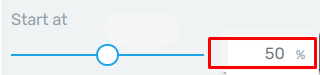
Start At
Set the starting point of the progress bar either using the slider or by entering a numerical value.
Enable Dual Progress
By activating this toggle, you can introduce a “Secondary progress” value that fills alongside the primary progress. This feature is especially useful when you want to show users their progress both before and after completing a step.
![]()
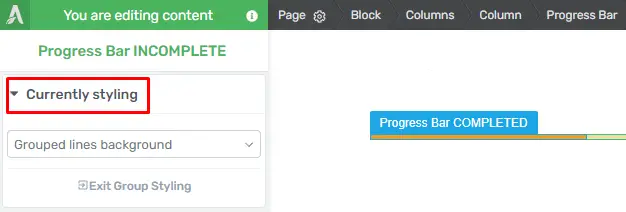
Styling Your Progress Bar
Thrive Architect provides extensive styling options in the “Currently Styling” section. You can customize various elements of your progress bar, including progress icons, colors, and more. Each aspect can be adjusted to align with your website’s branding and design.
Saving Your Progress Bar as a Template
Once you’ve meticulously designed your “Progress Bar” element, you can save it as a template for future use. This feature is incredibly handy when you want to maintain a consistent design across your website.
- Hover over the element and click on “Save.”

- Choose to save it as a template.
From now on, you can easily access and use this template whenever you need a “Progress Bar” element with the same design.
Exploring Additional Options
Beyond the “Main Options,” Thrive Architect offers various general options, including Layout and position, Borders and corners, and more. These options provide further customization to enhance your overall website design.
Customizing Progress Bars for User Engagement In Thrive Architect
User engagement is a critical aspect of web design, and one effective way to enhance it is by customizing progress bars. In this guide, we’ll walk through the step-by-step process of customizing progress bars in Thrive Architect, a popular WordPress page builder.
Getting Started with the Progress Bar
Thrive Architect comes with pre-designed progress bars, offering convenience for users who prefer a quick solution. While these options are functional, customization allows you to stand out and create a more memorable brand impression.
Step 1: Accessing Thrive Architect Editor
Navigate to the editor interface to start the customization process.
Step 2: Selecting a Page/Post
Choose the webpage where you want to customize the progress bar. If needed, create a new page to implement the changes.
Step 3: Adding a Progress Bar Element
Locate the progress bar element in the editor’s menu and drag it to the desired location on your webpage.
Step 4: Choosing Progress Bar Style
Take a look at the different styles of progress bars that Thrive Architect offers. Consider the visual appeal and relevance to your website’s theme.
Step 5: Customizing Colors
Access the color options for the progress bar and select hues that align with your brand identity.
Step 6: Adjusting Size and Position
Modify the dimensions of the progress bar and place it strategically on the webpage for optimal visibility.
Step 7: Adding Text and Animation
Incorporate relevant text for clarity and explore animation options to make the progress bar more dynamic and engaging.

Previewing and Testing
Before finalizing changes, preview the customized progress bar and test its functionality across various devices to ensure a seamless user experience.
![]()
Saving and Publishing
Confirm your customizations and save the changes. Make the customized progress bar live on your webpage.
![]()
Monitoring User Engagement
Utilize analytics tools to track the effectiveness of your customized progress bar. Iterate based on user response to continually improve engagement.
Conclusion
Enhancing user engagement with Thrive Architect can be done easily and effectively by customizing the progress bars. By following these steps, you can create a personalized and visually appealing experience that resonates with your audience, ultimately enhancing your website’s overall effectiveness.


