

Introduction
In the realm of web design, a well-crafted footer is the final touch that completes a website. Elementor, the highly versatile page builder, empowers designers to create stunning footers with ease.
In this tutorial, we’ll explore detailed steps for creating footer templates using Elementor. Let’s dive into each aspect and make your website’s footer stand out!
Understanding Elementor
Elementor is a versatile and user-friendly WordPress plugin that simplifies the process of designing and customizing websites. It provides a drag-and-drop interface, making it accessible for both beginners and experienced developers.
Creating a New Footer Template in Theme Builder
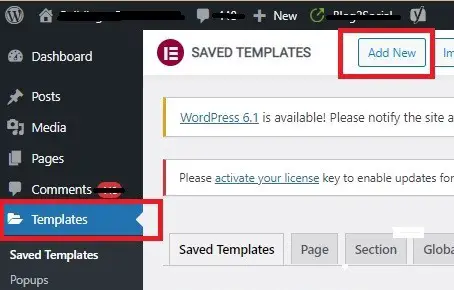
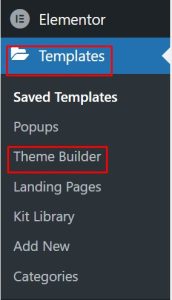
Step 1: Go to Templates and Select Theme Builder
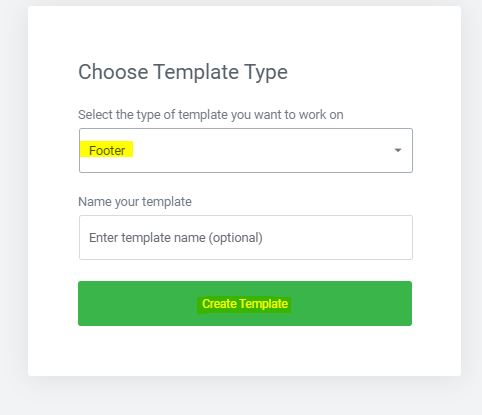
Start by navigating to your website’s backend. Go to “templates,” select “Theme Builder,” click “Add New,” and choose “Footer.” Name your template and create it.
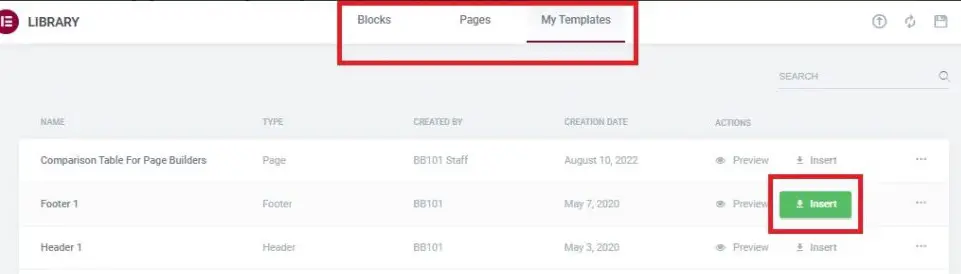
Step 2: Choose a Footer Block or Saved Template
Select a footer block or your own saved template from the templates tab.
Step 3: Insert Saved Templates
If you have saved templates, click “insert.” You’ll be prompted to import document settings.
Step 4: Insert Information and Services
Automatically go to your page, and at the bottom, insert the desired information and services for your footer.
Step 5: Design and Publish
After designing your footer, click publish. You’ll be prompted to go to the entire site and then click “Save & Close.”
How To Add Social Icon In Footer?
Step 1: Search Social Icon and Drag
Search for the social icon, and drag it to an empty section on your page.
Step 2: Add Icons Under the Content Tab
Go to “Social Icons” under the Content Tab. Add an item for the new icon you want.
Step 3: Customize Icon Appearance
Select an icon, add the link, choose color, and adjust shape and alignment.
![]()
Step 4: Style Your Icons
Under Style Tab, customize color, size, padding, and spacing between icons.
Step 5: Adjust the Icon Hover
In the Icon Hover section, customize the color and animation when users hover over the icons.
How To Make A Responsive Footer?
Step 1: Add a New Section and Edit
Begin by adding a new section. Edit the section and add a background.
Step 2: Edit Header and Container
Add a header and adjust the container, ensuring the content width is set to full width.
Step 3: Add Site Logo
Insert a site logo and adjust its size according to your preference.
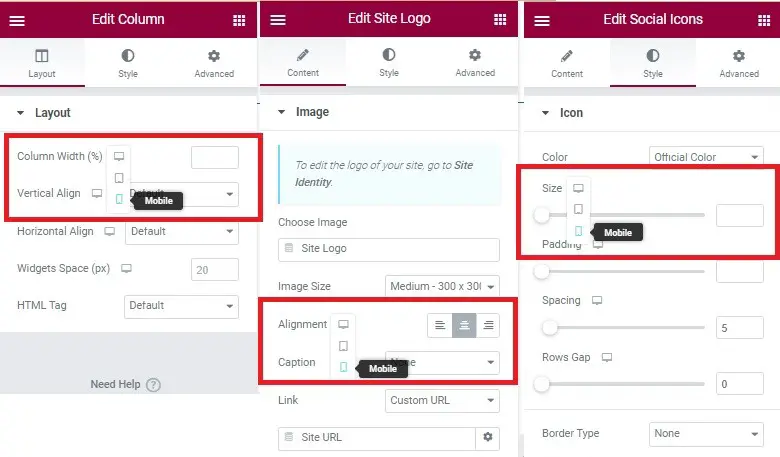
Step 4: Edit Settings for Mobile
Edit the column, site logo, and social icons, specifically selecting the mobile view while editing.
How To Create A Footer WordPress?
Step 1: Navigate to Theme Builder in WordPress Dashboard
In your WordPress dashboard, click on “Templates,” then select “Theme Builder.”
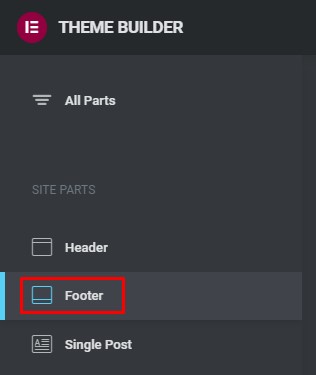
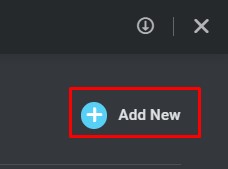
Step 2: Click Footer and Add New
Click on “Footer” in the left sidebar, then click “Add New” at the top right.
Step 3: Choose a Template
A popup window with a library of footer templates will appear. Choose a template, click “Insert,” and start editing in the footer of your page or post.
Conclusion
Mastering the creation and customization of footer templates is essential for a well-presented website. Whether using the Theme Builder or WordPress Dashboard, following these steps ensures a visually appealing and responsive footer. Elevate your website’s design by implementing these techniques and make a lasting impression on your visitors.


