

Introduction
In the world of web design and content creation, the Call to Action (CTA) element plays a crucial role. Whether you are a seasoned web developer or someone just starting their online journey, understanding how to effectively use the CTA element in Thrive Architect can make a significant difference in your website’s performance and user engagement. In this tutorial, we will explore the ins and outs of the CTA element and guide you on how to utilize it effectively.
Understanding the Call to Action Element
A Call to Action, as the name suggests, is a prompt to encourage your website visitors to take a specific action. Whether it’s signing up for a newsletter, making a purchase, or downloading a resource, CTAs are designed to guide your visitors toward a particular goal.
Adding the Call to Action Element
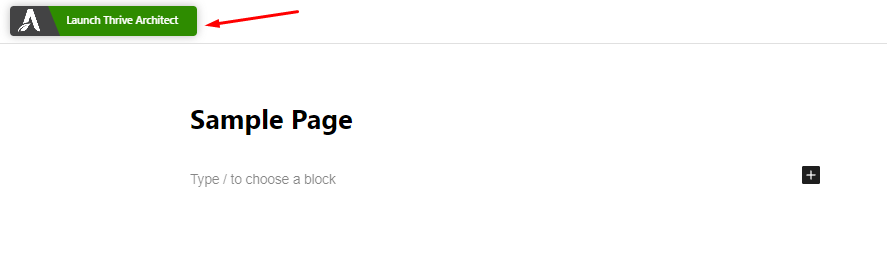
Open Your Page: Select the page where you want to add the Call to Action element. Click on the “Launch with Thrive Architect” button.
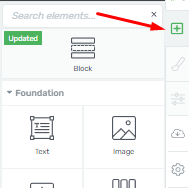
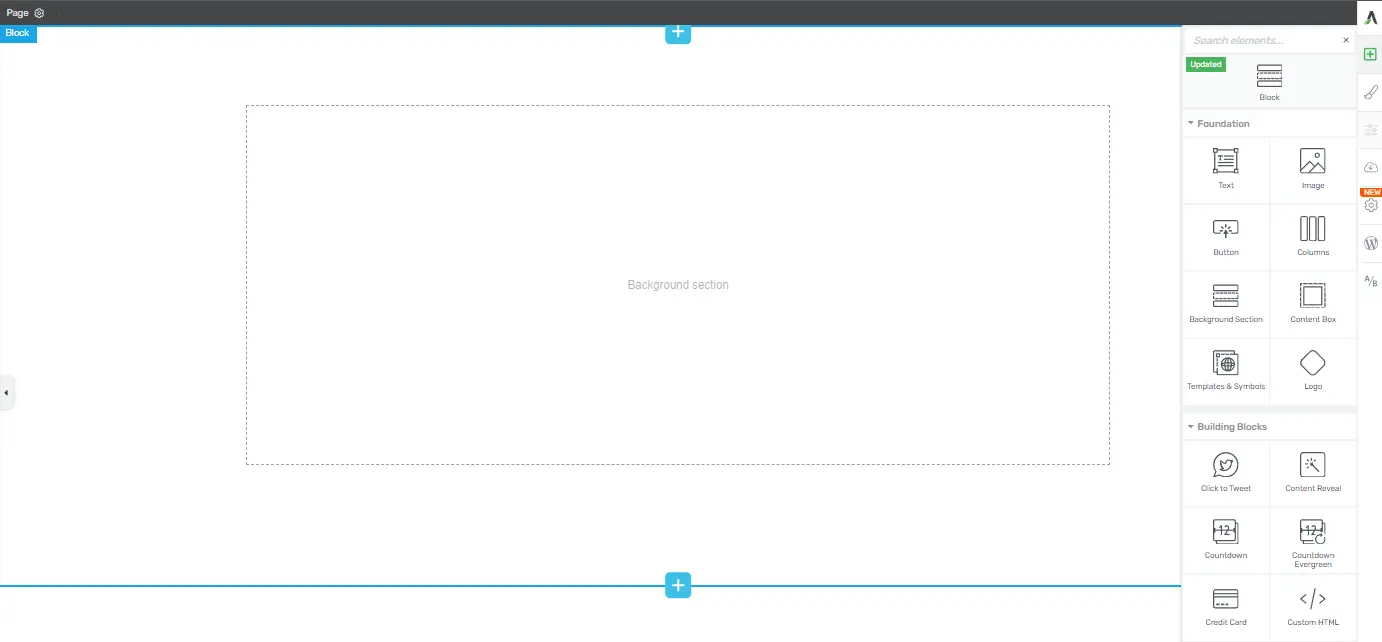
- Locate the Plus Sign: On the right sidebar of the Thrive Architect editor, you’ll find a plus sign icon. Click on it to access the elements library.
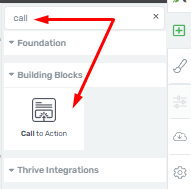
- Find “Call to Action”: In the elements library, look for the “Call to Action” element. Once you’ve spotted it, simply drag and drop it onto the desired location on your page.
Choosing a Template
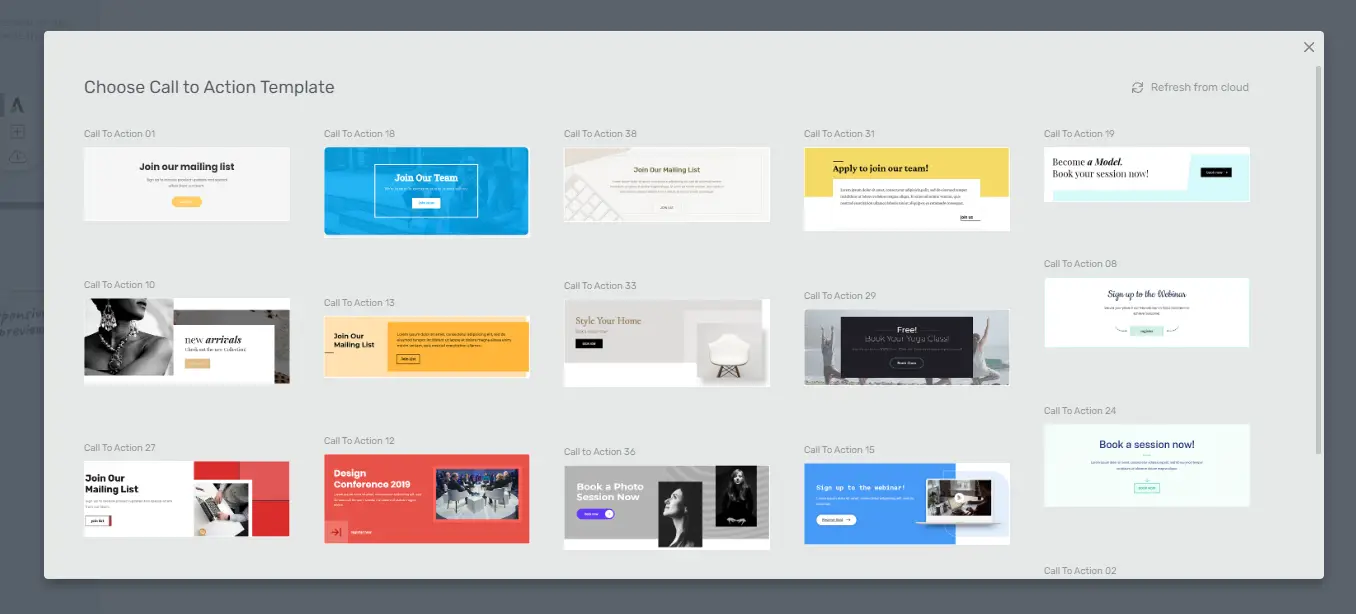
- Explore Templates: After adding the Call to Action element, a pop-up window will appear with a variety of pre-designed CTA templates. Scroll through the options to find the one that best suits your needs.

- Select a Template: Click on the template you want to use for your CTA. This will apply the template to your element.
Customizing Your Call to Action
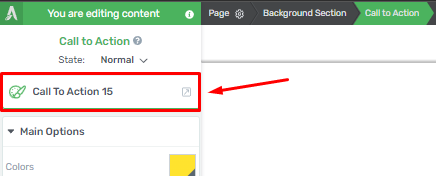
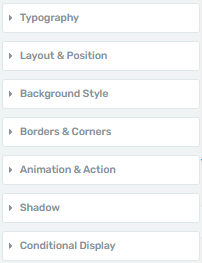
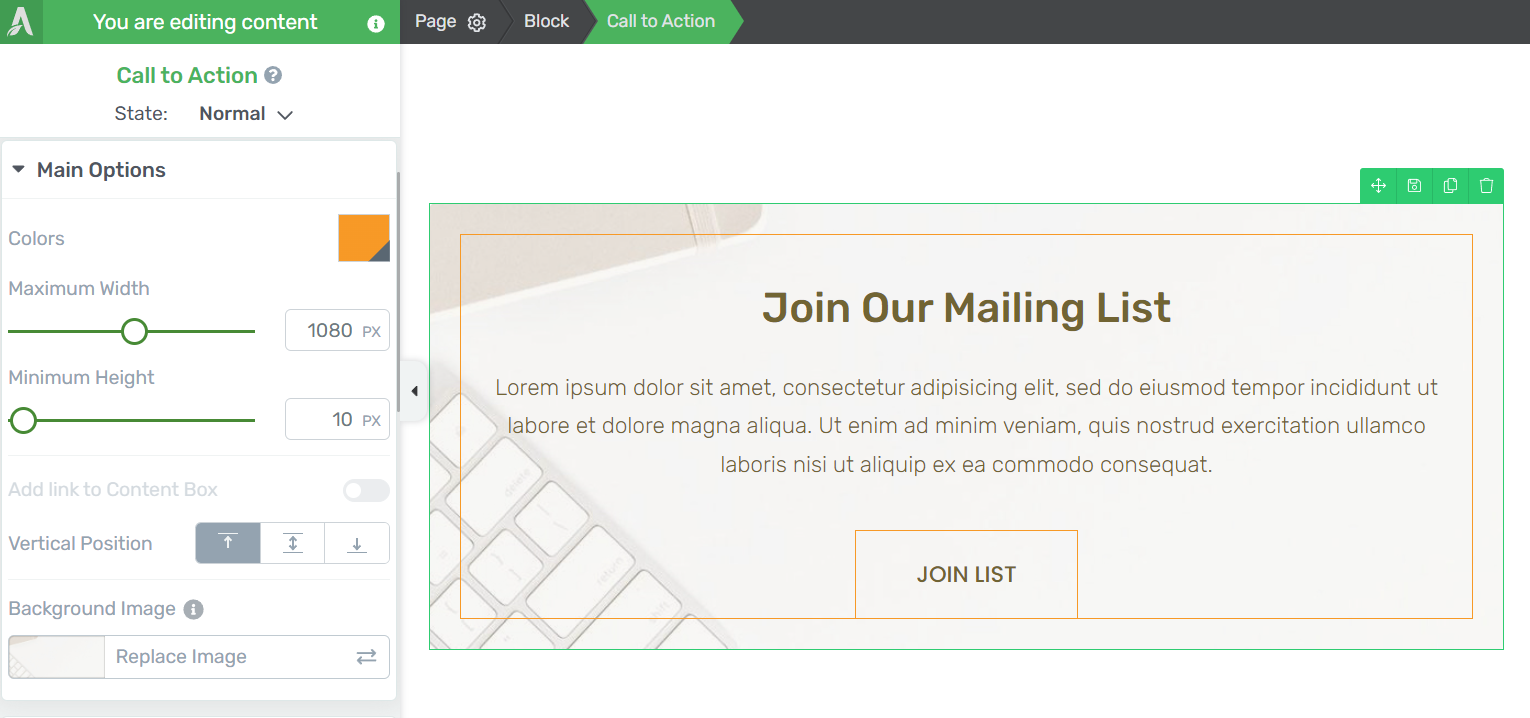
- Access the Options: On the left sidebar of the editor, you’ll find various customization options for your Call to Action element.
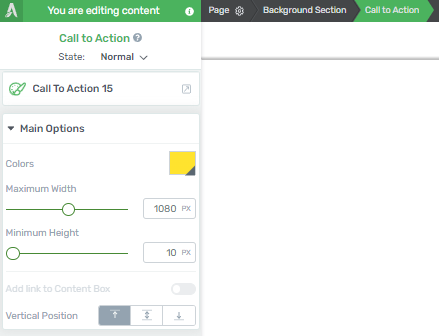
- Template Library: The first option you’ll encounter is the “Template Library.” If you wish to change the template applied to your element, you can do so here. However, be cautious, as changing the template will reset any content or personalization you’ve added.
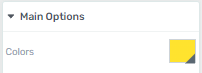
- Colors: To modify the colors of your Call to Action button, click on the color box next to the “Colors” field.
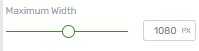
- Adjusting Width: You can change the width of the Call to Action element by using the slider or entering a specific value in the field.
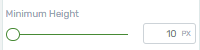
- Changing Height: If you need to adjust the height of the element, this option allows you to do so.
- Adding a Link: To include a link in your element, activate the toggle for this option.

- Vertical Position: This feature lets you choose where to position the content within the Call to Action element—top, middle, or bottom.

- Further Customization: Explore the remaining options to further tailor your CTA element to your liking.
Designing Effective CTAs in Thrive Architect
Call to Action (CTAs) play a crucial role in guiding website visitors towards desired actions. In Thrive Architect, a powerful WordPress page builder, you can create compelling CTAs to improve user engagement and conversion rates. Follow this step-by-step guide to design effective CTAs using Thrive Architect:
Step 1: Choose the CTA Type
- Once inside the Thrive Architect editor, decide on the type of CTA you want to create. Common examples include buttons, forms, or text-based CTAs.
- Click on the “+” button to add an element, then select the appropriate CTA type from the list of options.
Step 2: Customize the CTA Design
- With your chosen CTA element on the page, click on it to access the customization options.
- Modify the text, colors, font size, and any other design elements to align with your website’s branding and goals.
- Adjust the CTA’s size and placement on the page to ensure it stands out without being too intrusive.
Step 3: Add Actionable Text
- Craft compelling and action-oriented text for your CTA. Use clear, concise language that tells users what they should do next.
- Consider using words like “Get Started,” “Subscribe Now,” or “Learn More” to prompt action.
Step 4: Set the CTA Action
- Determine the action you want the CTA to trigger, such as linking to a specific page, opening a pop-up, or submitting a form.
- Configure the action by selecting the appropriate option within the CTA customization menu.
Step 5: Save and Publish
- Once you are satisfied with your CTA’s design and functionality, click the “Save” button within Thrive Architect.
- Publish your changes to make the CTA live on your website.
Mobile-Friendly CTAs with Thrive Architect: Tips and Tricks
In the fast-paced world of online marketing, the effectiveness of your Call-to-Action (CTA) buttons can make or break your conversion rates. With the ever-growing number of users accessing websites via mobile devices, it’s crucial to have mobile-friendly CTAs. Thrive Architect, a popular page builder for WordPress, offers a range of tools and features that can help you create compelling mobile-responsive CTAs. In this article, we’ll walk you through a step-by-step guide with subheadings to ensure your CTAs shine on mobile devices.
Understanding Mobile Responsiveness
What Are Mobile-Friendly CTAs?
Before diving into the tips and tricks, let’s understand the basics. Mobile-friendly CTAs are call-to-action buttons that adapt seamlessly to various screen sizes and orientations, ensuring an optimal user experience on mobile devices.
The Significance of Mobile-Friendly CTAs
Mobile traffic is on the rise. Ignoring mobile responsiveness in your CTAs can lead to high bounce rates and lost opportunities. It’s vital to cater to this audience effectively.
Navigating to the CTA Creation Interface
Once activated, open the post or page where you want to create a mobile-friendly CTA. Click on the Thrive Architect button.
Creating Mobile-Friendly CTAs
Choosing a CTA Template
Thrive Architect offers a variety of CTA templates designed for mobile responsiveness. Select one that suits your website’s aesthetics and objectives.
Customizing the CTA
Personalize your CTA by editing text, colors, and graphics. Ensure the message is concise and compelling, prompting users to take action.
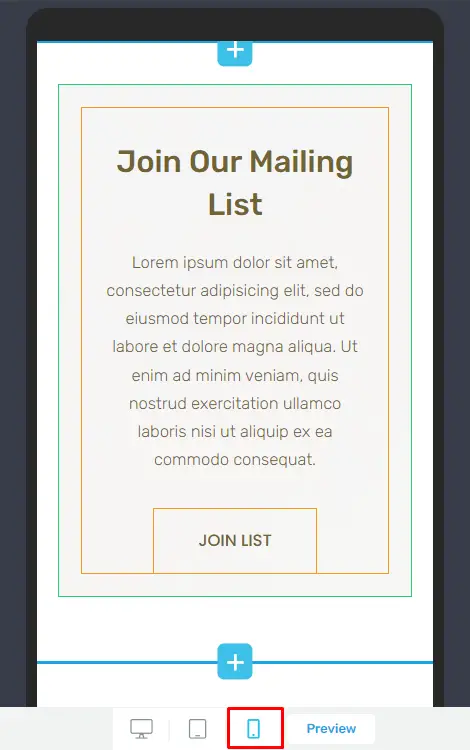
Testing Mobile Responsiveness
Preview the CTA on various mobile devices to ensure it displays correctly and remains fully functional.
Optimizing CTA Placement
Above the Fold
Place your CTA above the fold to ensure it’s one of the first things users see when they land on your page. This increases visibility and engagement.
Within Content
Strategically embed CTAs within your content to catch users’ attention as they read. Ensure it flows naturally within the text.
Tracking and Analytics
Monitoring CTA Performance
Use built-in analytics tools or integrate third-party services to track CTA performance, such as click-through rates and conversion rates.
A/B Testing
Continuously optimize your CTAs by conducting A/B tests. Experiment with different text, colors, and placement to see what resonates best with your audience.
Ensuring Speed and Loading Times
Image Optimization
Optimize any images used within your CTAs to reduce loading times. Slow loading can deter mobile users.
Minimize Redirects
Minimize redirects in your CTA links to avoid delays in loading the target page.
Cross-Browser Compatibility
Testing Across Browsers
Ensure your mobile-friendly CTAs work smoothly on various mobile browsers such as Chrome, Safari, and Firefox.
Browser-Specific Tweaks
Make browser-specific adjustments if necessary to guarantee an optimal experience for all users.
Conclusion
Mobile-friendly CTAs are essential for engaging your mobile audience effectively. Thrive Architect simplifies the process with its user-friendly features, ensuring that your CTAs look great on any device. By following these steps and tips, you can significantly boost your conversion rates and provide a seamless mobile experience for your audience.


