

Introduction
In today’s fast-paced digital world, creating a sense of urgency is essential for marketing success. One effective way to achieve this is by using countdown timers on your website. Thrive Architect, a popular WordPress page builder, offers a Countdown Element that makes this task a breeze. In this step-by-step tutorial, we’ll walk you through the process of using the Countdown Element to add countdown timers to your web pages.
Understanding the Countdown Element
Thrive Architect seamlessly integrates the Countdown Element into its suite of features. Users can access it easily through the page builder, making it a convenient addition to any website.
Getting Started: Adding the Countdown Element
Look for the Element
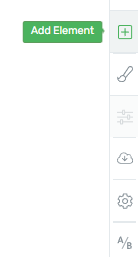
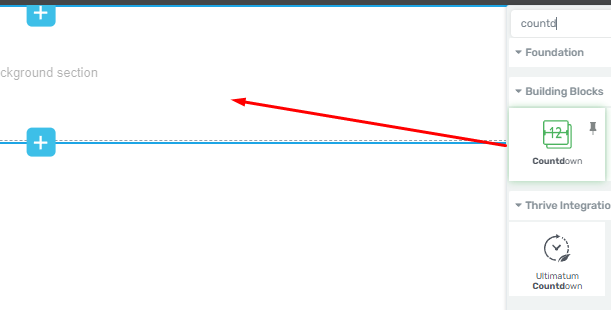
First, open the page you want to edit in Thrive Architect. Then, search for the Countdown Element in the elements panel.
Drag and Drop
Once you’ve found the Countdown Element, simply drag and drop it onto your page where you want the countdown timer to appear.
Customizing the Countdown Timer
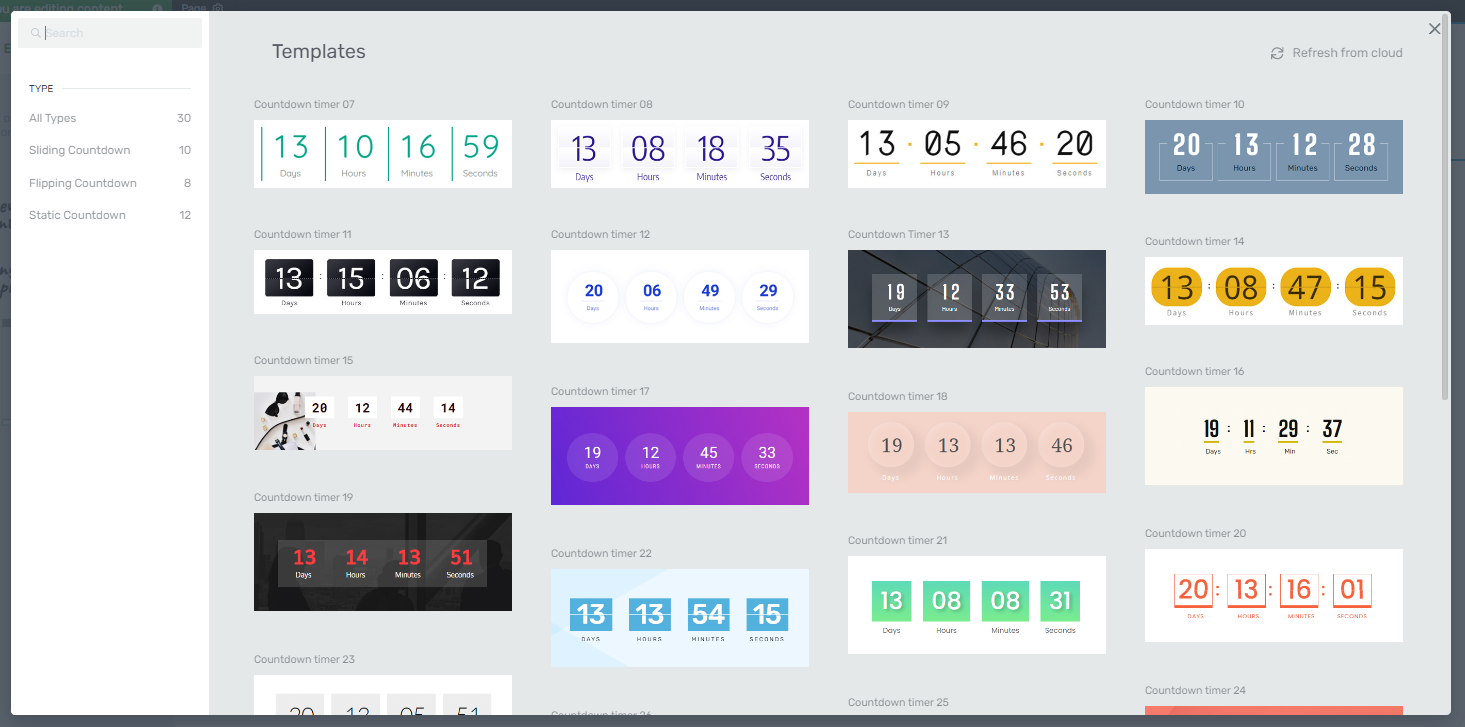
Select a Countdown Type: After adding the element to your page, you’ll be prompted to choose a countdown type from the template lightbox. This will determine the visual style of your countdown timer.
Main Options
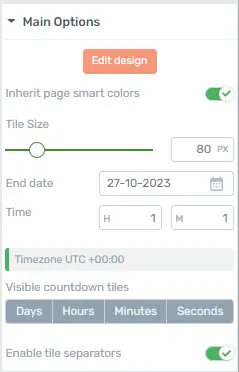
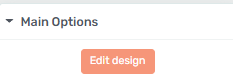
To further customize the countdown element, head over to the left sidebar’s “Main Options” section.
Edit Design
Click on the “Edit Design” button to access a range of design options for your countdown timer. Here, you can tweak the appearance to match your website’s branding.
Divider Customization
Within the “Edit Design” options, you can change the color, style (Solid, Dotted, or Dashed), and size of the divider that separates the countdown elements.
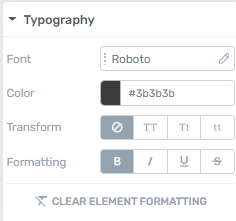
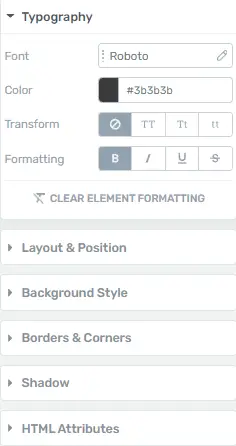
Font and Color
Customize the fonts, colors, and formatting of the countdown text to make it visually appealing.
Completion: Once you’ve made all your desired changes, click “Done” to save your design settings and return to the “Main Options” sidebar.

Fine-Tuning Countdown Settings
Color Options
Under the “Main Options” section, you can further adjust the colors to match your website’s aesthetics.
![]()
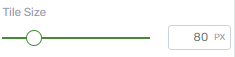
Tile Size
Control the size of the countdown tiles by dragging the slider or entering specific numerical values. This allows you to achieve the perfect fit for your page layout.
Time Settings
Set the “End Date” for your countdown timer, and specify the number of hours until your campaign starts. This ensures that your countdown is accurate and aligned with your marketing strategy.
![]()
Timezone Settings
Keep in mind that timezone details are automatically fetched from the “General” section of your WordPress admin dashboard. If necessary, you can adjust this setting to match your campaign’s target audience.
![]()
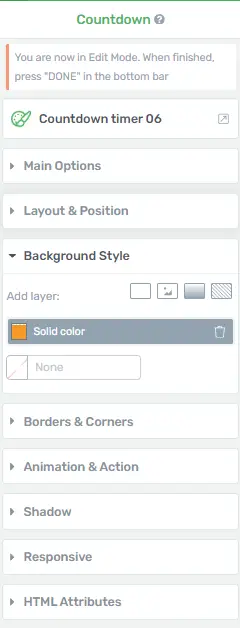
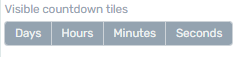
Display Options
Choose which countdown elements you want to display—Days, Hours, Minutes, Seconds—to create a countdown timer that meets your specific needs.
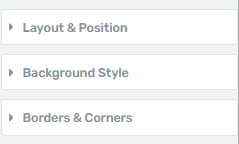
Additional Customization
Explore other general options like “Layout & Position,” “Background Style,” “Borders & Corners,” and more to fine-tune the appearance and behavior of your Countdown Element.
Conclusion
Incorporating countdown timers into your website can significantly boost conversion rates and create a sense of urgency among your visitors. With Thrive Architect’s Countdown Element, you can easily customize and deploy countdown timers that align with your branding and marketing goals. Start using this powerful feature today to drive more engagement and conversions on your website.
Exploring Advanced Features of Countdown Elements In Thrive Architect
In the world of website design and conversion optimization, countdown elements can be a game-changer. These nifty little widgets not only add a sense of urgency to your website but also encourage your visitors to take action. Thrive Architect, a popular WordPress page builder, offers an array of advanced features when it comes to countdown elements. In this article, we’ll take a deep dive into exploring these features, step by step.
Getting Started with Countdown Elements
1. Adding a Countdown Element
First things first, log in to your WordPress dashboard and access the page where you want to add a countdown element using Thrive Architect. Once you’re in the editor, click on the “+” button to add a new element. Look for the Countdown element and click on it to insert it into your page.
2. Customizing the Countdown Timer
Now that you have added the countdown element, you can start customizing it. Thrive Architect offers various options to tailor your countdown timer to your specific needs. You can adjust the timer’s appearance, set the countdown end date and time, and even choose the time zone for accuracy.
Advanced Countdown Features
3. Dynamic Text Replacement
One of the standout features of Thrive Architect’s countdown elements is dynamic text replacement. This allows you to personalize your countdown timer text based on your visitor’s time zone, creating a more engaging and persuasive experience. You can do this by clicking on the “Dynamic Text Replacement” option within the countdown element settings.
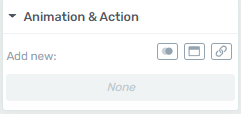
4. Countdown Animations
Adding animations to your countdown timer can make it more eye-catching and attention-grabbing. Thrive Architect offers a range of animation options to choose from, allowing you to create countdown timers that capture your audience’s interest effectively.
5. Countdown Redirects
Want to redirect your visitors to a specific page once the countdown timer hits zero? Thrive Architect makes it simple. You can set up countdown redirects to send your audience to your desired destination, increasing conversion rates and user engagement.
Tips for Effective Countdown Usage
7. Use Countdowns Sparingly
While countdown timers can be incredibly effective, it’s essential to use them judiciously. Overloading your page with countdowns can make it seem cluttered and overwhelming, so choose where and when to use them wisely.
8. Test Different Designs
Experiment with different countdown timer designs to see which one resonates most with your audience. Thrive Architect’s flexibility allows you to try out various styles and layouts to find the perfect fit for your website.
Conclusion
Incorporating countdown elements into your website using Thrive Architect can be a game-changer for your conversion rates. By following these step-by-step instructions and exploring the advanced features we’ve covered, you can create compelling countdown timers that drive action and boost your online success.


