

Introduction
Thrive Architect is a powerful and user-friendly page builder plugin for WordPress that allows you to create stunning web pages without the need for any coding knowledge. One of the many elements it offers is the Field Counter Element, which can be incredibly useful for various purposes on your website. In this tutorial, we will explore how to effectively use the Field Counter Element in Thrive Architect to enhance your website’s functionality and engagement.
Understanding Fill Counter Element
In the realm of web design, the Fill Counter Element stands out as a dynamic and attention-grabbing tool. Simply put, it’s a feature within Thrive Architect designed to enhance user engagement on your website.
Accessing the Element
Click on the plus sign located in the right sidebar of Thrive Architect.
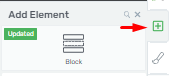
Locating the “Fill Counter” Element
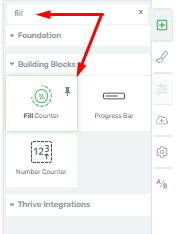
Look for the “Fill Counter” element in the list of available elements.
Alternatively, you can use the search field to quickly locate it.
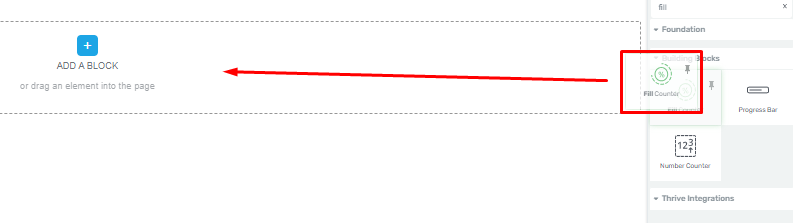
Adding the Element to Your Page
Drag and drop the “Fill Counter” element to the desired location on your page.
Modifying the Element
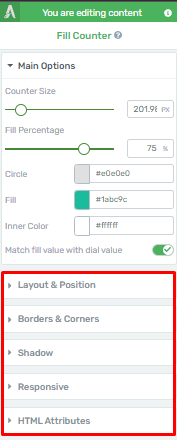
The main options for the element will be displayed in the left sidebar.
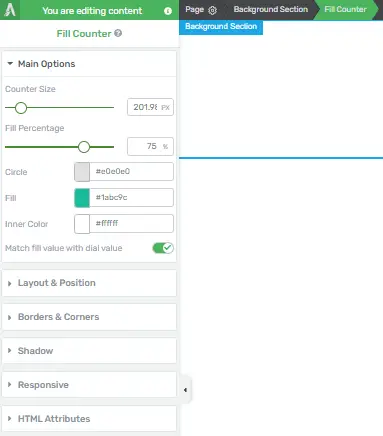
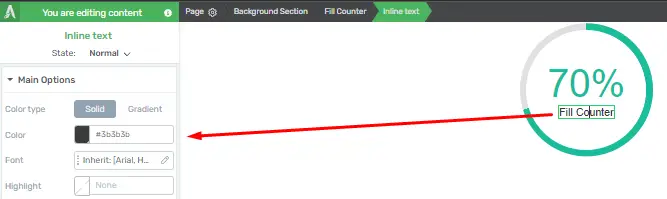
To adjust the size or percentage of the “Fill Counter”, move the slider under the respective options or manually enter a value in the provided box.
![]()
Note: Changing the “Fill Percentage” won’t affect the percentage figure displayed on the counter.
![]()
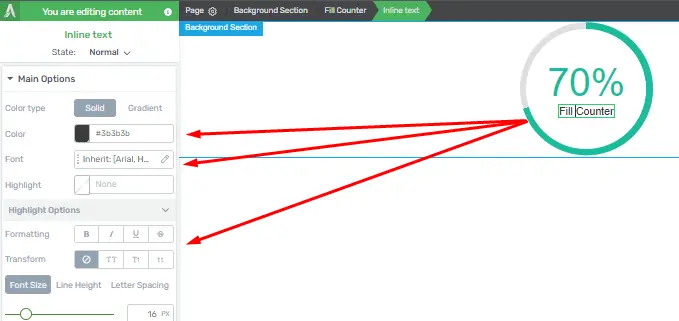
Exploring “Match Fill Value with Dial Value” Option Intersection
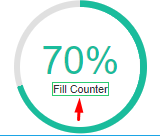
Consider the intersection on the counter as a distinct entity.
If the “Match fill value with dial value” option is enabled, the numerical value shown within the “Fill Counter” will be directly proportionate to the filled circle.
![]()
Customizing Colors
You can change the colors of the “Fill Counter” in three ways:
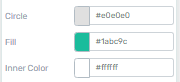
- Circle color
- Fill color
- Inner color
Click on the respective box next to each option and choose a different color from the color picker.
Note: Preview the counter with the option active, and compare it with the toggle deactivated.
Making Further Adjustments
If you wish to make more changes to the “Fill Counter” components, explore the other options available in the left sidebar.
You can also utilize the rest of the options provided.
Completion
That concludes the guide on using the “Fill Counter” element in Thrive Architect.
Tips for Designing Effective Fill Counters
Fill counters are a popular element used to display statistics, progress, or any numeric data in an engaging way. To design effective fill counters in Thrive Architect, follow these step-by-step instructions:
Step-by-Step Guide to Using Fill Counter Element
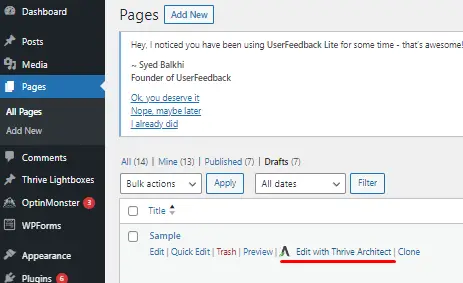
Create or Edit a Page/Post
Go to the page or post where you want to add the fill counters or create a new one.
Add a Fill Counter Element
Within the Thrive Architect editor, click on the “+” button to add a new element.
Search for “Fill Counter” in the element library and click on it to add it to your page.
Configure the Fill Counter
Once the Fill Counter element is added, select it to open the settings panel.
Customize the following settings:
Title: Enter a descriptive title for your fill counter (e.g., “Happy Customers”).
Color: Choose the color of the fill bar (Circle, Fill, and Inner Color).
Text Color: Set the color of the counter text.
Typography: Adjust the font style, size, and other typography settings as needed.
Add Additional Counters (Optional)
To add more fill counters, repeat steps 3 and 4.
Arrange the counters in a visually pleasing layout on your page.
Customize the Counter’s Design
You can further customize the design by adjusting margin and padding settings, adding borders, or applying custom CSS if needed.
Ensure that the fill counters are visually appealing and consistent with your website’s design.
Preview and Test
Click the “Preview” button to see how your fill counters look on your webpage.
Test the counters to make sure they function correctly by reaching their end values when the page loads.
Save and Publish
Once you’re satisfied with the design and functionality of your fill counters, click the “Save Work” button to save your changes.
![]()


