

Introduction
Visuals are extremely important in today’s digital world for capturing website visitors’ attention. You want to make galleries that effectively showcase your content as a website owner or designer. This objective is simple to accomplish with the help of Thrive Architect, a powerful WordPress page builder. This in-depth tutorial will show you how to use the Image Gallery Element in Thrive Architect, enabling you to create eye-catching galleries that make an impression.
Understanding Thrive Architect’s Interface
Navigating Thrive Architect is a breeze, even for beginners. Its user-friendly interface provides easy access to a myriad of features, making it an ideal choice for both seasoned developers and those new to website design.
Accessing the Image Element
1. Add the Image Gallery Element
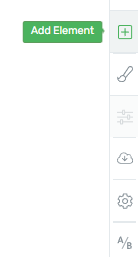
Go to the right sidebar and click the plus sign.
In the search field, type “Image Gallery” or find it in the element list.
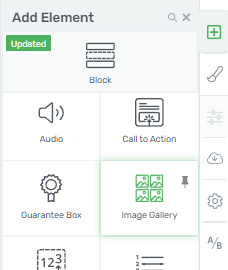
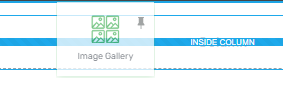
Drag and drop the Image Gallery Element onto your page.
Building Your Image Gallery
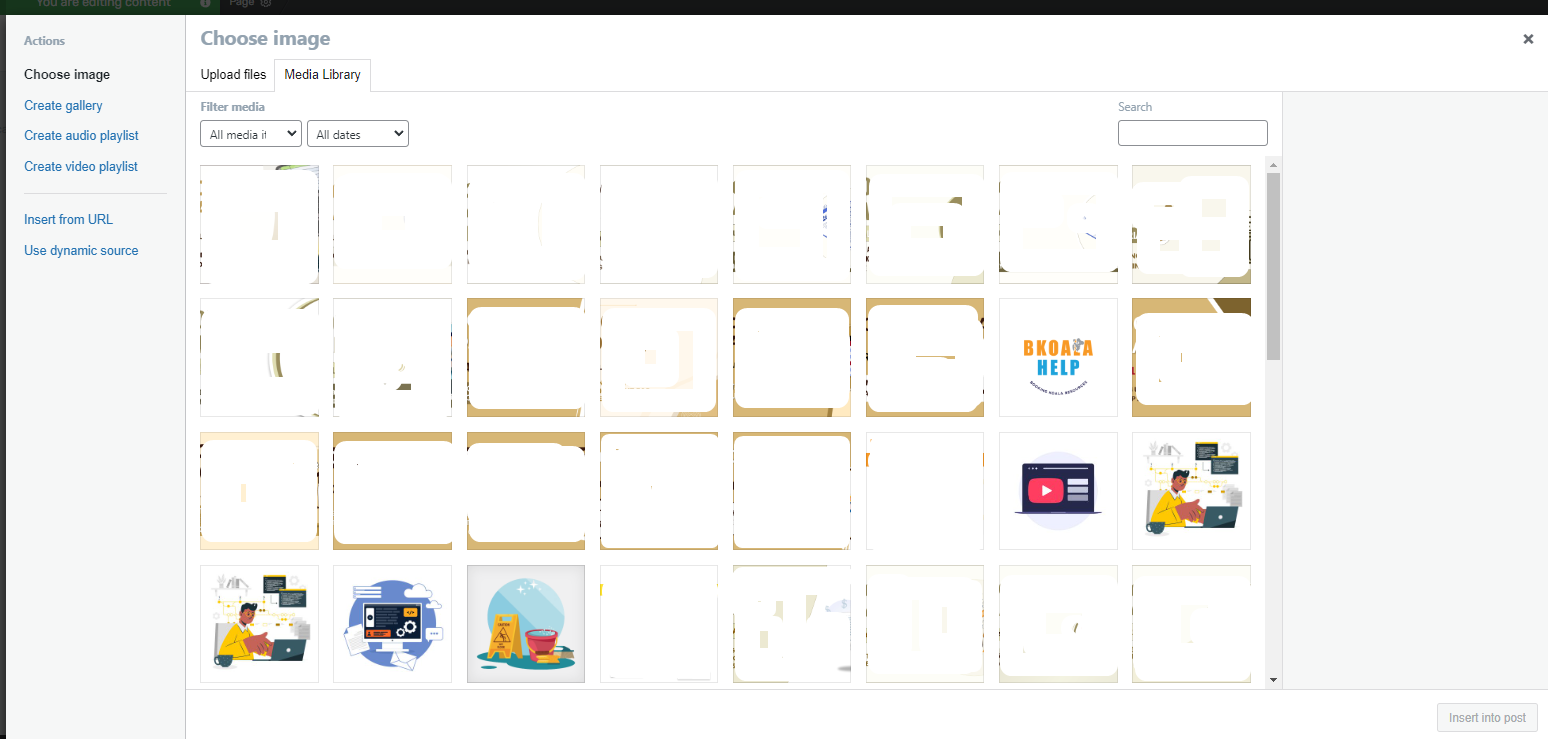
2. Accessing Media Library
Once you’ve added the Image Gallery Element, you’ll need to populate it with images:
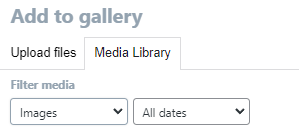
The Media Library will open automatically.
Choose images from your existing library or upload new ones to your gallery.
3. Editing Images
Thrive Architect provides easy ways to manage your images:
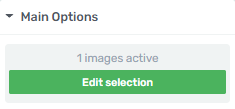
In the left sidebar, locate the “Edit Selection” option to replace images.
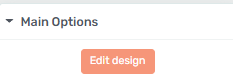
Use the “Edit Design” button to fine-tune your images.
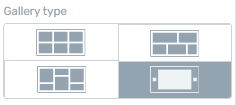
4. Gallery Customization
Now, let’s customize the appearance of your image gallery:
Choose the gallery type that suits your content.
Enable “Show Captions” and “Crop Images to Fit” if desired.
![]()
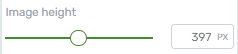
Adjust image height by dragging the slider or entering a specific value.
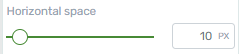
Set “Horizontal Space” and define the number of columns.
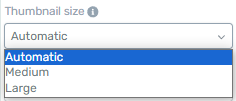
Thumbnail size can be set to “Automatic,” “Medium,” or “Large.”
5. Additional Features
Enhance your image gallery further with these options:
Enable “Overlap end items” for a unique effect.
![]()
Activate the “Single SlideFader” option.
![]()
In “Carousel Options,” choose to display arrows or dots for navigation.
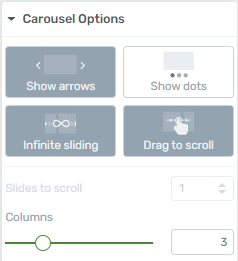
Enable infinite sliding and the ability to drag images.
If desired, enable autoplay for a dynamic display.
6. Fine-Tuning
Thrive Architect offers general customization options:
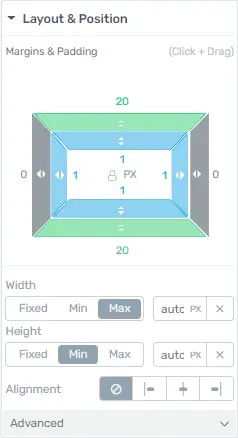
Layout & Position: Adjust the gallery’s position on your page.
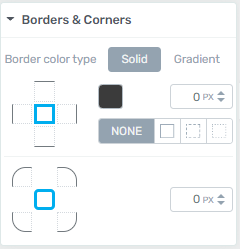
Borders & Corners: Customize borders and corners to match your site’s style.
Enhancing User Experience with Thrive Architect Image Galleries
Thrive Architect is a powerful tool for creating visually appealing and user-friendly websites. One way to enhance the user experience is by using image galleries effectively. In this guide, we will walk you through the step-by-step process of enhancing user experience with Thrive Architect image galleries.
Step 1: Create a New Page or Edit an Existing One
To begin enhancing the user experience with image galleries, you’ll need to either create a new page or edit an existing one where you want to add the gallery. Follow these steps:
Creating a New Page:
In your WordPress dashboard, go to “Pages” in the left-hand menu.
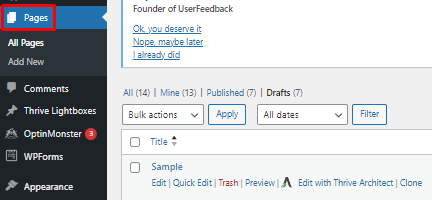
Click on “Add New.”

Give your new page a title.
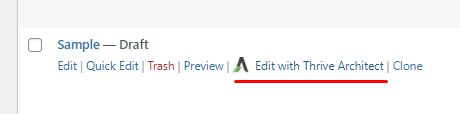
Click on the “Edit with Thrive Architect” button to start editing the page.
Editing an Existing Page:
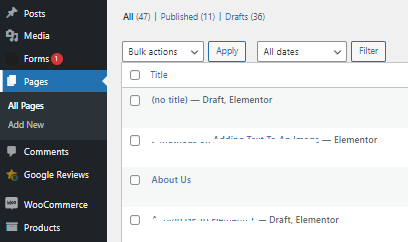
In your WordPress dashboard, go to “Pages.”
Find and click on the page you want to edit.
Click on the “Edit with Thrive Architect” button to start editing the page with Thrive Architect.
Step 2: Add an Image Element
To create an image gallery, you’ll first need to add image elements to your page. Follow these steps:
In Thrive Architect’s editor, click on the plus (+) button to add a new element.
Search for “Image” in the element search bar.
Select the “Image” element and drag it onto the page where you want to add the first image.
Step 3: Configure the Image Gallery
Once you’ve added an image element, it’s time to configure it for your gallery. Follow these steps:
Click on the image element you just added to select it.
In the left-hand sidebar, click on “Select Images” to open the media library.
Upload or select the first image you want to include in your gallery.
Adjust the image size, alignment, and any other display settings as needed.
To add more images to the gallery, click on the “Add Image” button and repeat the process for each image.
Step 4: Create a Grid or Slider Gallery
Thrive Architect offers two main gallery display options: grid and slider.
Choose the one that suits your website’s design and user experience goals.
Creating a Grid Gallery:
In the Thrive Architect editor, click on the “Layout & Section” section in the left-hand sidebar.
Select a layout that accommodates your gallery, such as a 2-column or 3-column layout.
Drag and drop the image elements you configured in Step 4 into the columns.
Arrange the images as desired, ensuring they form a visually appealing grid.
Creating a Slider Gallery:
In the Thrive Architect editor, click on the plus (+) button to add a new element.
Search for “Slider” in the element search bar.
Select the “Slider” element and drag it onto your page.
Click on the slider element to configure it.
Add the images you want to include in the slider.
Customize slider settings such as navigation arrows, auto-play, and transition effects.
Step 5: Add Captions and Descriptions
Enhance the user experience by providing context for your gallery images through captions and descriptions:
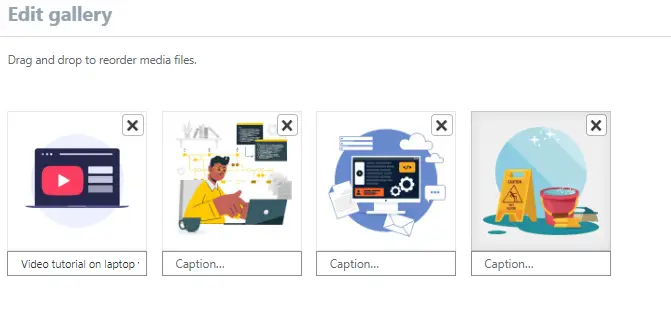
Click on each image element in your gallery.
In the left-hand sidebar, under “Image & Video,” add captions and descriptions as needed.
Ensure that captions and descriptions are concise and informative.
Step 6: Save and Publish
Once you’ve created and customized your Thrive Architect image gallery, it’s time to save your changes and make them visible to your website visitors:
Click the “Save Work” button in the Thrive Architect editor to save your changes.
![]()
Click the “Publish” or “Update” button on your WordPress page to make the gallery live on your website.


