
Introduction
Beaver Builder is a powerful page builder plugin for WordPress that allows you to design and customize your pages without any coding skills. What makes it stand out is its intuitive drag-and-drop interface, making it accessible for both beginners and experienced users. Adding a gallery to your website is like giving it a visual soul. Users love to see a collection of images that tell a story, showcase products, or simply bring joy.
In this step-by-step tutorial, we’ll explore how to add a gallery using Beaver Builder, ensuring your website stands out in terms of aesthetics and engagement.
Understanding the Importance of Pricing Tables
Pricing tables play a pivotal role in presenting your offerings to potential customers. They go beyond displaying numbers; a well-crafted pricing table communicates the unique selling points of your products or services, thereby increasing conversion rates.
Accessing the “Gallery” Module
The first step is to add the “Gallery” module to your page. Follow these simple instructions:
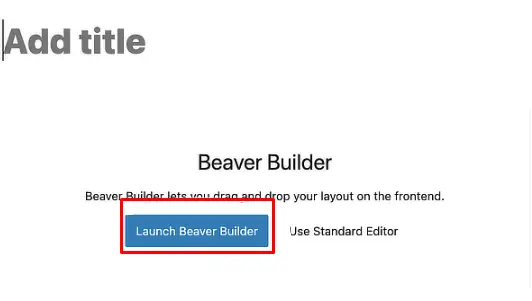
Edit the Page: Go to the page where you want to add the gallery. Click on “Edit” to open the page in Beaver Builder.
Add Module: Click the “+” button to add a new module.

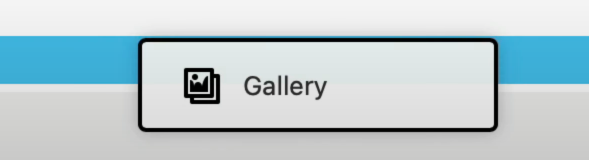
Search for “Gallery”: In the search bar, type “Gallery” and select the “Gallery” module.
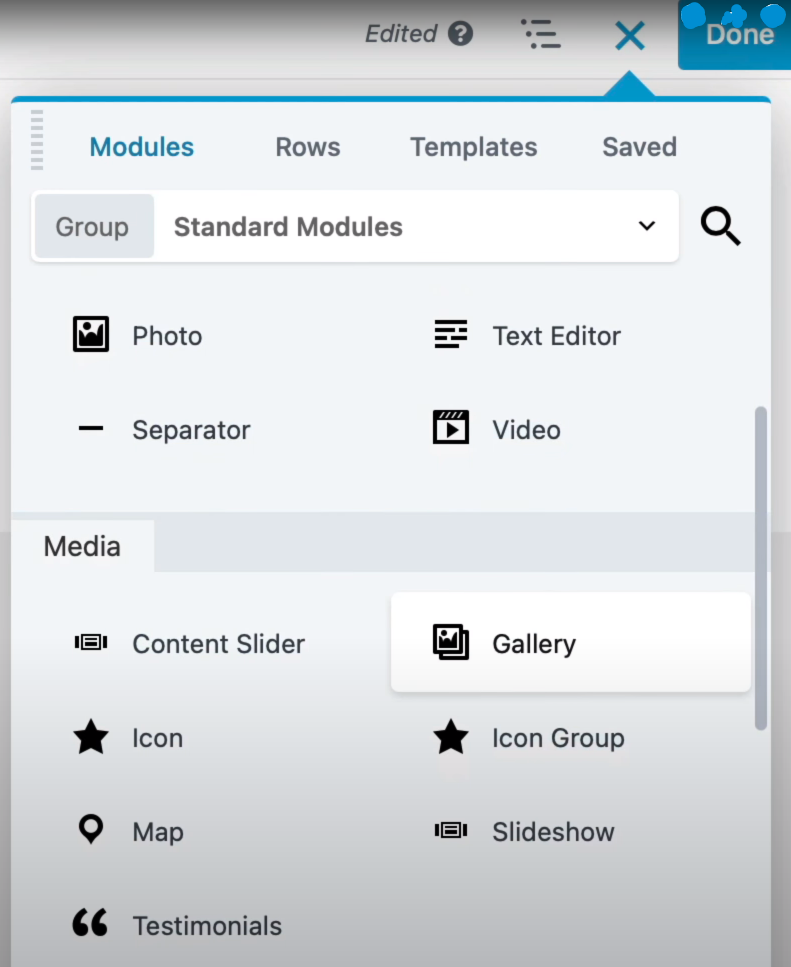
Place the Module: Drag and drop the “Gallery” module onto your desired location on the page.
Configuring Gallery Options
Once you’ve added the “Gallery” module, a window will appear on the left sidebar with three tabs: “General,” “Style,” and “Advanced.” Let’s start by configuring the “General” tab:

General Tab
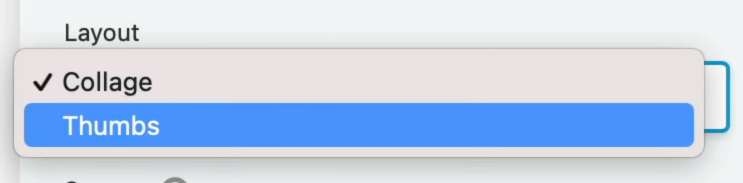
Inside the “General” tab, you’ll find a section for layout preferences. Here’s what you need to do:
Choose Layout: In the layout section, select your preferred layout for the “Gallery” module. You can choose between options like Collage or Thumbs.
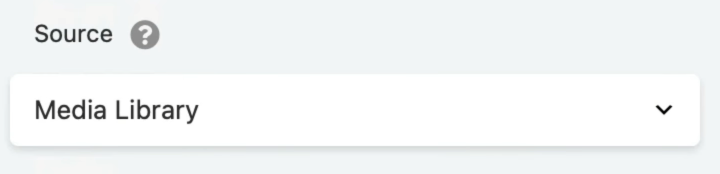
Select Source: In the “Source” section, decide whether you want to use images from the Media Library or SmugMug.
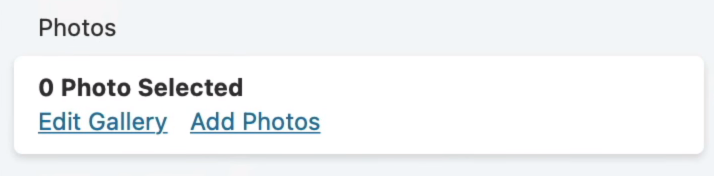
Add Photos: Under “Photos,” upload the images you want to showcase in your gallery. You can also edit your gallery at this stage.
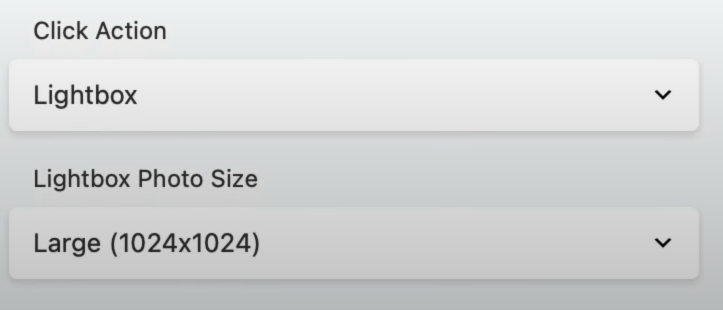
Customize Photo Settings: Adjust the photo size in the “Photo Size” and choose whether you want to display captions. Additionally, set the “Click Action” – if you choose “LightBox,” you can also select the size of the LightBox photo.
Styling Your Gallery
Now, let’s move on to the “Style” tab to give your gallery a unique look:
Style Tab
In the “Style” tab, you can make your gallery visually appealing by adjusting the following:
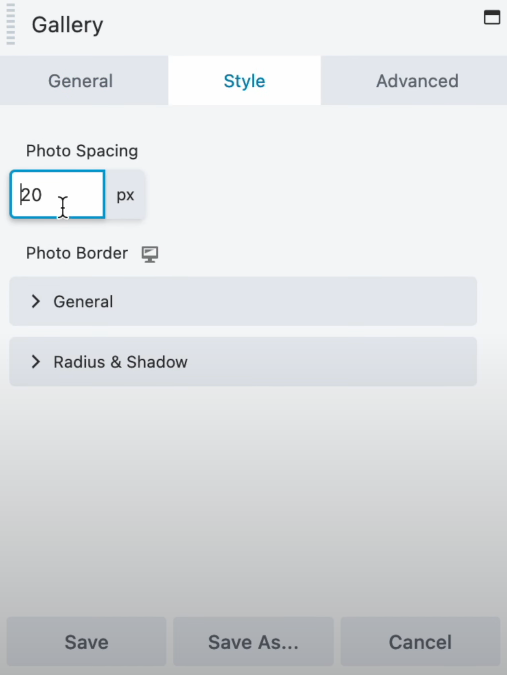
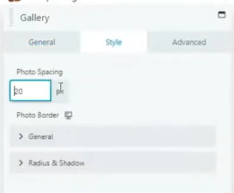
Set Spacing: Define the spacing for your gallery photos to ensure they’re displayed in the desired manner.
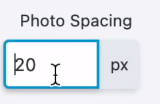
Add Border: Customize the photo border by selecting a style, color, width, and radius. You can even add shadows for a more artistic touch.
Advanced Customization
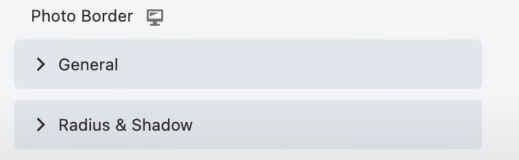
For further customization options, head to the “Advanced” tab:
Advanced Tab
Explore the remaining options in this tab to fine-tune your gallery according to your preferences.
Saving Your Changes
After making all the desired customizations, don’t forget to click the “Save” button to save your changes and update your gallery.
Enhancing User Experience with Beaver Builder Galleries
Step 1: Adding the “Gallery” Module
To start building your gallery, you have to add the “Gallery” module to your page. Here’s how:
Access Beaver Builder
Select the page where you want to add the gallery.
Edit Page
Click the “Launch Beaver Builder” button to access the page builder.
Add Module
Look for the “+” icon, which represents adding a module. Click on it.
Search for “Gallery”
In the module search bar, type “Gallery” and select it from the options.
Step 2: Exploring the Gallery Options
Once you’ve added the “Gallery” module, a window will appear on the left sidebar of the page. This window contains three tabs: “General,” “Style,” and “Advanced.” Let’s begin with the “General” tab.
General Tab
Inside the “General” tab, you’ll find options for customizing the layout and content of your gallery:
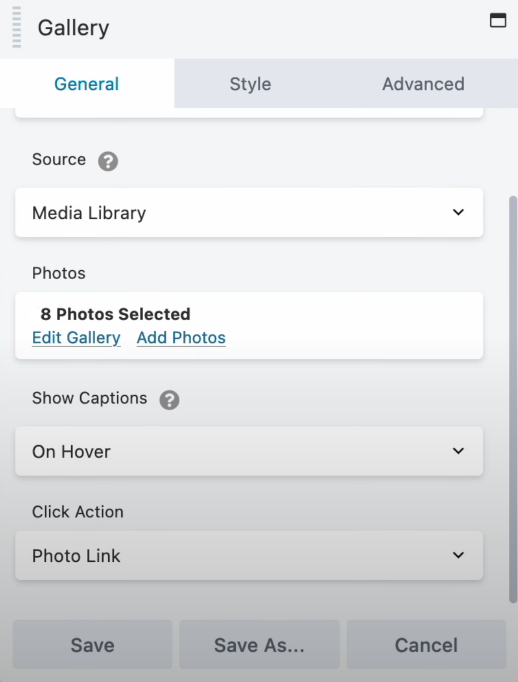
Layout Selection: Choose between “Collage” or “Thumbs” for your gallery layout.
Source: Select either “Media Library” or “SmugMug” as the source for your gallery images.
Adding Photos: Add the images you want to include in your gallery. You can also edit your gallery at this stage.
Photo Customization: Choose the size of your photos in the “Photo Size” section and decide whether you want to show captions. Additionally, select the “Click Action” for your photos, which can include the “LightBox” option.
Step 3: Styling Your Gallery
Now that you’ve customized the “General” settings, let’s move on to the “Style” tab.
Style Tab
In the “Style” tab, you can make your gallery visually appealing by adjusting the following:
Spacing: Set the spacing between photos for a clean and organized look.
Photo Border: Add a style and color to the photo borders. You can also set the width and radius of the border and add shadows to create depth.
Step 4: Advanced Customization
If you want to take your gallery to the next level, explore the options in the “Advanced” tab.
Advanced Tab
In the “Advanced” tab, you can fine-tune your gallery further with various customization options. Experiment with these settings to create a gallery that suits your website’s style and purpose.
Step 4: Saving Your Gallery
Once you’ve customized your gallery to your liking, don’t forget to click the “Save” button to ensure all your changes are applied.


