
Introduction
In the dynamic realm of web development, Beaver Builder stands out as a versatile page builder for creating stunning websites. As websites evolve to provide a richer user experience, the integration of audio elements becomes increasingly important. Imagine capturing your audience’s attention not just visually but also through the power of sound. In this tutorial, we’ll explore the process of seamlessly adding a WordPress audio player to Beaver Builder, unlocking a new dimension of creativity.
Understanding Beaver Builder
Beaver Builder stands out as a user-friendly and powerful page builder for WordPress. Its drag-and-drop functionality empowers users to design and customize their websites effortlessly. The flexibility offered by Beaver Builder makes it an ideal platform for incorporating diverse multimedia elements.
Adding the Audio Module
- Edit the Page: Click on the “Edit” or “Add Content” option. This will allow you to make changes to the page’s content.
- Insert the Audio Module: Look for the “Add Module” or “Insert Element” button, and select the “Audio” module from the available options.

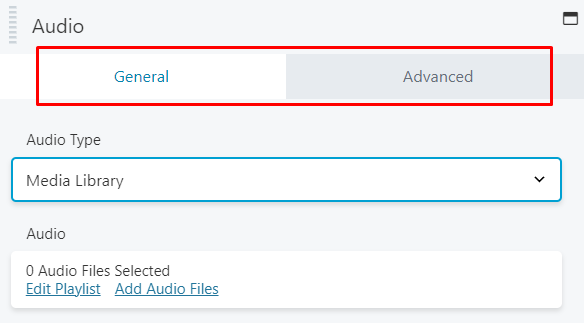
- General and Advanced Tabs: The Audio Module consists of two tabs: General and Advanced. Let’s start by exploring the General Tab.
General Tab
Choosing Audio Files
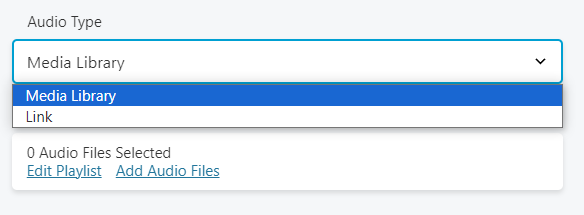
Media Library: In the General Tab, you can choose the “Media Library” option. Click the link to select one or more audio files to play. You can also upload new files at this time.
Playback Options
- Style: Under the “Style” option, you can choose between “Light” and “Dark.” “Light” displays the playlist in dark text on a white background, while “Dark” displays the playlist in white text on a dark background.
- Show Playlist: Here, you can select “Yes” or “No.” Choosing “Yes” will display the audio list under the player. If you select “No,” only the first item in the playlist will be shown, and it will autoplay the next item when the first one finishes playing.
- Show Track Numbers: You have the option to display track numbers by selecting “Yes” or hide them by choosing “No.”
- Show Thumbnail: Decide whether to show the thumbnail associated with the audio file currently loaded in the player. Select “Yes” to display the image, and “No” to hide it.
- Show Artist Name: If you have specified an artist’s name in the Media Library, you can choose to display it in the playlist below the player by selecting “Yes.” If not, select “No.” If the Media Library contains artist metadata, the information on the currently playing file will be displayed regardless of this setting.
Now, let’s explore the Advanced Tab.
Advanced Tab
The Advanced Tab offers additional customization options for your Audio Player. It is divided into five sections, each of which allows you to fine-tune the player’s behavior and appearance.

How to Embed a YouTube Video: A Step-by-Step Guide?
In today’s digital age, multimedia content has become an integral part of web pages. Embedding YouTube videos on your website can be an excellent way to engage your audience and deliver valuable information. In this step-by-step guide, we’ll walk you through the process of embedding a YouTube video on your website using Beaver Builder. Whether you’re a beginner or a seasoned web developer, these simple steps will help you seamlessly integrate videos into your web content.
Step 1: Edit the Page with Beaver Builder
The first step in embedding a YouTube video is to edit the specific page on which you want to place the video. Beaver Builder is a user-friendly WordPress page builder that simplifies the entire process.
Access your WordPress dashboard and navigate to the page you wish to edit.
Click on the “Beaver Builder” option to enter the editing mode.
Step 2: Add the Video Module
With the page now in the editing mode, it’s time to add the Video module to your content.
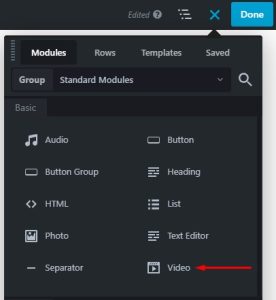
Open the Beaver Builder panel located on the right-hand side of your screen.
Find the “Video” module and drag-and-drop it onto the desired location within your page.
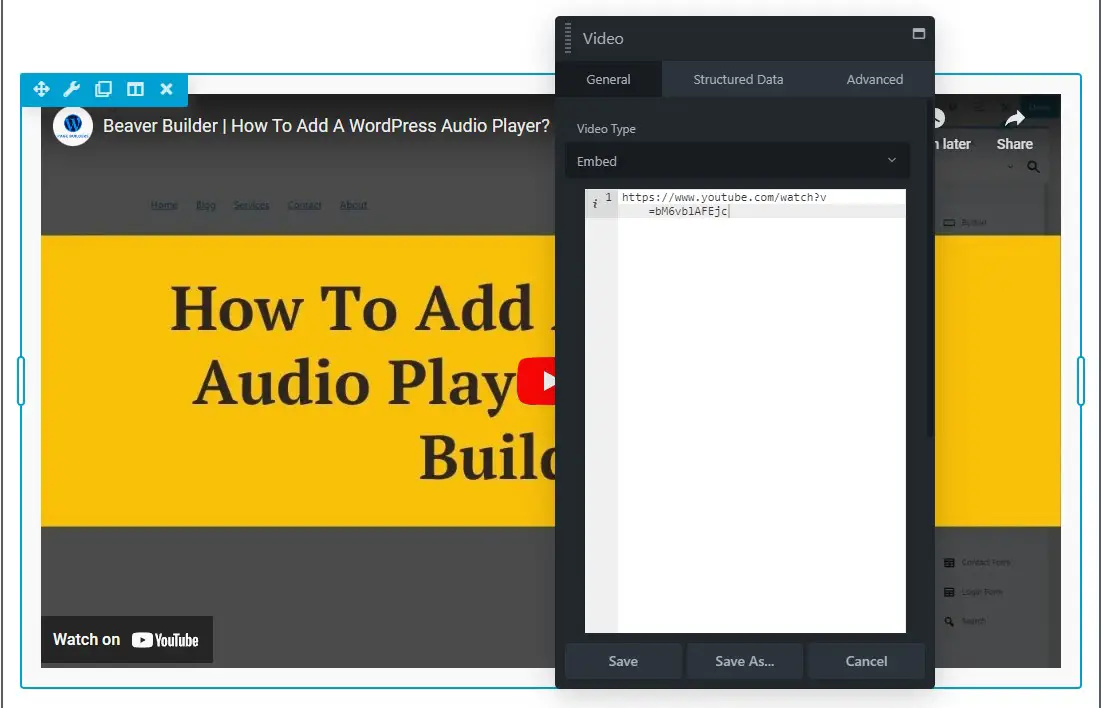
Step 3: Select “Embed” in the Video Type
Once you’ve added the Video module, a pop-up window will appear, providing various options to configure your video.
You should select the “General” tab in the pop-up window.
Locate the “Video Type” field and select “Embed” from the dropdown menu.
Step 4: Paste the YouTube Video URL
Now it’s time to integrate the YouTube video into your page.
Under the “Embed” option, you’ll find a code editor field.
To embed a video, navigate to YouTube and copy the video’s URL.
Return to Beaver Builder and paste the YouTube video URL into the code editor field.
Step 5: Save and Publish
You’re almost there! The final step is to save and publish the page with the embedded video.
After pasting the YouTube video URL, double-check that everything looks correct.
To ensure that your edits are saved, click the “Save” option.
Once your edits are saved, hit the “Publish” button to make the page live with the embedded video.
Conclusion
Incorporating audio files into your WordPress site can be an excellent way to engage your audience and provide an immersive experience. By following the step-by-step instructions provided, you can easily upload audio files to your WordPress pages, making your website more dynamic and interactive.
Now that you know how to upload audio files to WordPress, you can enhance your website with audio content, from podcasts to music clips.


