
Introduction
In today’s digital landscape, engaging visitors and converting them into subscribers or customers is crucial for any website. One effective way to capture user attention just before they leave your site is by implementing an exit intent pop-up sign-up form using Bricks Builder. This intuitive tool simplifies the process with its Interactions feature, allowing you to seamlessly integrate and customize pop-ups. It’s a perfect opportunity to prompt users with a sign-up form, giving them a last chance to subscribe to newsletters or special offers before they leave your site.
Understanding Bricks
Bricks is a user-friendly page buiulder designed to simplify the creation and deployment of exit popups. It provides a suite of tools tailored for marketers and website owners to enhance visitor engagement and drive conversions.
Overview of Bricks Platform
Before diving into setup details, it’s essential to grasp the core features of Bricks that make it a preferred choice for exit popups. From drag-and-drop functionality to real-time analytics, Bricks empowers users to design, implement, and optimize popup forms effortlessly.
Key Features of Bricks
Explore the key features of Bricks that set it apart:
- Drag-and-drop editor for intuitive form creation.
- A/B testing capabilities to refine popup performance.
- Integration with popular email marketing platforms.
- Responsive templates for seamless mobile compatibility.
Setting up an Exit-Intent Popup in Bricks
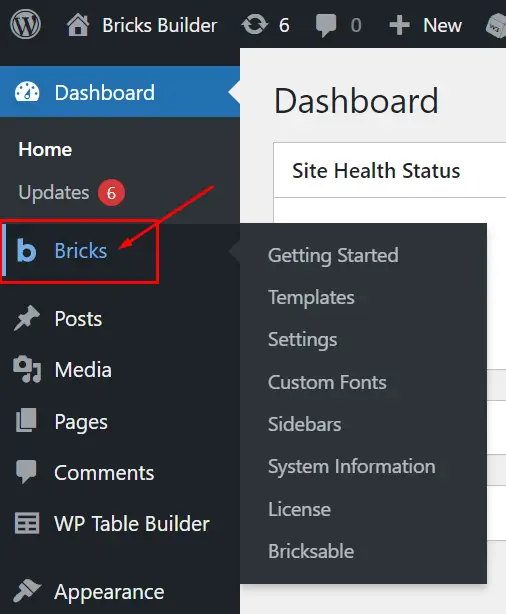
Step 1: Open Bricks Builder
Launch your web browser and navigate to Bricks Builder.
Step 2: Create a New Template
Access the Templates section within Bricks Builder.
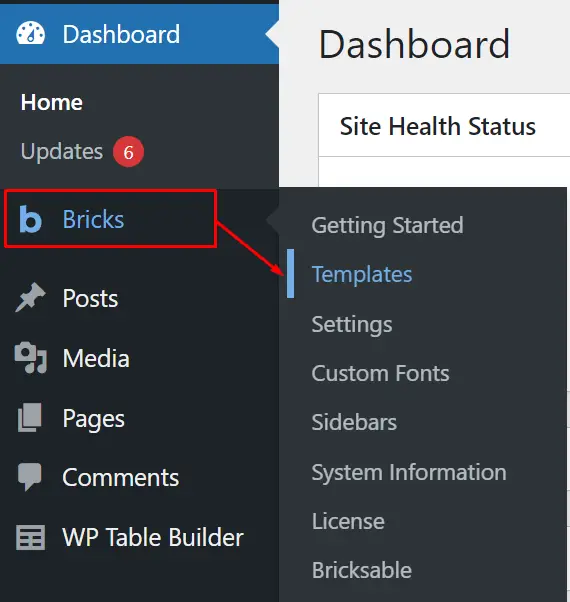
Click on “Add New” to initiate a new template creation.
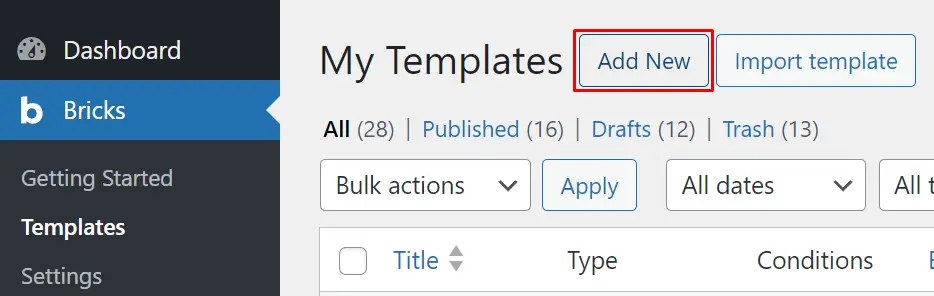
Select “Pop-Up” as the template type.
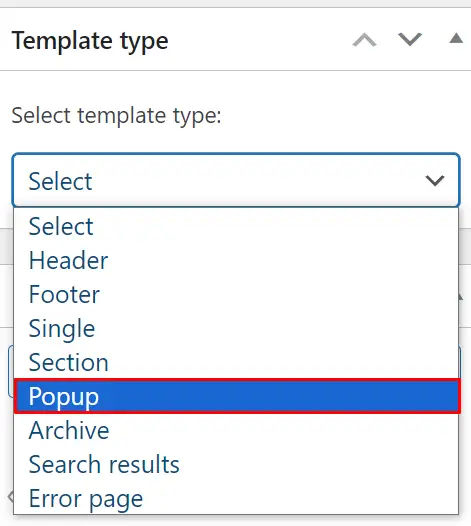
Name your template and proceed by clicking the “Edit with bricks” button to open the Bricks Builder interface.

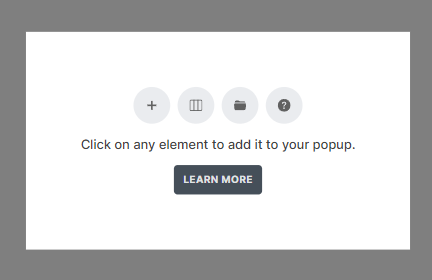
Step 3: Design the Pop-Up
Utilize the drag-and-drop functionality to add text, images, buttons, and forms to your template.
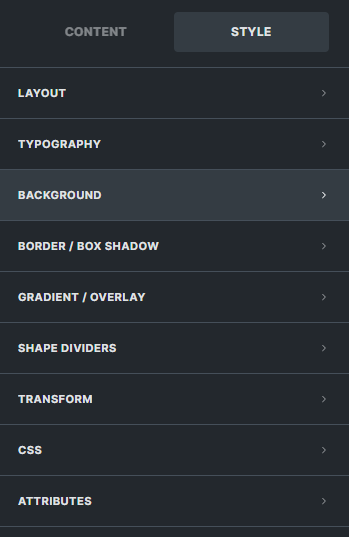
Customize the style, size, color, and layout of each element to match your design preferences.
Step 4: Set Display Conditions
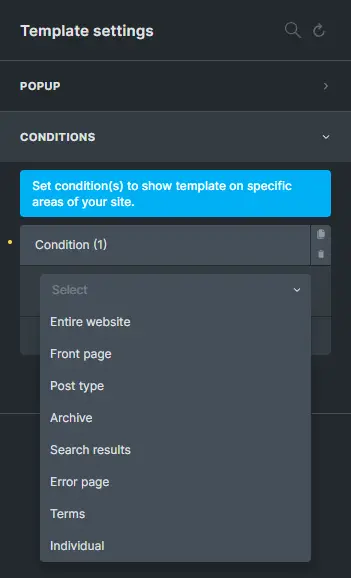
Click on the “Settings” icon within the builder interface.
![]()
Navigate to the “Conditions” tab.

Specify conditions for displaying the pop-up (e.g., specific pages, after a certain time).
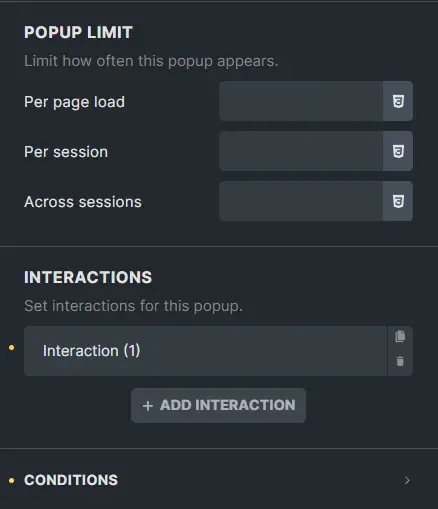
Step 5: Adding Interactions
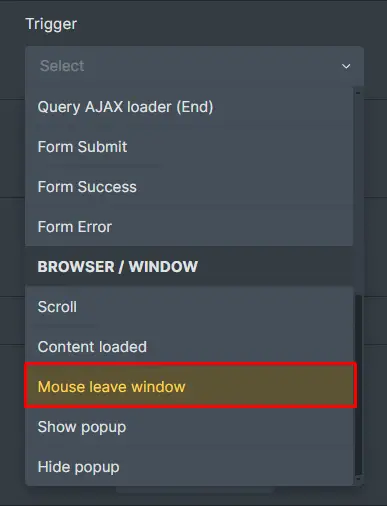
Trigger the Pop-Up
Go to the “Interactions” tab in the pop-up settings.
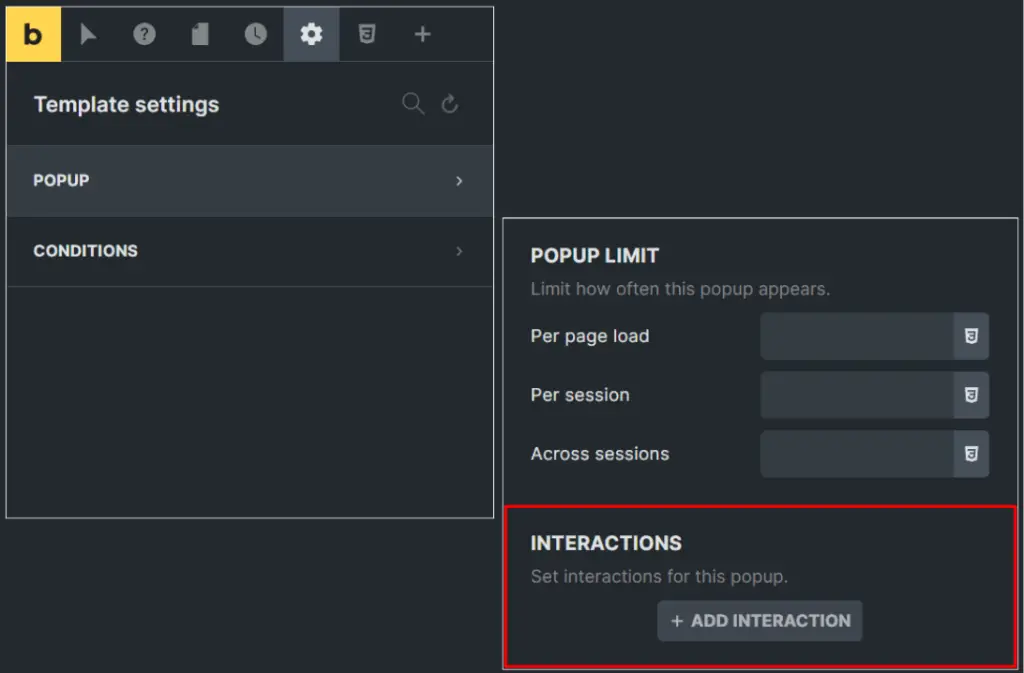
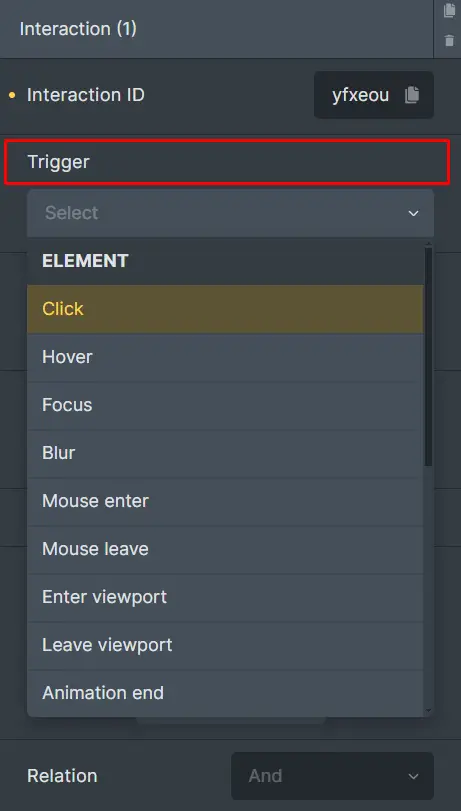
Choose a trigger (e.g., on page load, on button click, on scroll).
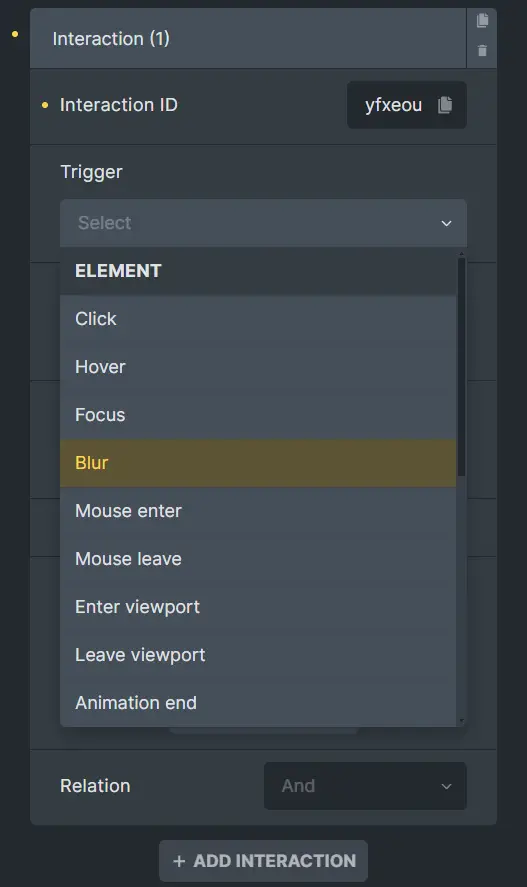
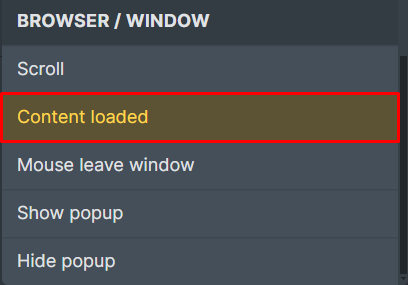
Types of Triggers
Element Triggers: Activate the popup based on interactions with specific elements like buttons.
Browser Event Triggers: Activate the popup based on events like page load or scroll actions.

Popular Triggers (Content Loaded): Display the popup once content has loaded.
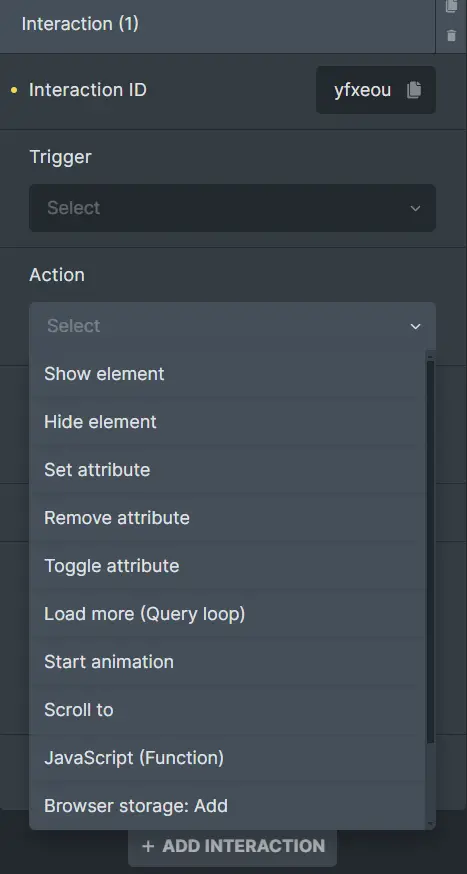
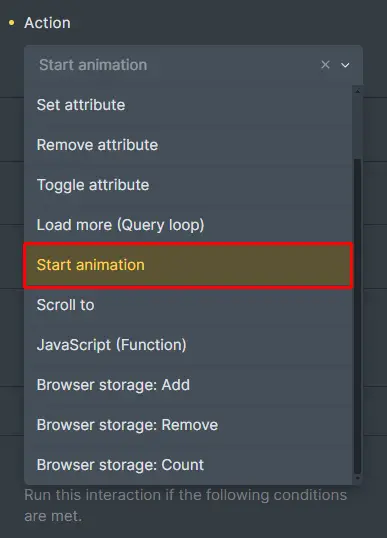
Step 6: Setting Actions
Define actions for your selected trigger (e.g., show popup).
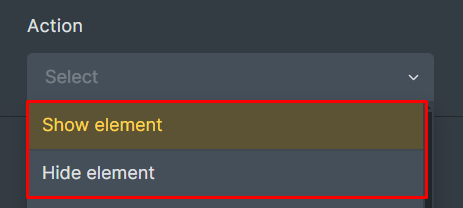
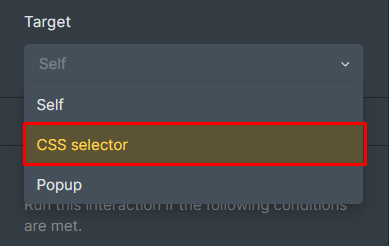
Step 7: Targeting Your Popup
Specify actions for the popup (e.g., opening or closing).
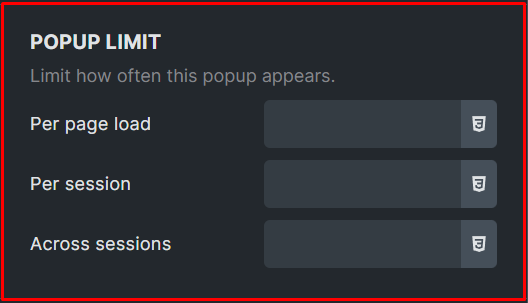
Step 8: Limiting Popup Frequency
Set limits for how often the popup appears per session or user.
Step 9: Adding a Close Popup Icon
Insert and configure a close icon to allow users to dismiss the popup.
![]()
Step 10: Making Interactions Global
Use CSS selectors to apply interactions across multiple popups.
Step 11: Exit Intent Popup
Activate the popup using the “Mouse Leaves Window” trigger to engage users before they leave the page.
Step 12: Configure Animations
Enhance user experience by adding entry and exit animations to the popup.
Step 13: Set Advanced Rules
Configure advanced display rules such as user targeting and display frequency.
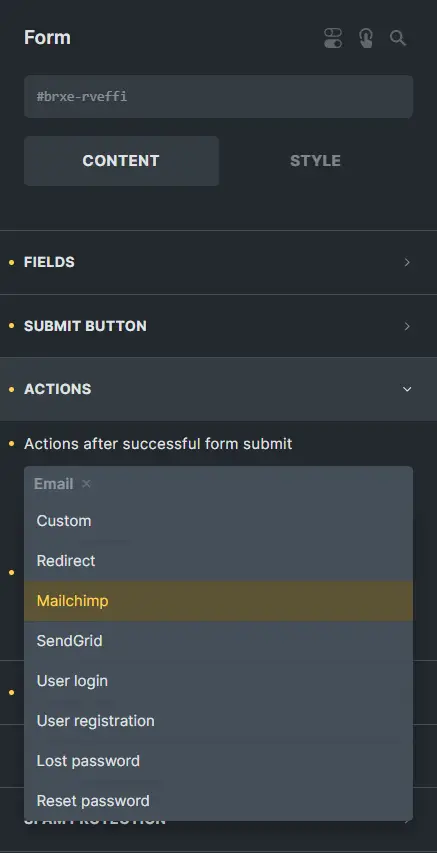
Step 14: Integrate with Email Service Provider
If including a sign-up form, integrate it with your preferred email service provider.
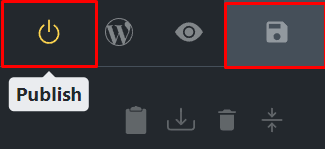
Step 15: Save and Publish
Review your design and settings.
Save the template, then publish it to your website.
Test the popup to ensure functionality and user experience alignment.

Best Practices for Using Sign Up Form Popup
Keep it Simple
Design a clean and concise pop-up that complements your website’s aesthetic.
Offer Value
Provide an incentive (e.g., discounts, exclusive content) to encourage sign-ups.
Test Responsiveness
Ensure the pop-up displays correctly across various devices and screen sizes.
Conclusion
Creating an exit intent pop-up sign-up form using Bricks Builder empowers website owners to boost conversions effectively. By leveraging Bricks’ Interactions feature, you can strategically engage visitors at critical moments, increasing the chances of capturing leads and enhancing user interaction. Implement these steps to create a compelling pop-up that not only grabs attention but also adds value to your website’s user experience. Start building smarter pop-ups today with Bricks Builder and watch your subscriber base grow.