

Introduction
In the vast realm of web design, where first impressions are paramount, the Beaver Builder page builder stands out as a versatile tool. As we navigate the world of website creation, the visual appeal takes center stage. An aesthetically pleasing website not only captures attention but also enhances the overall user experience. In this tutorial, we’ll delve into the intricacies of adding a background image to a row using Beaver Builder, unlocking a new dimension of design possibilities.
Understanding Rows in Beaver Builder
Before we embark on the journey of enhancing our website’s visuals, let’s familiarize ourselves with the foundational element – rows. In Beaver Builder, a row serves as the building block for structuring your content. Whether it’s a single column or a complex layout, rows provide the framework for your creative endeavors.
In this step-by-step guide, we will walk you through the process of adding a background image to a row in Beaver Builder.
Accessing the Page Editor
Start by opening the Beaver Builder page that contains the specific row you’d like to modify.
Access Row Settings
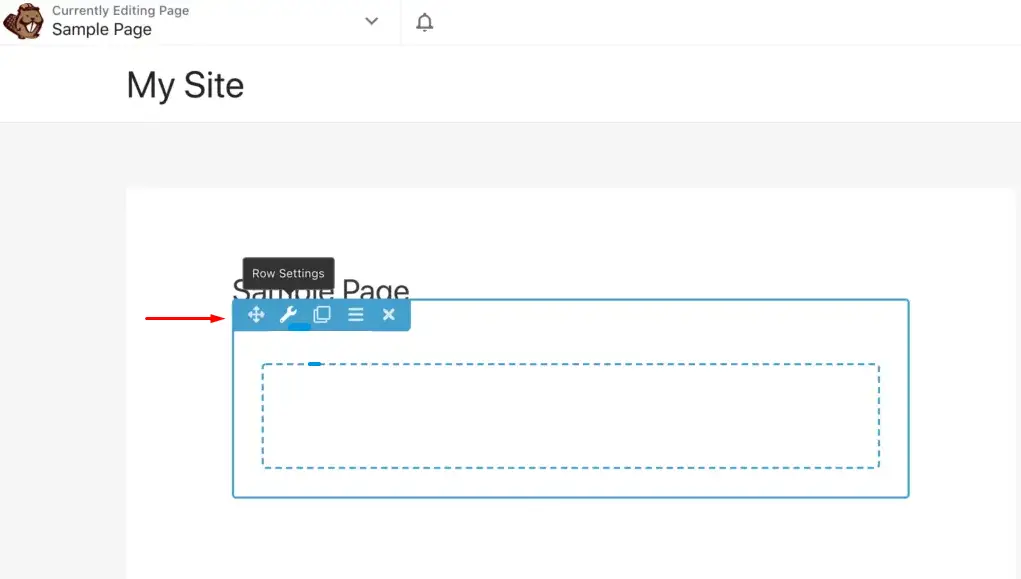
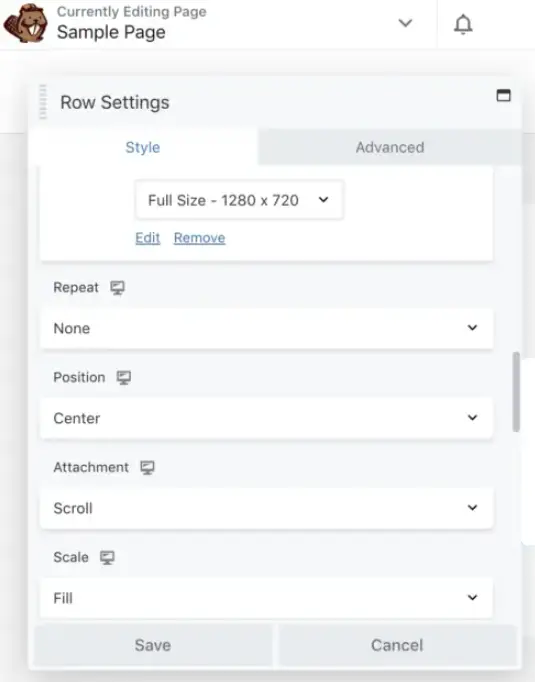
Within the page editor, locate the row to which you want to add the background image. Click on the row settings icon.

Navigate to Background Settings
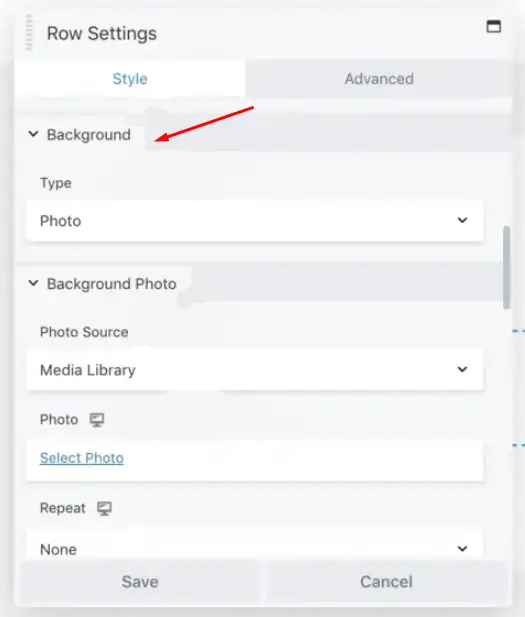
In the row settings panel, scroll down until you find the background settings section.
Select Image Type and Source
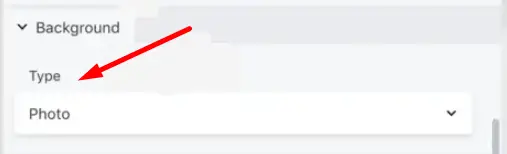
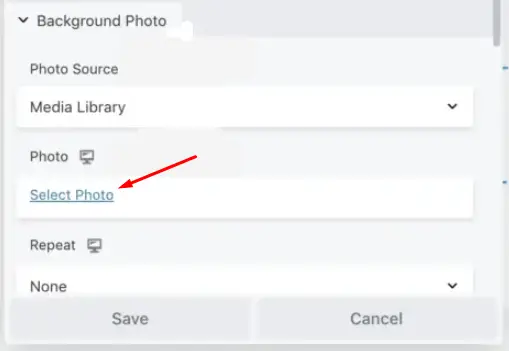
In the background settings, you will see a “Type” field. Select “Photo” from the options.
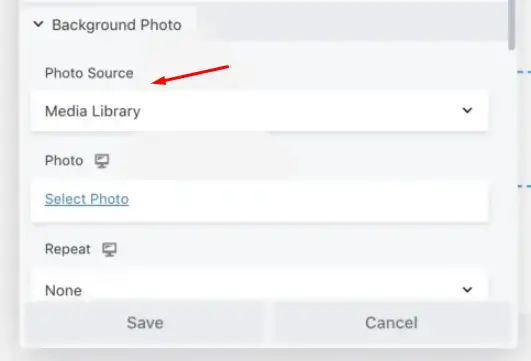
In the “Photo Source” field, choose “Media Library.”
Choose the Background Image
After selecting the source, click on the “Select Photo” button in the “Photo Field”.
Save Your Changes
With the background image chosen, click the “Save” button in the Row settings popup to apply the changes.
Verify the Background Image
Your selected image will now be set as the background for the chosen row.
Explore Additional Background Options
To further customize the appearance and feel of the background, you can explore additional background settings.
Use Advanced Tab Options (Optional)
Besides the basic background settings, there are advanced tab options that provide more customization possibilities. Feel free to explore and use these additional options as needed.
By following these steps, you can easily add a background image to a row in Beaver Builder and adjust it to suit your webpage’s design and aesthetics.
Customize Responsiveness for Row Background Images in Beaver Builder
Step 1: Access Background Photo Options
Open your project in Beaver Builder and navigate to the row for which you want to customize the responsiveness of the background image.
Step 2: Locate ‘Responsive Backgrounds’ Option
- Scroll down within the row settings until you find the section related to background images.
- Within this section, you will notice a new option labeled ‘Responsive Backgrounds.’
Configure Responsive Image Settings
Select Screen Sizes for Responsiveness
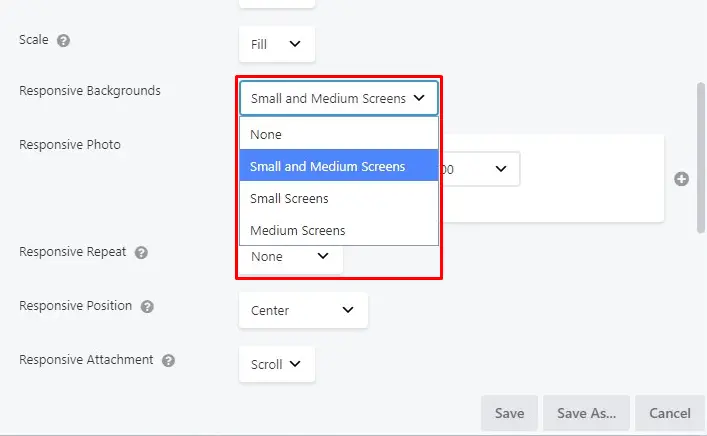
- Click on the ‘Responsive Backgrounds’ option to access its settings.
- In the settings that appear, you will see a list of screen sizes (e.g., Small to Medium Screens, Small Screens, Medium Screens).
- Choose the screen sizes to which you want the responsive image to apply by selecting the corresponding checkboxes.
- After selecting the desired screen sizes, scroll down further in the settings to find the responsive image settings.
- Here, you can adjust various settings related to the responsive image, such as size, alignment, or overlay options.
- Customize these settings according to your preferences.
Preview Responsive Images
- To preview how the responsive images will appear on different devices, you can resize your web browser.
- As you adjust the browser window’s size, you will see the responsive images adapt to the selected screen sizes and settings.
By following these steps, you can effectively customize the responsiveness of row background images in Beaver Builder to enhance the user experience on various devices.


