

Introduction
Popular WordPress page builder Beaver Builder enables users to create eye-catching websites without requiring complicated coding.
In this step-by-step tutorial, we will walk you through the process of adding a Call to Action module to your webpage. A Call to Action (CTA) is a powerful tool to engage your audience and encourage them to take specific actions on your website. Whether you want them to sign up, make a purchase, or contact you, a well-designed CTA can make all the difference.
Understanding Call to Action Modules
Call to Action Modules are essential components that prompt website visitors to take specific actions. These can range from signing up for newsletters to making a purchase. Understanding the types and uses of CTAs is crucial for effective website design.
Find the Call to Action Module
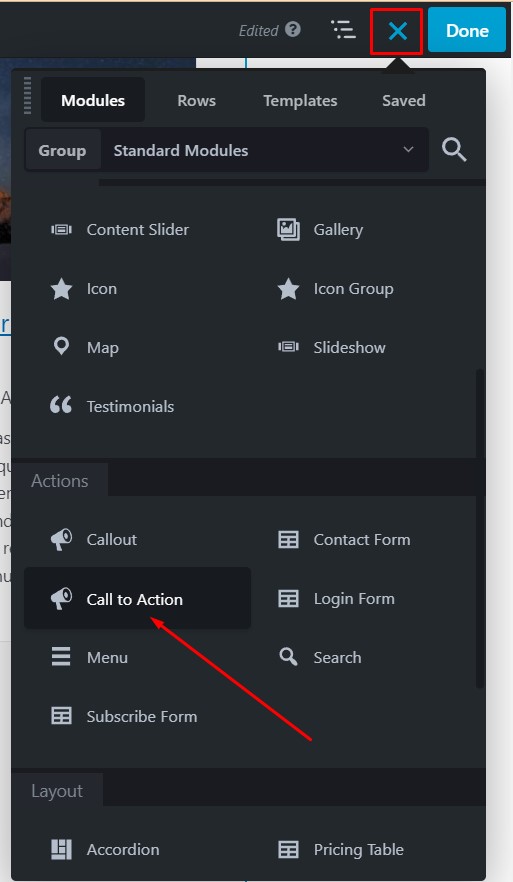
The first step is to find and add the Call to Action module to your page. Follow these instructions:
- On the right sidebar of your page editor, look for a plus sign. This is where you can add various modules to your page.
- In the module search bar, type “Call to Action” and select it from the options that appear.
- Click on the “Add” or “Insert” button to place the Call to Action module on your page.
Configure Call to Action Options
After adding the module, a popup window will appear with a range of options. We will break down these options into three sections:
General Tab
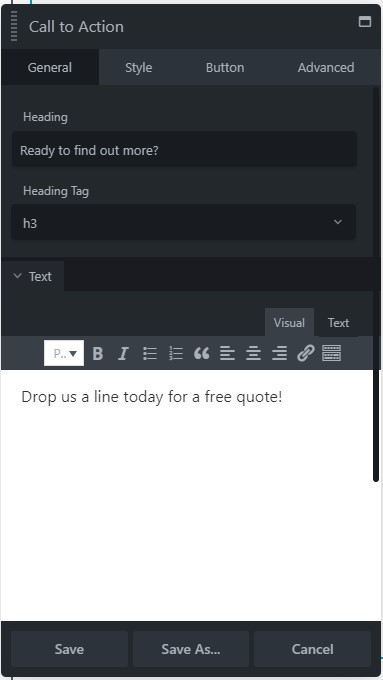
Under the “General” tab, you will find the following settings:
- Heading: Enter a catchy and relevant heading for your CTA.
- Tag: Choose an appropriate HTML tag for your heading.
- Description: Add a brief description that complements your heading.
Style Tab
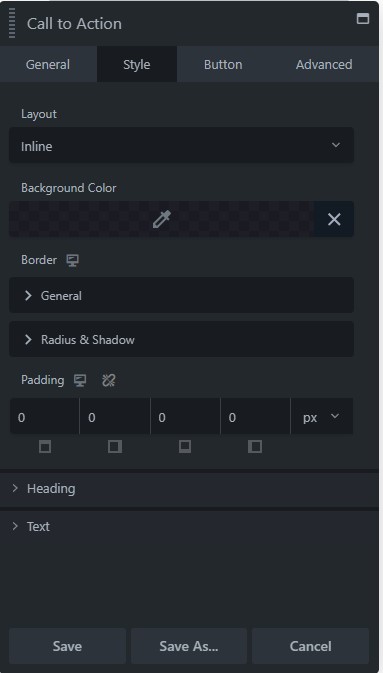
The “Style” tab is where you can customize the visual elements of your CTA:
- Layout: Choose between “Stacked” or “Inline.” “Stacked” places the text above the button, while “Inline” positions the text next to the button.
- Background Color: Select a color to fill the module’s background.
- Border: Customize the border style and effects for your CTA.
- Alignment: Set the horizontal alignment to “Left,” “Center,” “Right,” or “Default” if none of the three is preferred.
- Padding (responsive): Adjust the distance between the module’s border and its content in pixels, em, or percentage units. You can specify different values for different device sizes.
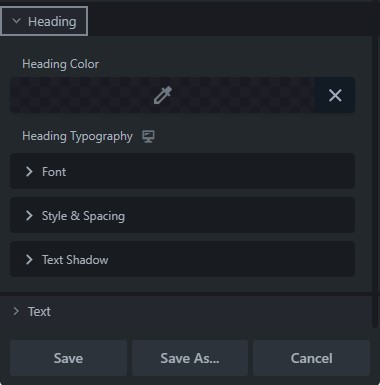
Second Section – Heading
- Heading Color: Adjust the opacity of the heading color using the right-hand slider in the Color Picker.
- Heading Typography (responsive): Fine-tune various font settings and add text shadow effects to your CTA heading.
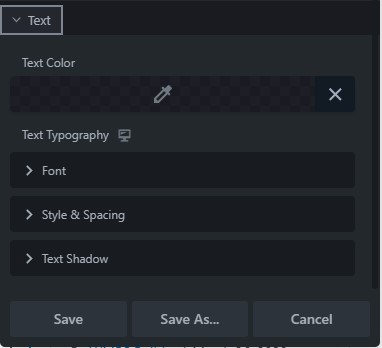
Third Section – Text
- Text Color: Customize the color of the text portion of your CTA.
- Typography Section: Explore options for font, style, spacing, and text shadow to make your CTA text visually appealing.
How To Use Beaver Builder Plugin In WordPress: A Step-By-Step Guide
Beaver Builder is a popular WordPress plugin that allows you to create stunning and customizable web pages without any coding skills. In this step-by-step guide, we will show you how to use the Beaver Builder plugin in WordPress to design your website effortlessly.
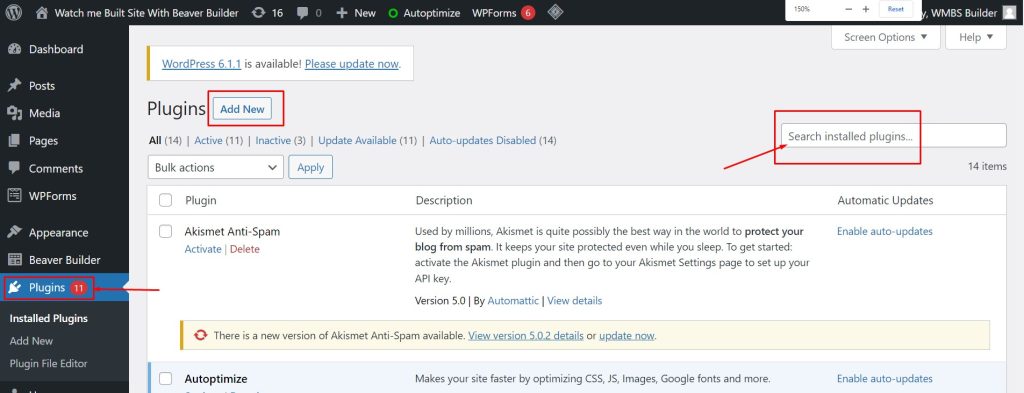
Step 1: Access the Plugin Installation
- From your WordPress Admin Panel, navigate to the “Plugins” section.
- Click on “Add New” to access the plugin installation page.
- You’ll see the “Upload Plugin” button at the top of the screen.
Step 2: Upload the Beaver Builder Plugin
- Click the “Browse” button, and select the Beaver Builder plugin zip file that you have downloaded to your local system. Alternatively, you can drag the file onto the “Browse” button.
- The installer file name will be displayed to the right of the button.
Step 3: Install the Plugin
- After selecting the plugin file, click “Install Now.”
- If you have the Lite version of the Beaver Builder plugin already installed, it will be automatically deactivated when you install a premium version. You can safely delete the Lite version without losing your layouts.
- If you have a premium version of the Beaver Builder plugin already installed, another screen will ask you to confirm that the zip file you uploaded is the version you want to install. Click “Replace current with uploaded,” and the plugin will be automatically activated.
Step 4: Activate the Plugin
If you are doing a fresh installation of any premium version of Beaver Builder, click “Activate” to enable the plugin.
How To Create Layout In Beaver Builder: A Step-By-Step Guide
Creating a captivating website layout is a critical aspect of web design. Beaver Builder is a powerful tool that simplifies the process of crafting stunning layouts within your WordPress site. In this step-by-step guide, we will walk you through the process of creating a layout in Beaver Builder.
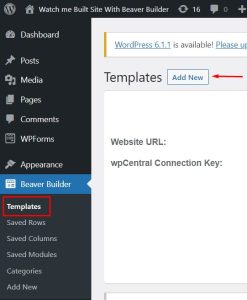
Step 1: Access Beaver Builder Templates
To get started, you need to access the Beaver Builder templates. Follow these simple steps:
- Navigate to the “Beaver Builder” tab in the left-hand menu.
- Click on “Templates.”
- You will find the “Add New” button next to the page title “Templates.” Click on it.
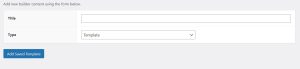
Step 2: Title Your Template
In this step, you’ll give your template a title to make it easily identifiable. Follow these instructions:
- After clicking “Add New,” you’ll be prompted to enter a title for your template.
- Type in a descriptive title that helps you recognize the layout later.
- Once you’ve entered the title, click on “Add Saved Template.”
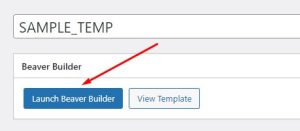
Step 3: Launch Beaver Builder
Now that you’ve created a title for your template, it’s time to launch Beaver Builder and start constructing your layout. Here’s what to do:
- Click on the “Launch Beaver Builder” button.
- You’ll be directed to the Beaver Builder interface where you can begin customizing your layout.
Step 4: Design Your Layout
With Beaver Builder open, you have the tools to design your layout exactly how you envision it. You can add, modify, and arrange elements as needed. Take your time to create a visually appealing design that matches your website’s goals.
Step 5: Save and Publish
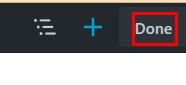
Once you’re satisfied with your layout, it’s important to save and publish it for your website. Follow these steps:
- In the top-right sidebar, locate the “Done” button and click it.
- From the dropdown menu that appears, select “Publish.”
Your layout is now saved and published, making it visible on your website.
How To Edit Content In Beaver Builder: A Step-by-Step Guide
Are you looking to make changes to your website’s content using Beaver Builder? You’re in the right place! Beaver Builder’s admin panel offers a user-friendly way to manage your saved rows, columns, and modules. In this step-by-step guide, we’ll show you how to edit your content in Beaver Builder efficiently. So, let’s get started.
Getting Started with Beaver Builder
The first step is to access the Beaver Builder admin panel. Follow these simple instructions:
Navigate to “Beaver Builder”
Look for the “Beaver Builder” option in your WordPress dashboard. Hover over it to reveal a dropdown menu.
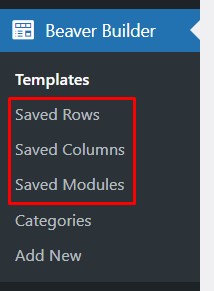
Choose “Saved Rows,” “Saved Columns,” or “Saved Modules”
Within the “Beaver Builder” menu, you’ll see options to access “Saved Rows” “Saved Columns” and “Saved Modules”. Select the one that corresponds to the content you wish to edit.
Editing Saved Content
Now that you’re in the right place, follow these steps to edit your saved rows, columns, or modules:
Locate the Saved Item
Browse through the list of saved items until you find the one you want to edit. Once you’ve identified it, click on it to open it in Beaver Builder.
Editing in Beaver Builder
The saved item you selected will open for editing in Beaver Builder. This intuitive interface provides a visual representation of your content, making it easy to make changes.
Making Edits
Make the necessary edits to your content. You can modify text, images, layout, and more to suit your preferences and requirements.
Save Your Changes
After you’ve made your edits, click on the “Done” button. This will prompt you to choose whether to publish your changes, save them as drafts, or discard the edits.
Conclusion
Editing content in Beaver Builder is a straightforward process. The Beaver Builder admin panel simplifies the task of managing your saved rows, columns, and modules. Whether you want to update your website’s layout, content, or design, Beaver Builder offers the tools you need to make it happen.
Get started today and enhance your website’s appearance and functionality with Beaver Builder!


