
Introduction
In the ever-evolving landscape of website development, Beaver Builder stands out as a leading page builder, providing users with an intuitive platform to create visually stunning websites. Among its many features, the Content Slider Module takes center stage, allowing users to add dynamic and engaging sliders seamlessly.
In this tutorial, we will delve into the intricate world of Beaver Builder, specifically focusing on the Content Slider Module – a feature that can transform the visual appeal and engagement level of your website.
Understanding Beaver Builder’s Content Slider Module
Beaver Builder stands out as a user-friendly plugin that simplifies the process of creating and customizing web pages. The Content Slider Module, a gem within Beaver Builder’s toolkit, empowers users to showcase content in a dynamic and interactive manner. Sliders have become an integral part of modern web design, offering a visually striking way to present information.
Accessing the Content Slider Module
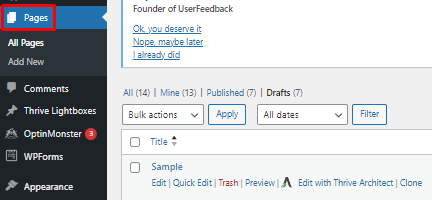
Locate the Module: The first step is to find the Content Slider Module within Beaver Builder’s interface.
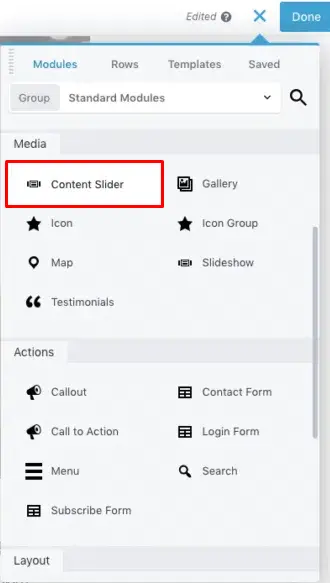
Drag and Drop: Once you’ve found it, simply drag and drop the Content Slider Module onto your desired page.
Configuring Slider Settings
Access Slider Settings: After adding the module, you’ll notice a settings panel on the left sidebar.
Edit Slides: Click on the “Slides Tab” and select “Edit Slide” to begin customizing your slides.

Label Your Slide: In the “Slide Label” section, provide a label for your slide to identify it easily.
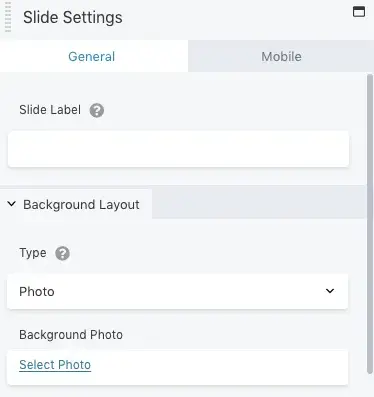
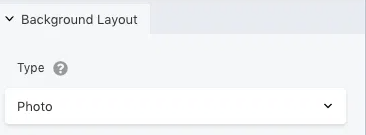
Choosing Background Layout: Determine the type of “Background Layout” that suits your content slider module’s aesthetic.
Select a Background Photo: If your chosen layout involves an image, make sure to select an appropriate background photo.

Save Your Changes: Don’t forget to click the save button below the settings to preserve your modifications.
Exploring Additional Customization Options
Experiment with Settings: The Content Slider Module offers numerous settings for further customization.
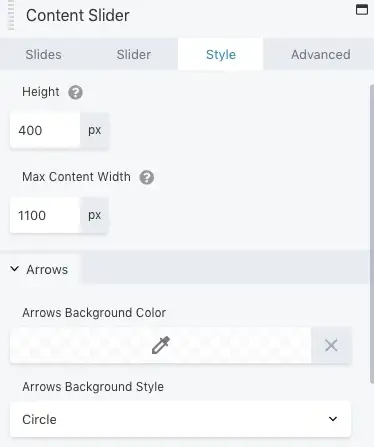
Advanced Options: For advanced customization, explore the options within the slider and style tab.

By following these steps, you’ll have successfully added a slider to your website using Beaver Builder’s Content Slider Module. Now, let’s address some common questions about this process.
Enhancing User Experience with Beaver Builder Sliders
Accessing the Beaver Builder Interface
Navigate to the page or post where you want to add a slider.
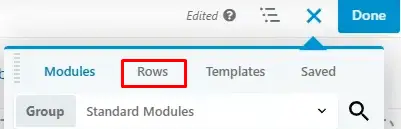
Adding a New Row
Within the Beaver Builder interface, locate the “+” icon for adding a new row.

Click on the “+” icon to create a new row.
Choose the desired layout for your row. For a slider, it’s recommended to select a single-column layout.
Adding a Slider Module
In the row settings window, click the “+” icon to add a module.
Search for and select the “Slider” module from the list of available modules.
Configuring the Slider Module
Once the Slider module is added, you’ll see its settings panel on the left-hand side.
Click on the “Slides” tab to start adding slides to your slider.
Click “Add Slide” to create a new slide.
Customize each slide by adding content, images, and setting animations.
Slide Configuration
For each slide, you can:
Add a background image or color.
Insert text, buttons, or any other content.
Adjust slide settings like transition effects and duration.
Preview and Fine-tuning
Click the “Preview” button to see how your slider looks.
Make any necessary adjustments by going back to the Slider module settings.
Save and Publish
Once you’re satisfied with your slider, click the green checkmark icon to save your changes.
Click “Publish” to make your changes live on your website.
Responsive Design Tips for Beaver Builder Sliders
Understand Beaver Builder Sliders
Before you start working on responsive design, it’s essential to understand the basics of Beaver Builder sliders:
- Familiarize yourself with the Beaver Builder plugin and its slider module.
- Ensure you have the necessary content, images, and text ready for your slider.
Choose the Right Slider Type
Select a slider type that suits your content and design goals. Beaver Builder offers various slider types, including image sliders, video sliders, and content sliders. Consider the type that best conveys your message and is easy to adapt to different screen sizes.
Optimize Images
Optimizing images for different screen sizes is crucial for responsive design:
- Use image editing software to resize and compress images.
- Consider using the “srcset” attribute for images in WordPress to serve different image sizes to different devices.
- Test image quality and load times on various devices.
Plan the Layout
Plan how your slider elements will rearrange or scale down on smaller screens:
- Determine the order of slider elements for mobile devices.
- Consider using smaller fonts and adjusting the spacing between elements for a mobile-friendly layout.
Configure Responsive Settings
In Beaver Builder, you can configure responsive settings for your slider:
- Access the slider settings in Beaver Builder and look for responsive options.
- Set breakpoints for different screen sizes, such as desktop, tablet, and mobile.
- Adjust the slider’s settings, such as element spacing and font sizes, for each breakpoint.
Test on Different Devices
Testing is crucial to ensure your responsive design works as intended:
- Use emulators or responsive design testing tools to preview your slider on various devices and screen sizes.
- Test the slider on real devices, including smartphones, tablets, and different desktop resolutions.
Adjust as Needed
Based on your testing results, make the necessary adjustments to your Beaver Builder slider:
Tweak the layout, font sizes, and element positioning for better responsiveness.
Ensure that text remains legible and images look good on all devices.
Monitor Performance
Monitor the performance of your responsive Beaver Builder slider over time:
- Check Google PageSpeed Insights or other performance monitoring tools for any optimization opportunities.
- Make updates and improvements as needed to maintain optimal performance.


