

Introduction
Beaver Builder stands out as a versatile and user-friendly WordPress page builder. It empowers users to create visually appealing web pages without the need for complex coding. One often overlooked element that can significantly impact user experience and conversion rates is the pricing table. Beaver Builder, a powerful and intuitive page builder for WordPress, is designed to simplify the process of crafting visually appealing web pages.
In this tutorial, we’ll explore the process of crafting a compelling pricing table using Beaver Builder, a powerful WordPress plugin known for its intuitive design capabilities.
Understanding the Importance of Pricing Tables
Pricing tables play a pivotal role in presenting your offerings to potential customers. They go beyond displaying numbers; a well-crafted pricing table communicates the unique selling points of your products or services, thereby increasing conversion rates.
Adding the Pricing Table Module
The first step in creating a pricing table with Beaver Builder is to add the pricing table module to your page. Here’s how:
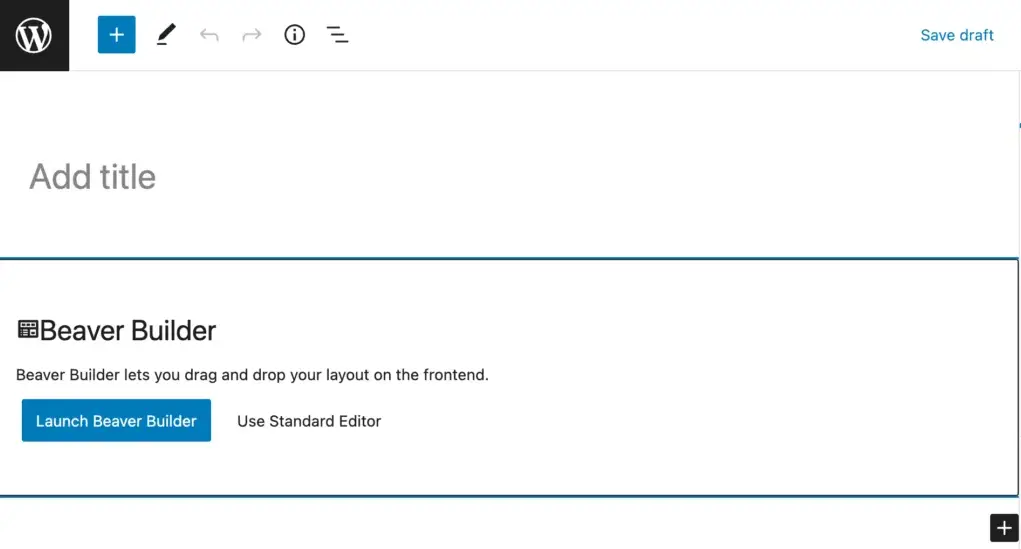
Step 1: Access Beaver Builder
- Navigate to the page where you want to add the pricing table.
- Click on the “Launch Beaver Builder” button.
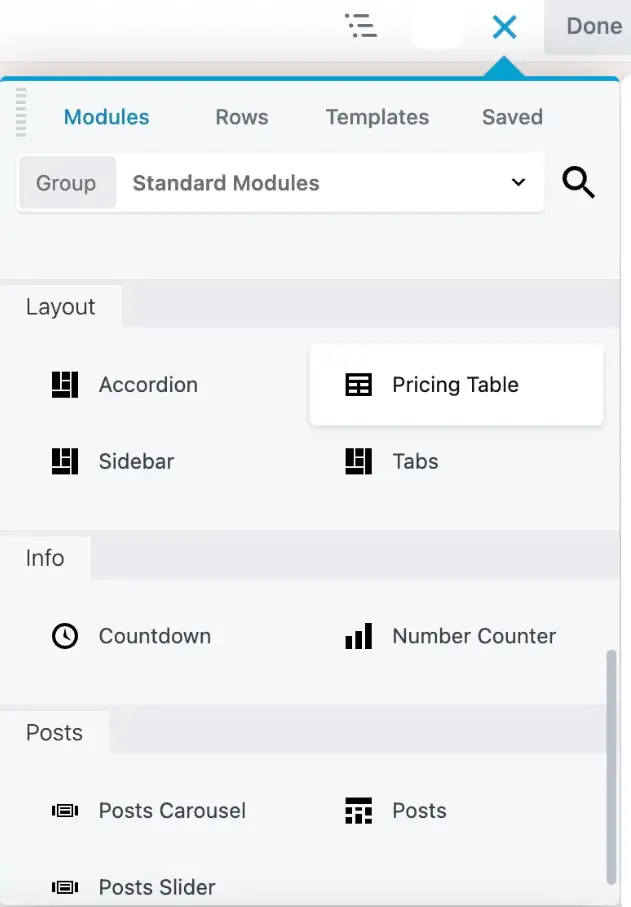
Step 2: Add Pricing Table Module
- Once you’re in Beaver Builder mode, click on the “+” button to add a new module.

- Search for “Pricing Table” and click on it to add it to your page.
Customizing the Pricing Table Module
Now that you’ve added the pricing table module to your page, it’s time to customize it to suit your needs. Follow these steps:
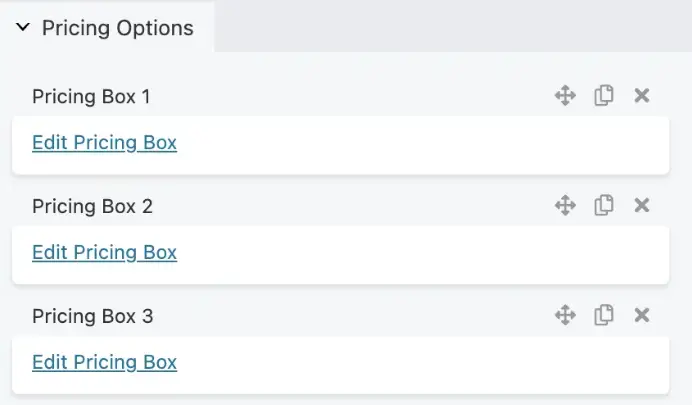
Step 3: Customize Pricing Boxes
- Click on the pricing table module you just added.
- In the left sidebar, you will find various customization options. Start with the “Pricing Boxes” tab.
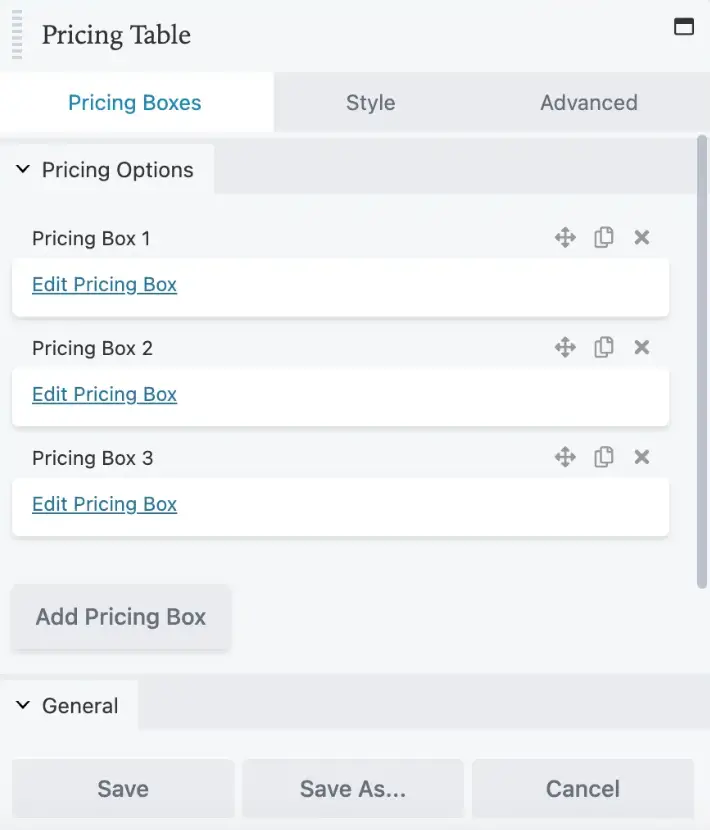
- Click on “Edit Pricing Box” to begin customizing the individual pricing boxes.
- Add a title for your pricing box.
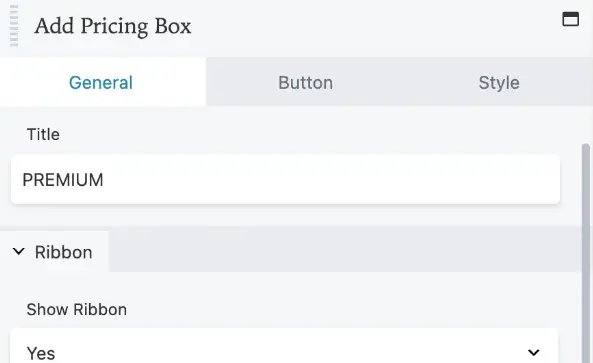
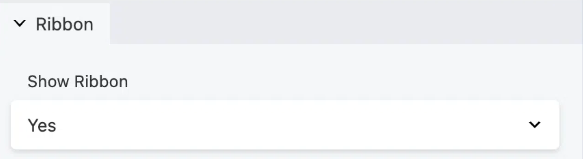
- Choose whether you want to display a ribbon (yes or no) in the “Show Ribbon” section.
- Specify the price for your pricing box.

Step 4: Add Features
- In the “Features” section, add a description for your pricing box.
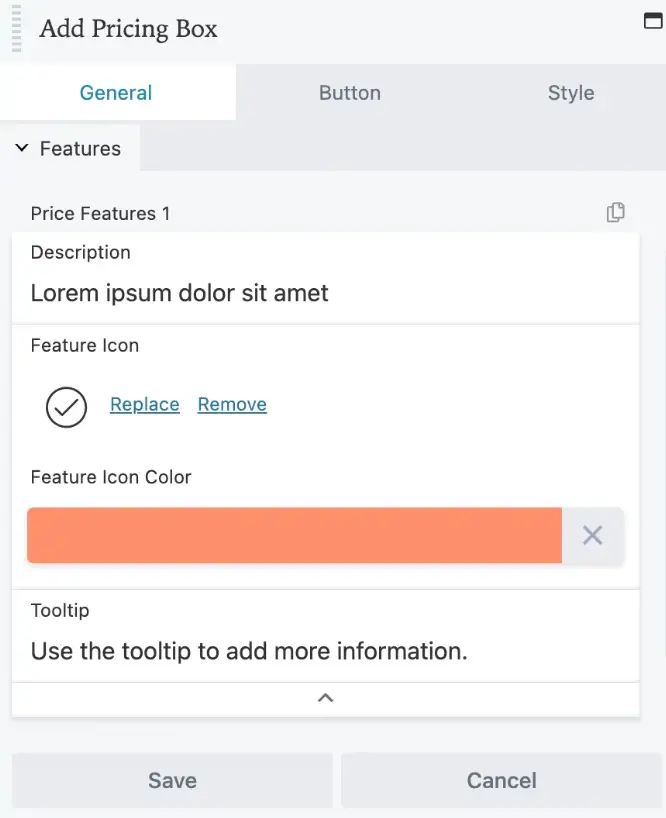
- Select a feature icon and enter a tooltip to provide additional information.

- You can also add price features to highlight the key offerings of your product or service.
Step 5: Customize the Bottom Tab
- After you’ve finished customizing the general tab, navigate to the “Button” tab.
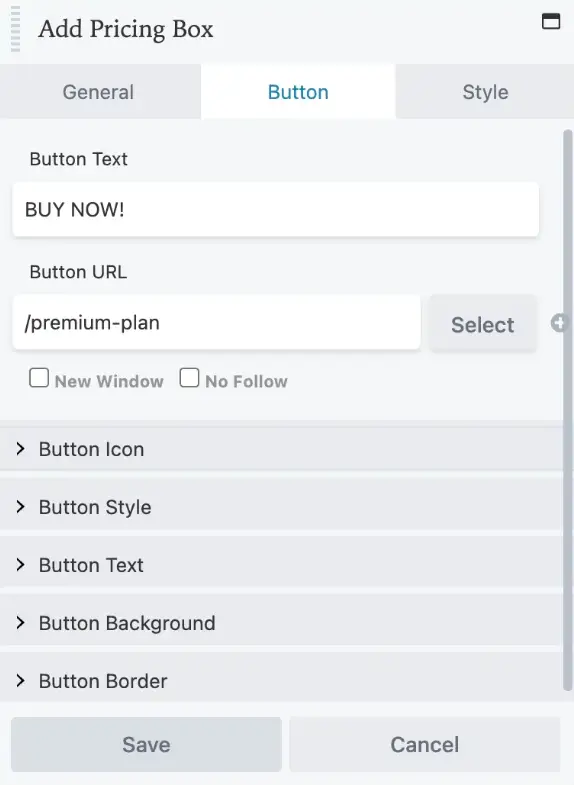
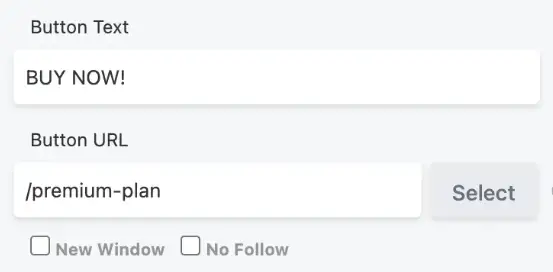
- Add a text for the button section and input the URL for the button.
- You can also modify the link target window, button structure, style, and colors from this section.
Step 6: Styling Your Pricing Table
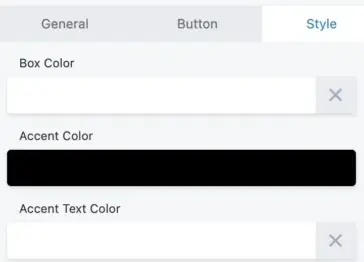
- If you wish to change the box color or make additional style changes to your pricing table, go to the “Style” tab.
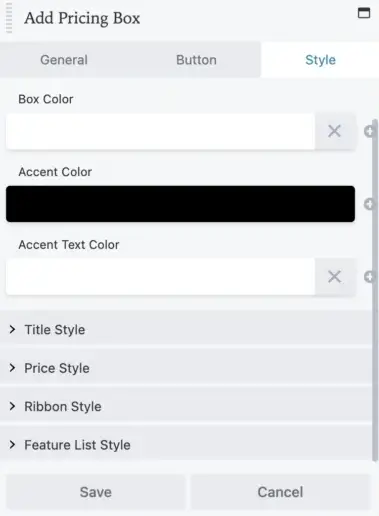
- Adjust the settings to match your website’s design and branding.
Step 7: Save Your Changes
After making all the desired changes, don’t forget to click the “Save” button to save your pricing table.
Step 8: Advanced Customization
For more advanced customization options, including additional styling and behavior modifications, explore the “Advanced” tab. Experiment with the available options to fine-tune your pricing table.
Customizing Pricing Table Styles in Beaver Builder
“Pricing Tables” is an important element on any website offering a product or service. They give visitors a clear view of what you offer and how much it costs. However, the default style of “Pricing Tables” may not always match your website design or branding. This is where Beaver Builder comes in. In this tutorial, we’ll walk you through the process of customizing price list styles in Beaver Builder. Whether you are a beginner or an experienced web designer, you will find valuable information here to improve the aesthetics and user experience of your website.
Exploring the Pricing Table Module
Adding a Pricing Table
To begin, open the page or post where you want to insert your customized pricing table. Click on the (+) button to add a new module, and search for “Pricing Table.” Select it, and the pricing table module will appear on your page.
Basic Pricing Table Settings
In this section, we’ll cover the basic settings to configure your pricing table. These settings include:
Title: Enter the title for your pricing table.
Price: Set the initial price for your product or service.
Features: List the key features of your offering.
Button Text: Customize the call-to-action button text.

Link: Specify the link where users will be directed when they click the button.
Now, let’s move on to the exciting part—customizing the pricing table styles.
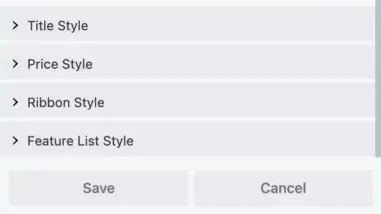
Customizing the Pricing Table Styles
Choosing the Right Style
The aesthetics of your pricing table play a significant role in attracting and retaining visitors. Beaver Builder offers various styles to choose from, ensuring you can align your pricing table with your website’s overall design. To customize the style:
Click on the pricing table module.
In the settings panel on the left, navigate to the “Style” tab.
Explore the pre-designed styles and choose the one that suits your website.
Custom Color Schemes
To make your pricing table stand out, you can create custom color schemes that match your branding. Here’s how:
Click on the pricing table module.
In the settings panel, go to the “Style” tab.
Click on “Box Color.”
Adjust the background, text, and button colors to match your brand’s color palette.
Typography and Fonts
The text on your pricing table should be legible and visually appealing. Beaver Builder allows you to customize fonts and typography easily:
Select the pricing table module.
In the settings panel, under “Style,” click on “Typography.”
Modify the font size, style, and family to align with your website’s typography.
Hover Effects
Engage your visitors by adding hover effects to your pricing table. Hover effects can include subtle animations or color changes when users interact with the table:
Choose the pricing table module.
In the settings panel, navigate to the “Style” tab.
Click on “Hover Effects” and experiment with different options.
In this comprehensive guide, we’ve explored the ins and outs of customizing pricing table styles in Beaver Builder. By following the step-by-step instructions and utilizing the various customization options, you can create stunning pricing tables that not only inform but also captivate your website visitors. Enhance your website’s user experience and boost conversions by taking full advantage of Beaver Builder’s versatile tools.
Remember, your pricing table is often the last step before a potential customer makes a decision, so make it count. Start customizing your pricing tables today and watch your website’s effectiveness soar!


