Table of Contents
Introduction
Have you ever encountered an issue with using the loop carousel in Elementor? Like trying to change the number of posts that should be displayed? You’re in the right place. Today, I’ll guide you on troubleshooting common issues encountered in Elementor Pro page builder, specifically focusing on the Loop Carousel feature. In this tutorial, we’ll delve into understanding the Loop Carousel, addressing it directly, and providing effective solutions to ensure your carousel displays seamlessly. Let’s dive right in!
Understanding the Loop Carousel in Elementor
What is a Loop Carousel?
A Loop Carousel is a dynamic content element in Elementor that allows you to display posts or custom post types in a rotating fashion. It creates a visually engaging way to present multiple items within a limited space.
Benefits of Using a Loop Carousel
Using a Loop Carousel can enhance your website by:
- Showcasing featured posts or products
- Improving user engagement with interactive elements
- Saving space while displaying multiple items
Getting Started with Elementor
Navigating to Elementor in WordPress Dashboard
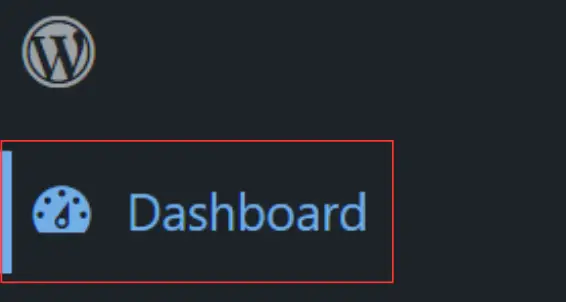
Access your WordPress Dashboard admin.
Navigate to “Pages” and select the page you wish to customize.
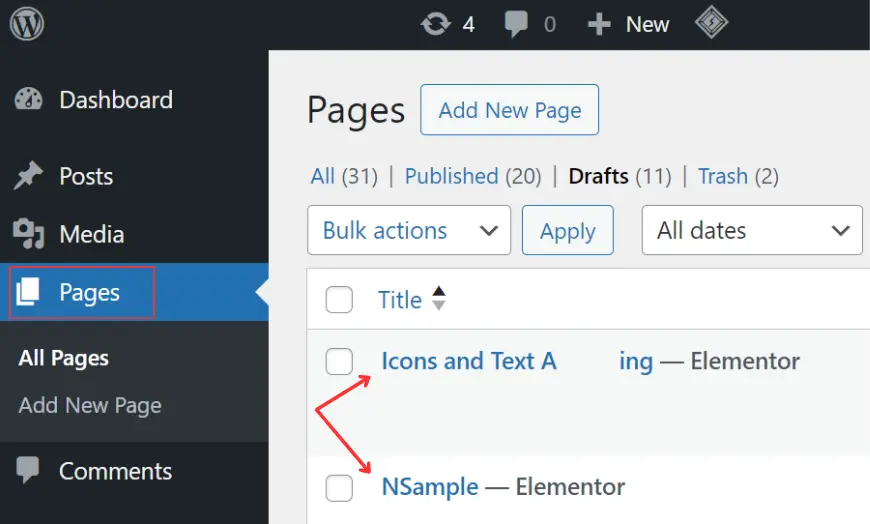
Click on “Edit with Elementor” for that particular page.

Adding Loop Carousel Element
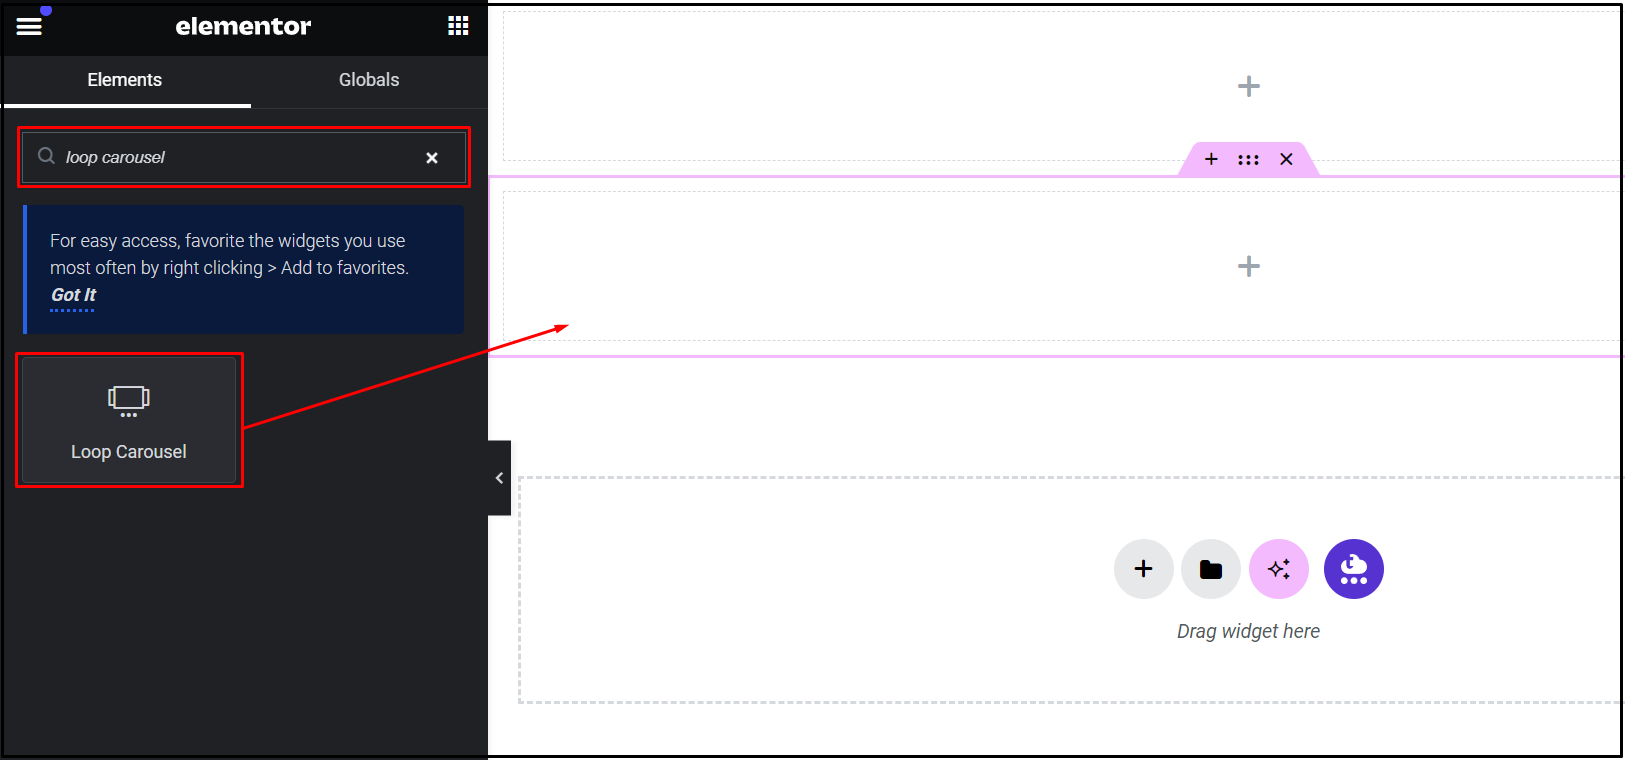
Within the WordPress Editor, add a new container where the loop carousel will reside.

Choose a suitable structure for your carousel’s placement.

Search for the loop carousel element and drag it into the designated area.
Creating a Template and Adding Widgets
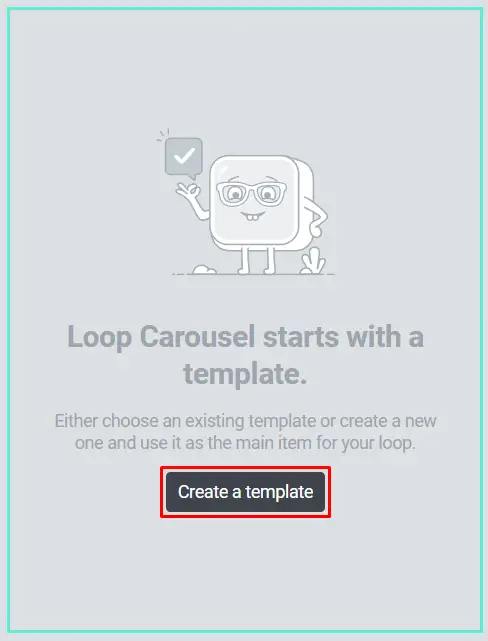
Click on the “Create a template” button and save the template.
Proceed to add widgets to your loop carousel, such as featured images, post titles, and post info.
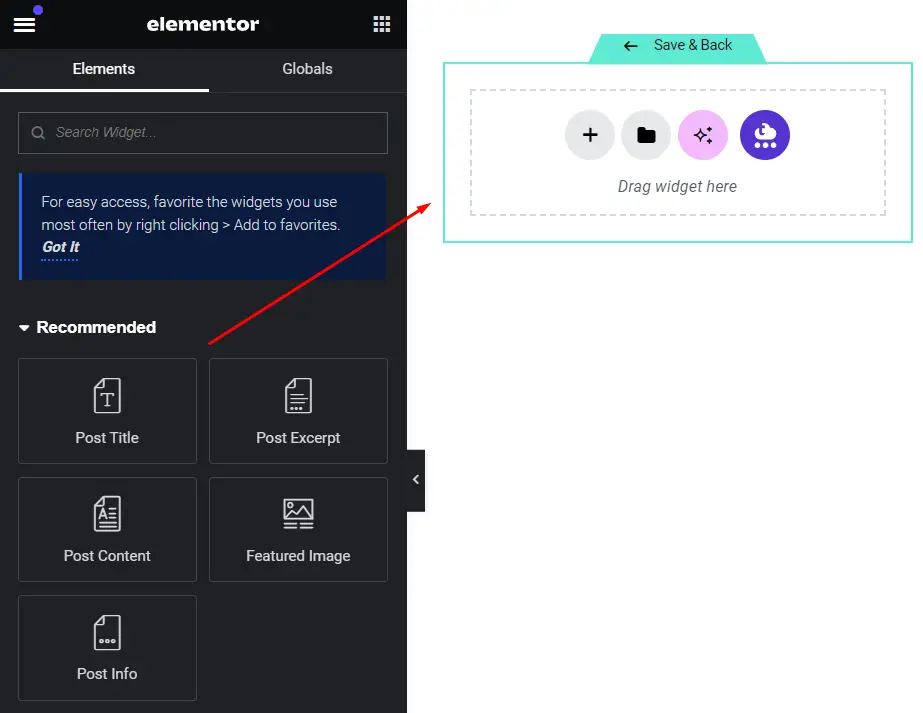
Customize each widget according to your preferences.
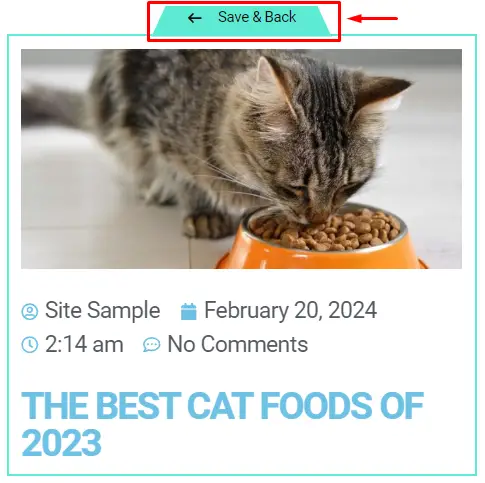
Once customized, click “Save & Back” to preserve your changes.
Customizing Loop Carousel Settings
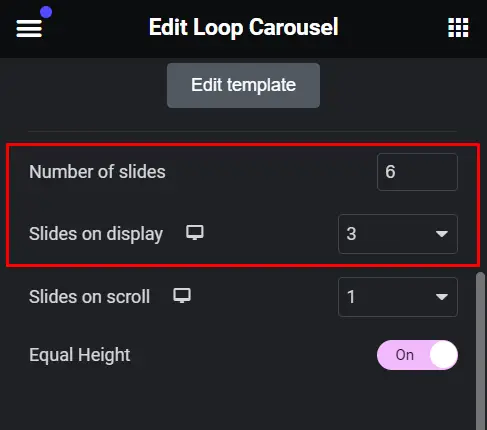
Adjust the number of slides for pagination and the number of slides displayed.
Navigate to the “Query” section to include or exclude specific elements.
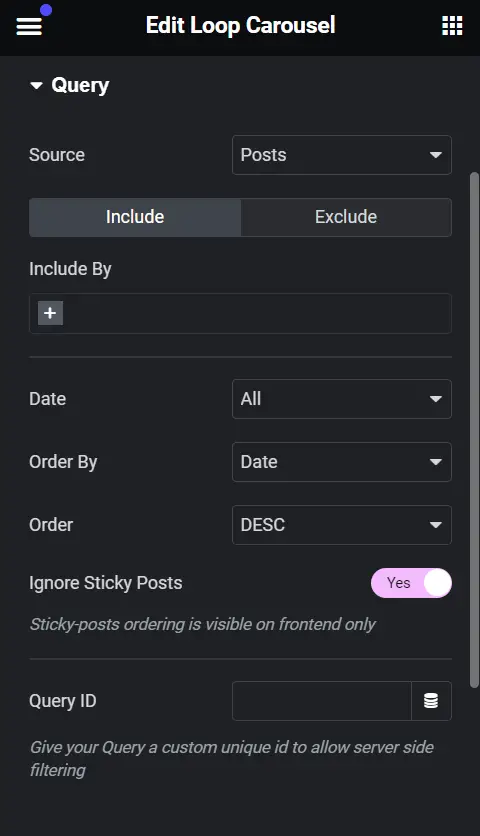
Modify pagination settings as per your requirements.
Finalizing and Previewing
Once satisfied with the layout and settings, save your changes.
Publish the page to make your modifications live.
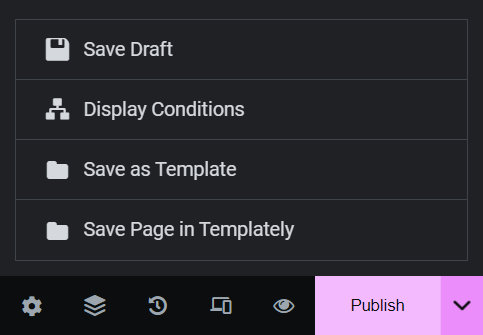
Preview the page to witness the Loop Carousel in action.

Troubleshooting Common Issues
Common Problems and Solutions: If you encounter issues, don’t worry. Common problems include slides not displaying correctly or pagination not working. Ensure your query settings are correct and all elements are properly configured.
Tips for Effective Troubleshooting: For effective troubleshooting, clear your browser cache, check for plugin conflicts, and review your carousel settings. Sometimes, a simple adjustment can resolve the issue.
Advanced Customization Tips
Enhancing Loop Carousel with CSS: For more advanced customization, consider using custom CSS. This allows you to style the Loop Carousel beyond the default options provided by Elementor.
Integrating Third-Party Plugins: There are many third-party plugins available that can extend the functionality of your Loop Carousel. Explore these options to enhance your carousel features.
Best Practices for Using Loop Carousel
Design Tips: When designing your Loop Carousel, keep it simple and user-friendly. Ensure your slides are not overcrowded and maintain consistency in design elements.
Performance Optimization: Optimize the performance of your Loop Carousel by minimizing the use of heavy images and scripts. This ensures fast loading times and a better user experience.
Conclusion
In conclusion, the Loop Carousel in Elementor is a powerful tool for showcasing content in an engaging way. By following the steps outlined above, you can troubleshoot common issues and customize your carousel to fit your website perfectly. Remember, practice makes perfect, so don’t hesitate to experiment with different settings and designs.
Check out our video tutorial for an easy way to learn!
