
Introduction
In today’s digital landscape, embedding YouTube videos has become an integral part of creating engaging and dynamic content. If you’re using Beaver Builder as your preferred page builder, incorporating videos seamlessly can enhance the overall user experience.
In this tutorial, we’ll explore the seamless integration of YouTube videos into your website using the Video Module in Beaver Builder.
Understanding Full-Width Pages
Full-width pages refer to layouts that stretch the entire width of the browser window, eliminating side margins. The primary purpose is to provide a more immersive and engaging experience for website visitors. This design choice is not only aesthetically pleasing but also contributes to improved user interaction and navigation.
Step-by-Step Guide: Setting Full Width in Beaver Builder
To begin, locate the video module within the modules list. Here’s how:
1. Access the Modules List
Open your Beaver Builder project.
On the page editor, locate the modules list on the sidebar.

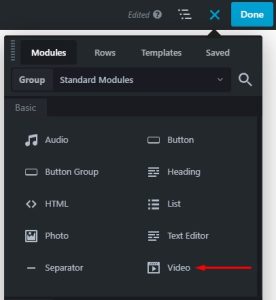
2. Find the Video Module
Scroll through the modules list until you spot the Video Module.
Click and drag the Video Module to the desired location on your page.
Configuring the Video Module
Now that you have added the Video Module to your page, let’s configure it to embed a YouTube video:
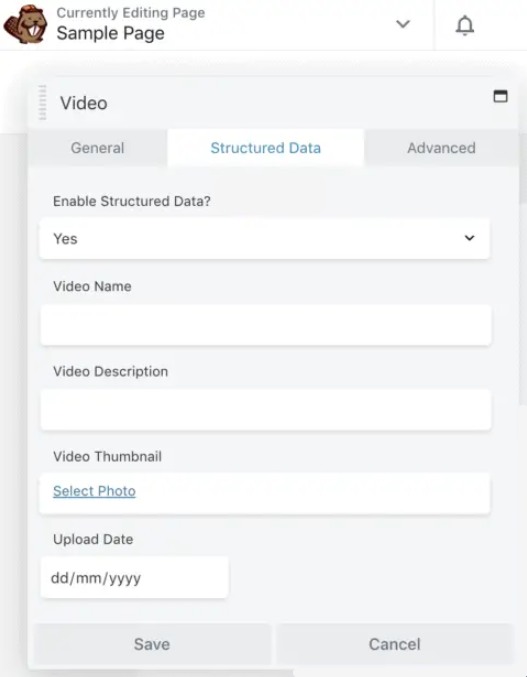
3. Opening the Video Module Settings Popup
With the Video Module selected on your page, click on its settings icon to open the Video Module Settings Popup.
4. Selecting ‘Embed’ as the Video Type
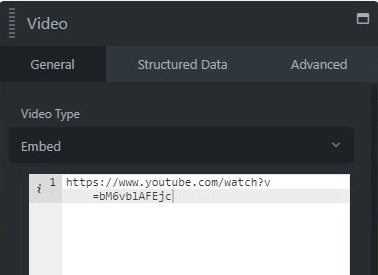
Inside the Video Module Settings Popup, locate the ‘Video Type’ field.
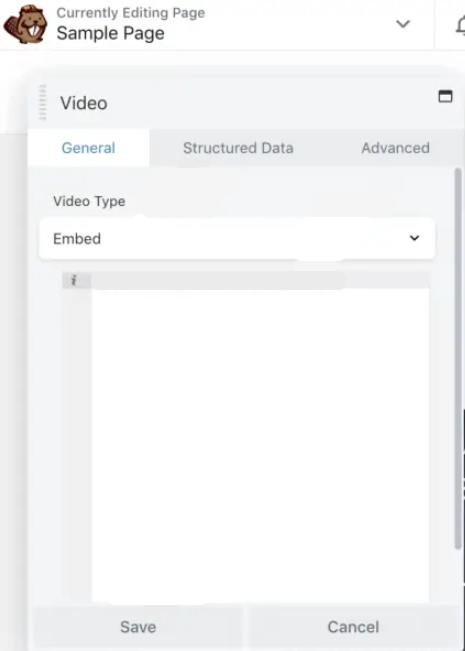
Choose ‘Embed’ from the available options.
5. Inputting the YouTube Video URL
In the ‘Code Editor’ field within the same settings popup, paste the URL of the YouTube video you want to embed.
You can obtain the video’s URL by:
- Clicking the share icon beneath the YouTube video.
- Selecting the ‘Embed’ option from the sharing menu.
- Copying and pasting the complete video URL from your browser’s address bar.
6. Saving Your Configuration
After pasting the URL, click the ‘Save’ button within the Video Module Settings Popup.
Responsive Design Tips for YouTube Videos in Beaver Builder
When incorporating YouTube videos into your Beaver Builder designs, it’s essential to ensure they display correctly and responsively across various devices. This step-by-step guide will walk you through the process of achieving responsive YouTube video design in Beaver Builder.
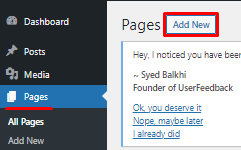
Step 1: Create or Edit a Page/Post
Go to the page or post where you want to add a YouTube video.
Click “Edit” or “Add New” to open the Beaver Builder editor.
Step 2: Add a Row
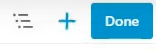
Inside the Beaver Builder editor, click the “+” button to add a new row.
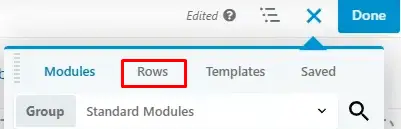
Choose the desired column layout for your video section (e.g., one column for a full-width video or multiple columns for a grid of videos).
Step 3: Add a Video Module
Click on the column where you want to add the video element.
In the column settings, click the “+” button to add a new module.
Search for and select the “Video” module.
Step 4: Configure the Video Module
In the Video module settings, paste the URL of the YouTube video you want to embed.
Adjust the video’s dimensions, autoplay, and other settings as per your preferences.
Step 5: Ensure Responsive Design
To make the YouTube video responsive, set the video width to “100%” within the module settings.
Beaver Builder will automatically handle the responsive aspect.
Step 6: Preview and Adjust
Click the “Save” button.
Preview your page to ensure the YouTube video looks good on different devices and screen sizes.
Make adjustments as necessary, such as adjusting column spacing or margins for optimal responsiveness.
Step 7: Test Responsiveness on Various Devices
View your page on different devices (desktop, tablet, smartphone) to verify that the YouTube video scales appropriately and maintains good visual quality.
Make any final adjustments if needed.


